User Guide#
Prerequisites and installation#
Install the ACE Configurator Visual Studio Code extension if not already installed. Follow the extension’s instructions for configuration and basic usage.
Install the Audio2Face-3D Tuning Tool Visual Studio Code extension.
Have access to a deployment with the following components:
Audio2Face-3D NIM
A microservice that implements the Tuning API
ACE Configurator microservice
Configuration#
Open the AUDIO2FACE-3D TUNING view in the left sidebar.
Enter the URL for the ACE Controller which implements the Tuning API.
Basic Usage#
Use the ACE Configurator VS Code extension to download the Audio2Face-3D NIM assets locally. You can do this from the ACE CONFIGURATOR section in the left sidebar.
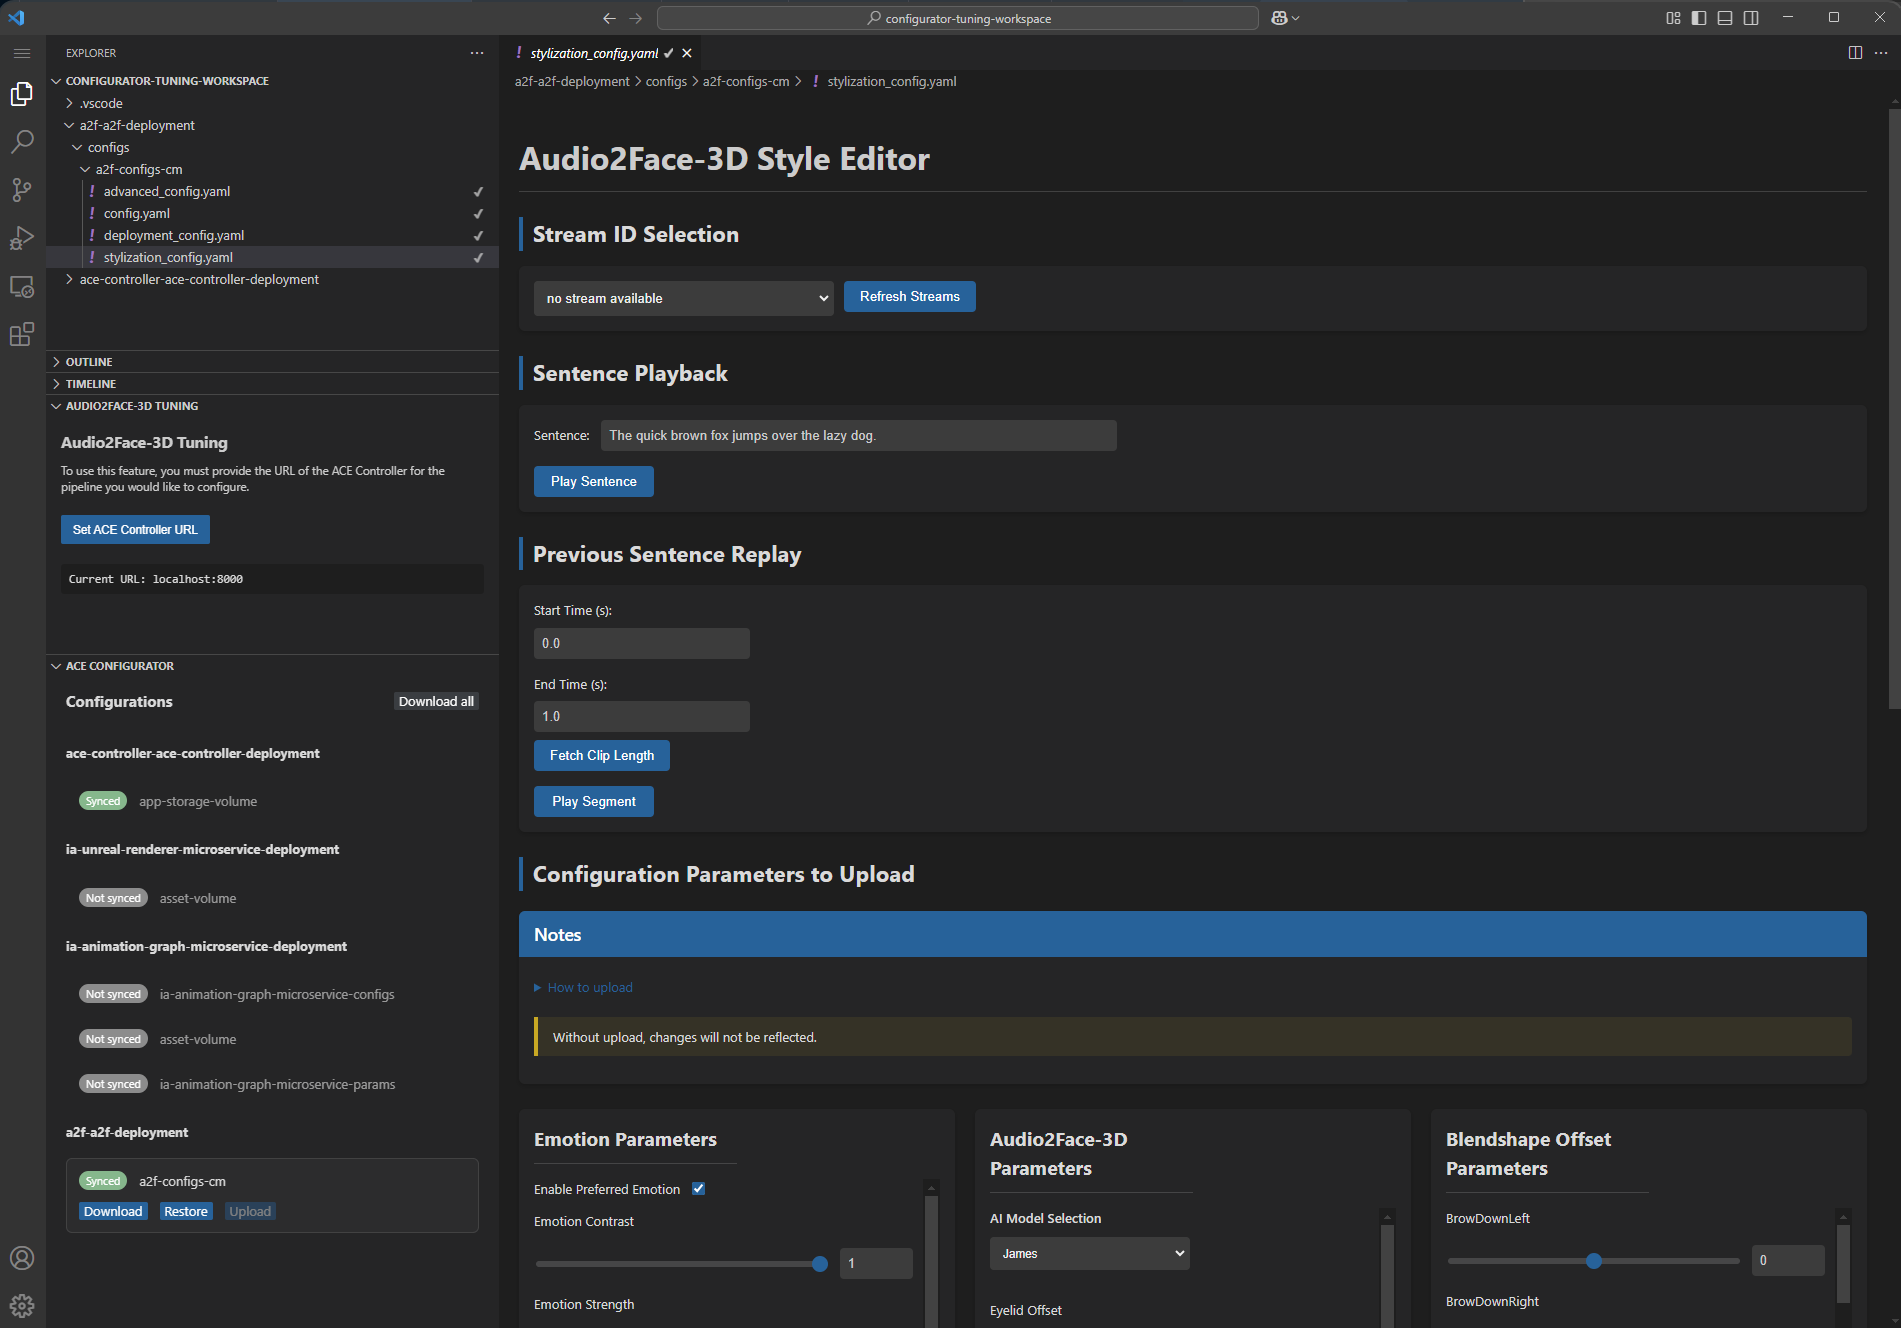
Open the stylization_config.yaml file. The UI will look similar as in Figure 1. You should see a custom view where you can:
Click on Refresh Streams button and select the desired Stream ID from the dropdown menu.
Input a text prompt and click on Play Sentence button. In the Tokkio UI, you should see the avatar speaking the sentence you input.
Trim the audio and animation in the Previous Sentence Replay section. Click on Fetch Clip Length button to get the number of seconds of the input sentence. You can then adjust the Start Time (s) and End Time (s) to replay a portion of the generated audio and animation.
Tune the stylization parameters in the Configuration Parameters to Upload section. Adjust the parameters to your liking and then save the file. Go to the ACE CONFIGURATOR section in the left sidebar, navigate to the Audio2Face-3D NIM deployment and click on Upload. Wait for the parameters to complete uploading. You can then replay the sentence and see the new animation in the Tokkio UI.