Installing Omniverse Kit#
To integrate your own custom avatar, you will need an Omniverse Kit App. To install this App with the right configuration for ACE scenes, follow these steps:
1. Clone the Repository#
Open a terminal and navigate to a directory where you’d like to place the App. Then enter these commands:
git clone https://github.com/NVIDIA-Omniverse/kit-app-template.git
cd kit-app-template
git checkout 106.5
This will give you version 106.5, but to be fully compatible with the ACE pipeline you should update to 106.5.3. However, this update is not publically available and needs to be downloaded from NGC.
ngc registry resource download-version "nvidia/omniverse/kit-kernel-linux-pb24h2:106.5.3"
unzip "kit-kernel-linux-pb24h2_v106.5.3/kit-kernel@106.5.3+production.176748.8f2f7c1e.gl.linux-x86_64.release.zip" -d ./kernel-update
To ensure your app will be built using this new version, do this:
echo '<project toolsVersion="5.3">
    <dependency name="kit_sdk_${config}" linkPath="../../_build/${platform}/${config}/kit">
        <source path="../../kernel-update/" />
    </dependency>
</project>' > "tools/deps/kit-sdk.packman.xml.user"
2. Create and Configure New Application From Template#
This will give you version 106.5, but to be fully compatible with the ACE pipeline you should update to 106.5.3. However, this update is not publicly available and needs to be downloaded from NGC.
ngc registry resource download-version "nvidia/omniverse/kit-kernel-linux-pb24h2:106.5.3"
unzip "kit-kernel-linux-pb24h2_v106.5.3/kit-kernel@106.5.3+production.176748.8f2f7c1e.gl.linux-x86_64.release.zip" -d ./kernel-update
To ensure your app will be built using this new version, do this:
echo '<project toolsVersion="5.3">
    <dependency name="kit_sdk_${config}" linkPath="../../_build/${platform}/${config}/kit">
        <source path="../../kernel-update/" />
    </dependency>
</project>' > "tools/deps/kit-sdk.packman.xml.user"
2. Create and Configure a New Application from the Template#
Run the following command to initiate the configuration wizard:
Linux:
./repo.sh template new
Windows:
.\repo.bat template new
Note
If this is your first time running the template new tool, you’ll be prompted to accept the Omniverse Licensing Terms.
Follow the prompt instructions:
Select with arrow keys what you want to create:Select: Application
Select with arrow keys your desired template:Select: Kit Base Editor
Enter name of application .kit file [name-spaced, lowercase, alphanumeric]:Write a name for the app. E.g.
nvidia.ace_editor
Enter application_display_name: [set application display name]Write a display name for the app. E.g.
ACE Editor
Enter version:: [set application version]You can just confirm the default value.
3. Build#
Build your new application with the following command:
Linux:
./repo.sh build
Windows:
.\repo.bat build
A successful build will result in the following message:
BUILD (RELEASE) SUCCEEDED (Took XX.XX seconds)
If you experience issues related to build, please see the Usage and Troubleshooting documentation for additional information.
4. Launch#
Initiate your newly created application using:
Linux:
./repo.sh launch -d
Windows:
.\repo.bat launch -d
Then press Enter to select your application.
If you need to launch the app again later, you may repeat this step.
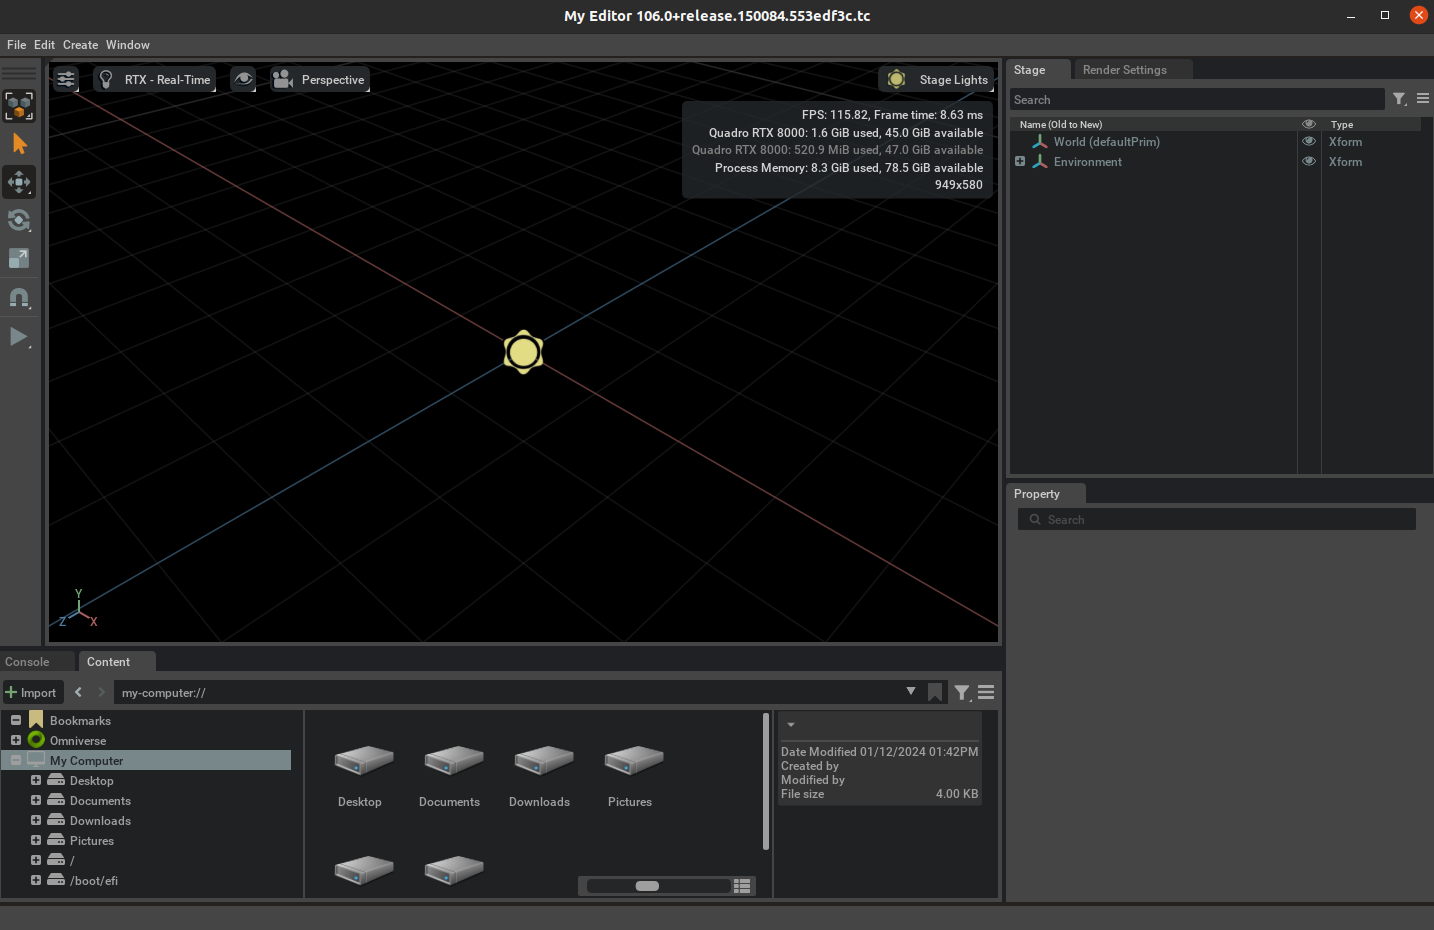
5. Settings#
Once the app has opened, go to Developer → Extensions and a new Window will appear.
Note
If you don’t see the “Developer” window, make sure you didn’t forget to add the -d when launching the app.
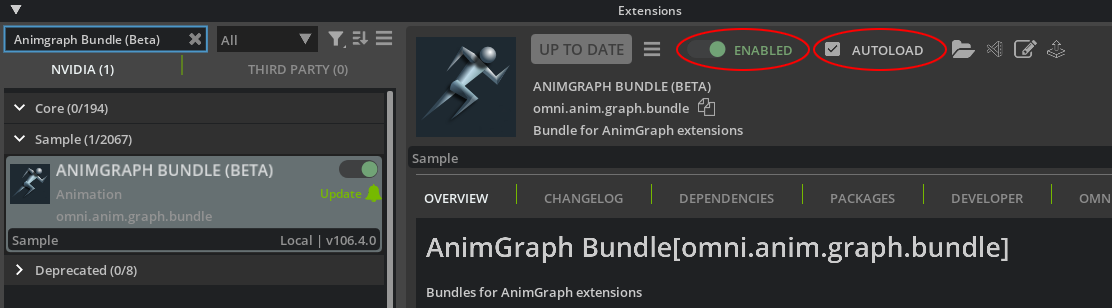
In the search bar look for the following extensions, and for each of them click Install, then set them to Enabled (where possible), and check the Autoload checkbox.
Animgraph Bundle (Beta)
Retargeting Bundle (Beta)
Python Scripting Component (Beta)
Kit Services Core
If a window pops up after you enabled the scripting component, click Yes.
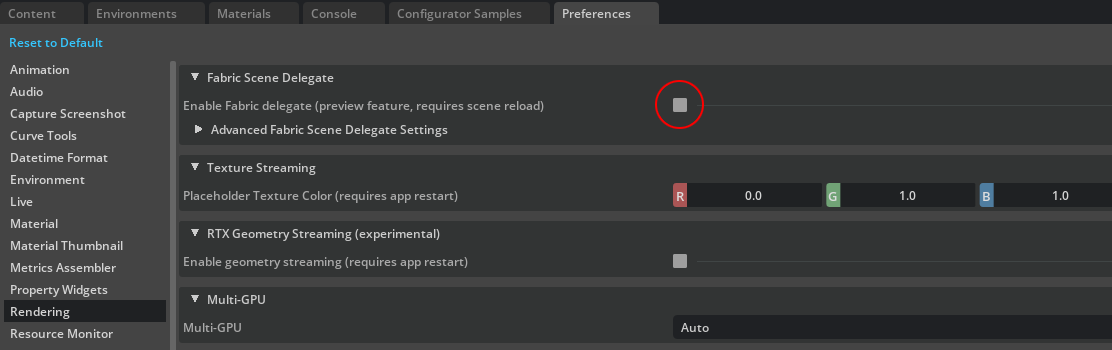
Then go to Edit → Preferences and under Rendering make sure the setting Enable Fabric delegate (preview features, requires scene reload) is unset.
Your app is now ready.