

Part 5: Reconfigure Slurm for the RHEL Image#
Since the RHEL image was added to a cluster where Slurm was already
installed, cm-wlm-setup must be run again to install the appropriate
pyxis, enroot, and CMDaemon packages into the RHEL image.
First, disable the existing Slurm setup:
# At the OS/shell level on the BCM head node, run
cm-wlm-setup --disable --wlm-cluster-name=slurm --yes-i-really-mean-it
Then re-run the setup wizard, making sure to select the RHEL image (
dgx-rhel9u6-x86_64) as a target image alongside any other node categories:# At the OS/shell level on the BCM head node, run cm-wlm-setup- Select Setup (Step By Step).
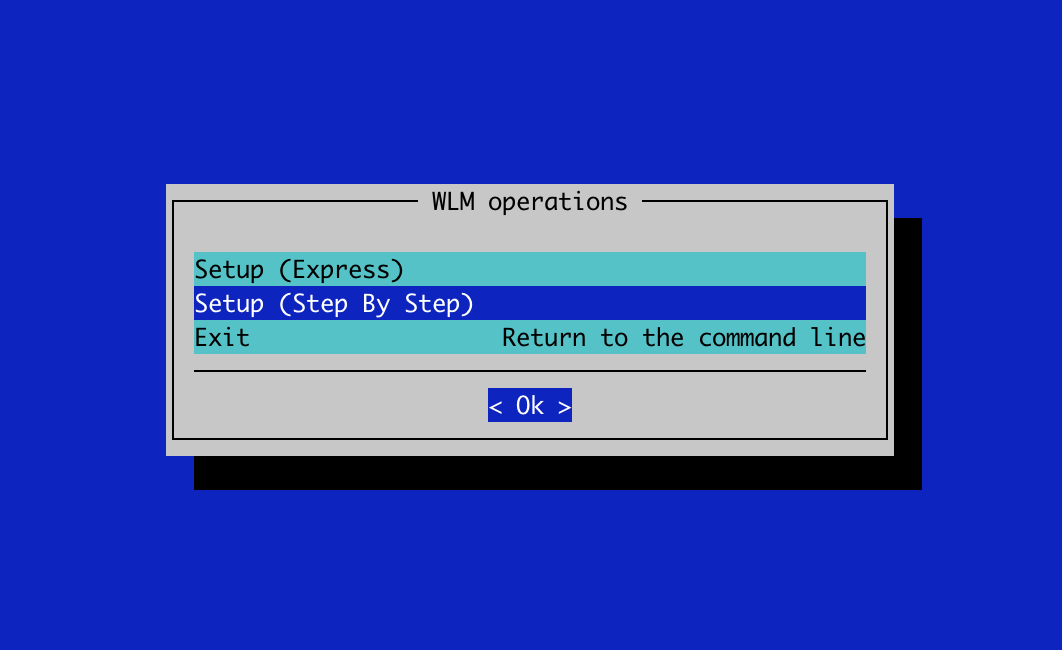
- Select Slurm for the workload manager.
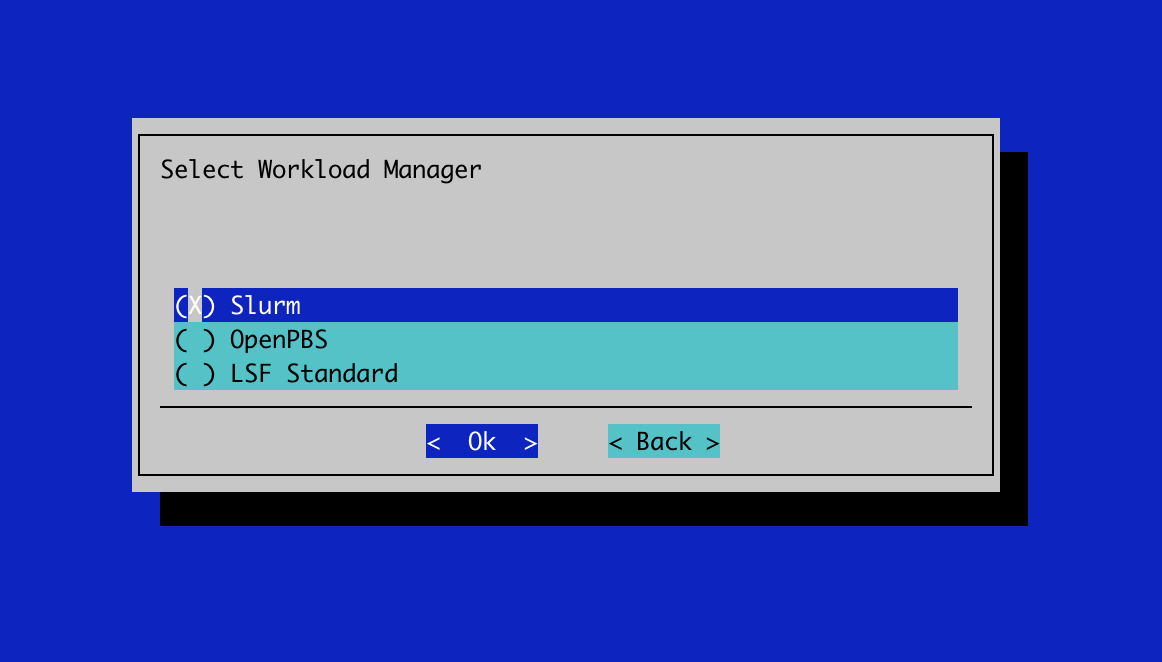
- Leave the cluster name as the default.
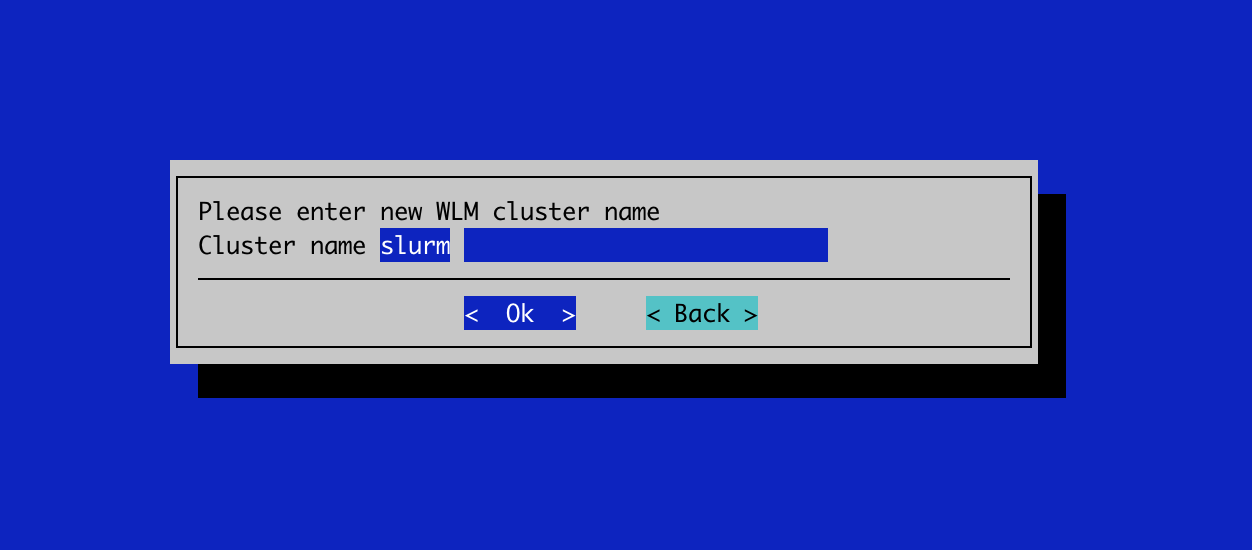
- Select the two BCM head-nodes nodes for the server role.
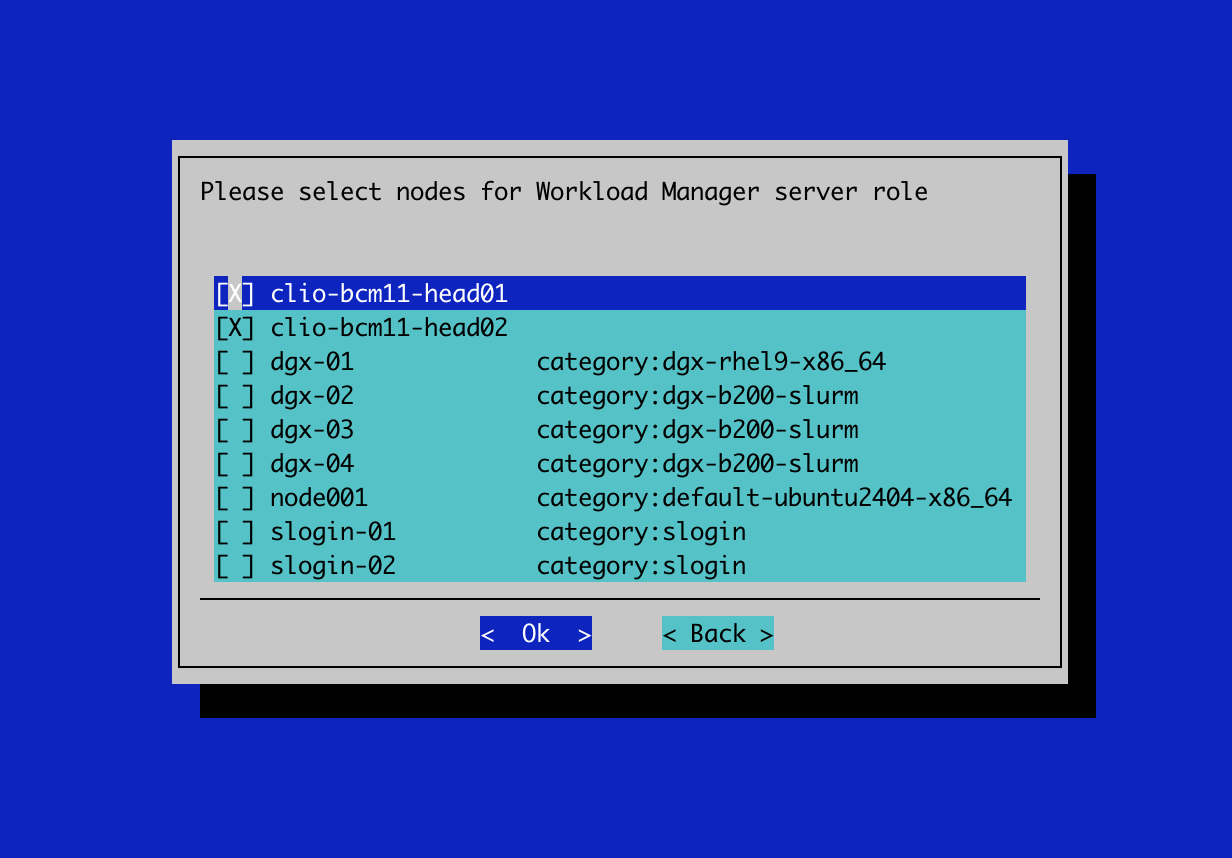
- Leave the name and priority for the server overlay as defaults.
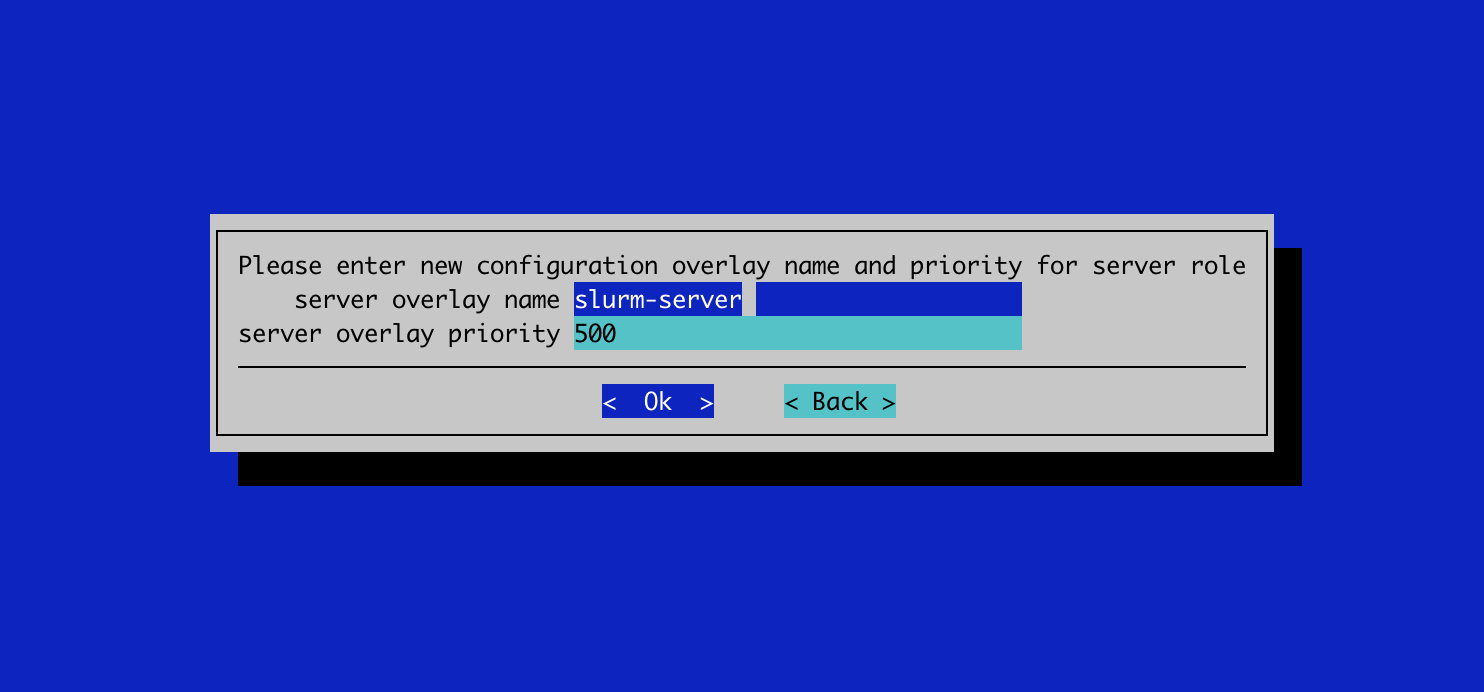
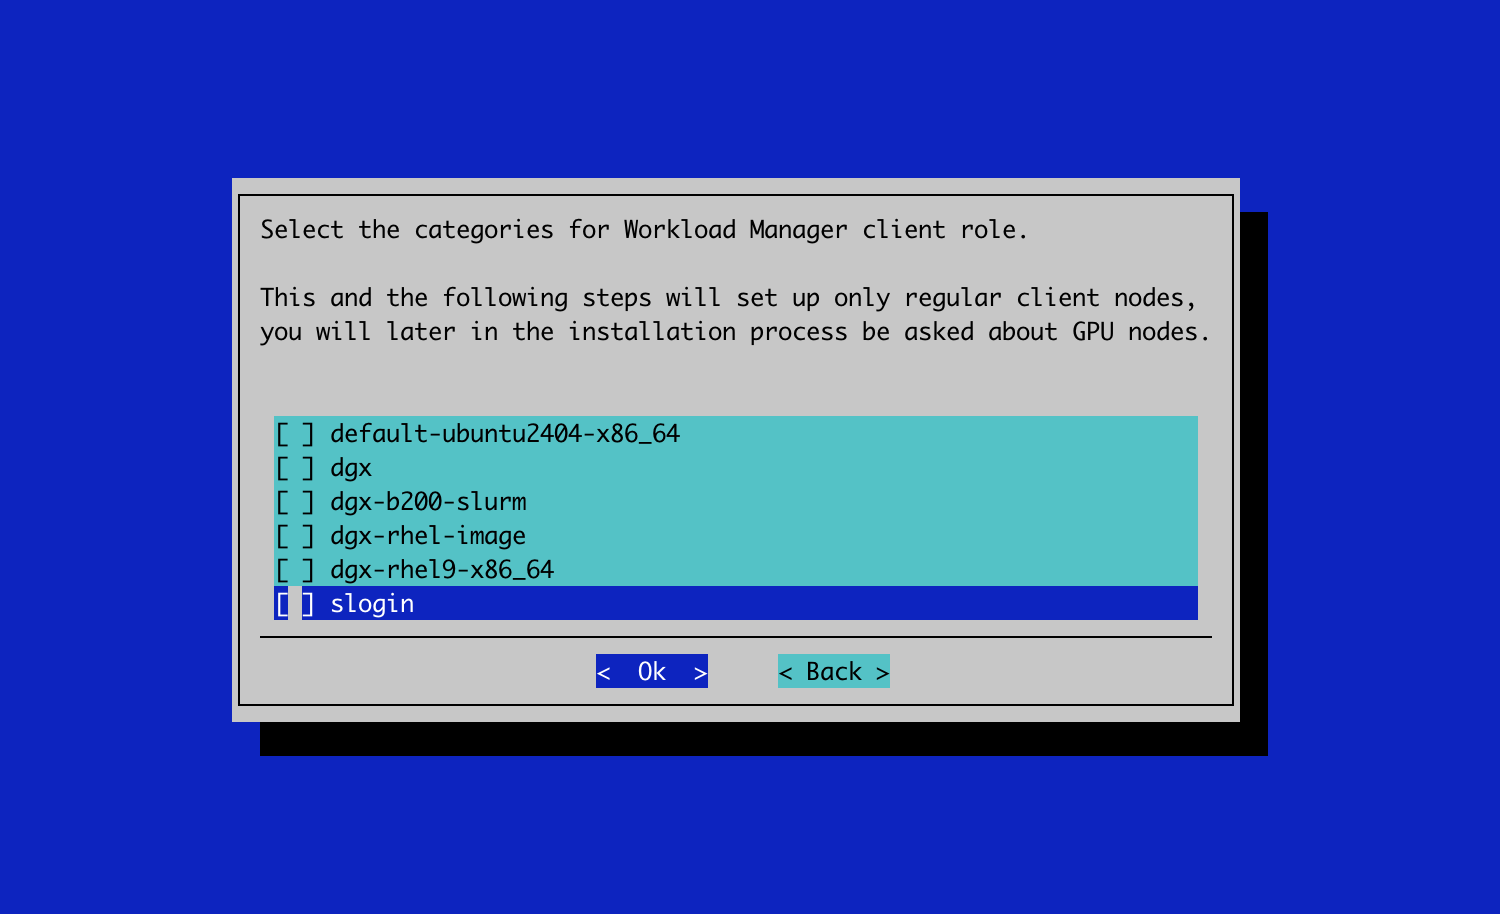
- Do not select any categories for the client role.
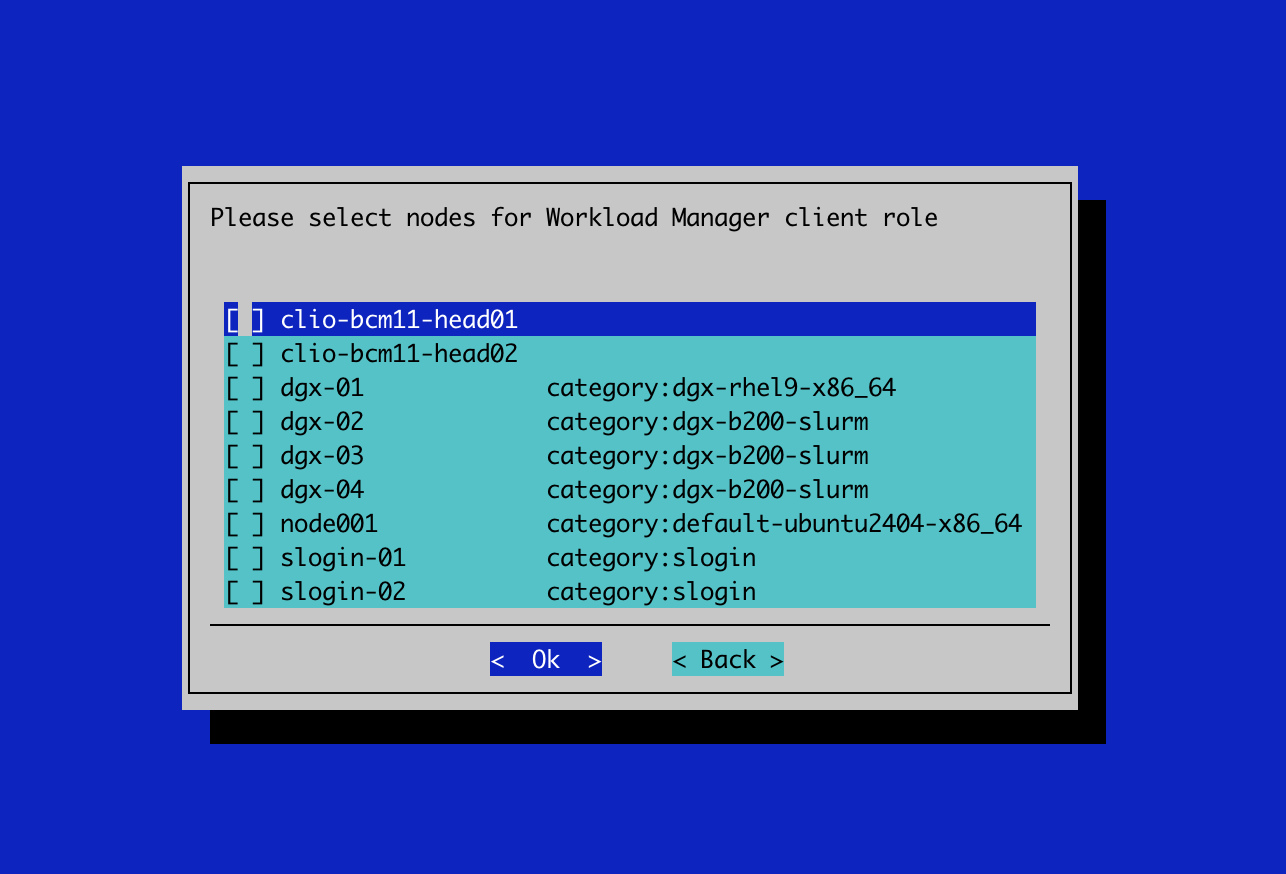
- Do not select any nodes for the client role.
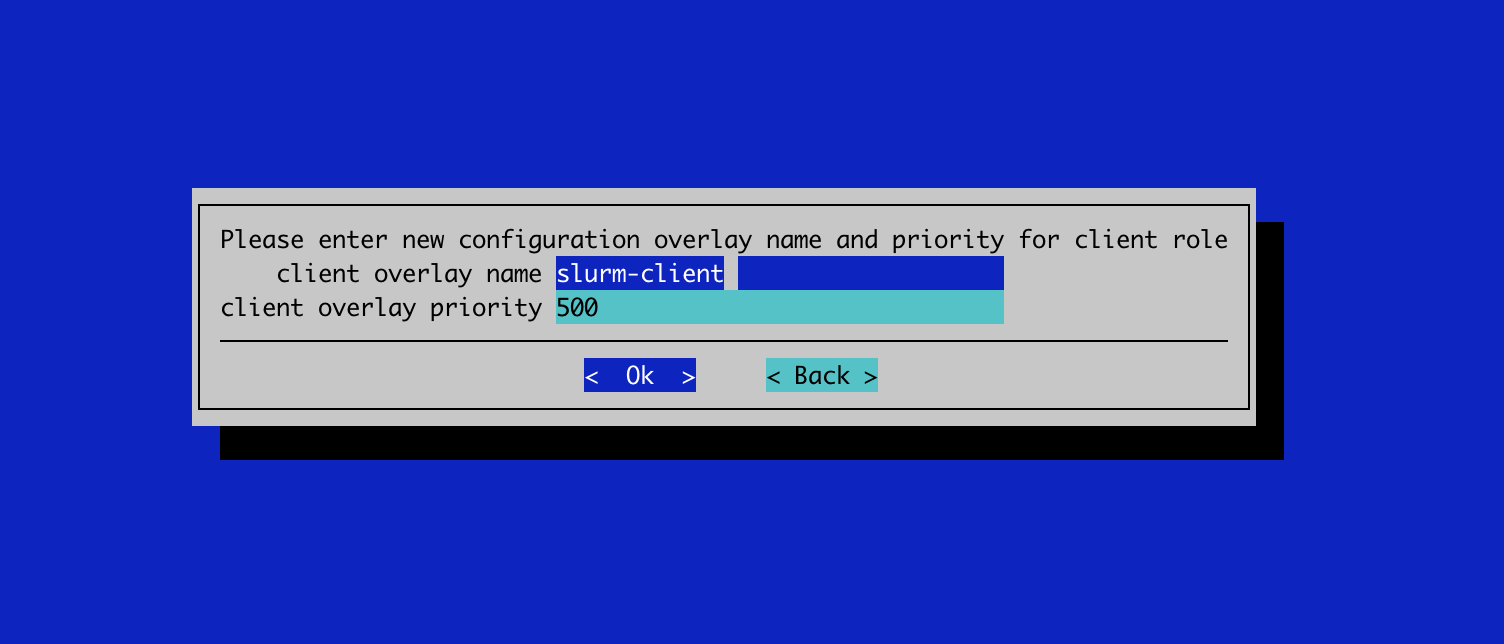
- Leave the name and priority for the client overlay as defaults.
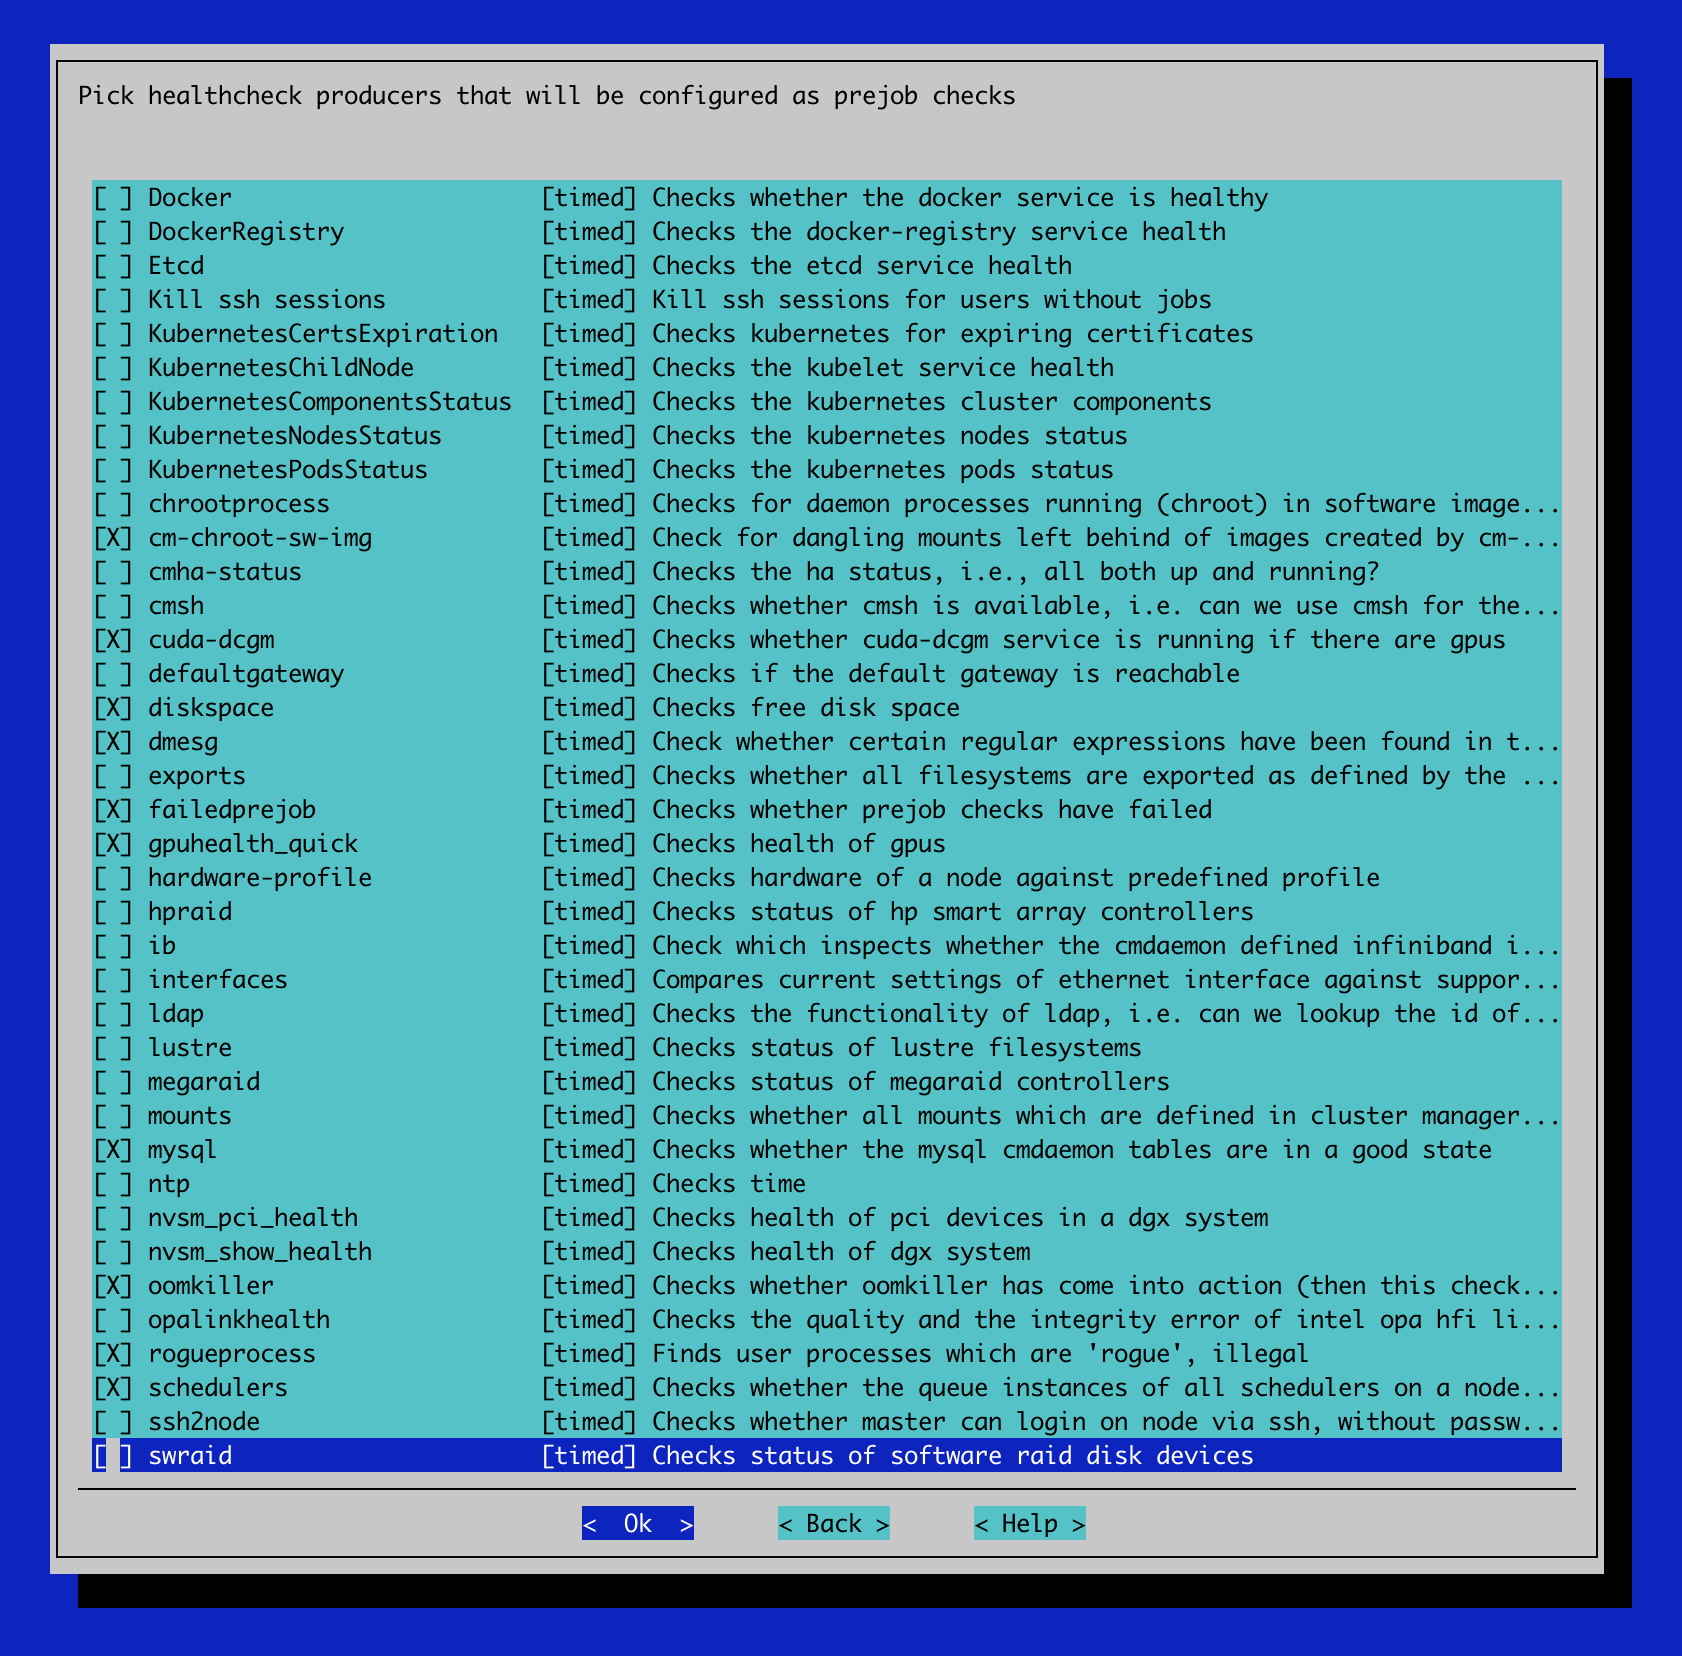
Select the following healthcheck producers to be run as prejob checks.
cm-chroot-sw-img
cuda-dcgm
diskspace
dmesg
failedprejob
gpuhealth_quick
mysql
oomkiller
rogueprocess
Schedulers
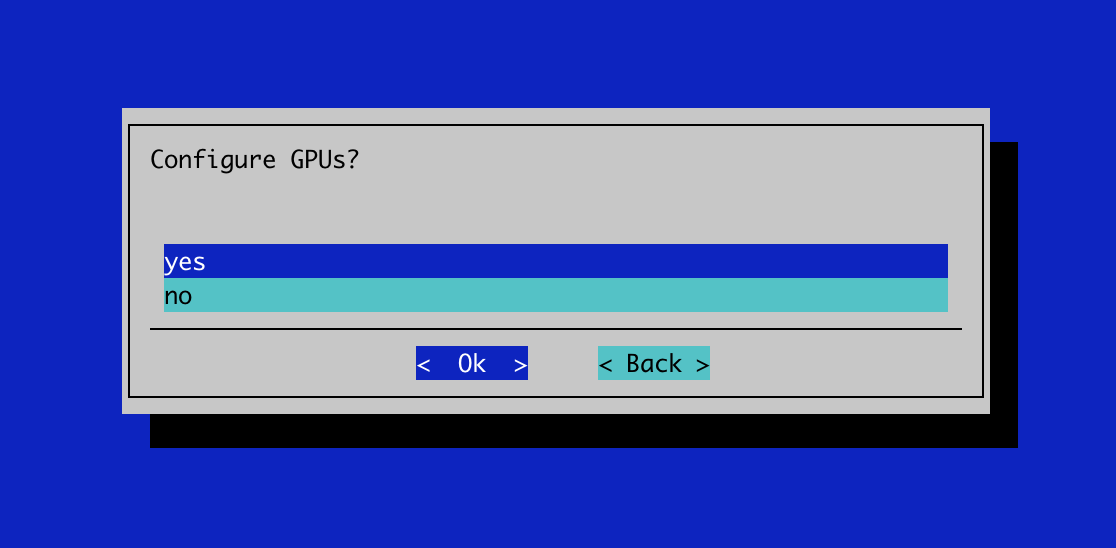
- Select Yes to configure GPUs.
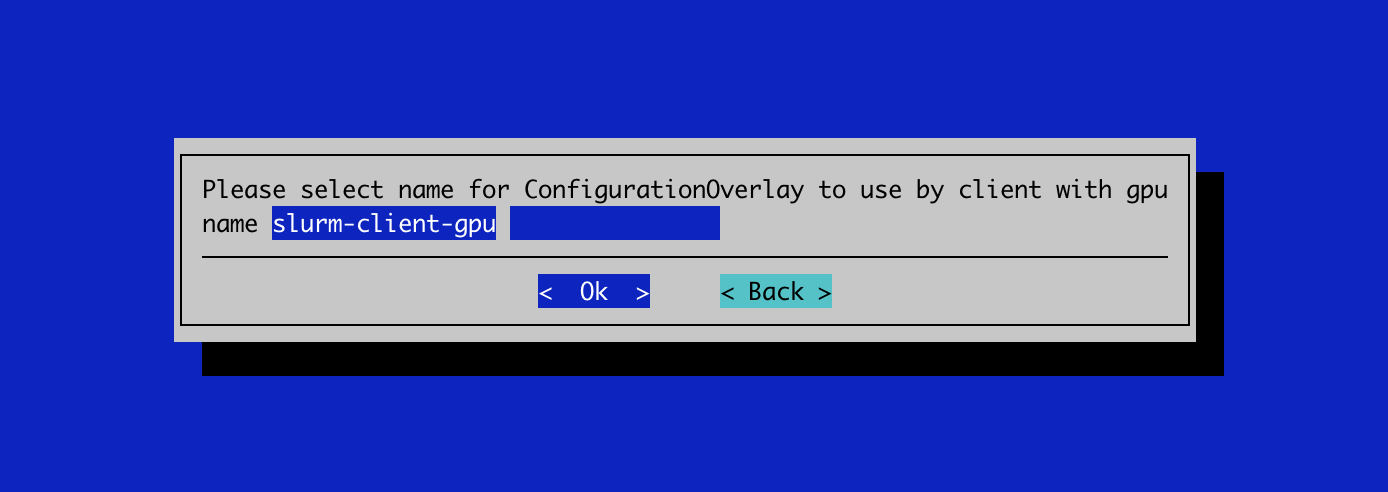
- Leave the name of the GPU overlay as the default.
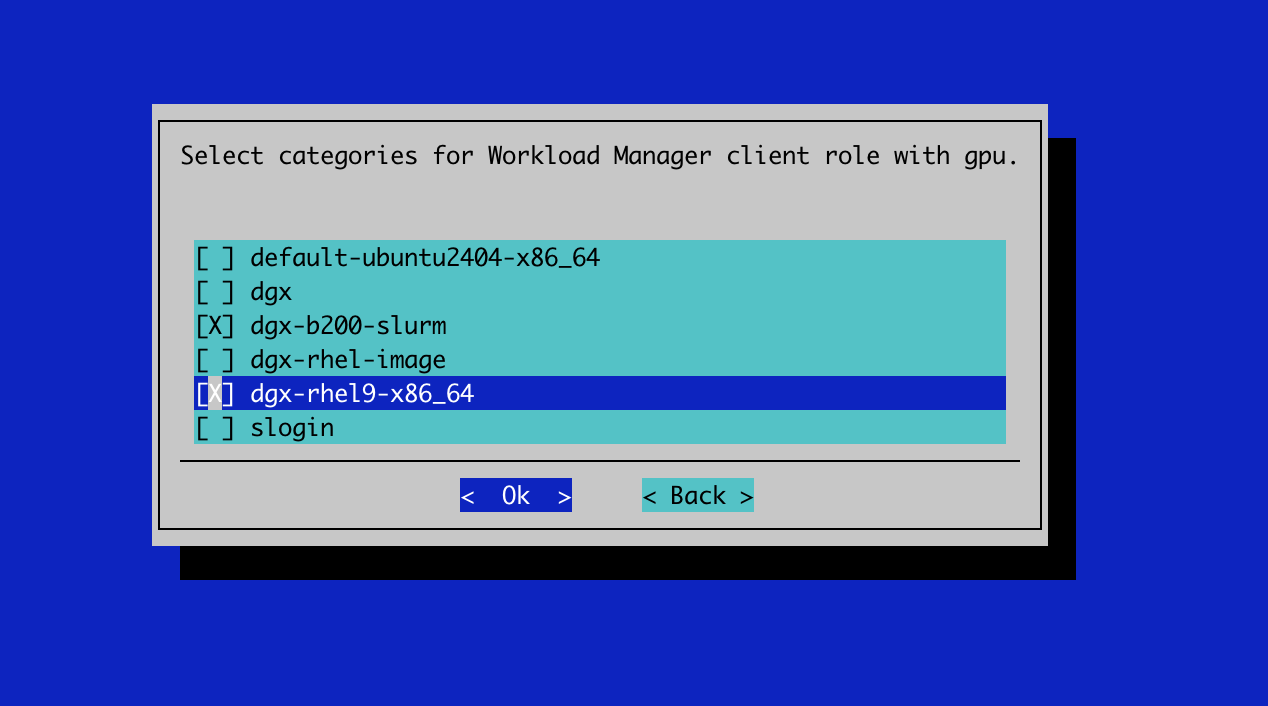
- Select the dgx-rhel9-x86_64 category and any other category whose nodes have GPUs and will run Slurm jobs for Workload Manager client role with gpu.
- Do not select any nodes here.
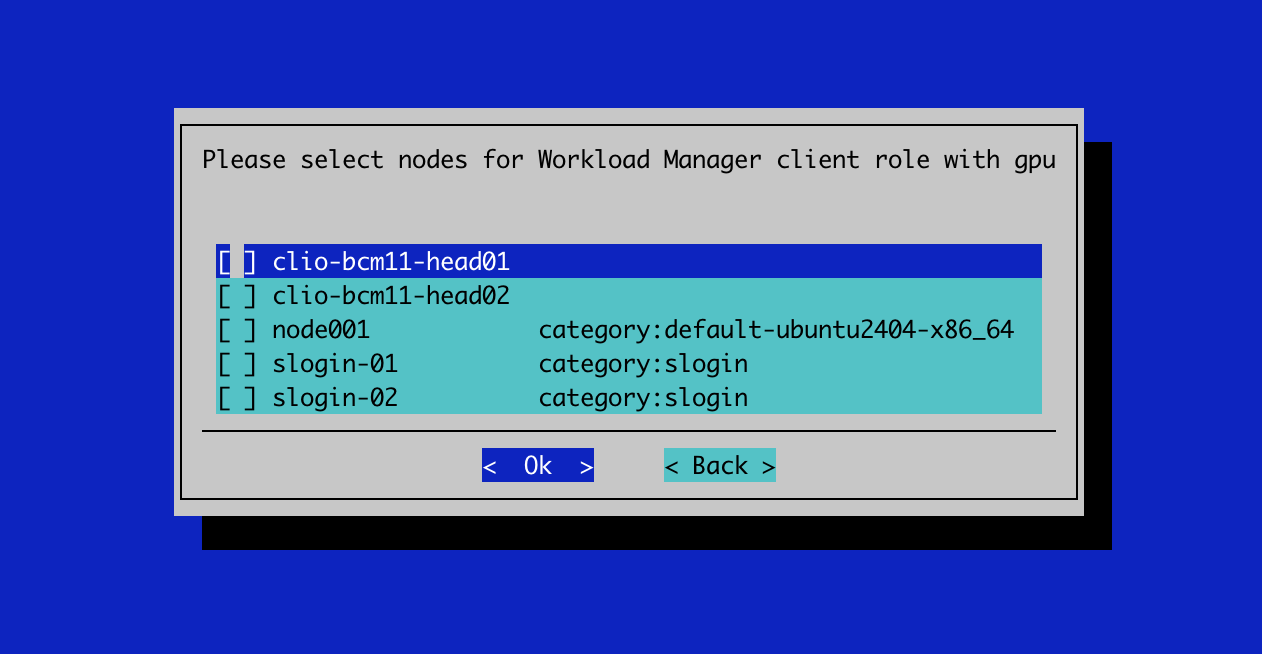
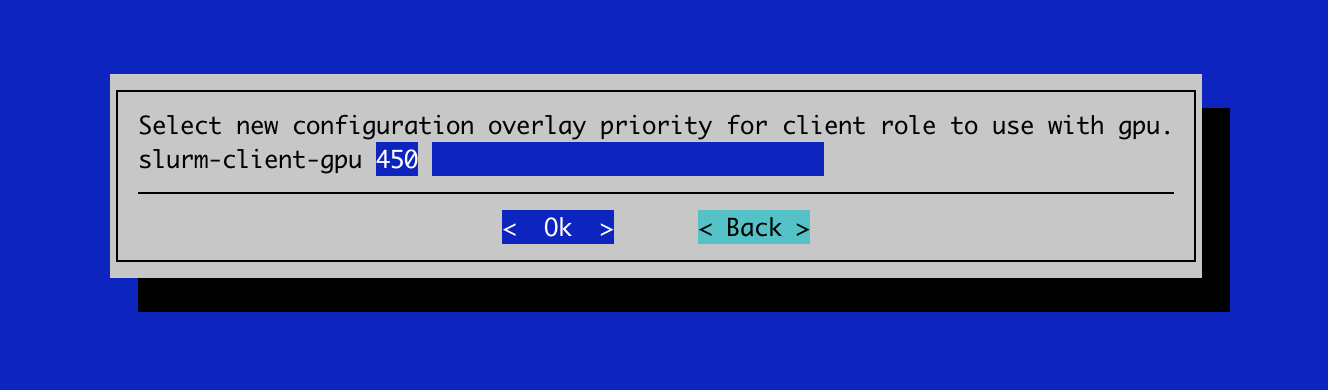
- Leave the priority of the gpu client role as the default.
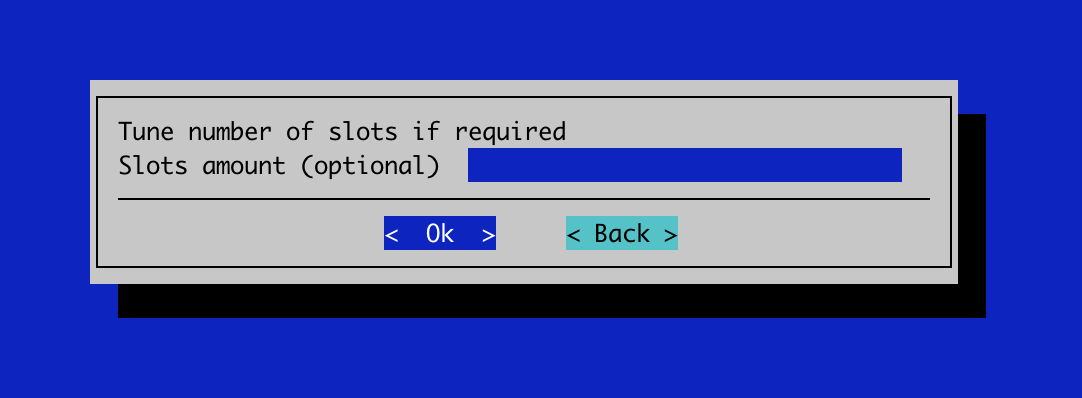
- Leave the number of slots empty.
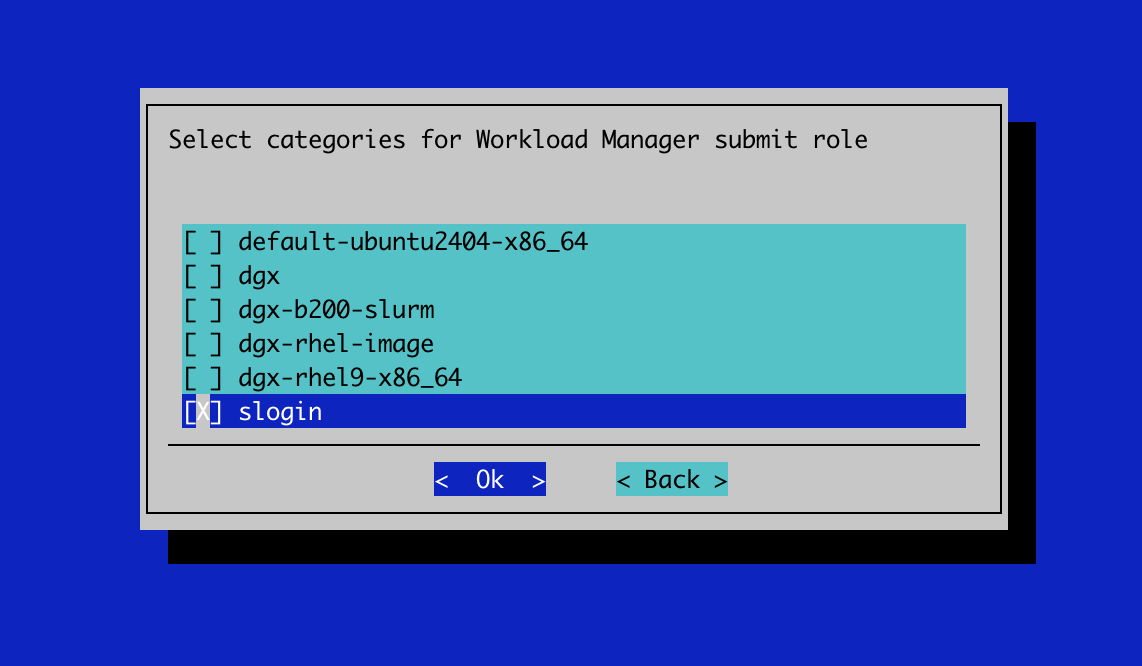
- Select the slogin category for the submit role.
- Do not select any additional nodes for the submit role.
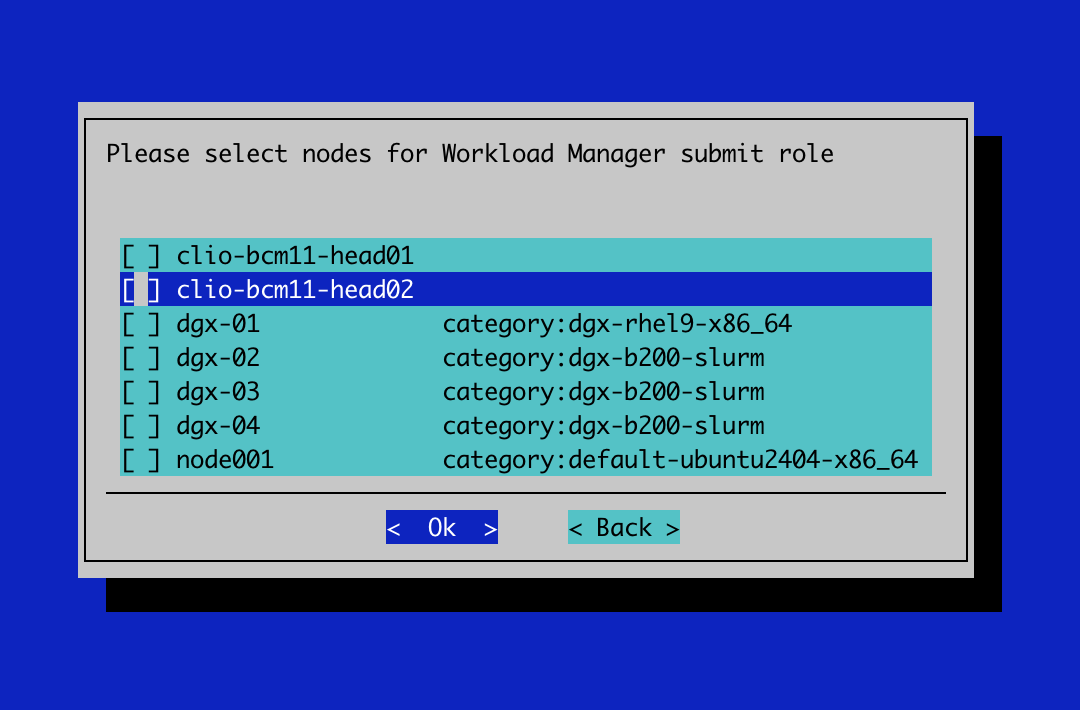
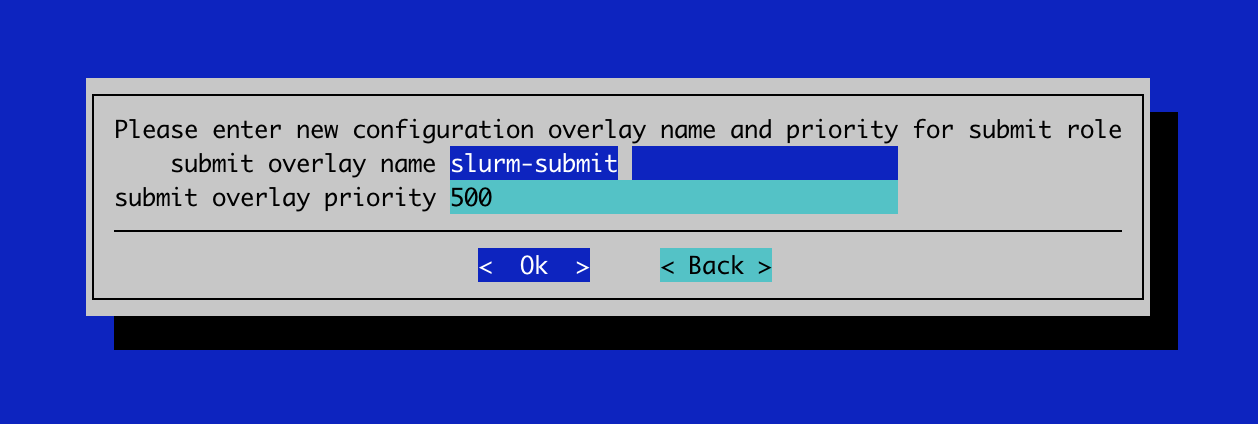
- Leave the name and priority for the submit overlay as defaults.
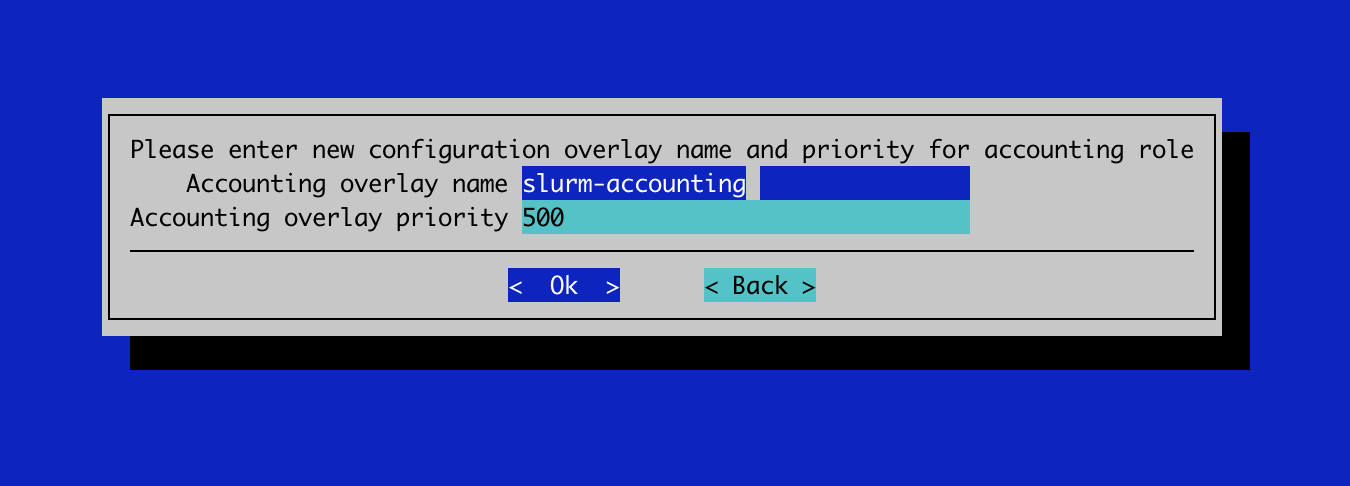
- Leave the name and priority for the accounting overlay as defaults.
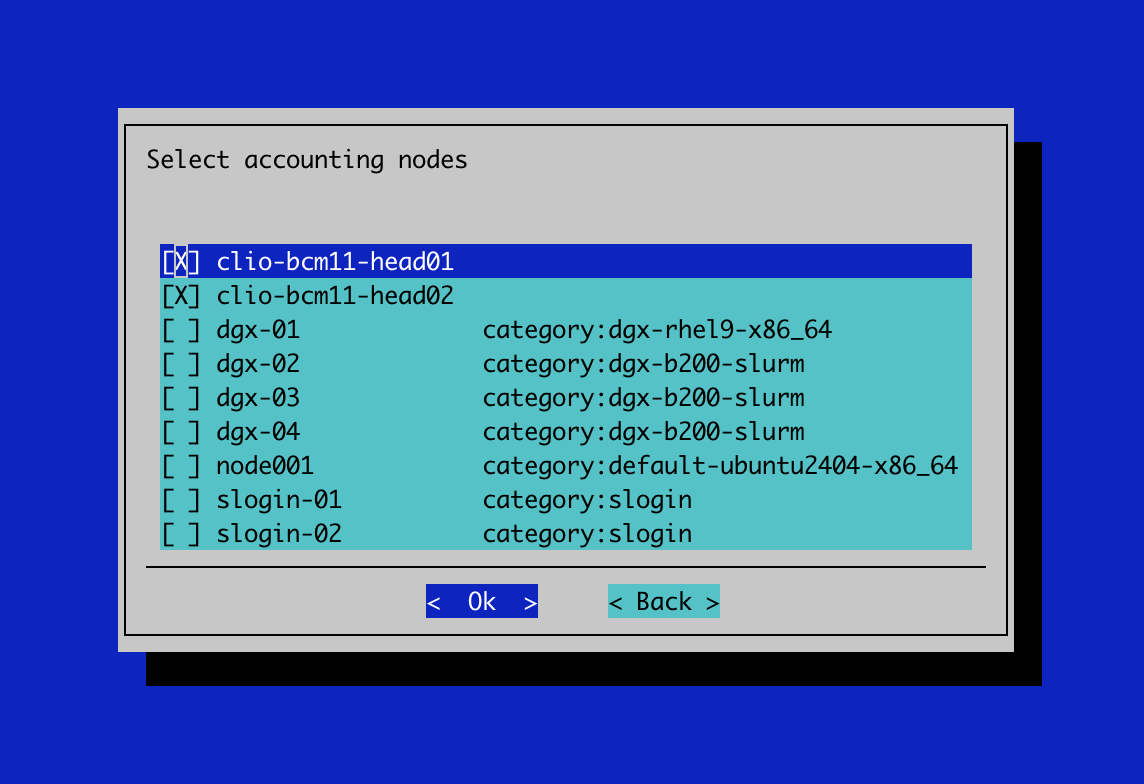
- Select the head-node nodes for the accounting role.
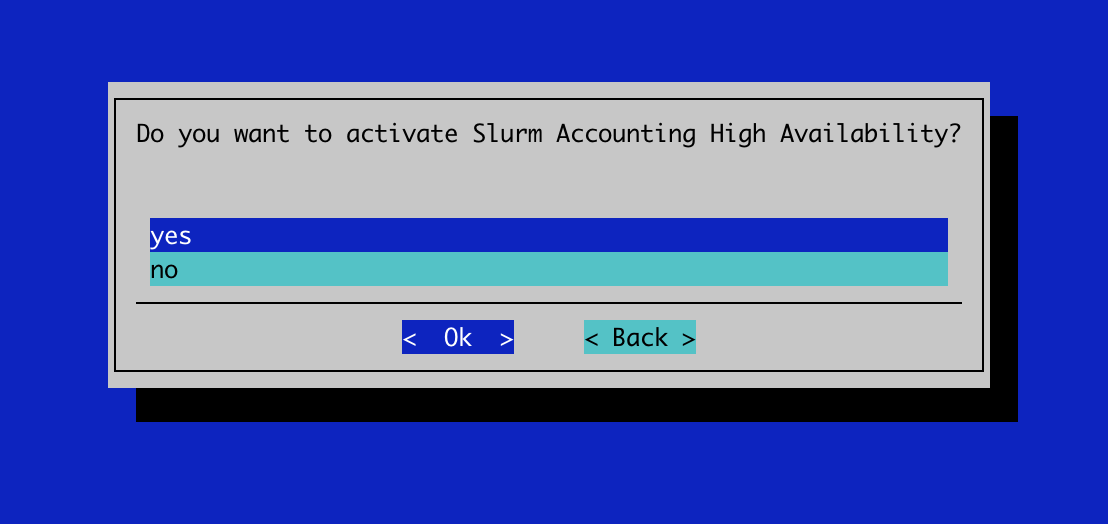
- Select yes to enable Slurm Accounting High Availability.
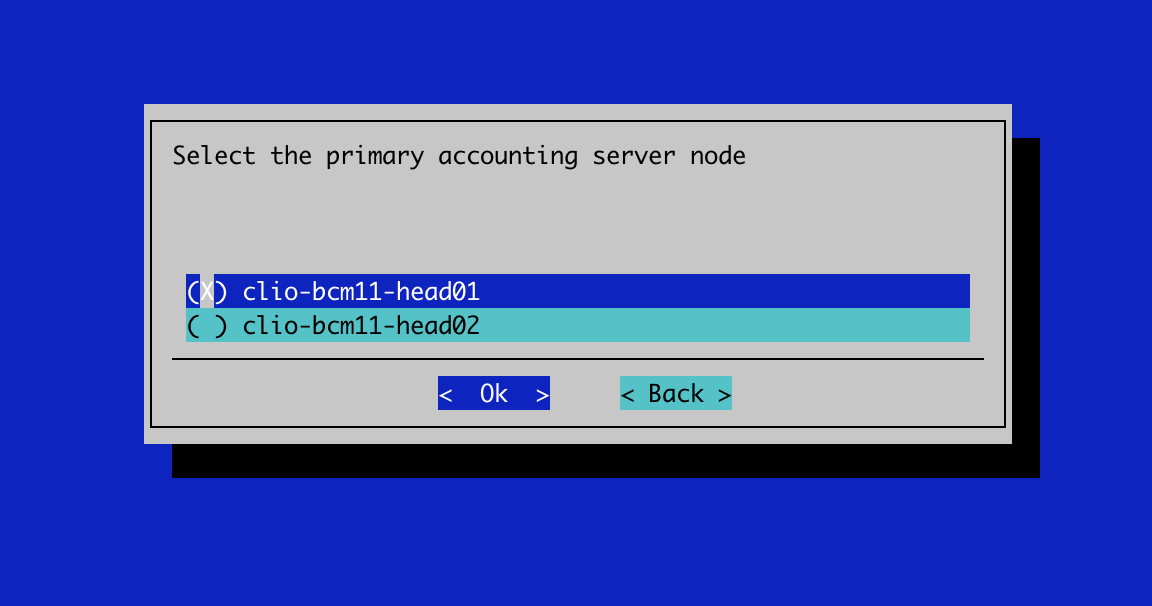
- Select clio-bcm11-head01 as the primary accounting node.
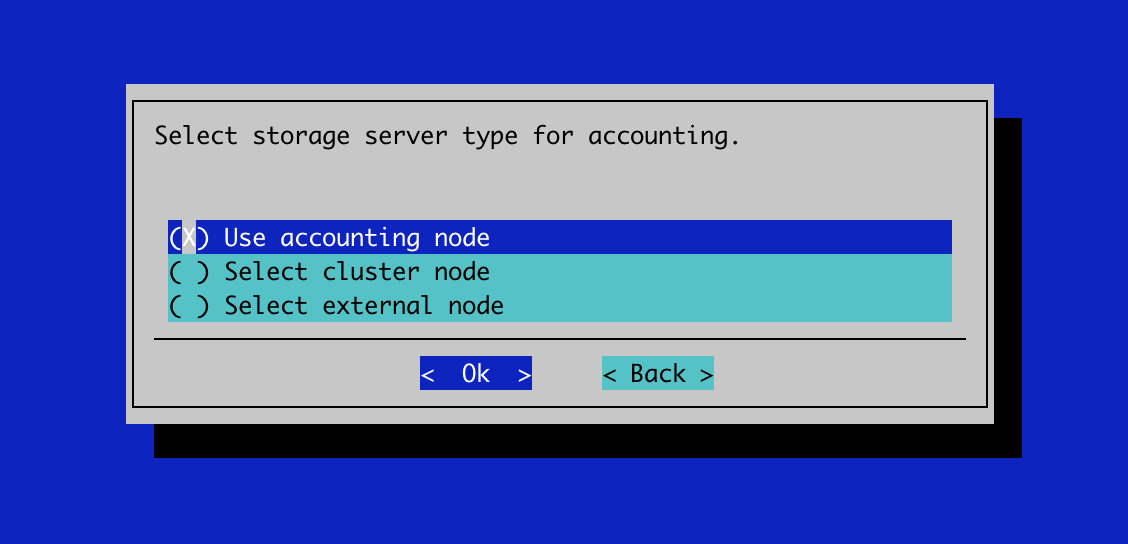
- Select Use accounting node for the storage server type.
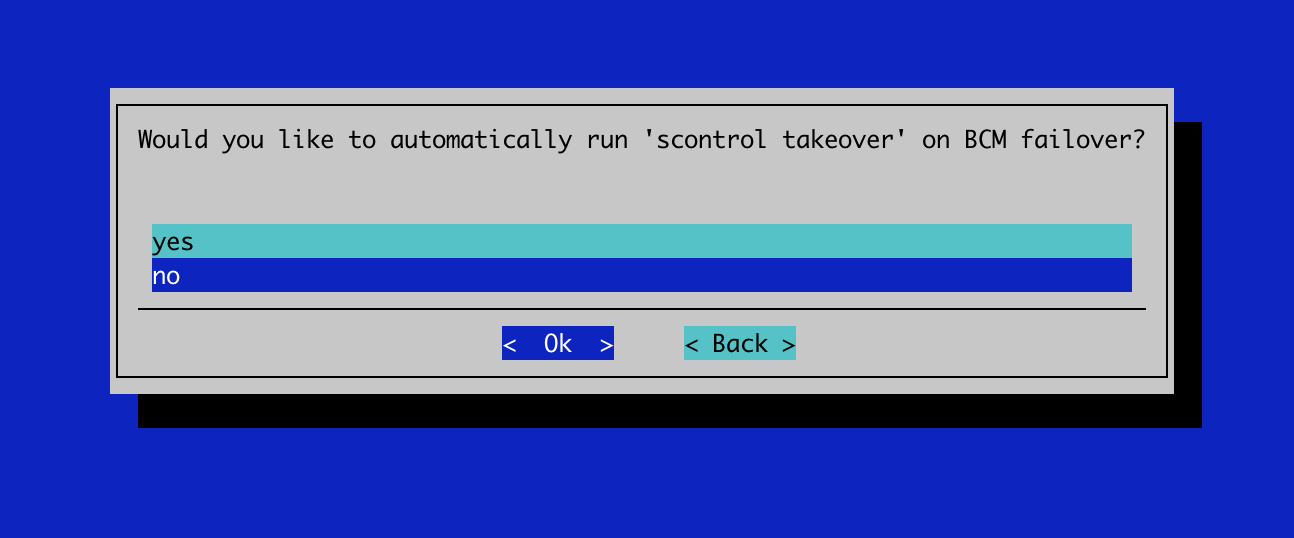
- Select No on scontrol takeover on BCM failover.
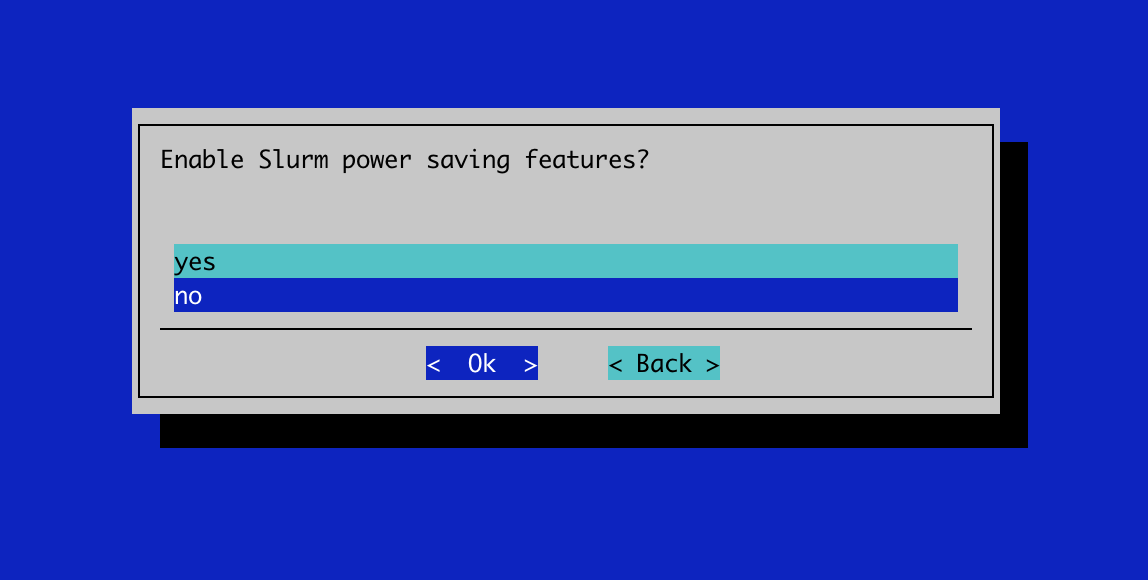
- Select No for the Slurm power saving features.
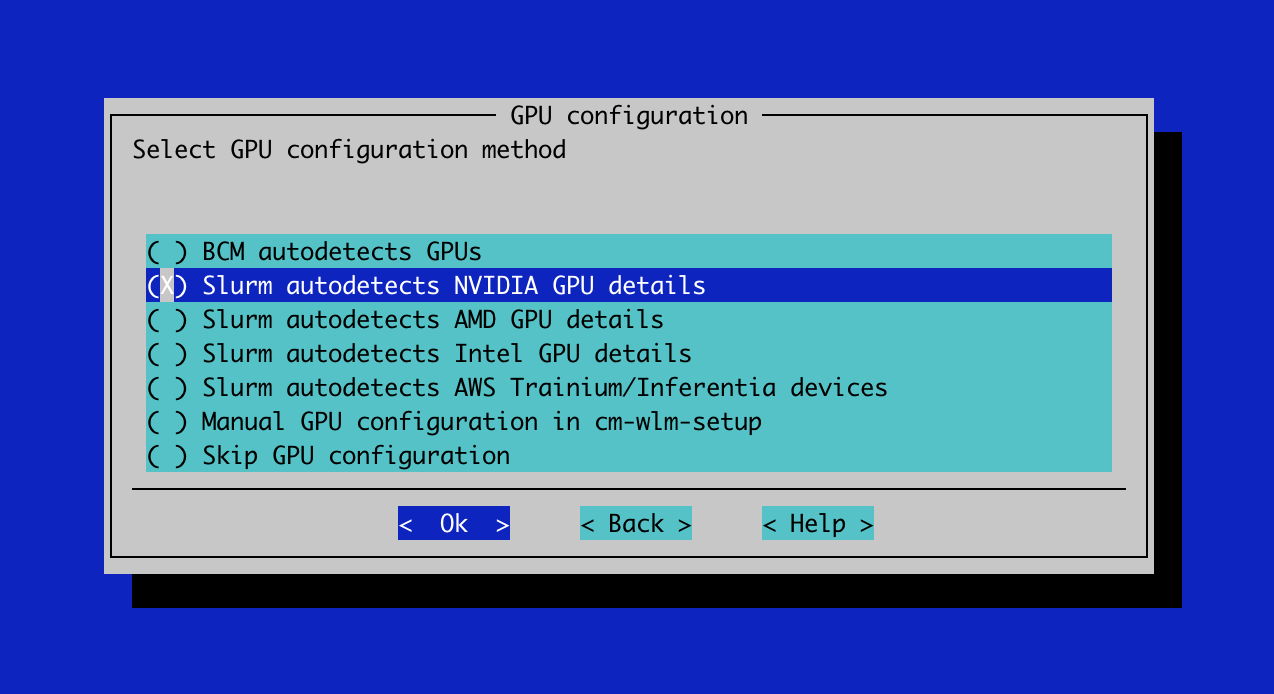
- Select Slurm auto-detects NVIDIA GPU details.
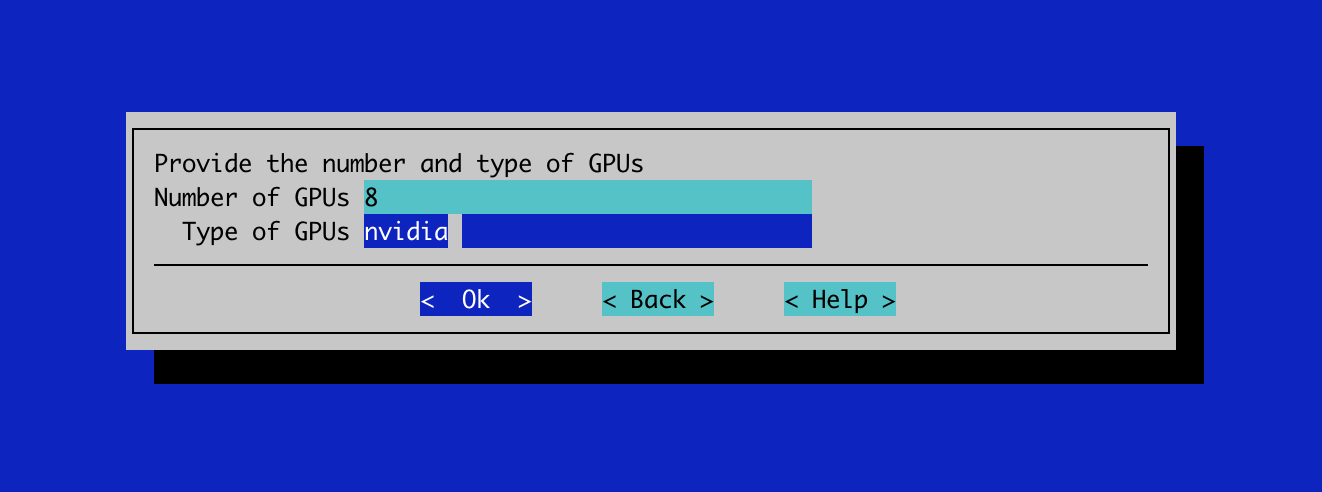
- Set the number of GPUs to 8 and type to NVIDIA.
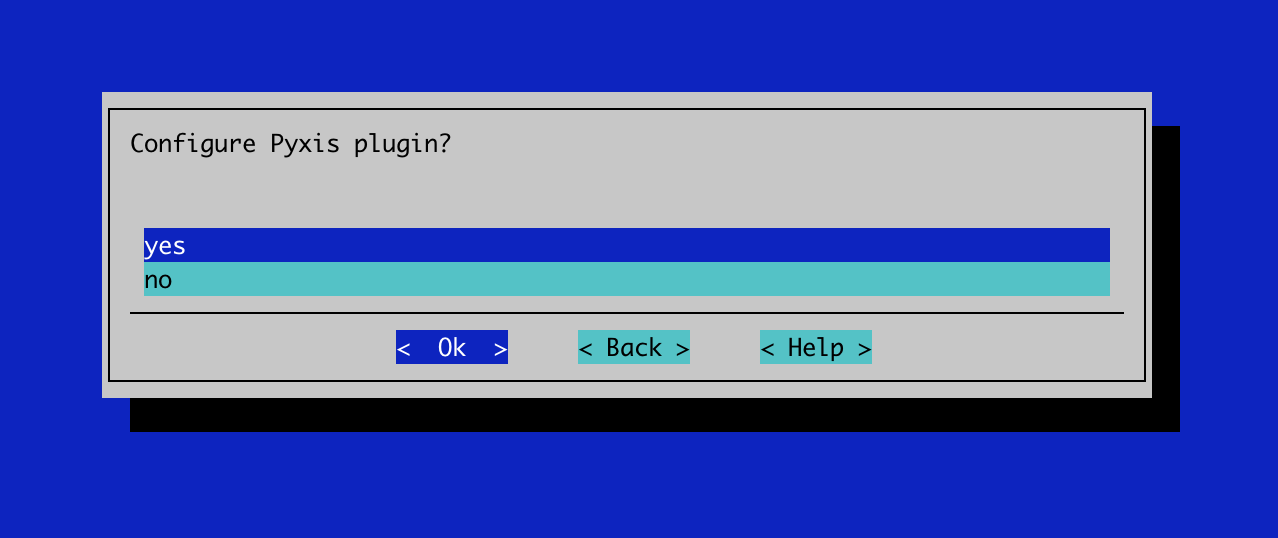
- Select Yes to configure the Pyxis plugin.
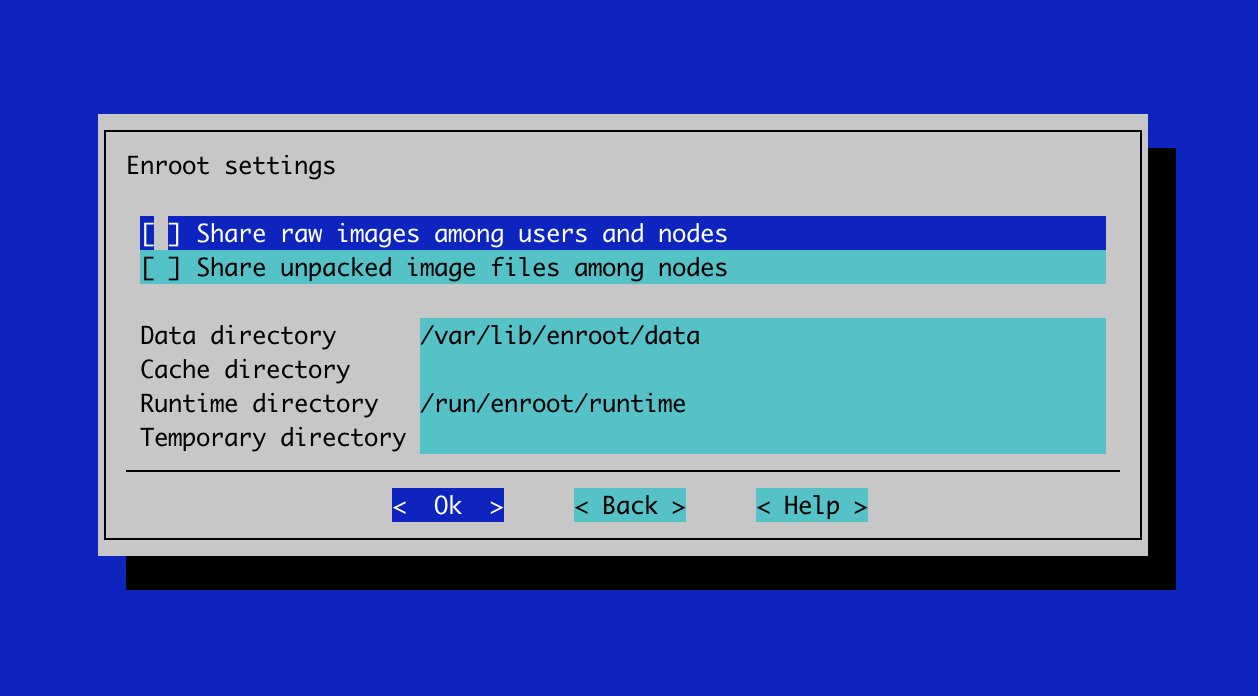
- For Enroot settings, maintain the defaults, do not share data among the nodes or change the paths.
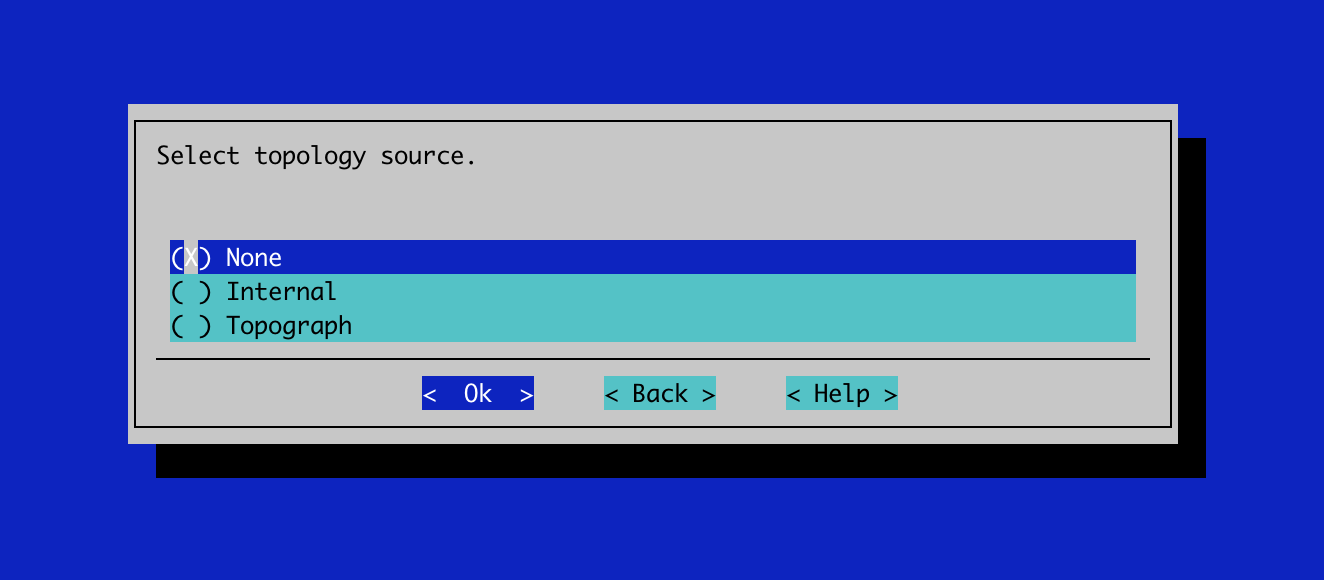
- Select None for topology source.
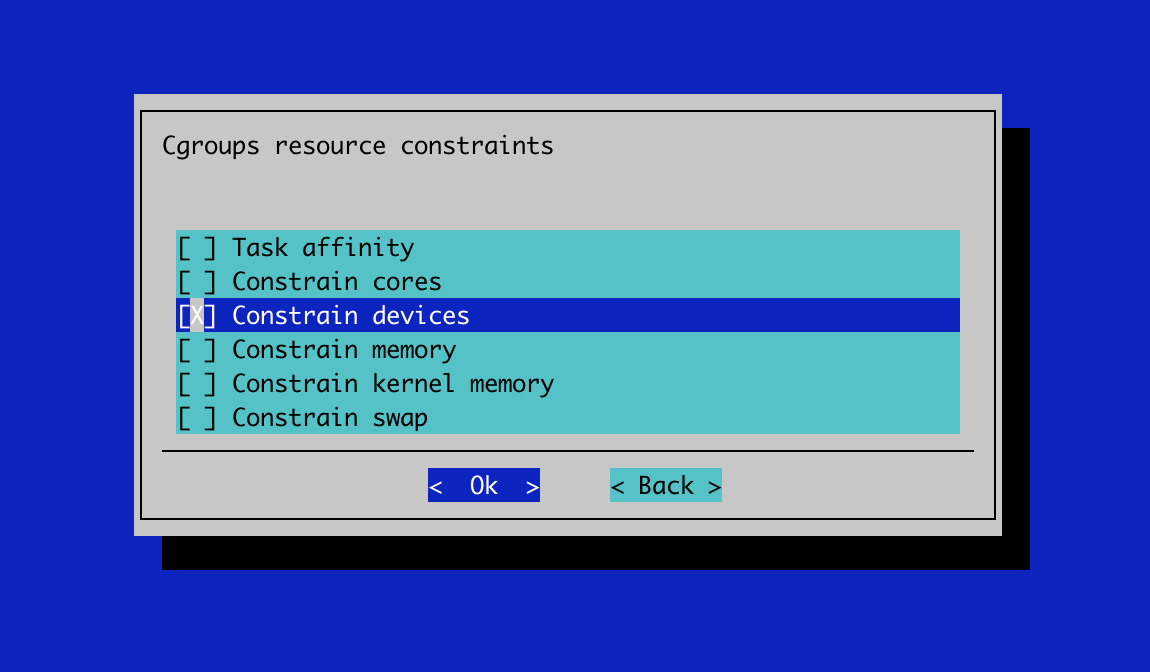
- Select Constrain Devices for Cgroups resource. constraints.
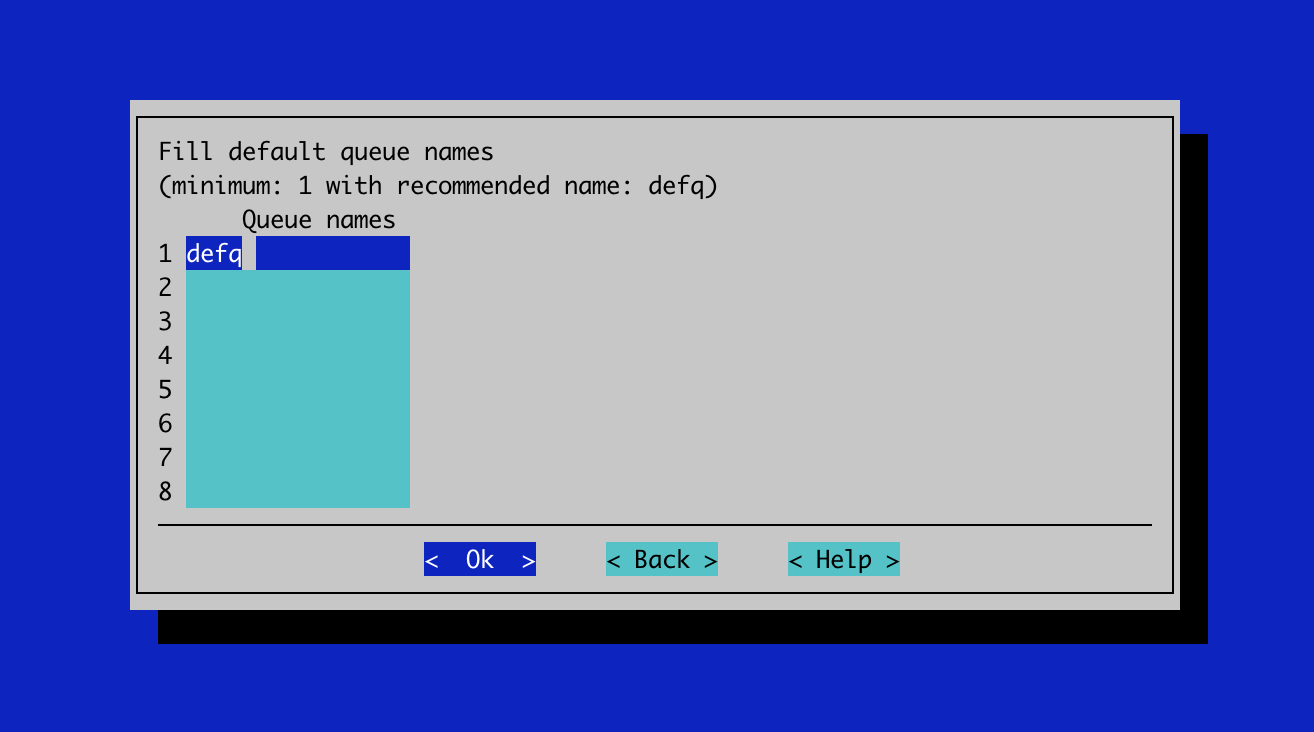
- Leave the queue names as the default.
- Choose Save config & deploy.
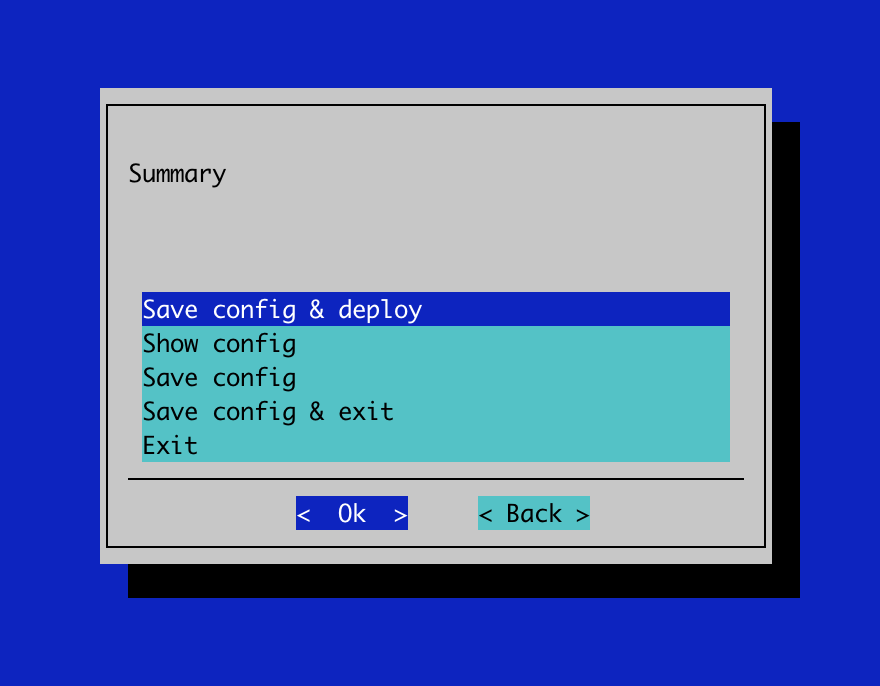
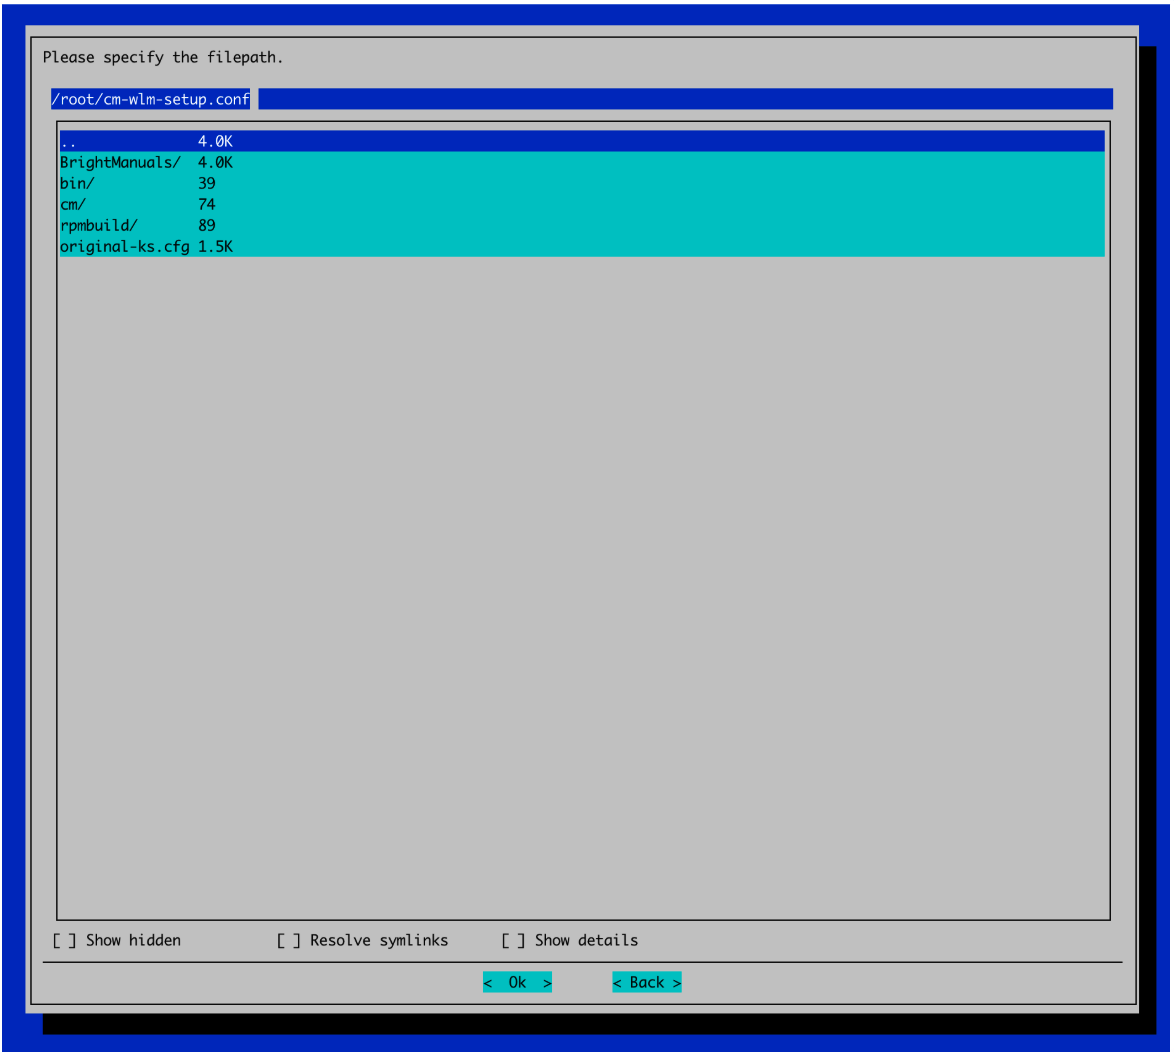
- On the save screen you can proceed with the default values which places a cm-wlm-setup.conf file in the /root directory of the primary headnode, or you can specify a custom file name/directory. This file can be used in the future for redeploying Slurm using the same configuration values.
Wait for the installation to complete.
----- output omitted for brevity -----

## Progress: 76
#### stage: wlm_slurm: Assign Server Role
Assigning SlurmServerRole role
## Progress: 77
#### stage: wlm: Set Primary Server
## Progress: 89
#### stage: wlm_slurm: Assign Client Role
Assigning SlurmClientRole role
## Progress: 90
#### stage: wlm_slurm: Assign SlurmClientRole to configuration overlays with gpu
GPU devices will automatically be added to gres.conf.
Please configure consumable resource allocation and GPU accounting tracking plugins in slurm.conf manually if needed.
More details can be found in the Bright Computing administrator manual, section "GPU Configuration For HPC Workload Managers".
## Progress: 91
#### stage: wlm_slurm: Assign Submit Role
Assigning SlurmSubmitRole role
## Progress: 93
#### stage: wlm_slurm: Assign Accounting Role
Assigning SlurmAccountingRole role
## Progress: 94
#### stage: wlm: Update Prejob Healthchecks
## Progress: 100

Took:   00:25 min.
Progress: 100/100
################### Finished execution for 'Workload manager setup', status: completed

Workload manager setup finished!
Remove the slurm-client overlay since there will not be any slurm cpu workers.
# At the OS/shell level on the BCM head node, run

root@clio-bcm11-head01:~# cmsh
[root@clio-bcm11-head01]% configurationoverlay
[root@clio-bcm11-head01->configurationoverlay]% remove slurm-client
[root@clio-bcm11-head01->configurationoverlay*]% commit

Successfully removed 1 ConfigurationOverlays
Successfully committed 0 ConfigurationOverlays
Rename the slurm-gpu-client overlay.
# At the OS/shell level on the BCM head node, run

1. root@clio-bcm11-head01:~# cmsh
2. [root@clio-bcm11-head01]% configurationoverlay
3. [root@clio-bcm11-head01->configurationoverlay]% set slurm-client-gpu name slurm-client
4. [root@clio-bcm11-head01->configurationoverlay*]% commit
Successfully committed 1 ConfigurationOverlays