NCCL Performance Benchmark Job
This example shows how to run an NCCL performance benchmark job.
This example shows you how to run an NCCL performance benchmark job on DGX Cloud Lepton step by step.
Step 1: Create a New Job
First, you need to create a job in our platform. Head over to the Create Job page.
As you can see, there are many configurations you can fill in, like name, resource, image, etc. You can find a more detailed guide in documentation for creating a job.
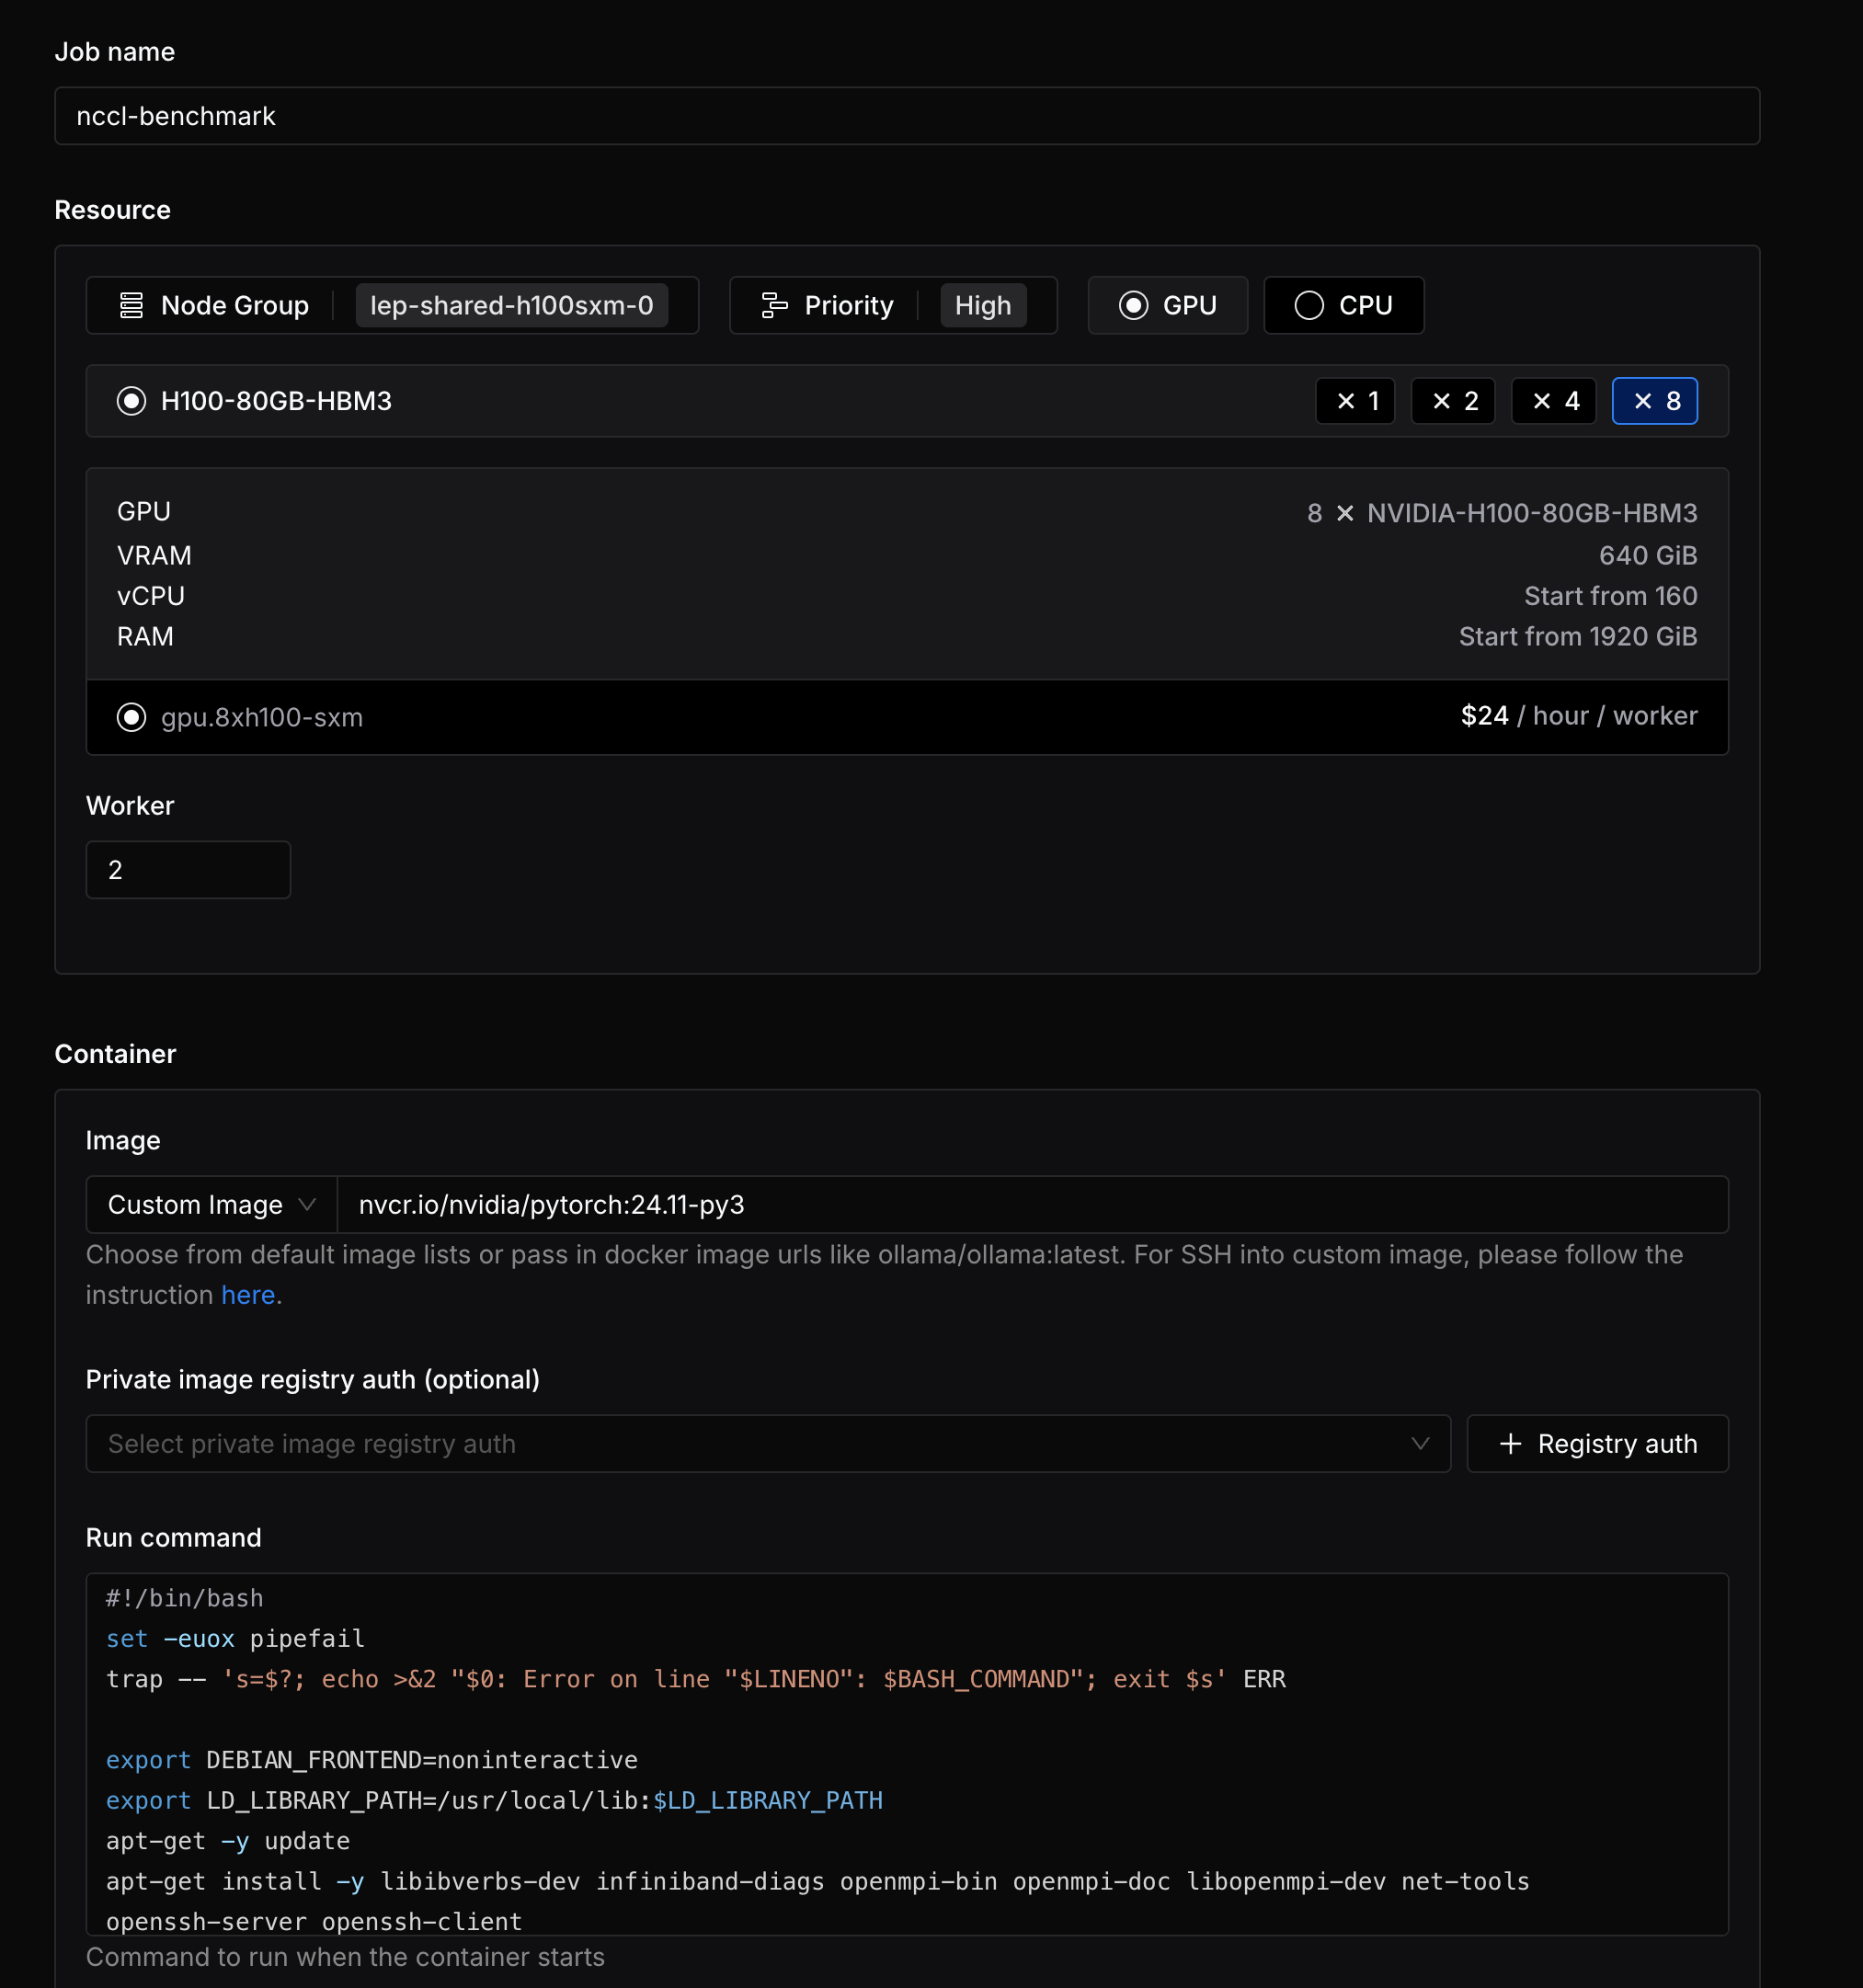
In this example, we will use the following configurations:
- Name:
nccl-benchmarkor any name you want. - Resource: For the performance benchmark, choose
8xH100to use the entire node for the NCCL performance benchmark, and set the number of workers to 2 to use both nodes. You will need to select a node group matching the resource shape requirements. It's recommended to use your own dedicated node group for this job. - Image: We will use
nvcr.io/nvidia/pytorch:24.11-py3as the image for the job. This image is built with the latest NVIDIA container toolkit and PyTorch 24.11. Choose custom image and enter the image name. - Run command: We will load code from a remote GitHub repository and run the NCCL performance benchmark. Enter the command as follows:
You need to fill in the YOUR_SSH_PUBLIC_KEY and YOUR_SSH_PRIVATE_KEY with your own credentials.
Step 2: Run the Job
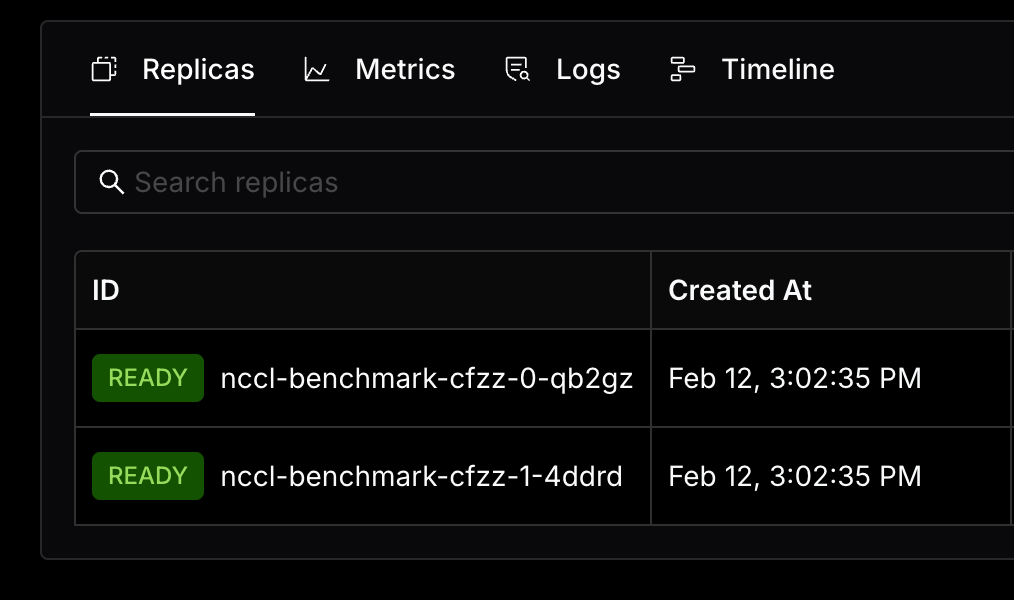
Click on the Create button, then you can see the job status in the detail page of the job. The job will proceed once two replicas are in the "Ready" state, which will take a few minutes.
You can see the logs of the job by clicking on the Logs button to check the test result.
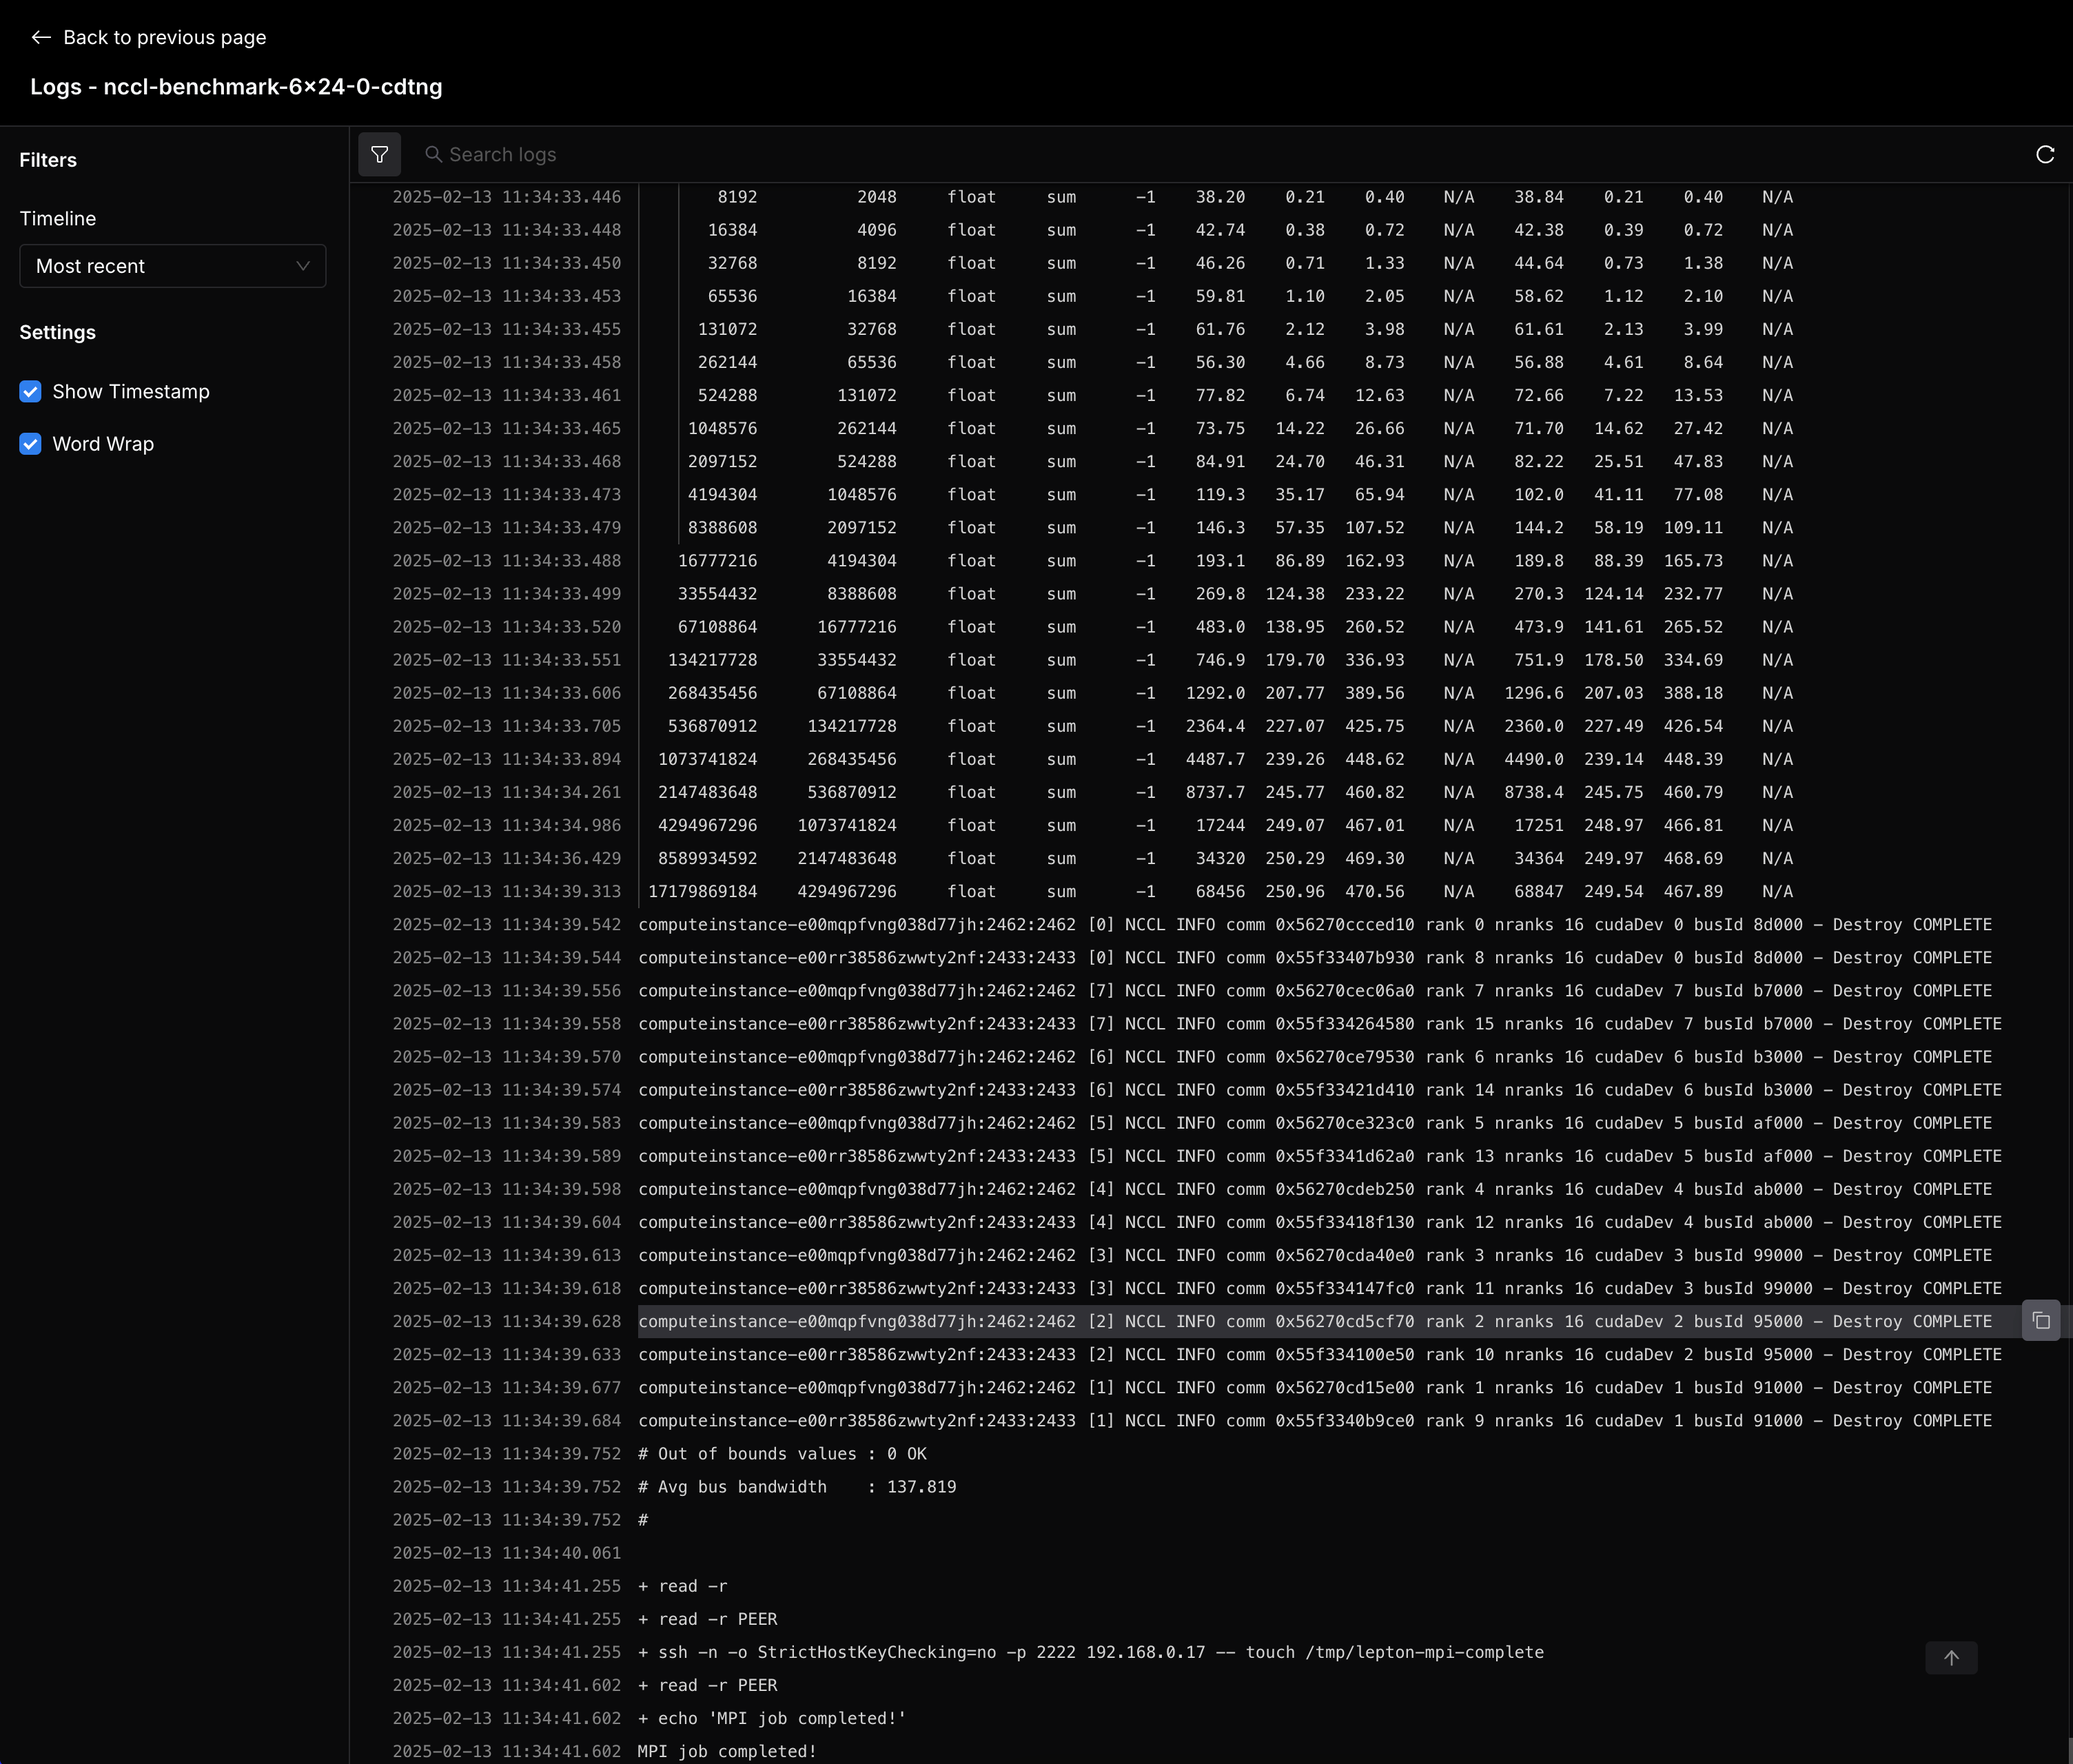
After the job is finished, the two replicas will be terminated automatically with Completed state.