Starter Kits on Dev Pods
Learn how to run a Starter Kit for a reproducible AI workflow in a Dev Pod.
Starter Kits are a curated set of Jupyter notebooks with self-contained AI/ML examples that run directly on DGX Cloud Lepton Dev Pods.
To view the list of notebooks, navigate to the Dev Pods page and click the green Create Pod button followed by Create From Notebooks. You can also access the list directly with this link.
Viewing Notebooks
The Starter Kits page shows a list of notebooks to choose from, as shown below.
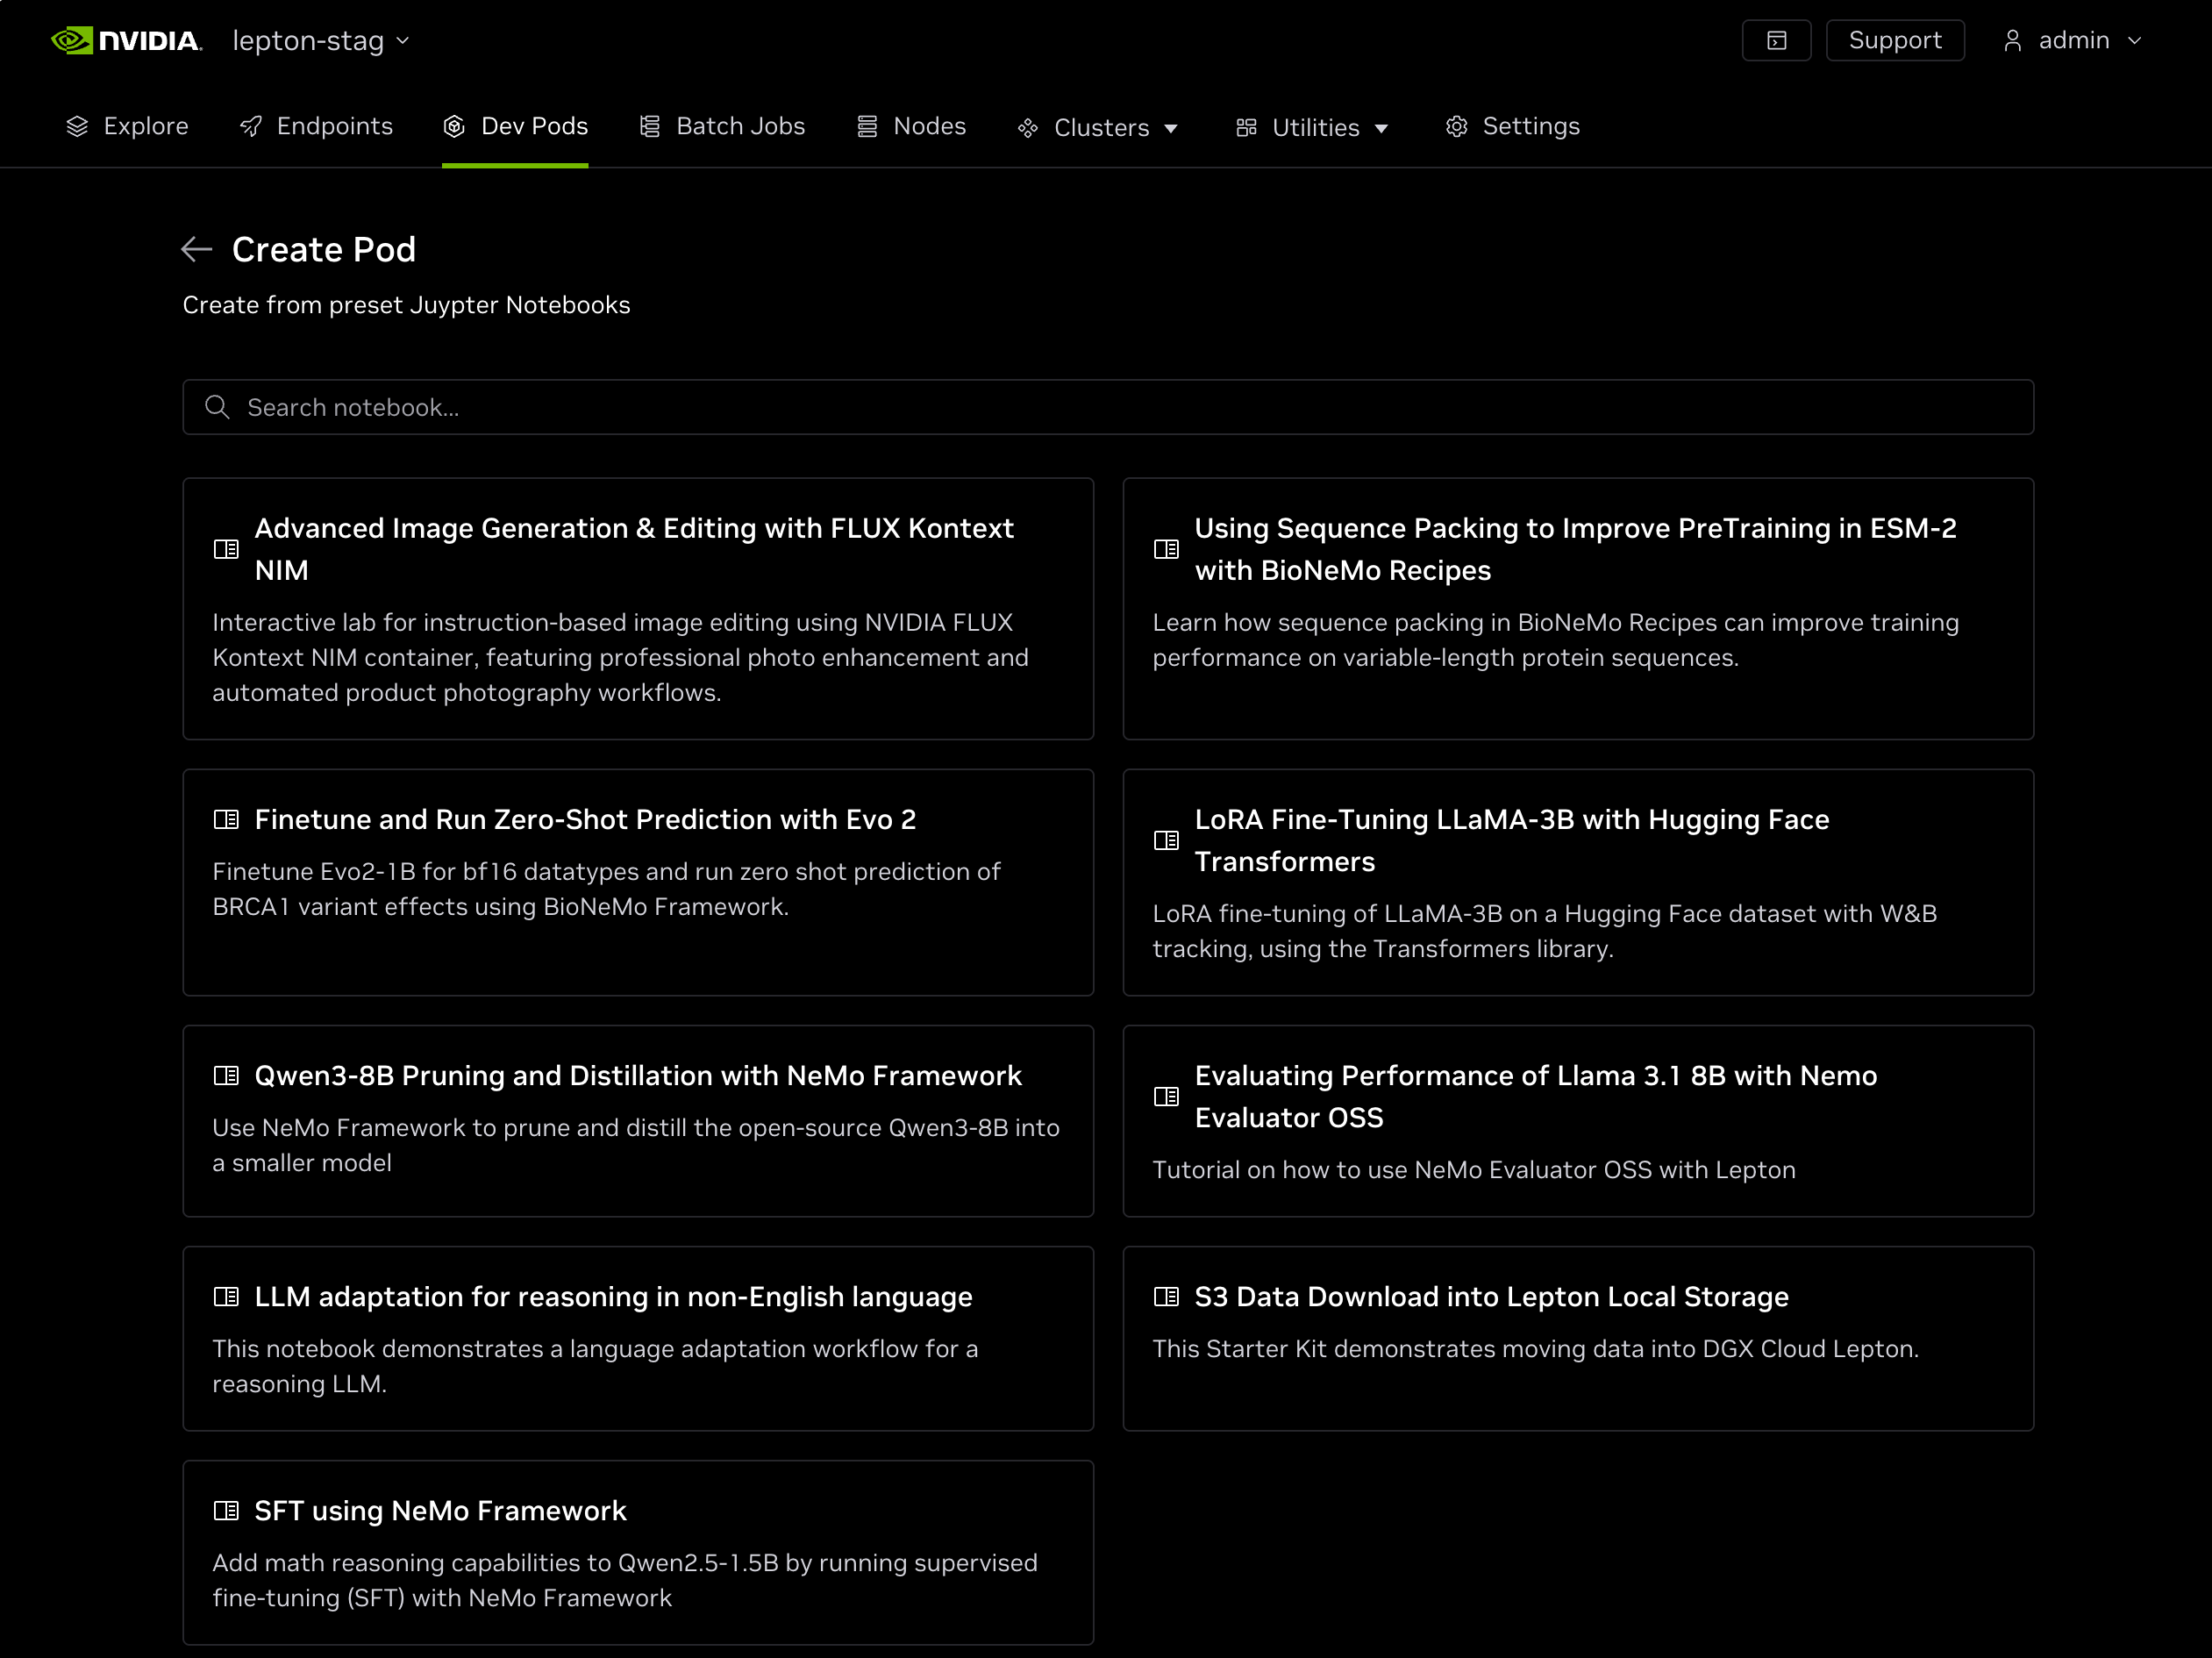
The list shows the title and a brief description of each notebook so you can preview what it covers. Select a notebook from the list or search for a specific topic in the search field at the top of the form. The raw list of notebooks is mirrored from GitHub.
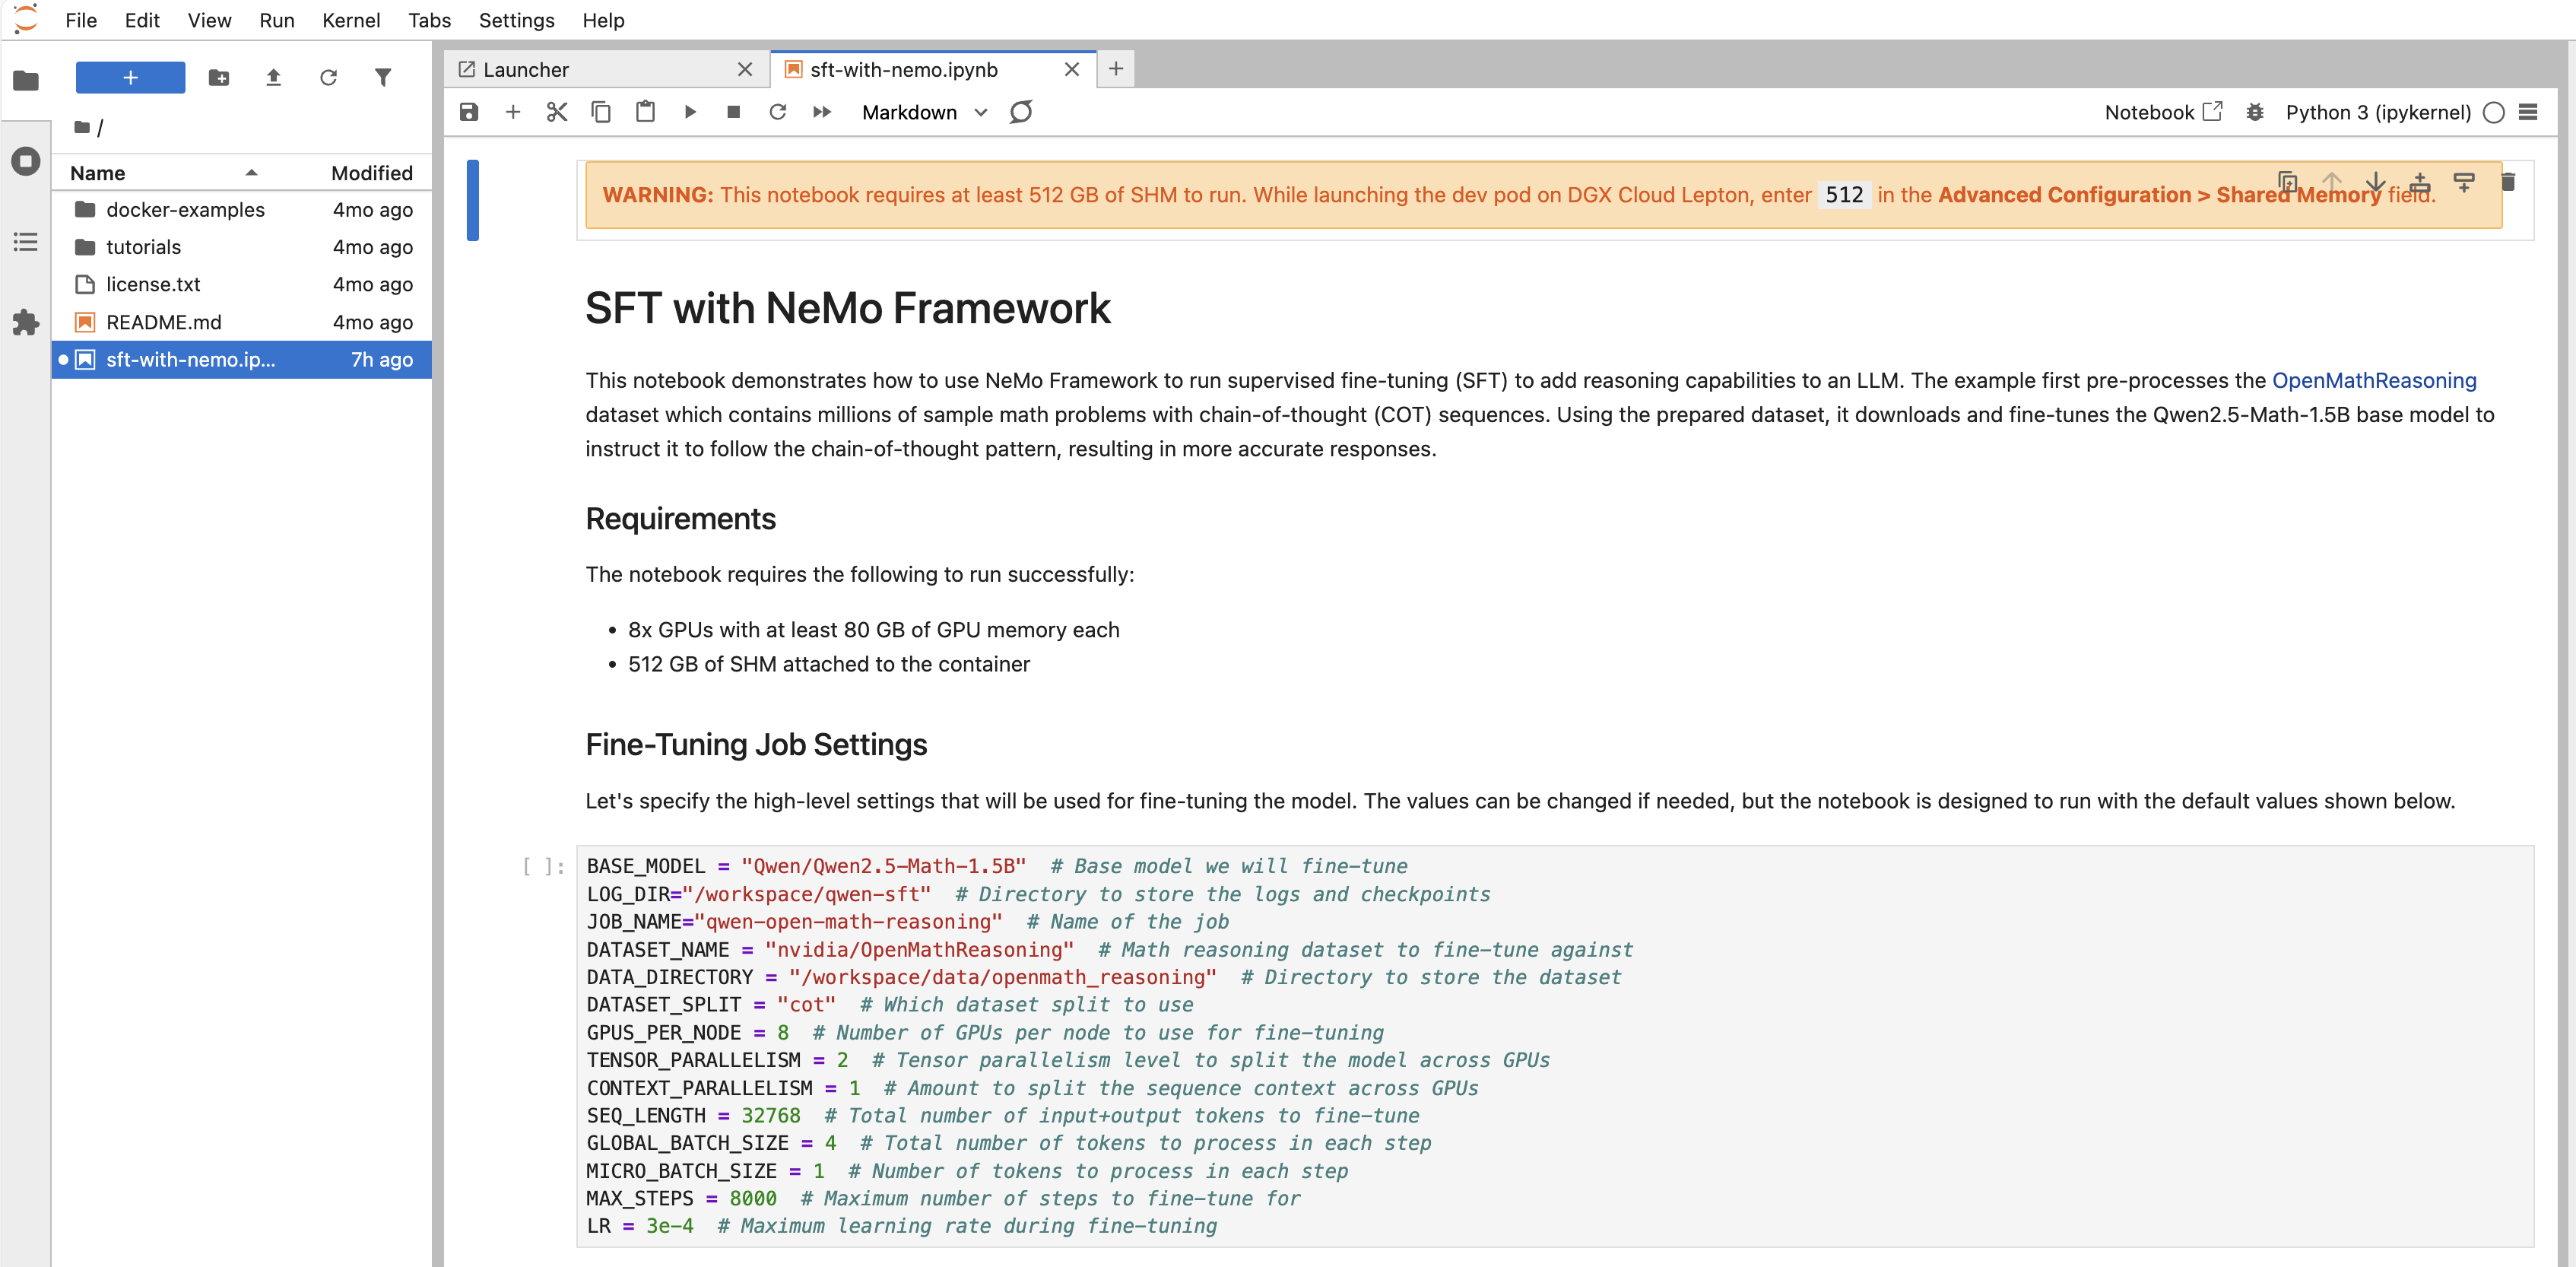
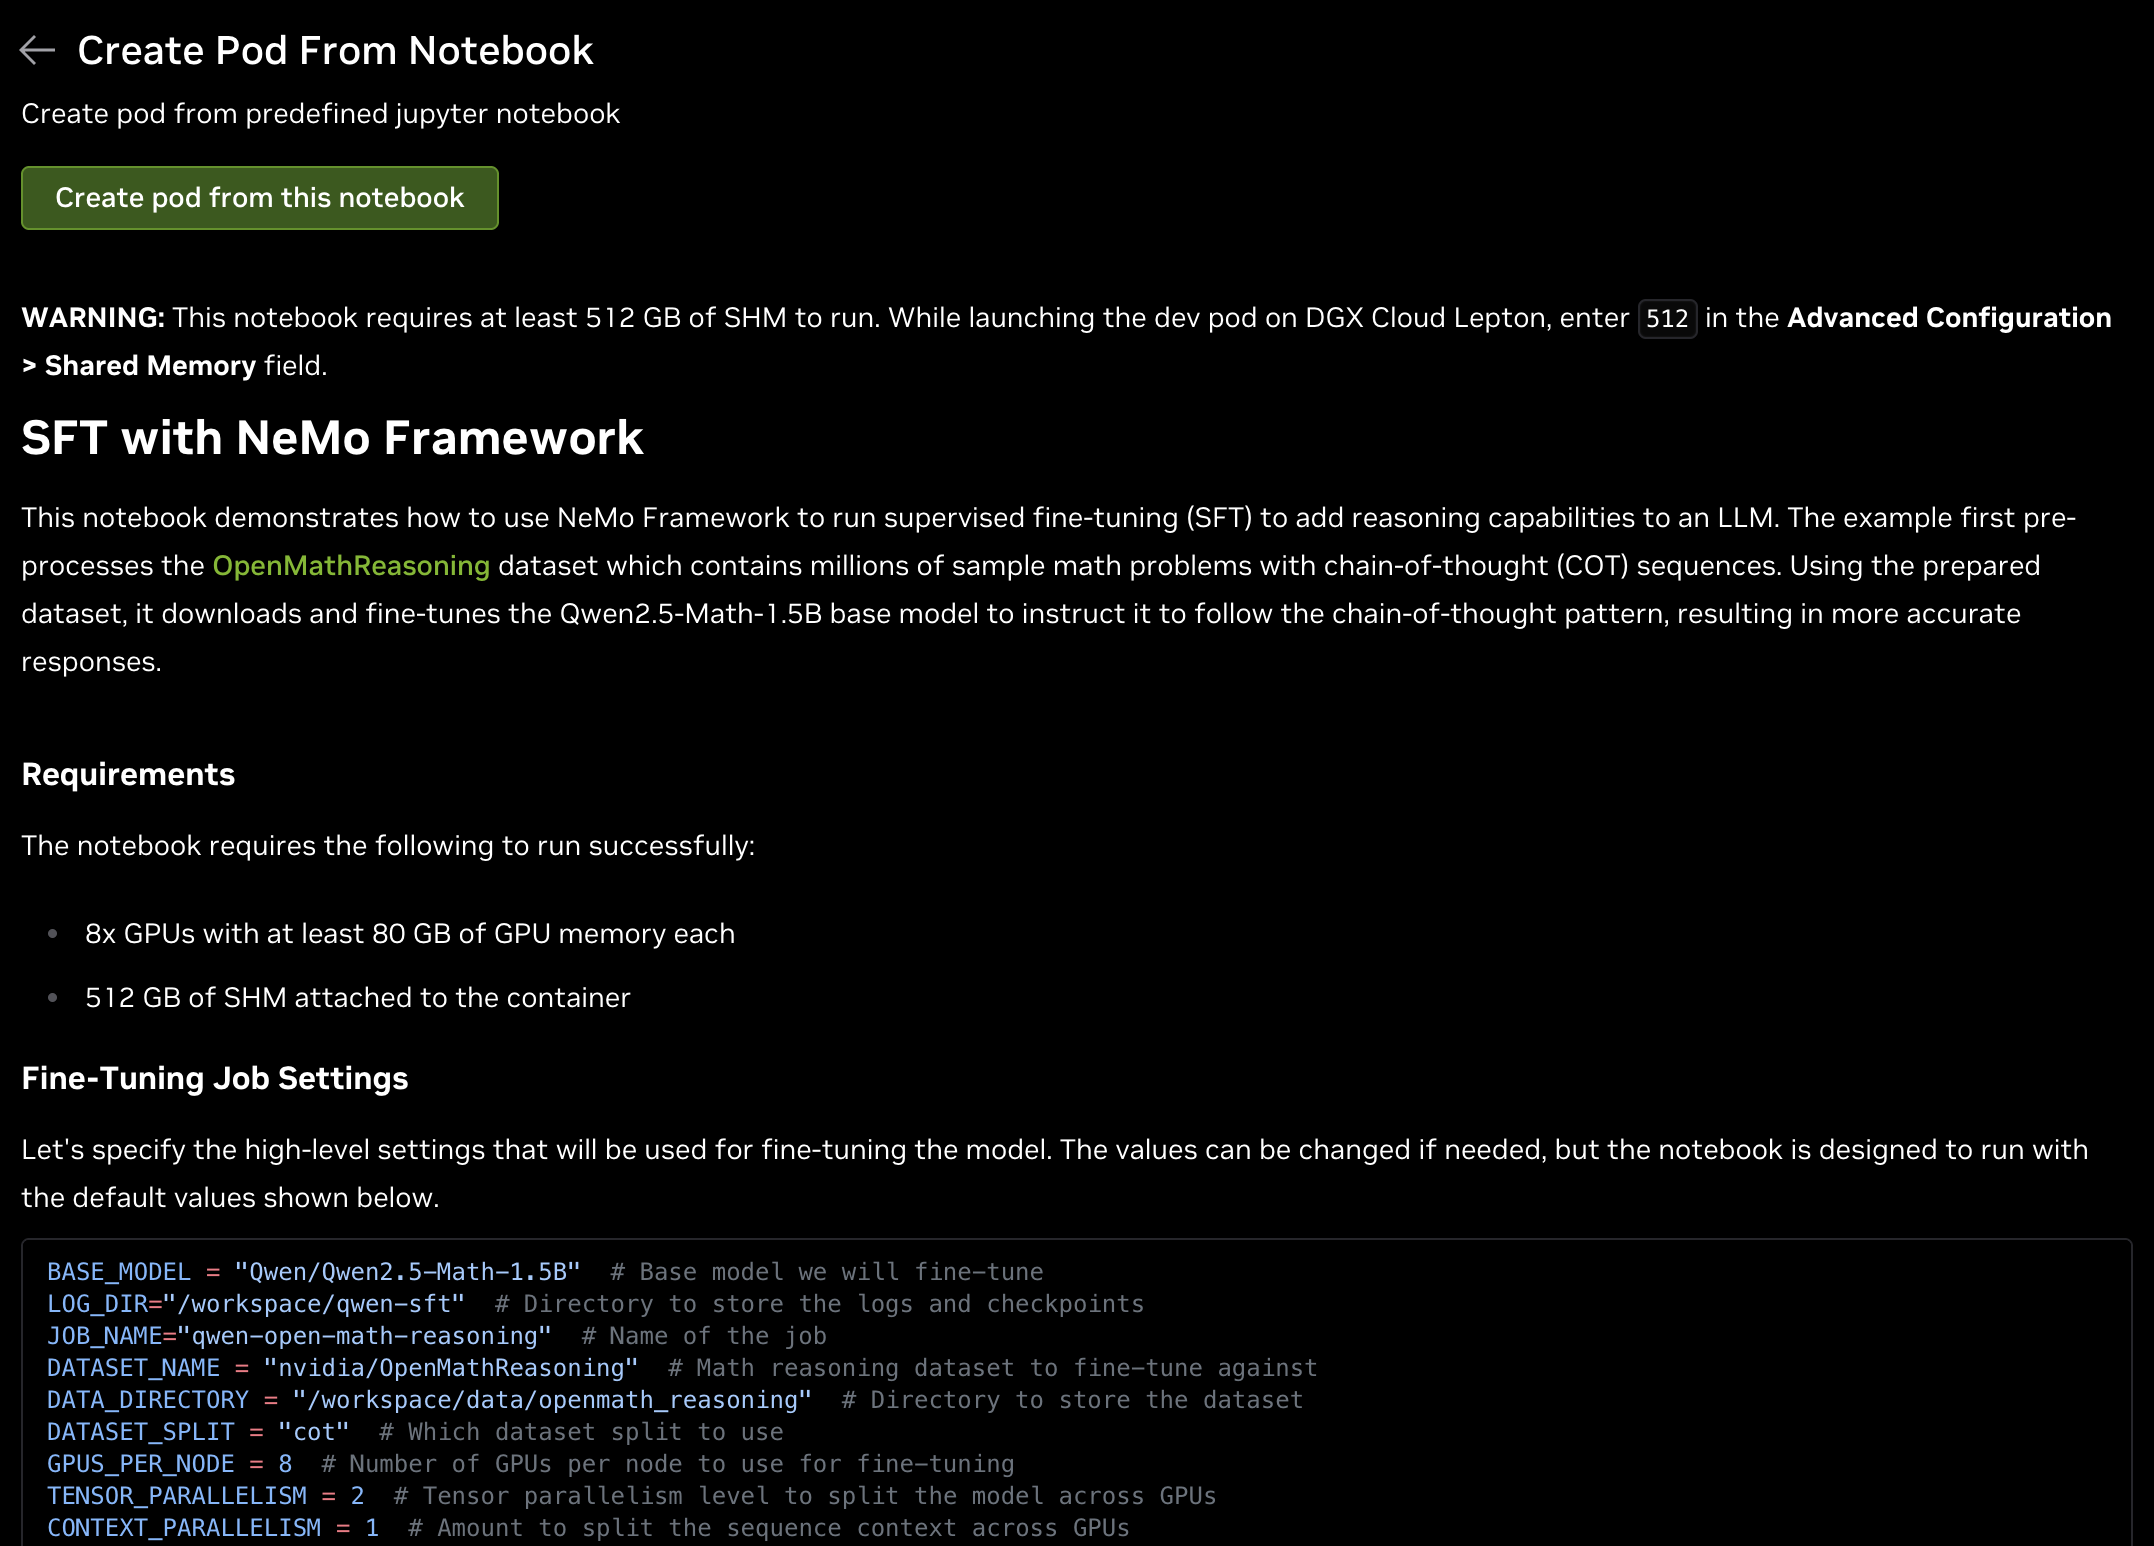
Clicking a notebook opens a read-only preview of the full notebook, providing a deeper look at what it accomplishes, as shown below.
Running a Notebook
To run a notebook in a Dev Pod, click the Create pod from this notebook button at the top of the preview page. This opens the Dev Pod creation form with some fields pre-configured (such as the container image). Enter the remaining fields to complete the setup, as described below.
Pod Name
Specify a name for the Dev Pod to launch, such as my-starter-kit.
Resource
Specify the resource for the Dev Pod to run on.
Each notebook may have different requirements. Refer to the Requirements section at the top of the notebook preview for the number of GPUs and any additional requirements.
- Node Group: Select the desired node group to run the Dev Pod in.
- Priority: Set the priority of the pod (defaults to Medium (4)). If the specified node group has limited resources, you can set the priority accordingly to get higher priority resource allocation.
- Resource shape: The instance type that the pod will run on. Select from a variety of CPU and GPU shapes. Refer to Node Group Shapes for more details. The number of GPUs must satisfy the notebook's listed requirements as shown in the preview.
Container
- Image: This field should be pre-populated with the container image the notebook was designed for. While you can try a different container, it is not recommended, as it might not work with the notebook.
- Entrypoint: Specifies the script to run at container launch. The Starter Kits are pre-configured with an entrypoint to launch Jupyter. Use the default Dev Pod entrypoint option here.
- SSH Public Key: The SSH public key that will be used to access the pod. This is only available for default images with Dev Pod entrypoint. Refer to this guide for more details.
- Enable JupyterLab: Defaults to True to enable a direct connection to a JupyterLab session inside the container.
- Expose JupyterLab Proxy: Ensure this button is checked for a direct URL to the JupyterLab session which can be accessed externally.
Ensure that Expose JupyterLab Proxy is selected. Otherwise, you won't be able to access JupyterLab.
Environment Variables and Secrets
You can specify additional environment variables or secrets to set inside the running container. The name of the selected notebook is pre-configured as the LEPTON_DEVPOD_NOTEBOOK_NAME variable.
Storage
Some Starter Kits require shared storage to be mounted in order to persist data after the notebook finishes. Check the Requirements section of the notebook to see if shared storage is required. If so, mount storage for the pod container. See this guide for more details.
Advanced
- Log Collection: Whether to collect logs from the container. Follows the workspace-level setting by default.
- Shared Memory: The size of the shared memory allocated to the container. Some Starter Kits require more than the default. Check the notebook's Requirements section and specify it here if needed.
- Archive time: How long to keep the job's logs and artifacts after the job is completed (defaults to 3 days).
- Visibility: Specifies the visibility of the job. If set to private, only the creator can access the job. If set to public, all users in the workspace can access it.
Launching the Starter Kit
Once the Dev Pod creation form is complete, click the Create button at the bottom of the page. This queues a Dev Pod with the requested resources in the specified node group. When resources become available, the container launches and the JupyterLab session begins.
Accessing JupyterLab
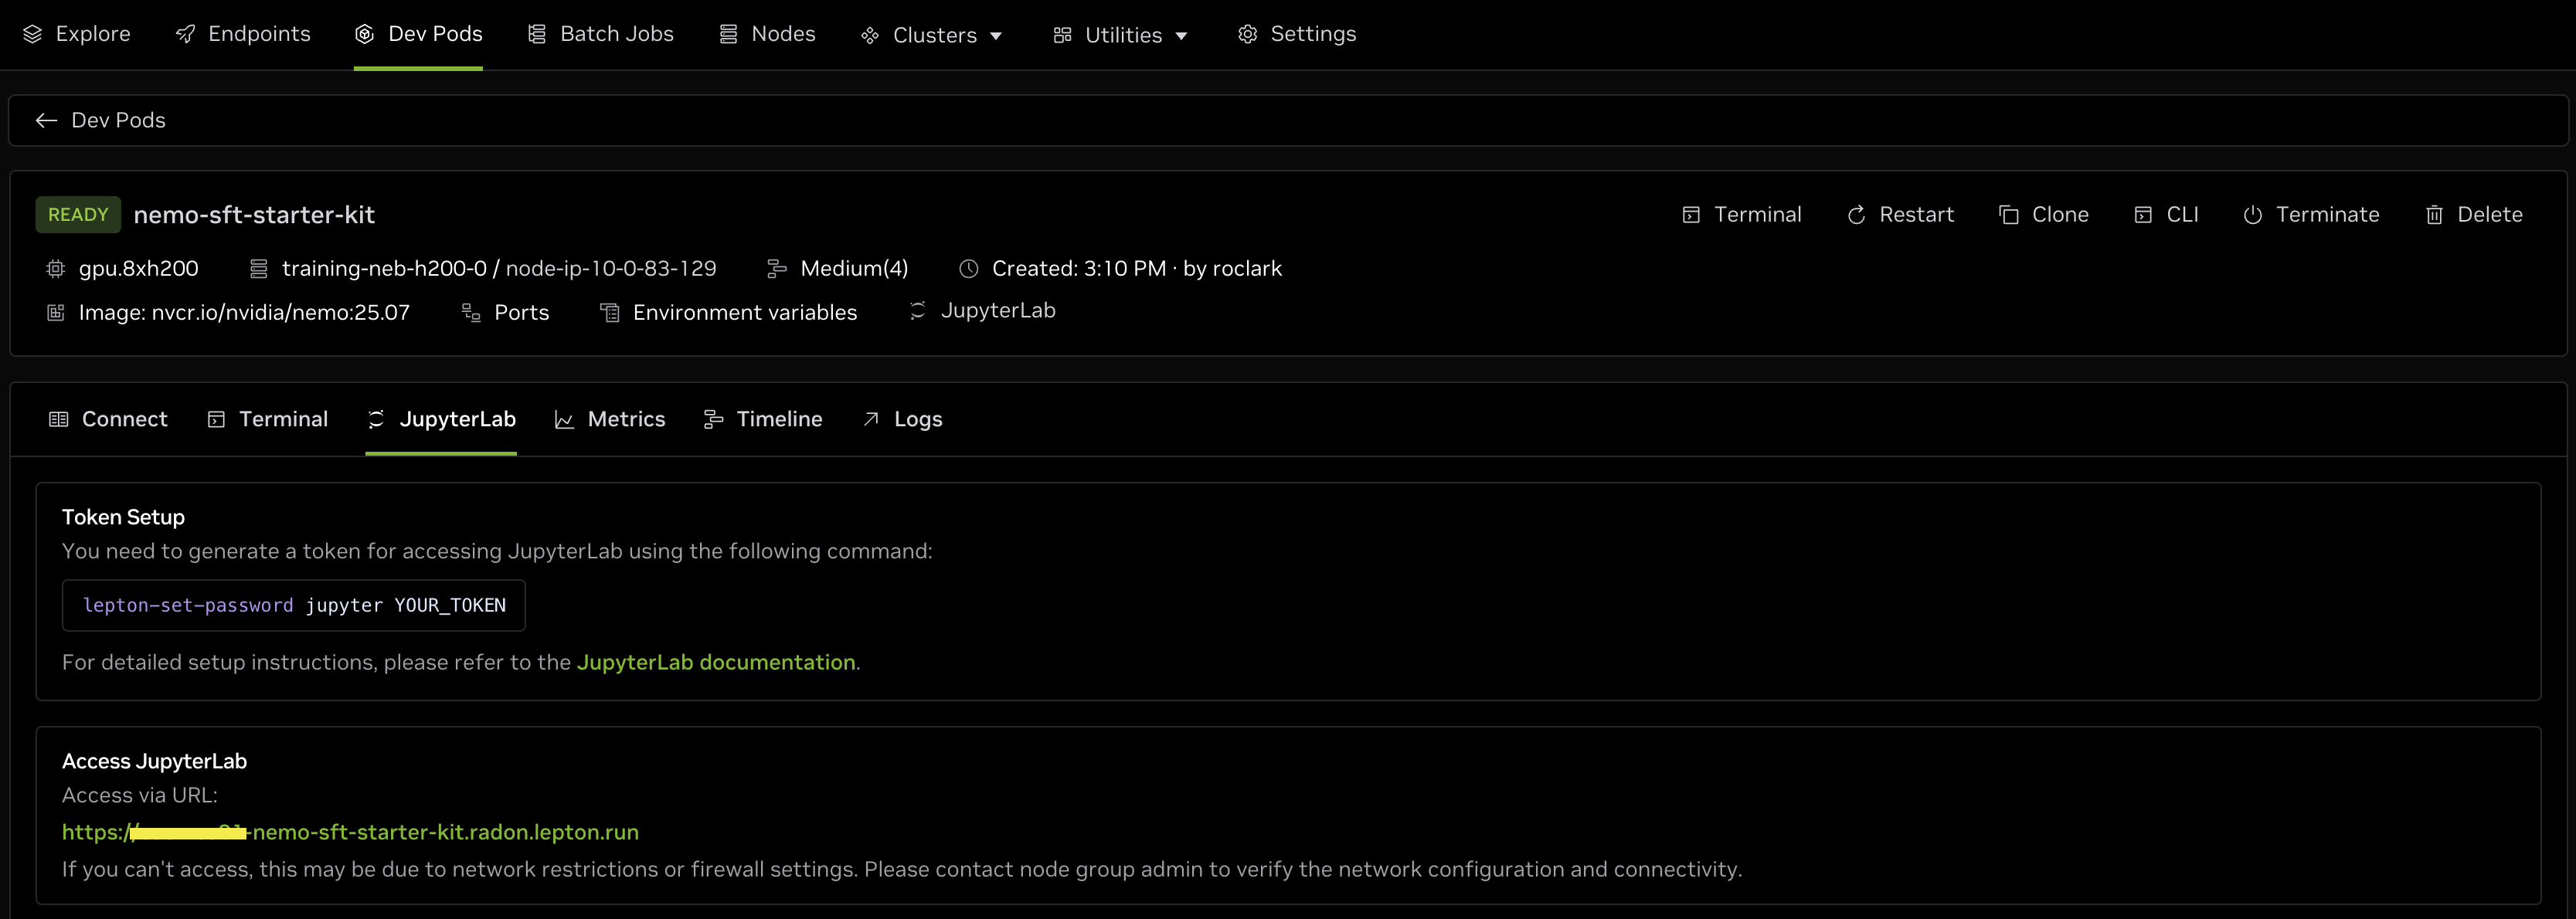
When the Dev Pod is running, click the job in the Dev Pods list to open the job details page. On this page, you can see additional information, including access via Terminal and JupyterLab.
First, set a password for accessing Jupyter. Click the Terminal button on the job details page and run the following command, as shown below:
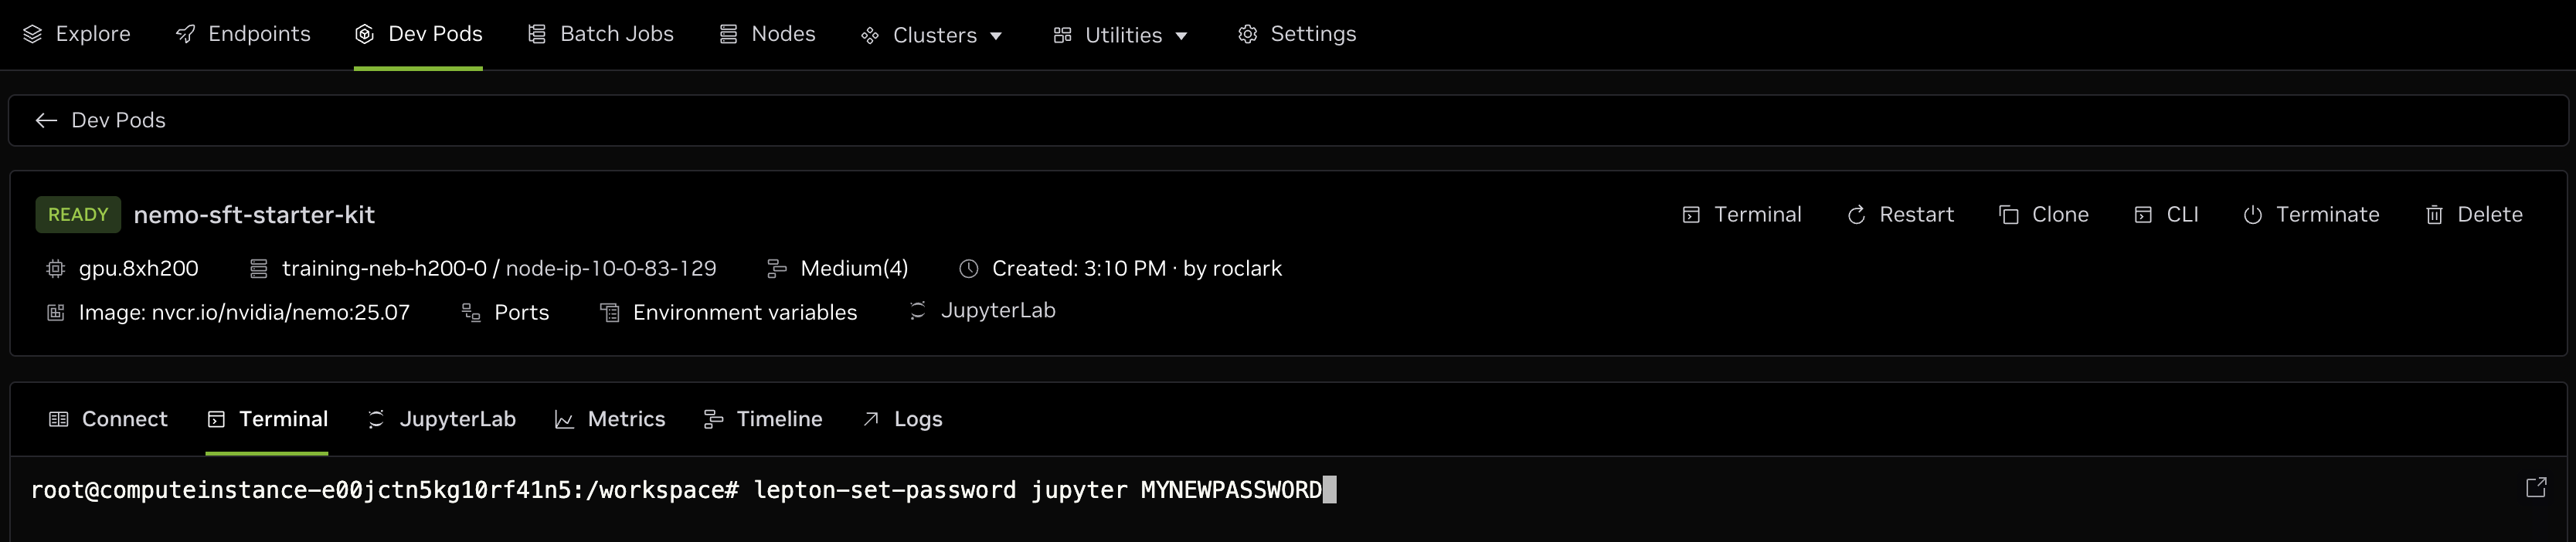
After setting a new password for Jupyter, click the JupyterLab tab on the job details page to get a link to the JupyterLab session in your browser. Click the link to open JupyterLab and access the notebook in a new browser tab.
JupyterLab opens in a new browser tab running on the requested resources inside the Dev Pod. Enter the password you specified above to authenticate, then click the notebook in the left panel to open it and begin running it.