Creating a Dev Pod
For AI application developers, having a convenient development environment is essential for building and testing applications. DGX Cloud Lepton provides a solution called Dev Pods—lightweight, container-based AI development environments that offer:
- Fast startup time: Get your development environment ready in seconds.
- Ease of use: No installation required—access your development environment directly from your browser or terminal.
In this guide, you'll learn how to create and configure a Dev Pod using the dashboard.
Create a Dev Pod Using the Dashboard
You will need to have a node group setup in your workspace to create a Dev Pod. If you don't have one, please contact your Technical Account Manager (TAM) to get one.
Navigate to create pod page as shown below.
Configure Your Dev Pod
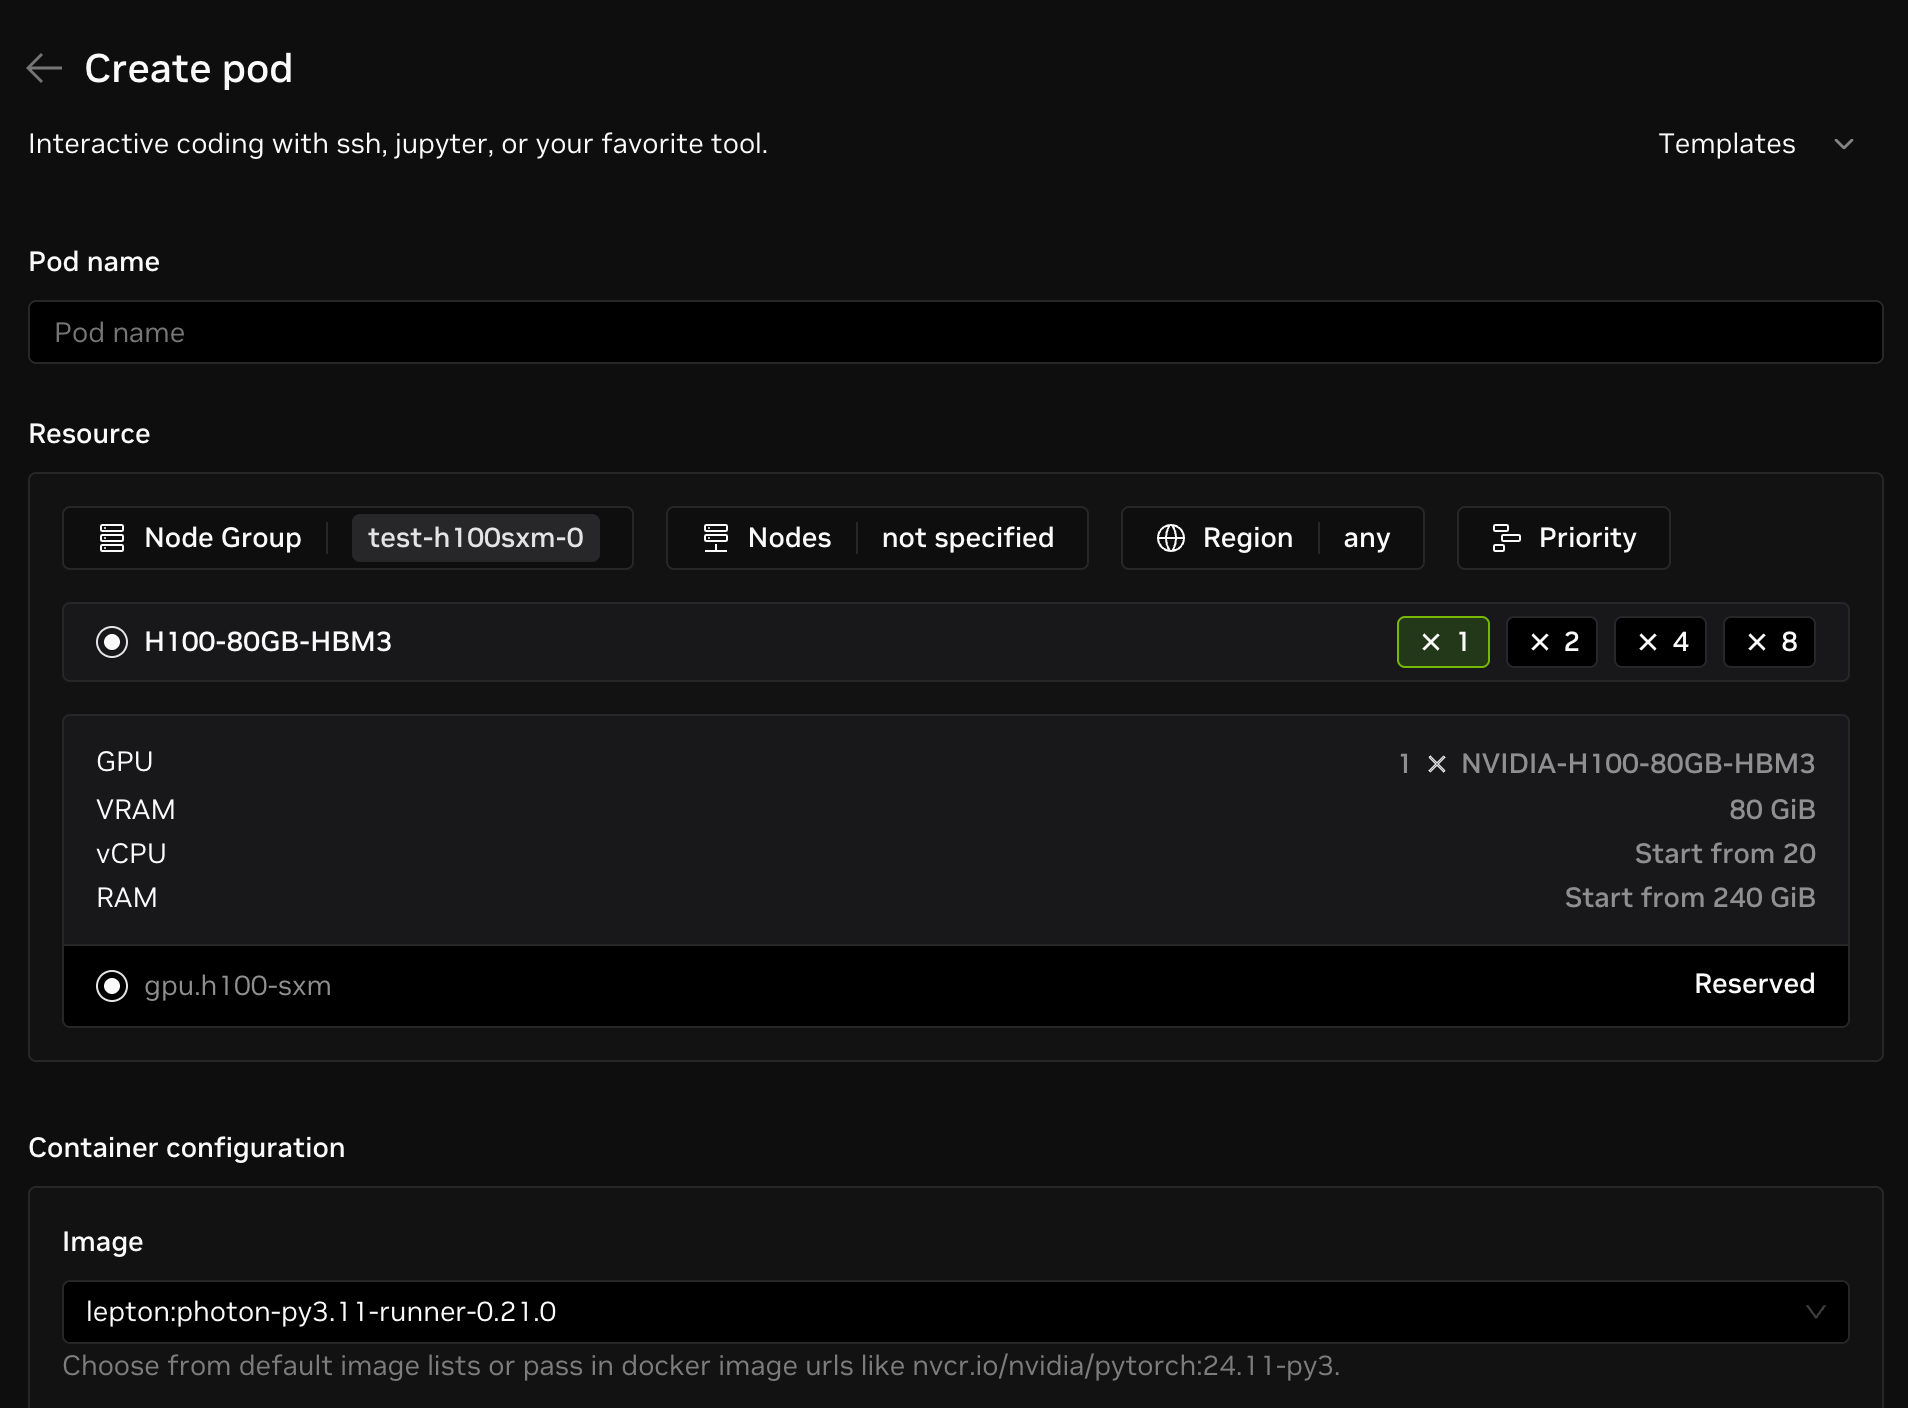
Refer to the image above for the options you can configure for your Dev Pod:
- Pod name: Name of the Pod, only alphanumeric characters (a-z, 0-9) and '-' (dash) are allowed.
- Resource: Resource of the Pod, where you can configure the resource shape, node group and region.
- Container configuration: Container configurations that will be used to create the Pod.
- Image: The container image that will be used to create the Pod. You can choose from default image lists or use your own custom image. If you are using a private image, you need to specify the image registry auth.
- SSH Public Key: The SSH public key that will be added to the
authorized_keysfile in the Pod. Your keys are managed as secrets in the workspace. Refer to this page for more details. You can also add a new public key by clicking on the "New" button in the field.
- Start JupyterLab: Whether to start JupyterLab in the Pod, default is false.
- Run command: The command to run in the Pod when the container starts.
NoteIf you're not sure which init command to use, it's recommended to use
tini -- sleep infas a default start command instead ofsleep infinityto avoid zombie processes. Tini is a reliable way to initialize containers. Check the tini installation guide for more details.
The storage within the pod is ephemeral and will be deleted once the Pod is deleted or restarted.
Advanced Pod Configuration
This section details advanced Pod configuration parameters, allowing you to manage log collection, shared memory size, visibility settings, and inject environment variables.
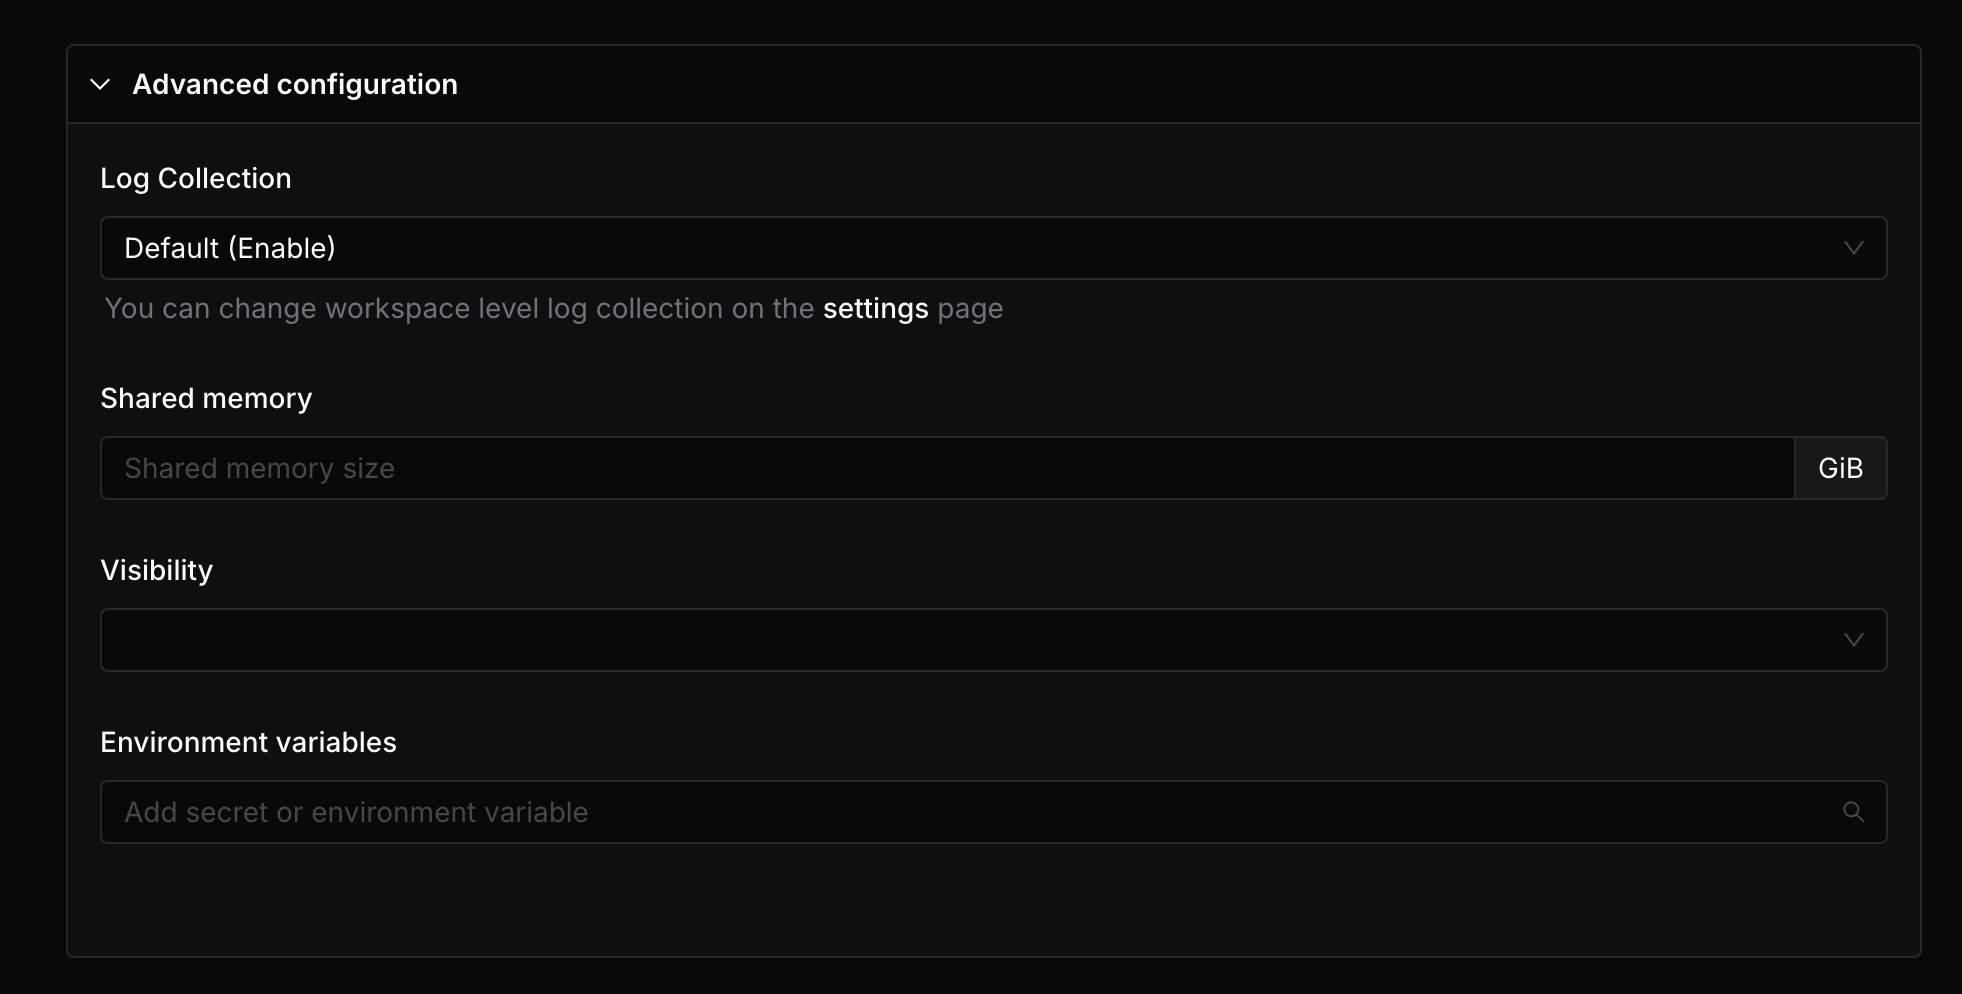
- Log collection: Whether to collect the logs from the Pod, following the workspace level setting by default.
- Shared Memory: (Optional) The shared memory size is the size of the shared memory that will be allocated to the Pod. The default value is 64MB.
- Visibility: (Optional) You can use this to specify the visibility of the Pod. If the visibility is set to private, only the creator of the Pod can access the Pod. If the visibility is set to public, all the users in the workspace can access the Pod.
- Environment variables: (Optional) Environment variables that will be injected into the Pod. You can use this to specify the environment variables that your AI application needs.