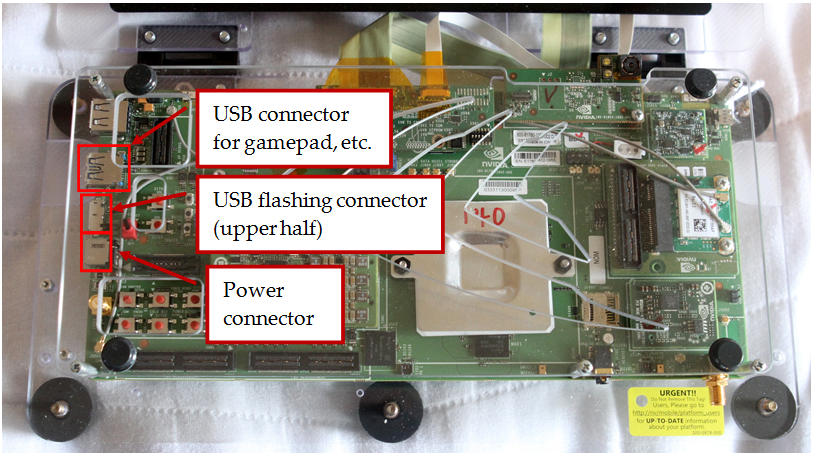
The first step is to connect the devkit’s power and connect the devkit to the development PC via USB.
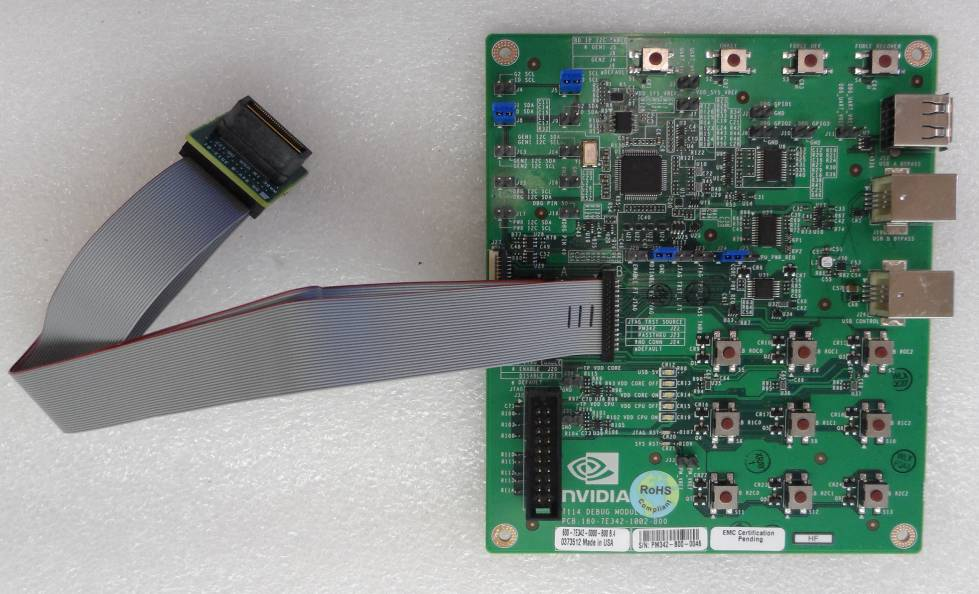
The debug board includes several additional ports that advanced developers may use with their applications (such as a low-level JTAG port). However, the main features of the expansion board are the buttons, including the "on" and reset buttons, as well as volume and other device buttons.
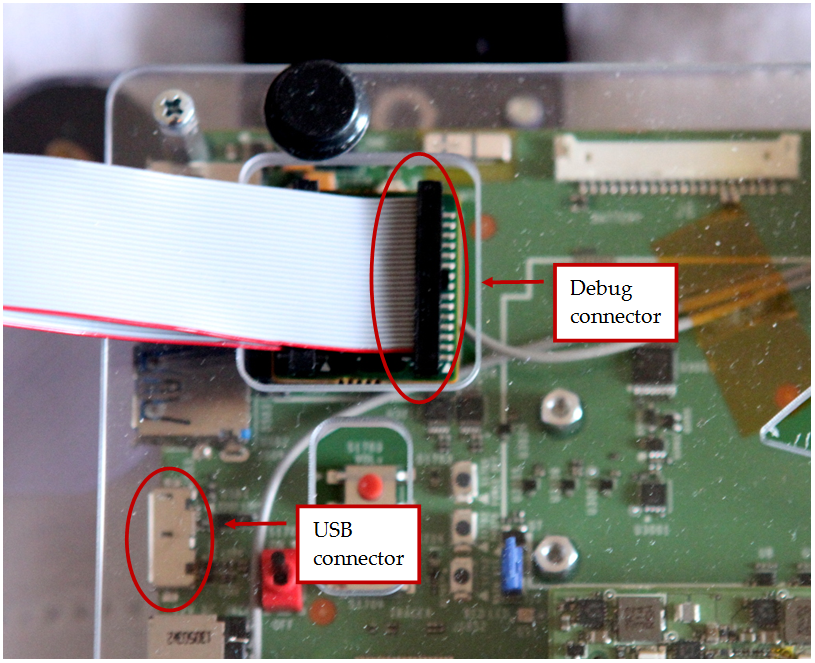
Connecting the debug board to the Logan devkit is quite simple: connect the black plug on the end of the expansion board to the debug jack on the main Ardbeg board. This connector is adjacent to the micro USB connector:

NVIDIA® GameWorks™ Documentation Rev. 1.0.220830 ©2014-2022. NVIDIA Corporation and affiliates. All Rights Reserved.