
This document describes the basic steps in setting up an NVIDIA Tegra 4 "Dalmore" development kit, installing a new Android OS image, and booting the OS for the first time.
As the NVIDIA Tegra 4 "Dalmore" developer kit hardware and OS images are early prototypes, there are numerous warnings and recommendations with respect to setup and use:
|
|
IMPORTANT: The display connector on Dalmore is extremely fragile. Developers should adjust their devkit hinges as little as possible. Do not force the hinge open or closed, and pay close attention to the display cable connecting the two halves of the devkit. The kit should be set up with the hinge in the desired position and left as such, as much as possible. In most cases, the display connector cannot be replaced in the field. Damaged boards generally need to be returned to NVIDIA for repair. Take extreme care when manipulating the hinge. |

|
Note: The developer kit hardware and OS images are preliminary versions. Performance of the initial developer kit may not reflect that of the final product or later devkit updates. |
|
|
Note: Developers testing USB-based game controllers with their applications should note that when a game controller is connected to the development kit, the kit will not enter suspend mode properly. Developers testing game controllers should likely use the settings panel’s Display and Developer options to set the screen timeout to maximum and enable "Stay Awake" while plugged into power. |
The Dalmore system is a folding kit with display and main board connected by a hinge. There are two variants of the Dalmore kit; tablet, with a 10” screen, and phone, with a 5” screen. There is no difference in the setup between the two.

Dalmore Development Kit
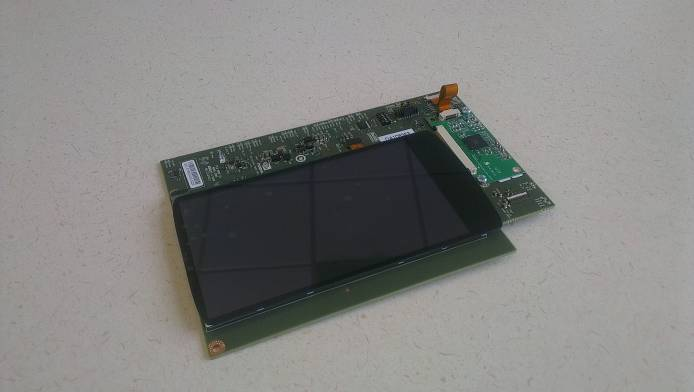
Dalmore Phone Screen Board (not attached to devkit)
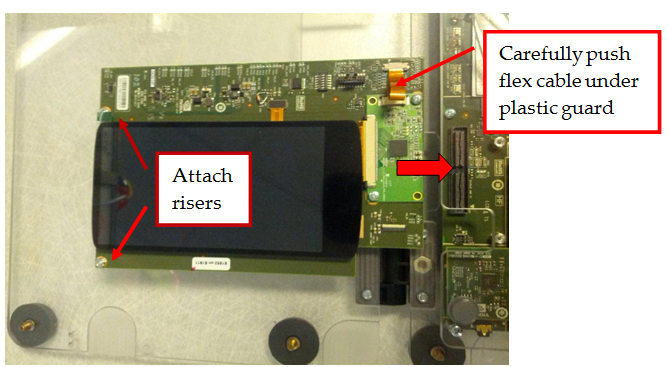
To attach the screen to the Display Module connector:
At a high level, the basic steps towards getting your Dalmore devkit hardware assembled, configured, booted, and ready are as follows:
The following sections will detail each of these steps.

NVIDIA® GameWorks™ Documentation Rev. 1.0.220830 ©2014-2022. NVIDIA Corporation and affiliates. All Rights Reserved.