Installing the SUSE Linux Enterprise Server#
SUSE provides several methods to install SLES (refer to the SLES Deployment Guide for more information). Before you install, review the platform-dependent workarounds section in this document to determine whether there are any modifications that are required for your environment.
This section describes how to install SLES using the Quick Install method and reclaim the disk space used by an existing installation in the process. It describes a minimal installation. If you have a preferred method to install SLES, you can skip this section but ensure that you reclaim the disk space that is used by an existing OS installation.
This method installs SUSE Linux Enterprise Server on the Grace system remotely through facilities hosted on the BMC.
Obtaining SUSE Linux Enterprise Server 15#
Obtain the SLES ISO for Arm® image (aarch64) and store it on your local disk. Refer to SUSE Linux Enterprise Server Installation Media or Downloading SUSE Linux Enterprise Server for the instructions.
Remotely Booting the SUSE Linux Enterprise Server 15 ISO File#
Attention
Here is some important information to know before you begin:
The Grace BMC comes with default login credentials, and NVIDIA recommends that you create a unique user ID and password.
Contact the system vendor if you have issues logging into the BMC.
As a performance consideration, for networks that are distributed across a wide geographical area, such as a corporate VPN, we recommend that you use a browser from ahost near the target server.
This can be accomplished by using a remote application software solution, for example VNC, or by exporting the application X session and tunneling over SSH.
This sequence is intended for the NVIDIA reference BMC, and your results might vary when using an IBV BMC.
Connect to the BMC.
Open a browser in your LAN, navigate to https://<BMC-IP-address>/, and log in.
Download the ISO image to a location that the browser can access.
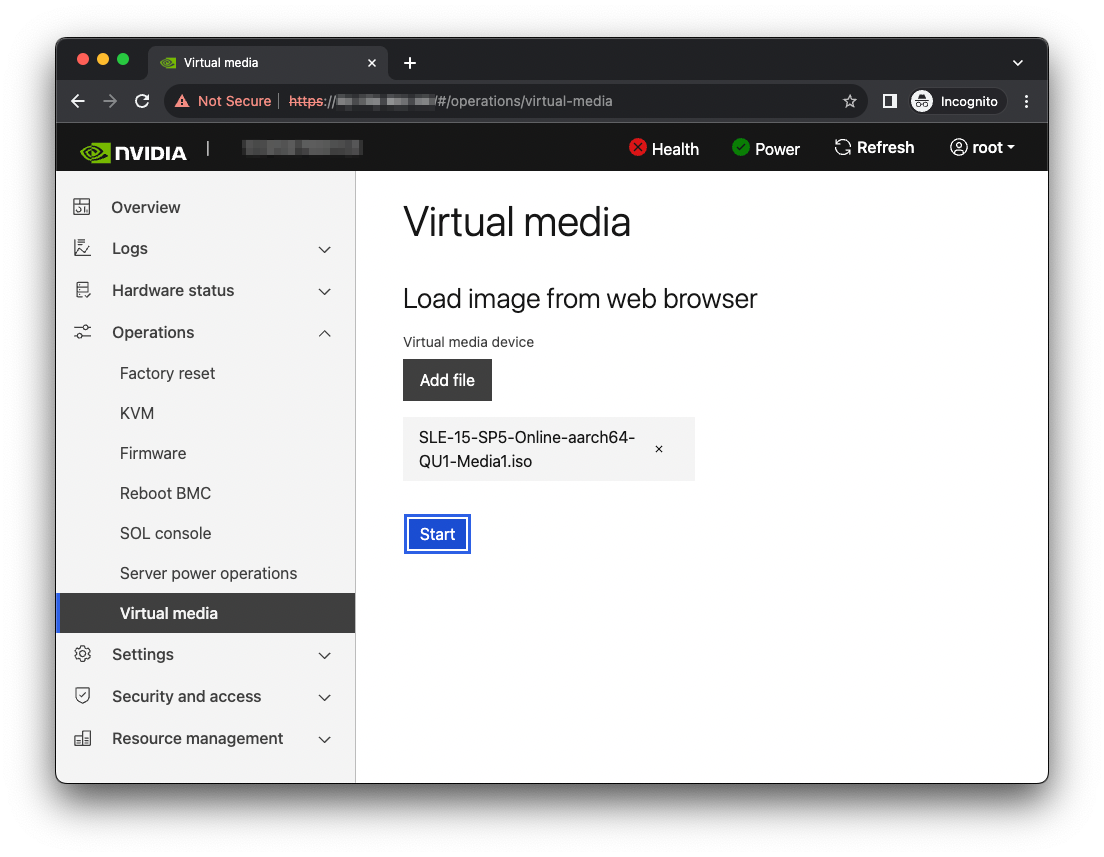
Set up the ISO image as virtual media.
From the left hand menu, expand Operations.
Select Virtual media.
Click Add file, navigate to the downloaded ISO image, and select it.
To begin serving the ISO image to the target server, click Start.
Boot from the virtual media.
Typically, the default boot order does not boot the CD-ROM image. You can change this in the BIOS or as a one-time option in the boot menu.
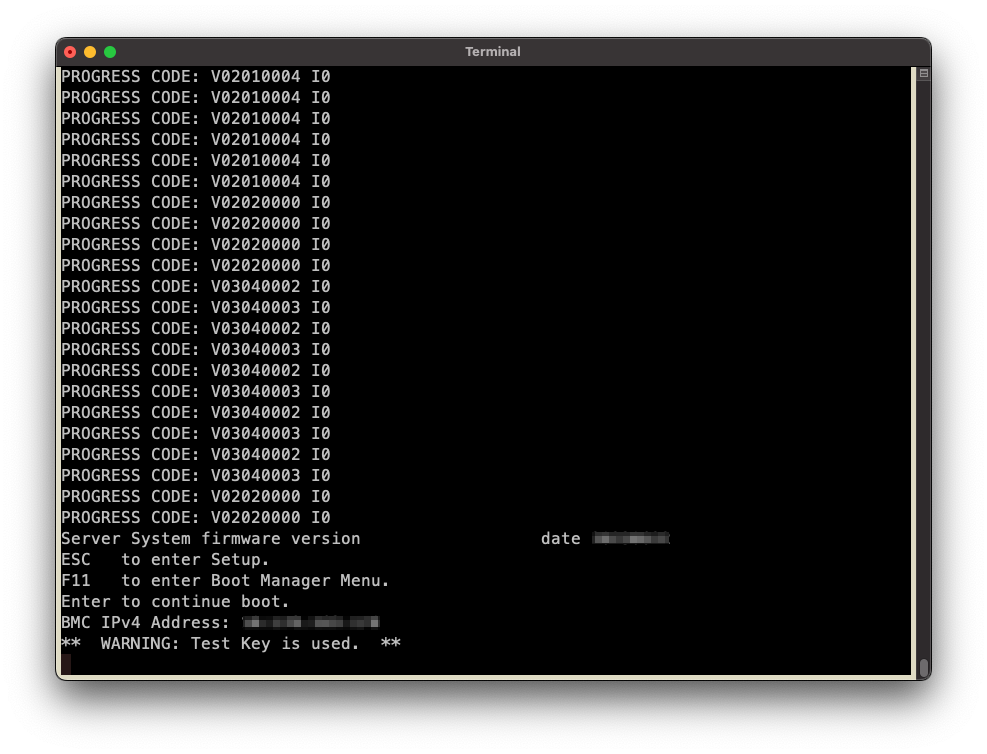
Connect to the console.
From the left-hand menu, expand Operations, and select the SOL console.
Alternatively, SSH to the BMC from a terminal emulator, log in, and at the prompt, run the obmc-console-client command.
To bring up the boot menu, press Escape or F11 at the beginning of the boot process.
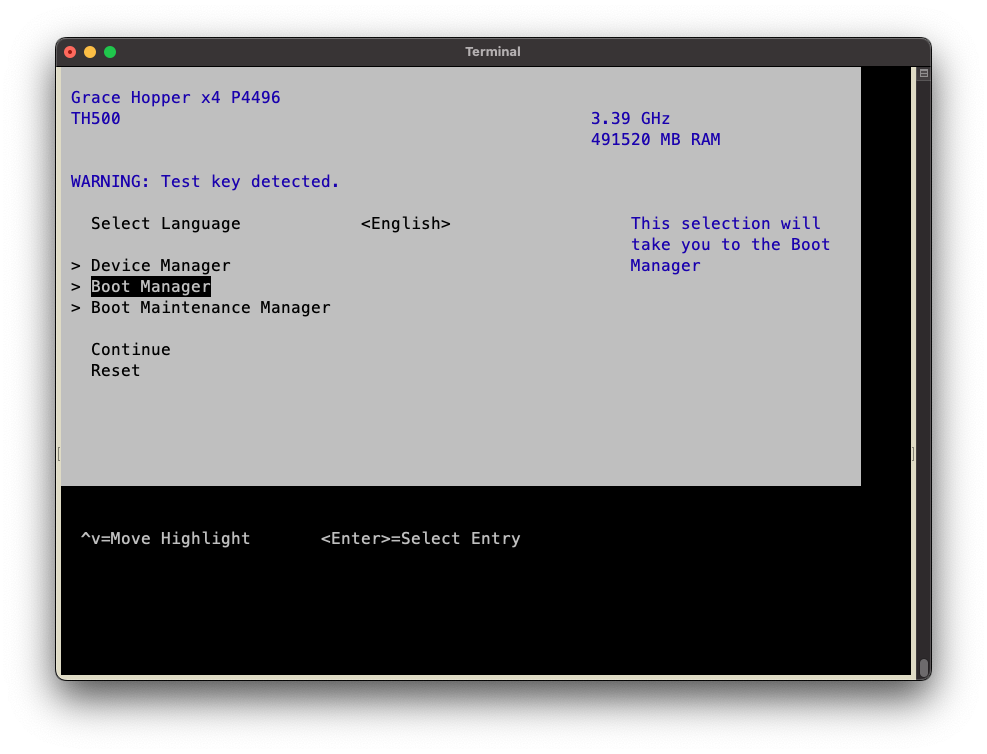
c. In the boot menu, select UEFI OpenBMC Virtual Media Device as the boot device and press Enter.
d. Follow the instructions in Installing SUSE Linux Enterprise Server.
Installing the SUSE Linux Enterprise Server#
Prerequisites: This section assumes you have already booted the SLES ISO image.
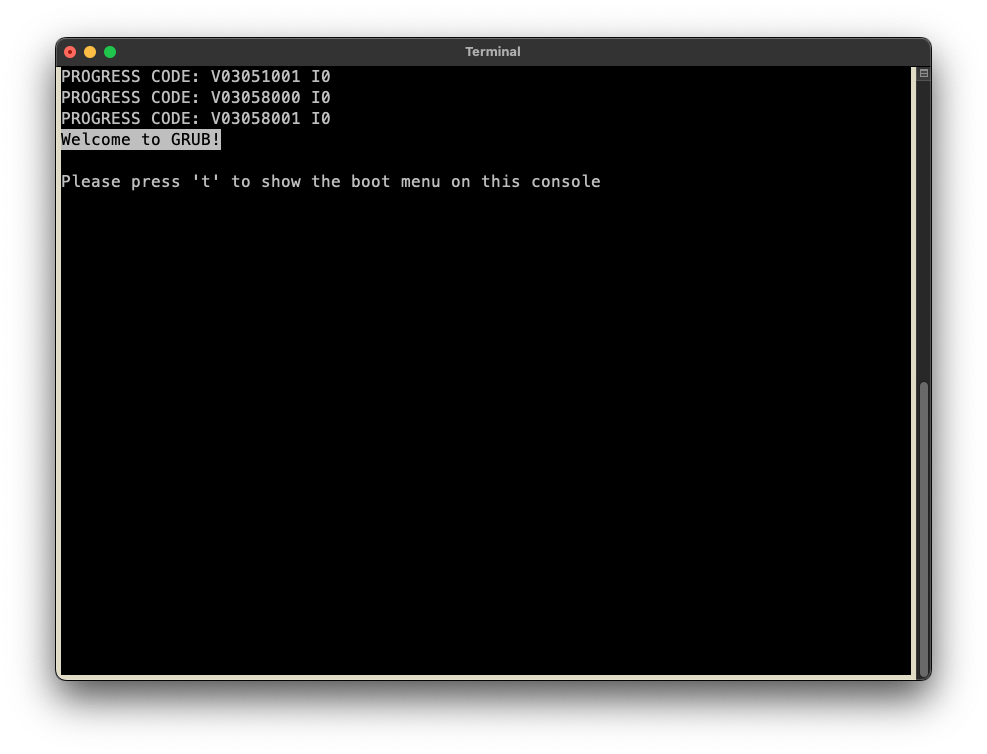
After booting the ISO image, the GRUB splash menu will appear.
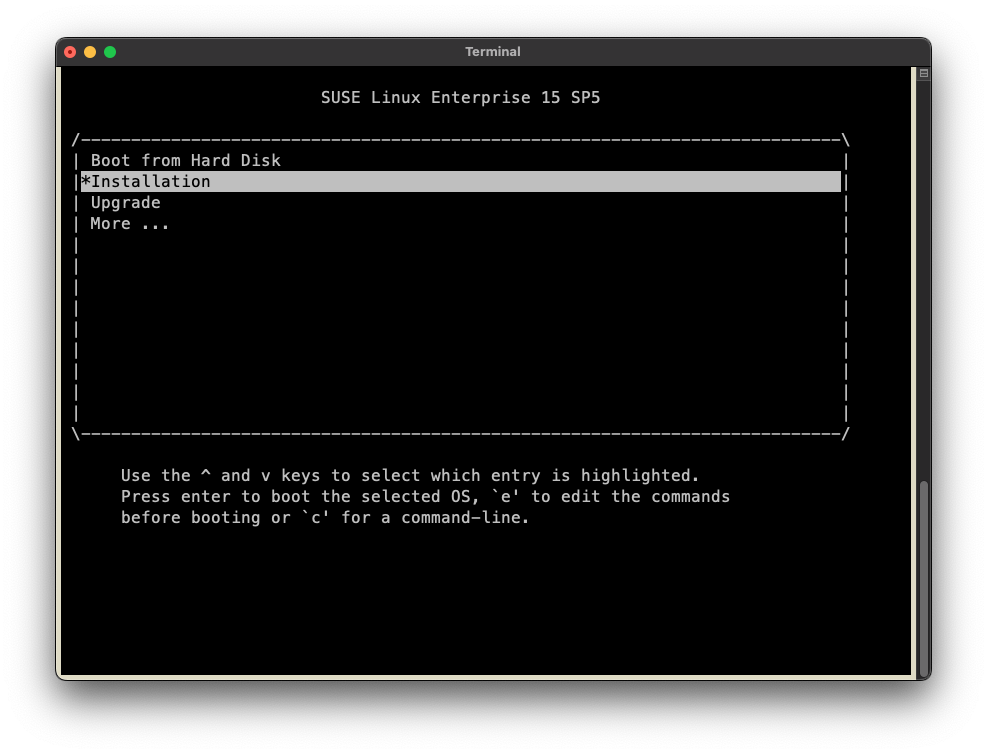
Press t to display the GRUB boot menu for the installer.
The menu will time out after 60 seconds. If no action is taken, it will proceed with booting the default selection (Installation).
To automate the installation with an AutoYaST configuration file, refer to Installing with AutoYaST.
Select Installation or wait for the timeout.
Refer to the SUSE Linux Enterprise Server Installation Quick Start for guidance on using the installer.
Follow the installer prompts to configure the manual installation.
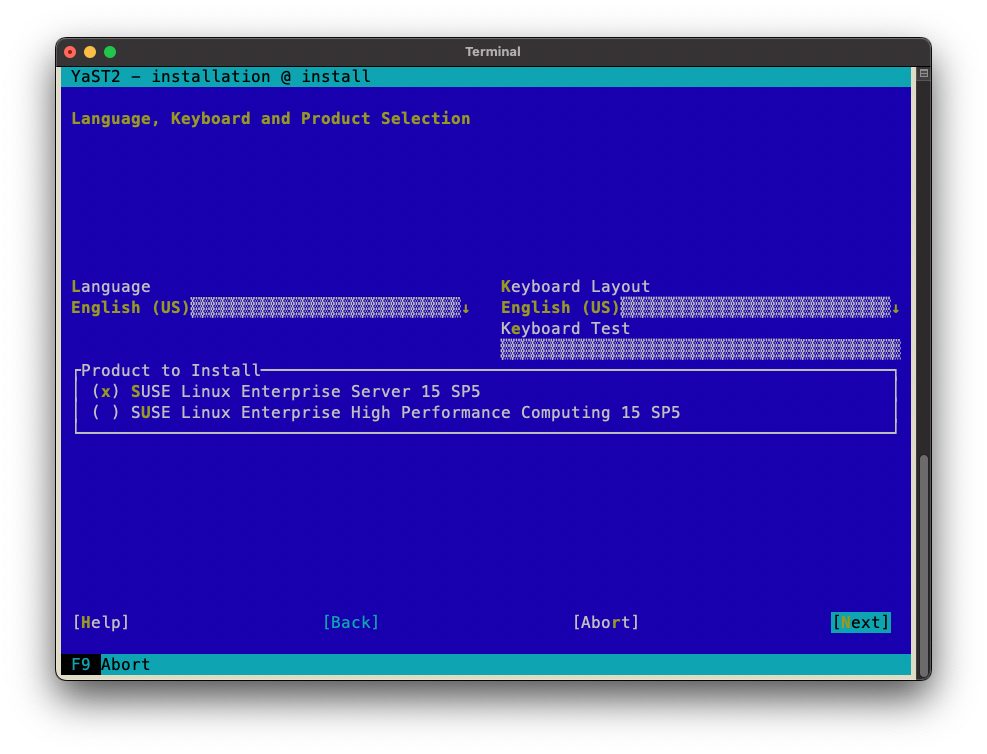
Select the Language, Keyboard, and Product.
Review the End User License Agreement (EULA) and indicate whether you agree to the License Terms.
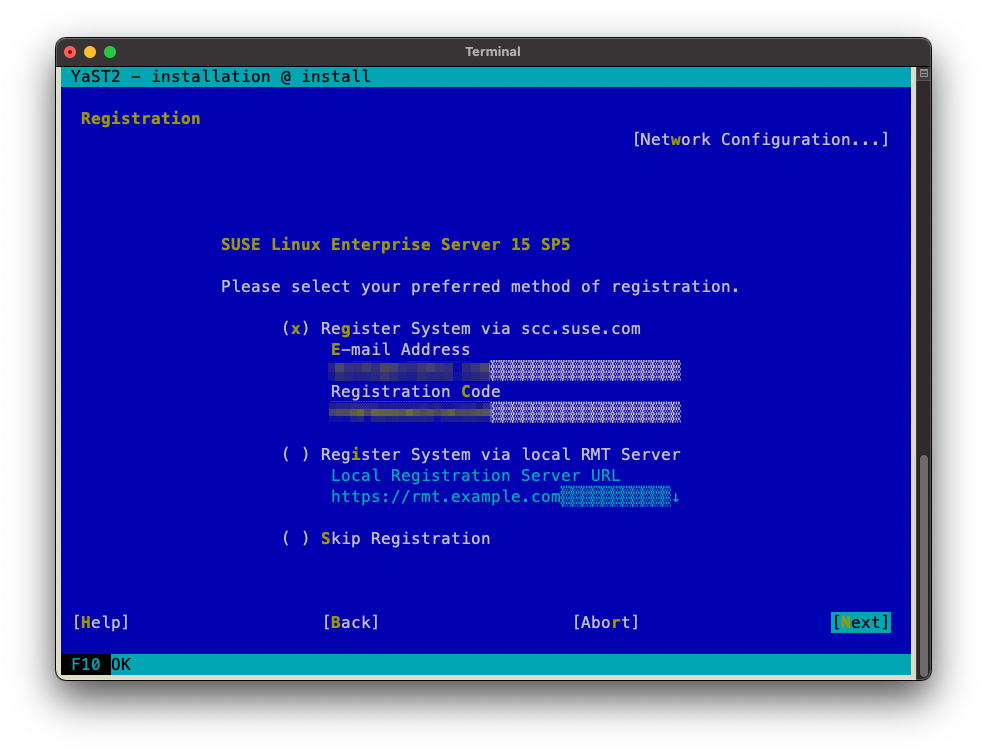
Register the system with SUSE through the SUSE Customer Center or a local RMT server.
Select the modules and add-on products you want to install.
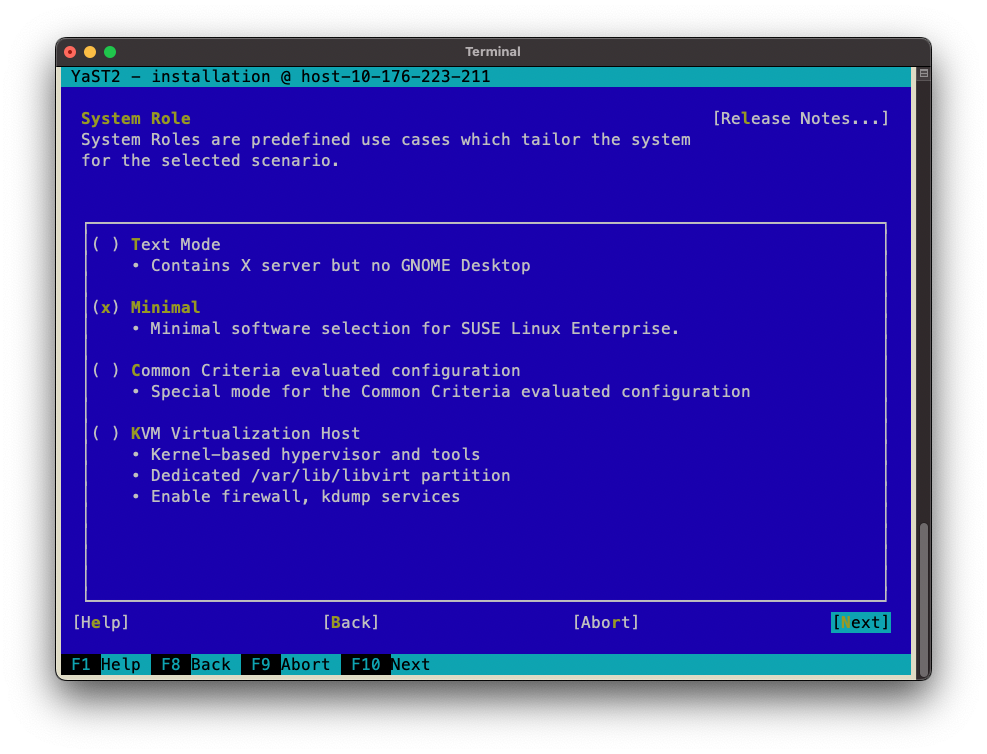
Select the system role, which dictates which software packages are installed by default.
Select a disk partitioning scheme.
Configure the clock and time zone.
Create the users and set the root password.
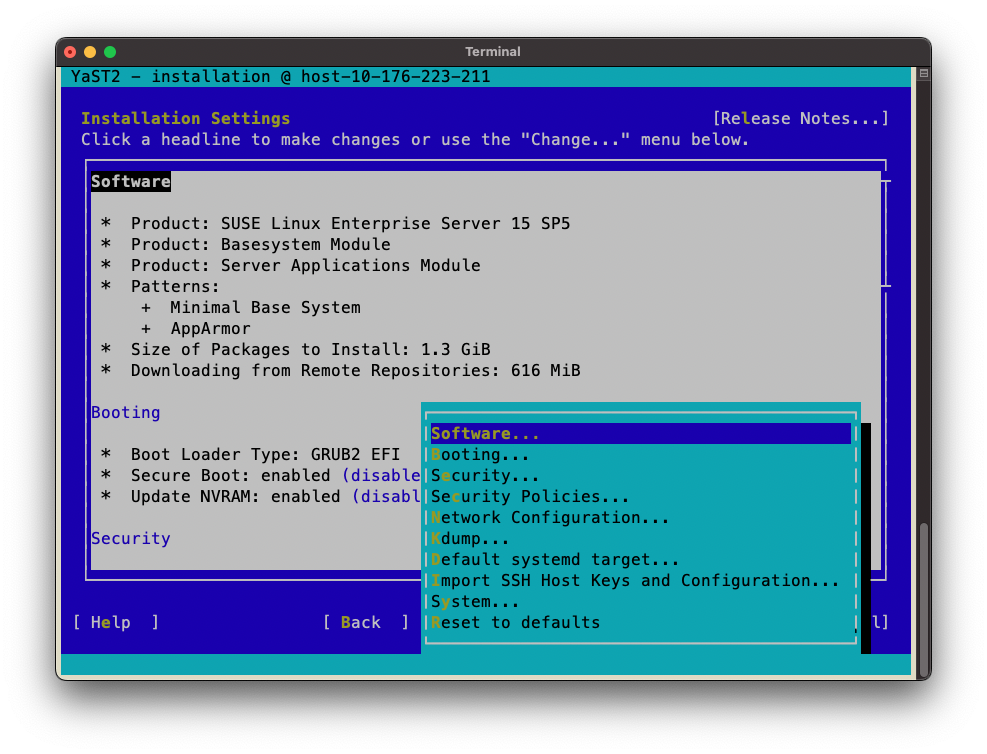
Review the installation settings.
From the Installation Settings summary, select the Change menu and then select the Software submenu to alter the installation to install the 64k kernel as the sole, default kernel for the system.
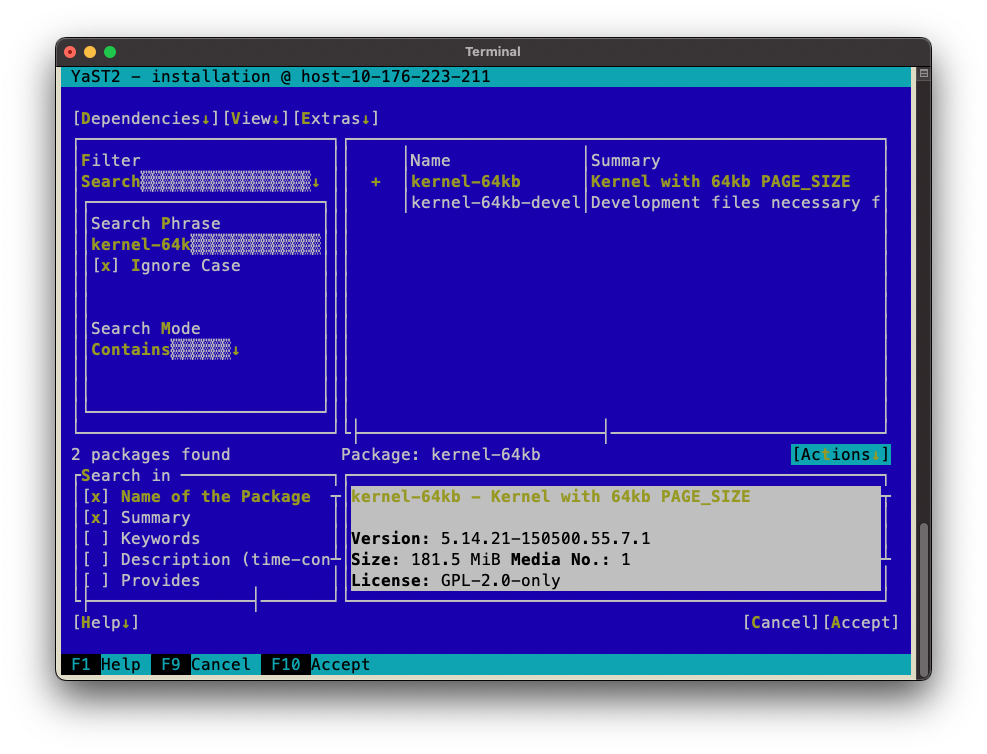
From the software change pane navigate to the Search Phrase box, and search for kernel-64k.
Select the kernel-64k package.
Return to the Search Phrase box and search for kernel-default.
Deselect the kernel-default package.

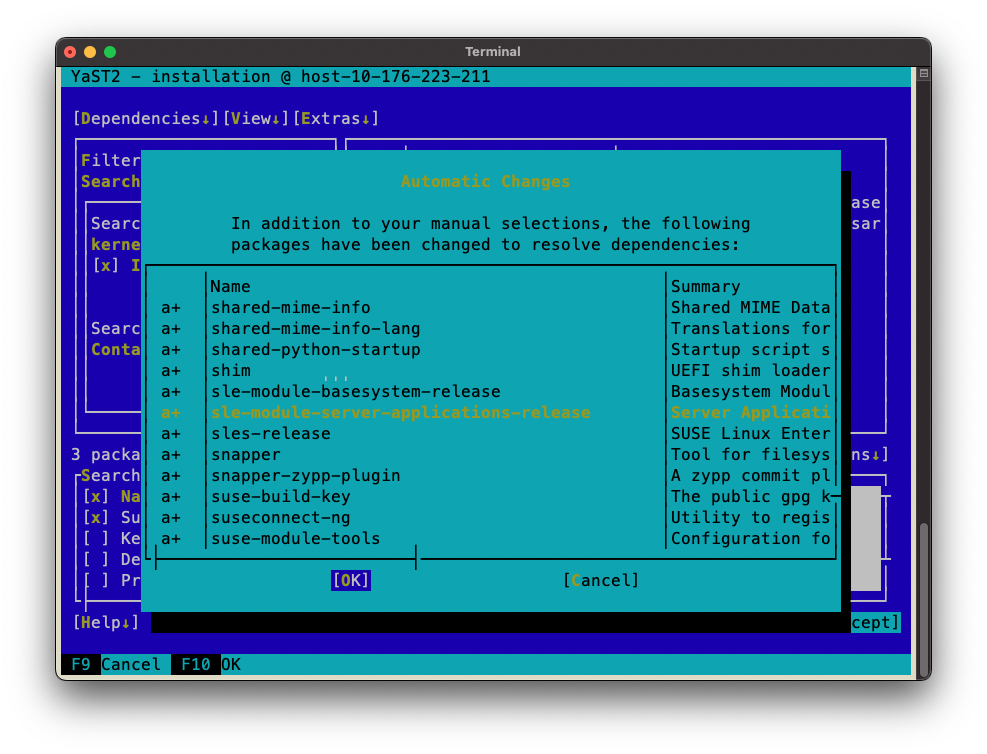
Navigate to and select Accept to update the planned installation.
Additional changes will automatically be made due to package dependencies.
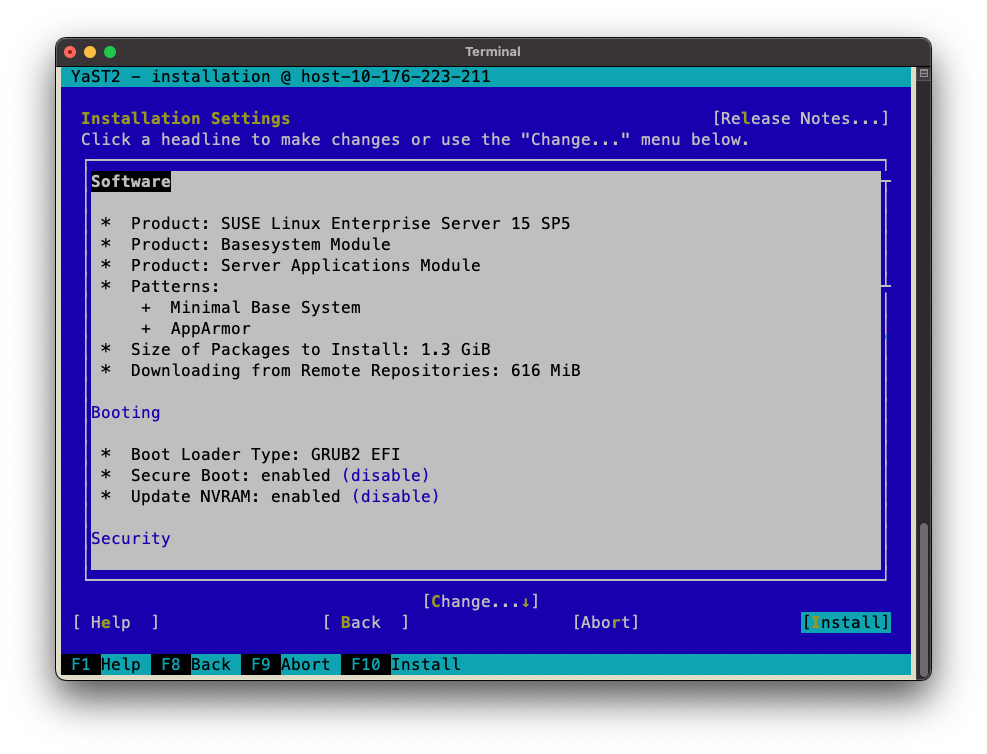
Select Install and then confirm to begin the installation.
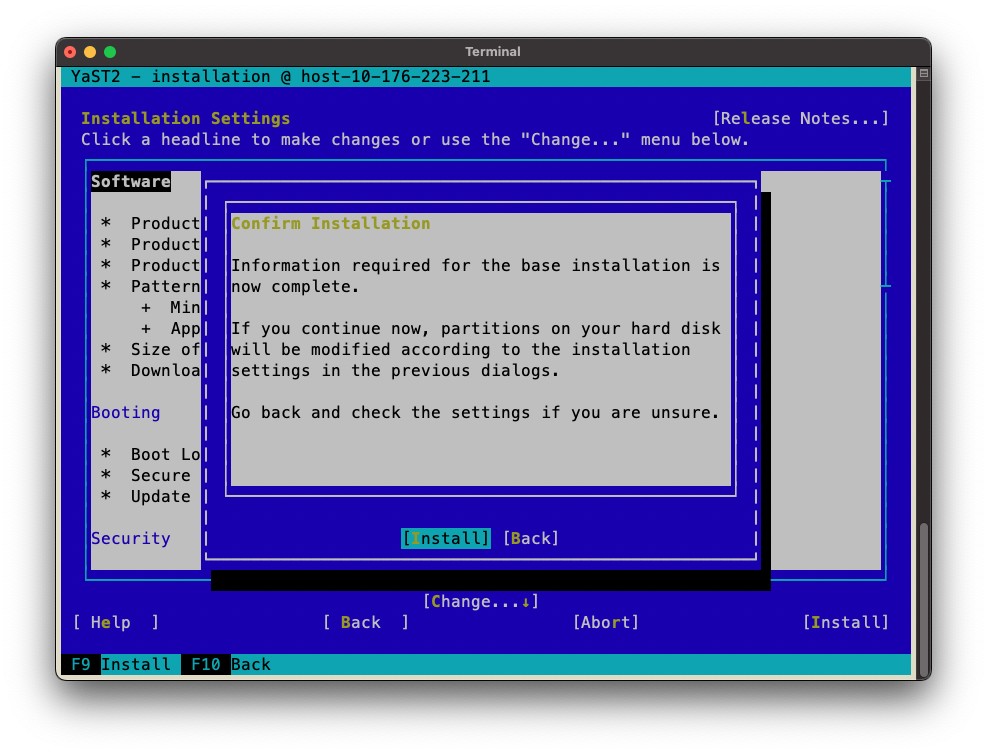
The system will reboot.
After the system is rebooted, NVIDIA recommends the following post-installation settings:
SLES 15 does not enable the network time protocol (NTP) by default.
This can create inconsistent time settings on the system, which can lead to unintended side effects. For example, SSL certificates might fail verification. NVIDIA recommends that you enable NTP on SLES 15 with the chrony daemon by using the following commands:
sudo systemctl start chronyd.service
sudo systemctl enable chronyd.service
By default, SLES 15 sets the CPU scaling governor to ondemand, and NVIDIA tools like nvidia-persistenced can take longer to run with this setting.
To permanently set the CPU scaling governor to performance, NVIDIA recommends that you add the
cpufreq.default_governor=performancekernel parameter.With administrative privileges, edit the /etc/default/grub file.
Append the parameter
cpufreq.default_governor=performanceto the end of the list of kernel boot parameters specified in GRUB_CMDLINE_LINUX_DEFAULT.Save the file and exit the editor.
Run the following command to update GRUB:
sudo update-bootloader -refresh
Reboot the system.
The installation on Grace is now complete.