Pick and Place Simulation#
Overview#
In this module, let’s apply our grasp set in a more realistic pick and place scenario.
First, our gripper is no longer floating, it’s attached to a UR10e robot.
Next, our environment is a table top setting, with several boxes to be picked up and placed into a bin.
Lastly, our robot will have an additional challenge to avoid other boxes and the table itself while placing boxes into the bin.
Loading the Scene for Pick and Place#
If the Grasp Editor panel is still open, go ahead and close it.
Open the following scene from the Content tab of Isaac Sim. Locate this file, and double click it:
/home/ubuntu/Downloads/isaac_manipulator_scene.usdOnce the scene has loaded, press the Play icon in the left-hand toolbar.
Setting up Isaac ROS#
Now we will go back to the browser tab running a Jupyter lab notebook to connect to the Isaac ROS instance on the cloud.
Note
If you’re running this locally, simply return to the terminals running Isaac ROS. Make sure to source each ROS terminal.
Setup#
If your notebook is open to the
RemoteDesktop.ipynbfile, go ahead and close it.
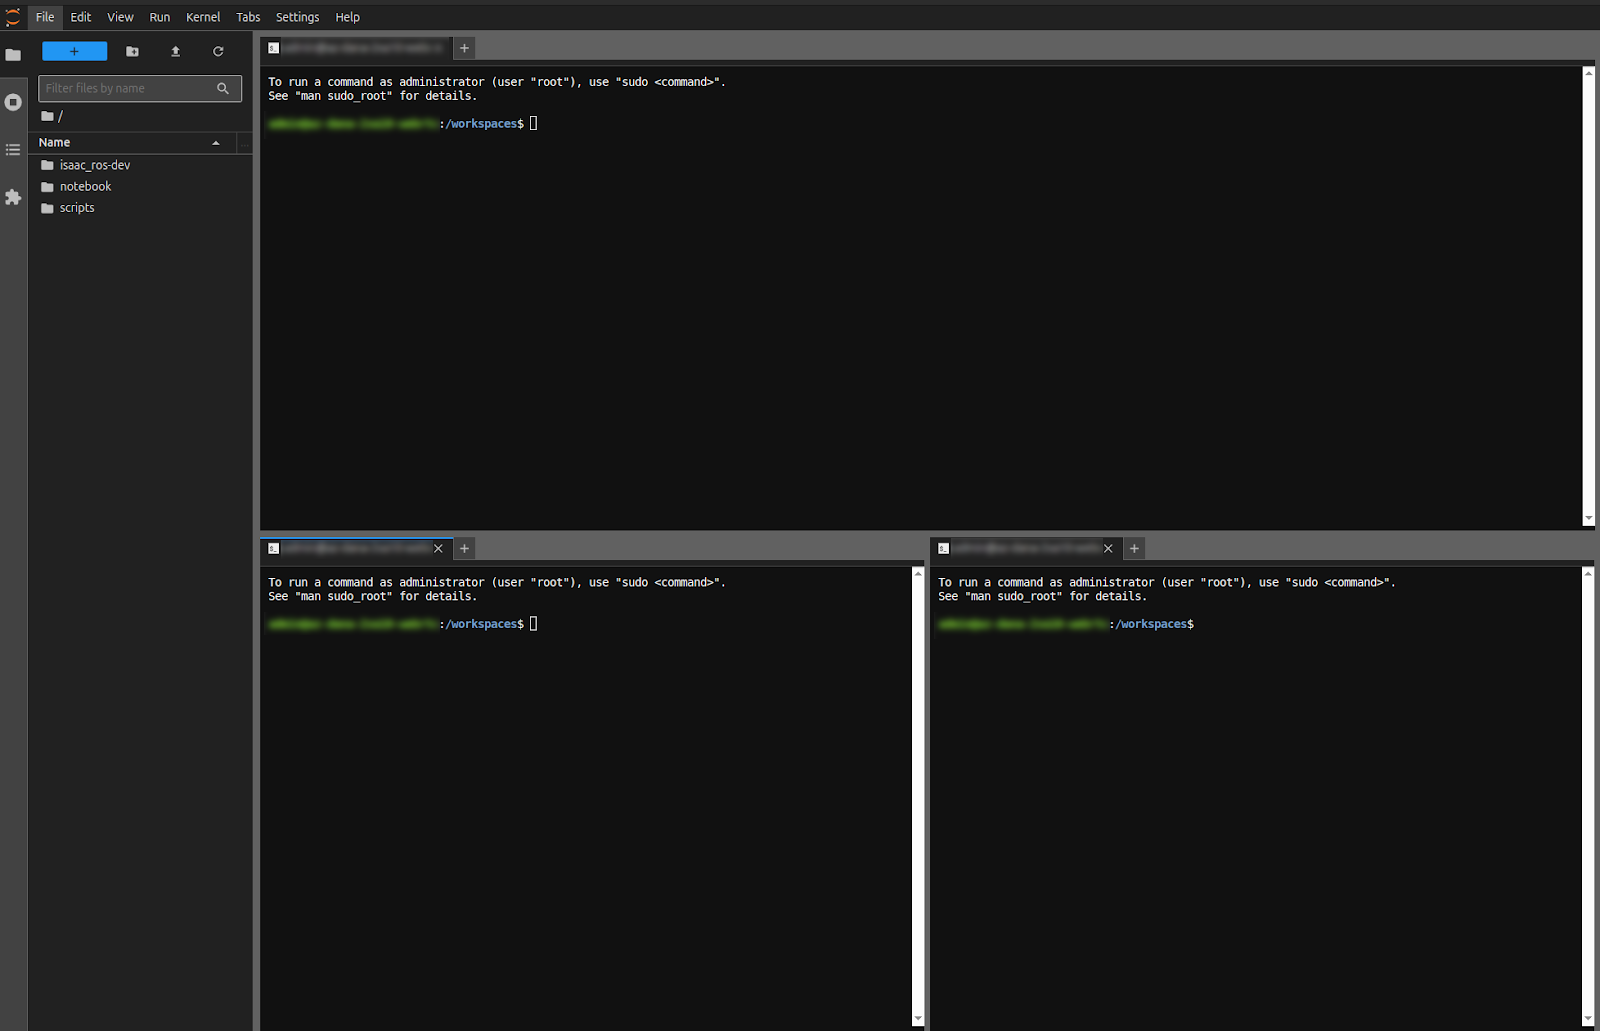
You should see a few terminals already open and ready to be used.
Run the following commands in all the opened terminals to move to the ROS workspace and source it:
Important
<YOUR_ID> will match the number you selected in the earlier unit. If this doesn’t match, we’ll have issues with traffic not being found.
cd $ISAAC_ROS_WS && source install/setup.bash
export ROS_DOMAIN_ID=<YOUR_ID>
Let’s verify that the instances of Isaac Sim and the Isaac ROS stack are communicating with each other. Run this command to list topics being published from the Isaac Sim instance:
ros2 topic list
This should output a list of topics as shown below. Notice how this includes a clock, camera data, gripper state, and more:
/clock
/front_stereo_camera/depth/camera_info
/front_stereo_camera/depth/ground_truth
/front_stereo_camera/depth/ground_truth/nitros_bridge
/front_stereo_camera/left/camera_info
/front_stereo_camera/left/image_raw
/front_stereo_camera/left/image_raw/nitros_bridge
/isaac_gripper_state
/isaac_joint_commands
/isaac_joint_states
/odom
/parameter_events
/rosout
/tf
/tf_static
Launch the Core Stack#
In this section, we’ll be running a few more ROS commands to launch the main stack.
You should see three terminals already opened. If not, use the + button at the top of any terminal to create another tab.
In each of these new terminals, run the common commands we used earlier to source ROS workspace and configure environment variables:
Important
Remember to replace <YOUR_ID> with your ROS Domain ID from earlier.
cd $ISAAC_ROS_WS && source install/setup.bash
export ROS_DOMAIN_ID=<YOUR_ID>
Let’s now verify the contents of the grasp file that we authored in the previous module. From the explorer window on the left-hand side, navigate to the following path:
isaac_ros-dev/isaac_sim_assets/grasps_mac_and_cheese.yaml
Checkpoint
If you weren’t able to generate the grasp pose data from the previous module, don’t worry—you can use the pre-authored grasp file from the following location in the upcoming command:
/workspaces/isaac_ros-dev/isaac_ros_assets/grasps_mac_and_cheese.yaml
From one of the terminals, launch the core workflow:
ros2 launch isaac_manipulator_pick_and_place isaac_sim_workflows.launch.py \
workflow_type:=pick_and_place object_attachment_type:=custom_mesh \
rtdetr_object_class_id:=22 \
attach_object_mesh_file_path:='/workspaces/isaac_ros-dev/isaac_ros_assets/isaac_ros_foundationpose/Mac_and_cheese_0_1/Mac_and_cheese_0_1.obj' \
foundation_pose_mesh_file_path:='/workspaces/isaac_ros-dev/isaac_ros_assets/isaac_ros_foundationpose/Mac_and_cheese_0_1/Mac_and_cheese_0_1.obj' \
foundation_pose_texture_path:='/workspaces/isaac_ros-dev/isaac_ros_assets/isaac_ros_foundationpose/Mac_and_cheese_0_1/materials/textures/baked_mesh_tex0.png' \
grasps_file_path:='/workspaces/isaac_ros-dev/isaac_sim_assets/grasps_mac_and_cheese.yaml'
This command for the pick-and-place workflow has a number of arguments, including information about the objects we will pick and what our workflow is. Lastly, you’ll notice the filepath from the YAML file we created earlier. This contains the grasp poses we authored earlier.
Note
The above command uses the grasp file we authored earlier. If you’d like to try this out with pre-authored grasps, replace the grasps_file_path argument with /workspaces/isaac_ros-dev/isaac_ros_assets/grasps_mac_and_cheese.yaml.
This next command will trigger object detection. RT-DETR will try to identify all of the mac and cheese boxes in the scene, which are also visible to the camera in our scene.
Run this command in another prepared terminal:
ros2 action send_goal /get_objects isaac_manipulator_interfaces/action/GetObjects {}
Important
Wait for the terminal log to show ‘cuMotion is ready for planning queries!’ before triggering the pick-and-place pipeline.
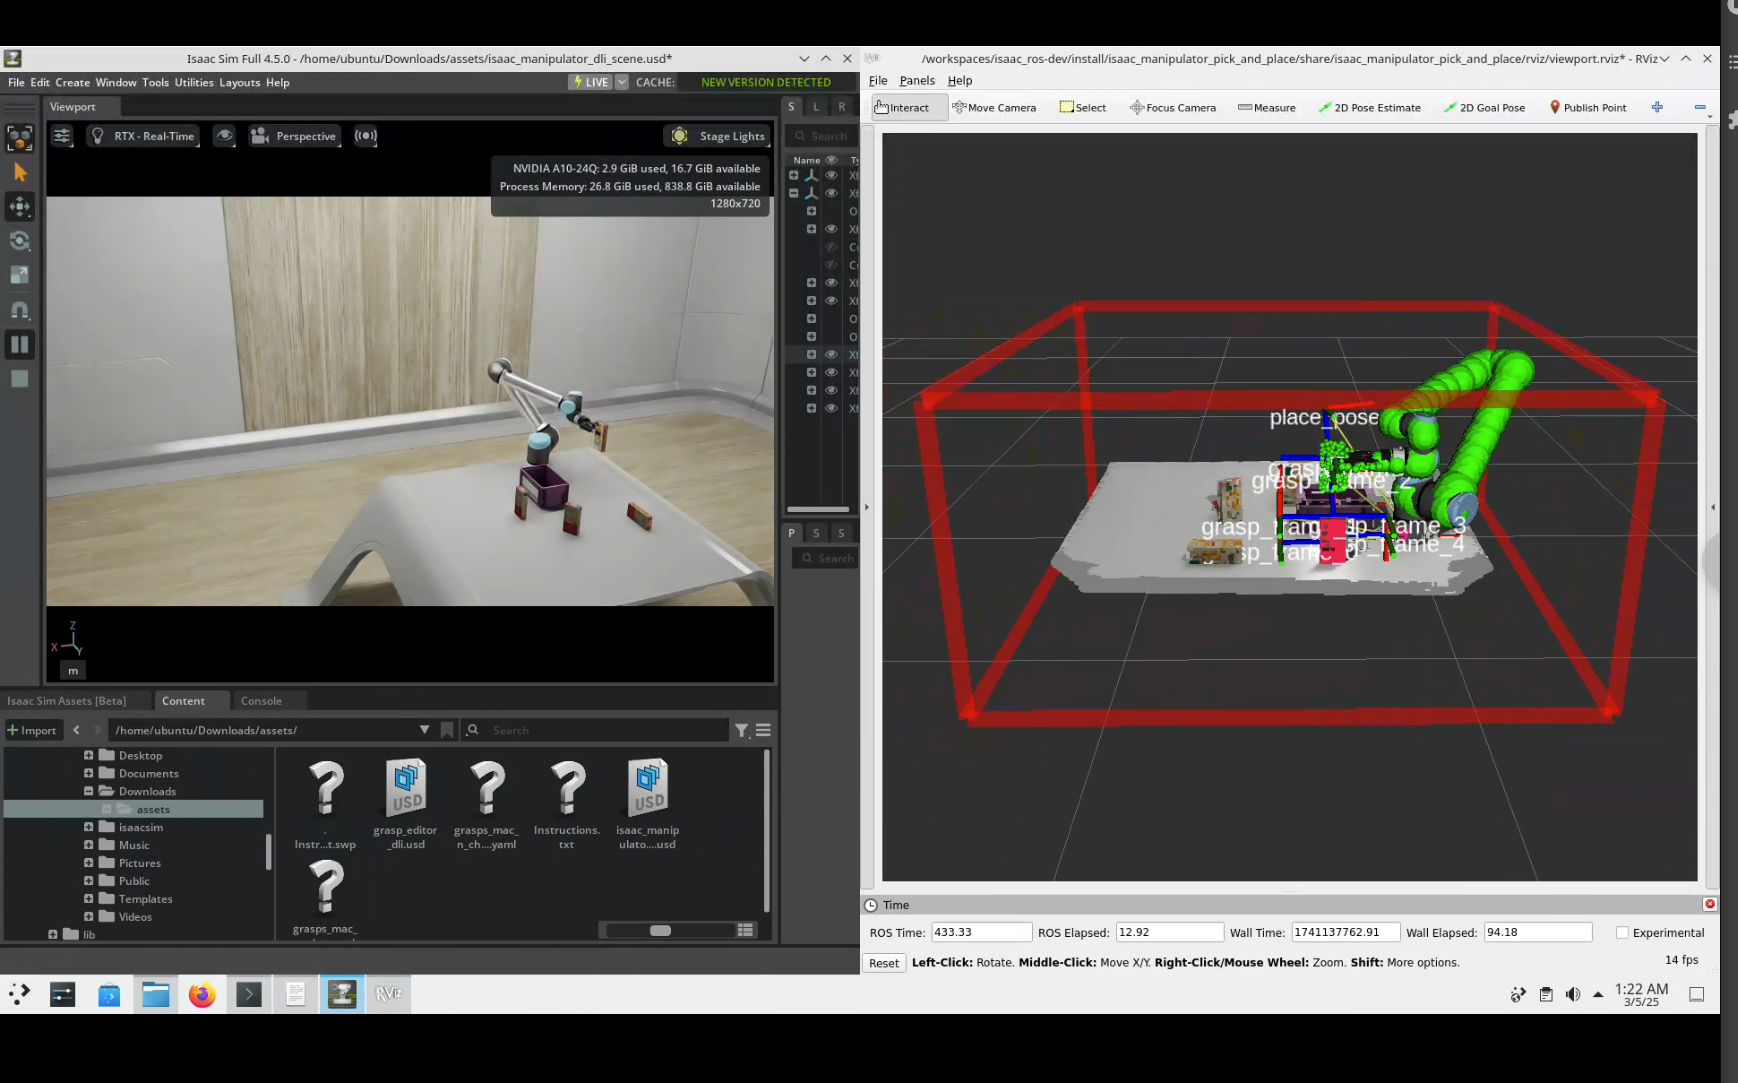
Lastly, we will execute pose estimation based on FoundationPose, followed by triggering the pick-and-place pipeline. This step is where boxes are actually grabbed by the robot. Before running this command, make sure you can see both RViz and Isaac Sim windows.
Run this command in another terminal:
ros2 action send_goal /pick_and_place isaac_manipulator_interfaces/action/PickAndPlace "{object_id : 0, place_pose : { position : { x : -0.35, y : 0.15, z : 0.5}, orientation : { w : 0.034, x : 0.996, y : 0.066, z : 0.042}}}"
This command passes several parameters. For example, object_id relates to objects detected earlier in the scene. Whichever object_id we send corresponds to a box picked in this step.
Based on pose data found earlier, we can pass both pose and grasp data to a planner that determines a trajectory for feasible grasping.
We also pass a pose to place the object at.
If you want to try picking another box, run this previous command but replace object_id with another object ID detected earlier. For example:
ros2 action send_goal /pick_and_place isaac_manipulator_interfaces/action/PickAndPlace "{object_id : 3, place_pose : { position : { x : -0.35, y : 0.15, z : 0.5}, orientation : { w : 0.034, x : 0.996, y : 0.066, z : 0.042}}}"
Review#
Great work! You’ve demonstrated a fantastic example of a robot being productive in a dynamic environment using GPU-accelerated Isaac ROS packages.