Add New Content
Now that you have installed Hugo, cloned the GitHub repository, and run the local server, you can add new content to the Docs site. If you came here first without performing these setup tasks, refer to Make a Larger Contribution and then return here.
You can submit new paragraphs, images, sections and whole topics for inclusion into the documentation. The first step is to understand how the documentation is organized so you can add information in the proper place. Secondly, you need to be, or become, familiar with editing in Markdown format. The basics are included here. To learn more, refer to Resources.
Documentation Site Structure
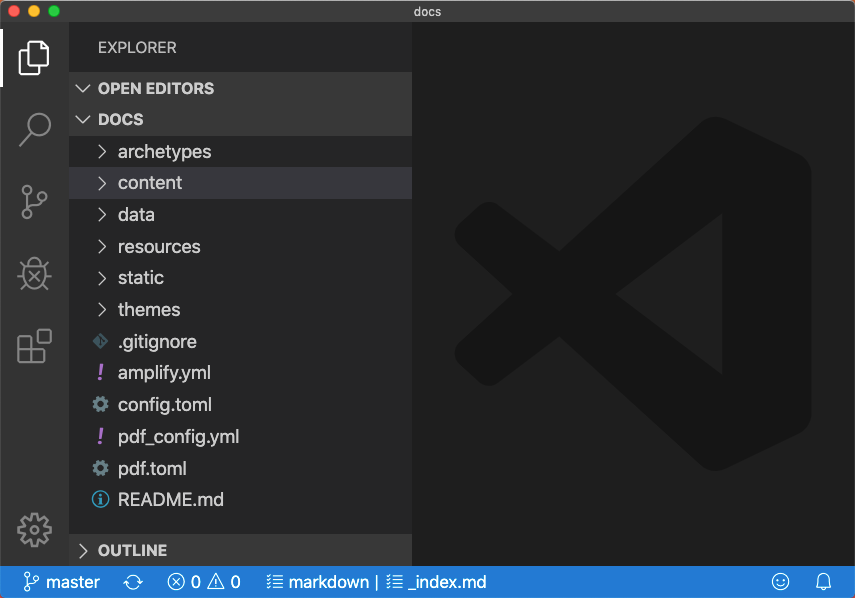
You can view the documentation site structure through your file manager or through a text-based editor. We use VS Code to develop the documentation, but you may use any text editor of your choice.
There are two directories in the Cumulus Networks documentation site that are particularly important for authoring new content:
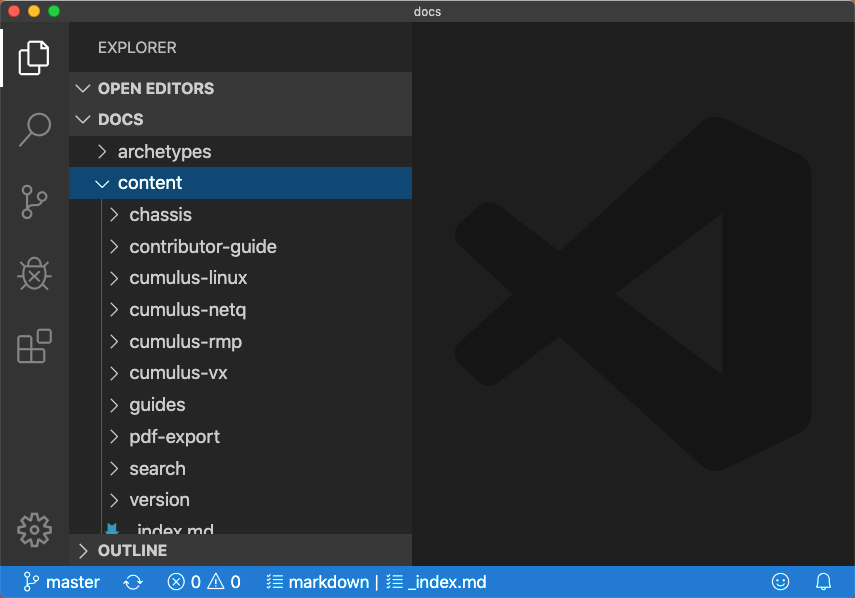
- content/: Contains product documentation directories and files
- static/images/: Contains referenced images
The other directories are primarily used to generate the website, but if you are interested in knowing what they contain and their purpose, refer to Hugo Constructs.
Add a New Page
New pages are added into the /content directory using hugo new which relies on Hugo archetypes; Markdown templates which contain the needed front matter (meta data) and default values. They are specific to each product and create a new .md (Markdown) file.
If
hugo serveris currently running, press Ctrl+c to quit the docs server in your terminal window.Add the page:
- To add a new page, named
test_post, to Cumulus Linux 4.1, runhugo new cumulus-linux-41/test_post.md. - To add a new page, named
test_postto Cumulus NetQ 3.0, runhugo new cumulus-netq-30/test_post.md. - To add a file within a subtopic, include the full path to the location. For example, run
hugo new cumulus-linux-41/Layer-2/test_post.md.
Don’t forget to use the
.mdfile extension.- To add a new page, named
Change the front matter
titleto reflect the new content.For more detail about the front matter parameters, refer to the Hugo Constructs.
Change the
weightvalue to determine the order of the page in the left hand menu. Lower values are listed higher in the section list.Change the
tocvalue to match the file directory depth. Your page’stocvalue should be 1 greater than thetocof the_index.mdfile in the same directory.Add your content.
You can also create new pages by copying and pasting an existing file from within some editors. Just be sure to supply a new name for the file and a new title. Some editors let you drag and drop the newly created page within the directory tree in the event that you placed it incorrectly.
A unqiue page title is required to ensure the link shortcode works correctly.
Add a New Section
In Hugo terminology, a section is the same as a folder. Hugo defines sections by their location within the /content folder, and the name of the .md file. Adding a section is as simple as adding a new subdirectory, and creating a _index.md file within that subdirectory. This can be done using the hugo new command.
For example, to create a new section “Test Section,” at /content/cumulus-linux-41/, run hugo new cumulus-linux-41/Test_Section/_index.md.
To create a section under another section (nested section), include the full path to the location. For example, run hugo new cumulus-linux-41/Layer-2/Test_Section/_index.md.
You can also create new sections by copying and pasting an existing folder from within some editors. Just be sure to supply a new name for the section. Some editors let you drag and drop the newly created section within the directory tree in the event that you placed it incorrectly.
Edit Content
These guidelines cover the most common formatting tasks you will encounter during your new content creation. For more details about these items and other formatting issues, refer to the Markdown Guide.
Add Text
To add or modify text in an existing file:
Open the Docs directory in your text editor.
This example shows the Docs directory in VS Code:
Expand the content directory to find the product of interest.
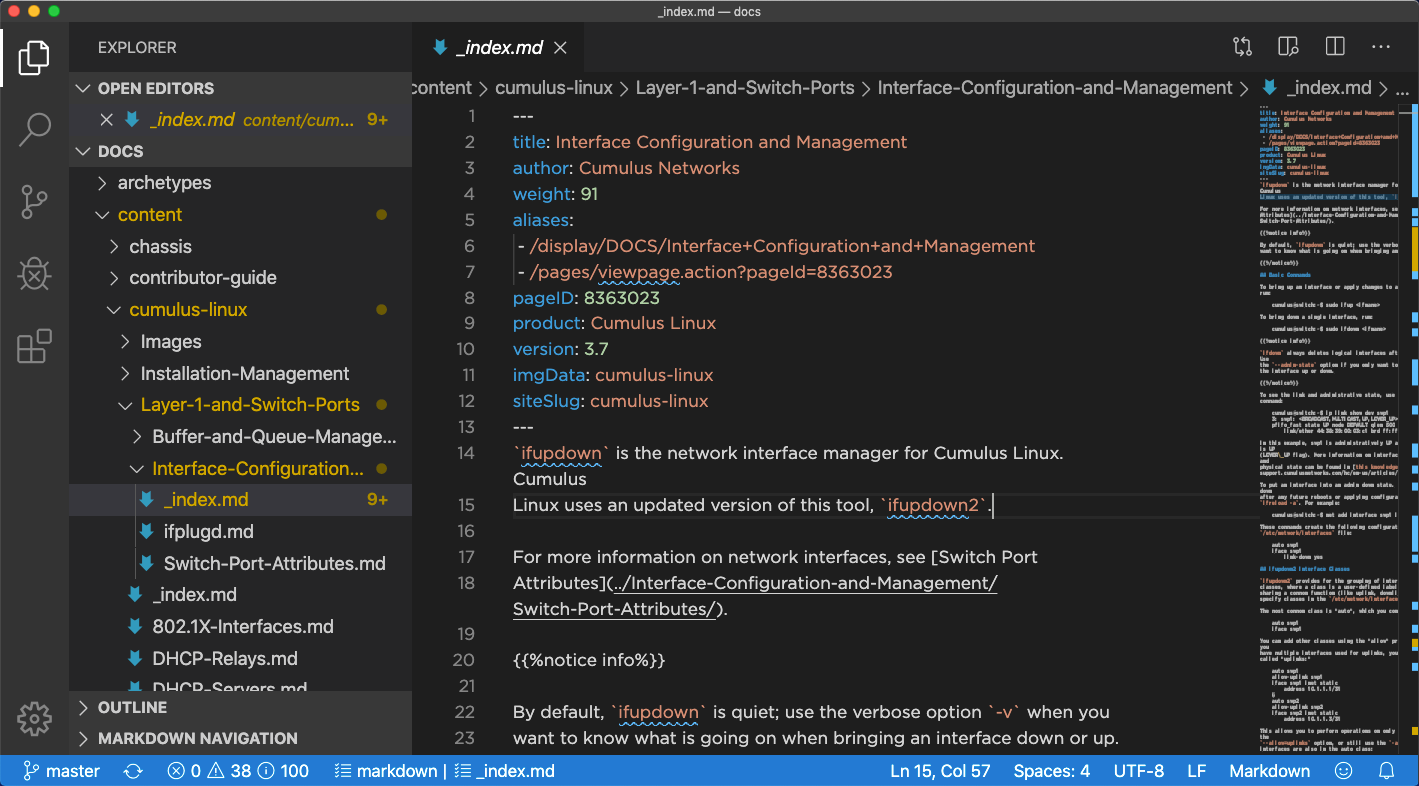
Expand the product directory and any subdirectories to find the file that contains the text you want to change or where you want to add additional text.
Open the relevant file and add or modify the desired text.
Add a Heading
If you want to add a new section within a document, then you can add a new header and then enter the text. To create the correct level of header, use two pound signs (#) for a second-level heading (the file title is the only first-level heading) or three pound signs for a third-level heading.
For example: ## New Topic or ### New Subtopic
If possible, do not use special characters, such as dashes and parentheses, in the titles as these can be problematic to creating links or references to these topics.
For more detail about writing with Markdown, refer to the Markdown Guide in the Resources section of this guide.
Add Inline Style to Text
It is common to emphasize important text, such as a field name in the UI (bold), a directory or file name (italic), and commands (computer font). These are handled as follows:
- Use a single asterisk (*) on either side of a word or phrase to italicize the text.
- Use two asterisks (**) on either side of a word or phrase to bold the text.
- Use one tick (`) on either side of a command to display the command in a computer font.
For example, this markdown will render the following formatted text.
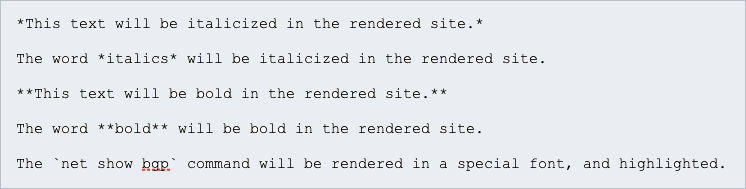
This text will be italicized in the rendered site.
The word italics will be italicized in the rendered site.
This text will be bold in the rendered site.
The word bold will be bolded in the rendered site.
The net show bgp command will be rendered in special font, and highlighted.
Add a Note
You can add a note to a file with the notice shortcodes. We support four types of notes: Tip, Note, Info, and Warning. Refer to the Markdown Guide for additional details about when to use each type and placement.
This example shows how to add a note:
On a new line, enter the notice shortcode.
On the next line, enter the text for the note.
Complete the note by adding end notice to the line after the note text.
This shows an example note:

Add a List
A bulleted list is created using a dash (-) at the beginning of each item. This renders with a filled circle as the bullet. You can also create second-level bullets by simply tabbing in and then using a dash. Second-level bullets render with an open circle for the bullets.
For example, this markdown renders the following bulleted list.
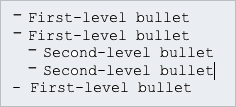
- First-level bullet
- First-level bullet
- Second-level bullet
- Second-level bullet
- First-level bullet
A numbered list is created using numbers at the beginning of each item. You can increase your numbering or always use one (1). You can create second-level items by simply tabbing in and then using the one. First-level items render as 1, 2, 3, and so forth. Second-level items render as a, b, c, and so forth.
For example, either of these markdown examples render the following numbered list.

- First-level item or step
- First-level item or step
- Second-level item or sub-step
- Second-level item or sub-step
- First-level item or step
Add an Image
If you have an image or figure (in SVG or PNG file format) that you want to add:
Copy or save the file into static/images for the associated product.
For example, if you are editing a Cumulus Linux file, use static/images/cumulus-linux. For a Cumulus NetQ file, use static/images/netq/.
In the file text, add the image or figure reference using the figure or img shortcode:

Optionally scale the image by adding the
widthoption. Width value is defined in pixels.For example:

The figure shortcode places the figure on a new line. The img shortcode places the image inline with the text (unless it is too wide to do so).
Add a Code Block
A code block is used when you want to present two or more lines of code. To create the highlighted box and set the font accordingly, insert three ticks (`) on a separate line before the code, and a second set of three ticks on a new line after the code.
For example, this markdown renders the following code block.
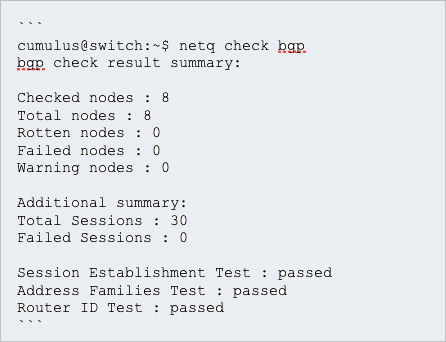
cumulus@switch:~$ netq check bgp
bgp check result summary:

Checked nodes       : 8
Total nodes         : 8
Rotten nodes        : 0
Failed nodes        : 0
Warning nodes       : 0

Additional summary:
Total Sessions      : 30
Failed Sessions     : 0

Session Establishment Test   : passed
Address Families Test        : passed
Router ID Test               : passed
Add a Link
External Links
For external links standard markdown link syntax can be used. The link text is placed in brackets [], followed by the full URL in parenthesis (). For example [Link to Cumulus](https://www.cumulusnetworks.com) generates the link Link to Cumulus.
Do not put a space between the brackets and parenthesis.
Across Products
To link betwen products use the Hugo built-in ref function with standard Markdown links. Using the same syntax for External links with brackets [] and parenthesis ().
To properly generate the URL of the linked page the ref code takes in the path of the file to link. For example, to link to the Cumulus Linux 4.3 page on NTP:
[NTP]({{< ref "/cumulus-linux-43/System-Configuration/Setting-Date-and-Time">}})
To link to the latest release of a product, for example /cumulus-linux or /cumulus-netq, do not link directly but use the kb_link shortcode and provide the parameter latest along with the file path of the page. For example, to link to the latest Cumulus Linux NTP page
{{< kb_link latest="cl" url="System-Configuration/Date-and-Time/Network-Time-Protocol-NTP.md" text="NTP">}}
The value latest supports cl, netq or sonic.
For root pages (_index.md) the _index.md filename must be included.
Within a Product
To preserve portability of pages, a Hugo shortcode is used for all pages within the same section.
The link shortcode is used with the title argument. Use the Title value in the front matter of the page being linked. For example, to link to the “Give Simple Feedback” chapter use the shortcode {{< link title="Give Simple Feedback" >}}. By default the link title is the link text used. The text can be specified with the text attribute. For example, {{< link title="Give Simple Feedback" text="How to give feedback">}} generates the link How to give feedback.