Set User Preferences
Each user can customize the NetQ application display, change his account password, and manage his workbenches.
Configure Display Settings
The Display card contains the options for setting the application theme, language, time zone, and date formats. Two themes are available: a light theme and a dark theme, which is the default. The screen captures in this user guide are all displayed with the dark theme. English is the only language available for this release. You can choose to view data in the time zone where you or your data center resides. You can also select the date and time format, choosing words or number format and a 12- or 24-hour clock. All changes take effect immediately.
To configure the display settings:
Click
 in the application header to open the User Settings options.
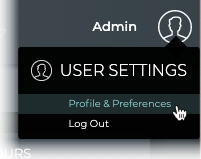
Click Profile & Preferences.
Locate the Display card.
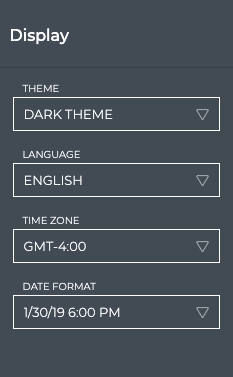
In the Theme field, click
 to select your choice of theme. This figure shows the light theme. Switch back and forth as desired.
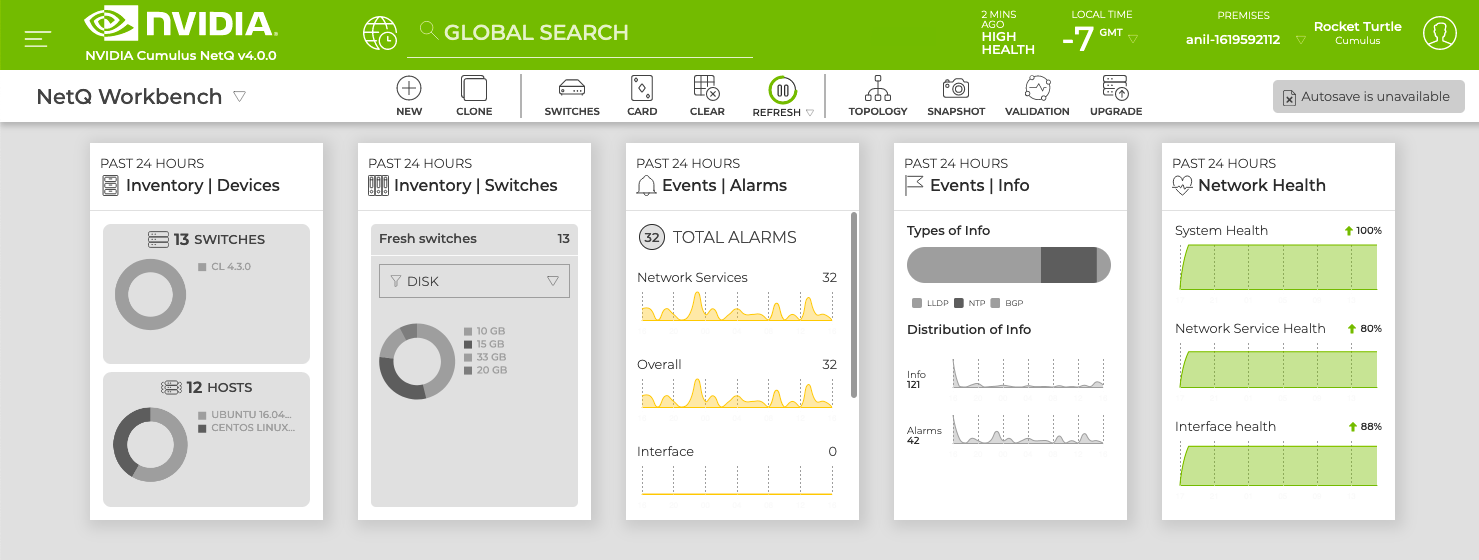
In the Time Zone field, click
to change the time zone from the default.
By default, the time zone is set to the user’s local time zone. If a time zone has not been selected, NetQ defaults to the current local time zone where NetQ is installed. All time values are based on this setting. This is displayed in the application header, and is based on Greenwich Mean Time (GMT).You can also change the time zone from the header display.

If your deployment is not local to you (for example, you want to view the data from the perspective of a data center in another time zone) you can change the display to another time zone. The following table presents a sample of time zones:
Time Zone Description Abbreviation GMT +12 New Zealand Standard Time NST GMT +11 Solomon Standard Time SST GMT +10 Australian Eastern Time AET GMT +9:30 Australia Central Time ACT GMT +9 Japan Standard Time JST GMT +8 China Taiwan Time CTT GMT +7 Vietnam Standard Time VST GMT +6 Bangladesh Standard Time BST GMT +5:30 India Standard Time IST GMT+5 Pakistan Lahore Time PLT GMT +4 Near East Time NET GMT +3:30 Middle East Time MET GMT +3 Eastern African Time/Arab Standard Time EAT/AST GMT +2 Eastern European Time EET GMT +1 European Central Time ECT GMT Greenwich Mean Time GMT GMT -1 Central African Time CAT GMT -2 Uruguay Summer Time UYST GMT -3 Argentina Standard/Brazil Eastern Time AGT/BET GMT -4 Atlantic Standard Time/Puerto Rico Time AST/PRT GMT -5 Eastern Standard Time EST GMT -6 Central Standard Time CST GMT -7 Mountain Standard Time MST GMT -8 Pacific Standard Time PST GMT -9 Alaskan Standard Time AST GMT -10 Hawaiian Standard Time HST GMT -11 Samoa Standard Time SST GMT -12 New Zealand Standard Time NST In the Date Format field, select the date and time format you want displayed on the cards.
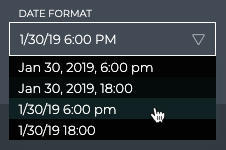
The four options include the date displayed in words or abbreviated with numbers, and either a 12- or 24-hour time representation. The default is the third option.
Change Your Password
You can change your account password at any time should you suspect someone has hacked your account or your administrator requests you to do so.
To change your password:
Click
in the application header to open the User Settings options.Click Profile & Preferences.
Locate the Basic Account Info card.
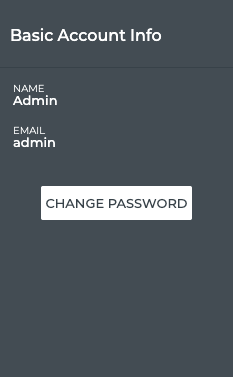
Click Change Password.
Enter your current password.
Enter and confirm a new password.
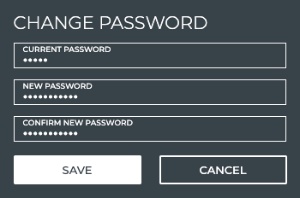
Click Save to change to the new password.
Manage Your Workbenches
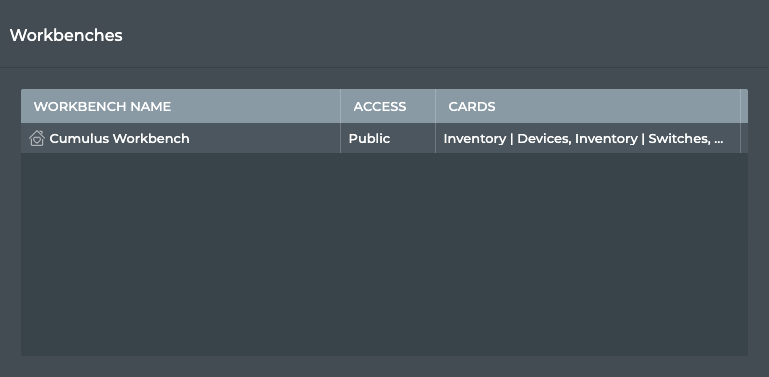
You can view all of your workbenches in a list form, making it possible to manage various aspects of them. There are public and private workbenches. Public workbenches are visible by all users. Private workbenches are visible only by the user who created the workbench. From the Workbenches card, you can:
- Specify a home workbench: This tells NetQ to open with that workbench when you log in instead of the default NetQ Workbench.
- Search for a workbench: If you have a large number of workbenches, you can search for a particular workbench by name, or sort workbenches by their access type or cards that reside on them.
- Delete a workbench: Perhaps there is one that you no longer use. You can remove workbenches that you have created (private workbenches). An administrative role is required to remove workbenches that are common to all users (public workbenches).
To manage your workbenches:
Click
in the application header to open the User Settings options.Click Profile & Preferences.
Locate the Workbenches card.
To specify a home workbench, click to the left of the desired workbench name.
 is placed there to indicate its status as your favorite workbench.
To search the workbench list by name, access type, and cards present on the workbench, click the relevant header and begin typing your search criteria.
To sort the workbench list, click the relevant header and click
 .
.To delete a workbench, hover over the workbench name to view the Delete button. As an administrator, you can delete both private and public workbenches.