Install NetQ Using the Admin UI
You can install the NetQ software using the Admin UI, which you use for either a default basic installation or an advanced installation.
This is the final set of steps for installing NetQ. If you have not already performed the installation preparation steps, go to Install the NetQ System before continuing here.
Install NetQ
To install NetQ:
Log in to your NetQ On-premises Appliance, NetQ Cloud Appliance, the master node of your cluster, or VM.
In your browser address field, enter https://<hostname-or-ipaddr>:8443.
Enter your NetQ credentials to enter the application. The default username is admin and the default password in admin.
Then click Sign In.
Click Begin Installation.
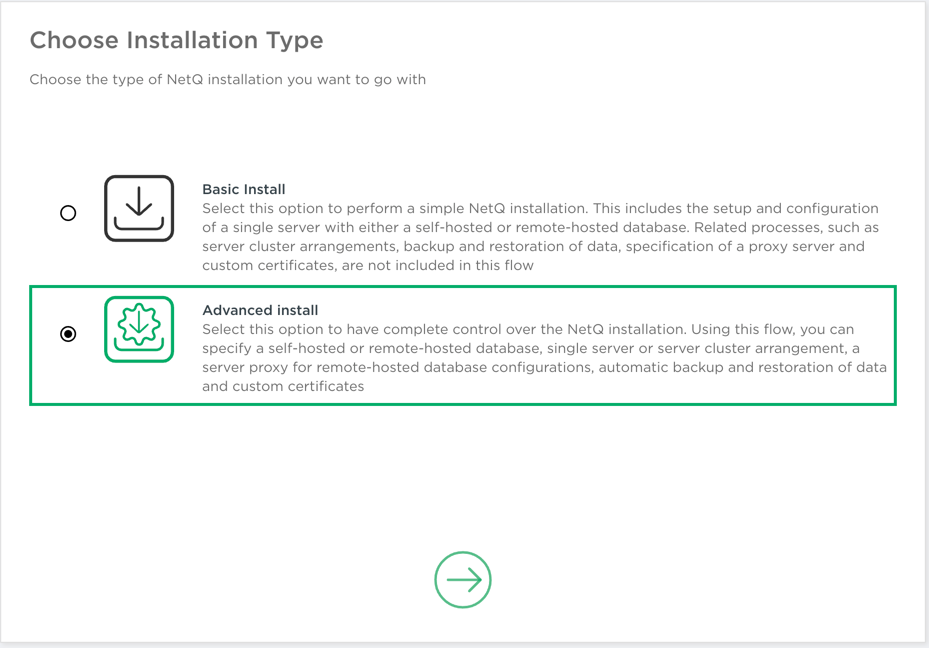
Choose an installation type: basic or advanced.
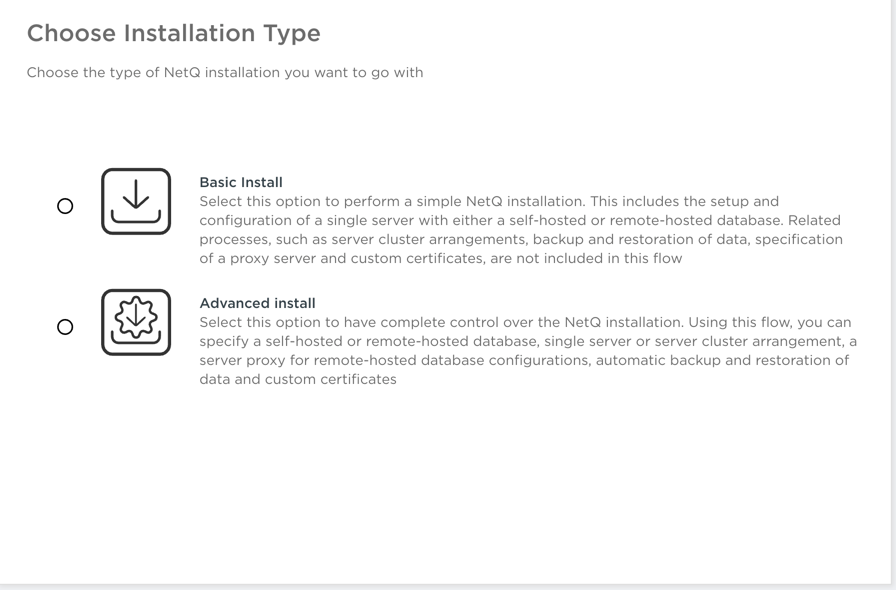
Read the descriptions carefully to be sure to select the correct type. Then follow these instructions based on your selection.
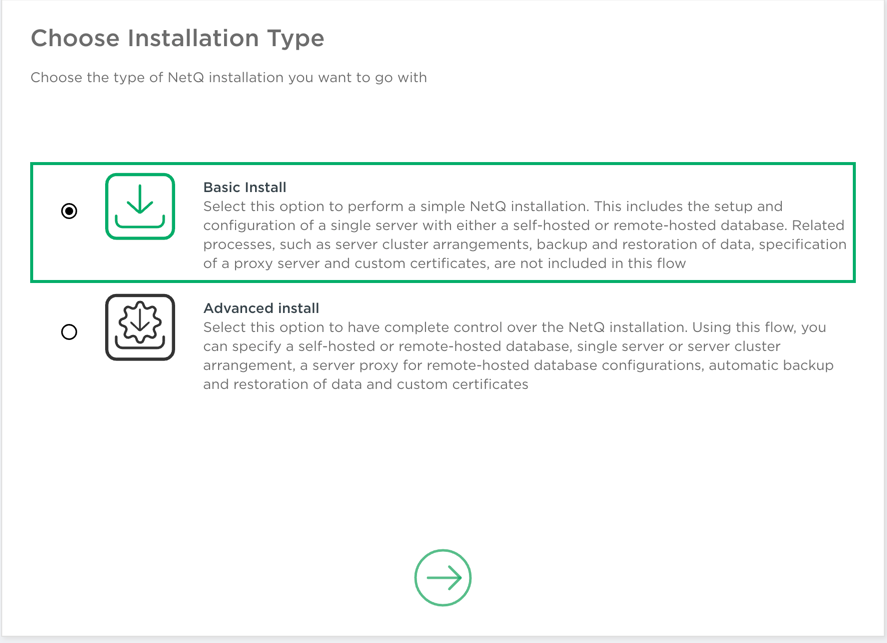
- Select Basic Install, then click
 .
.
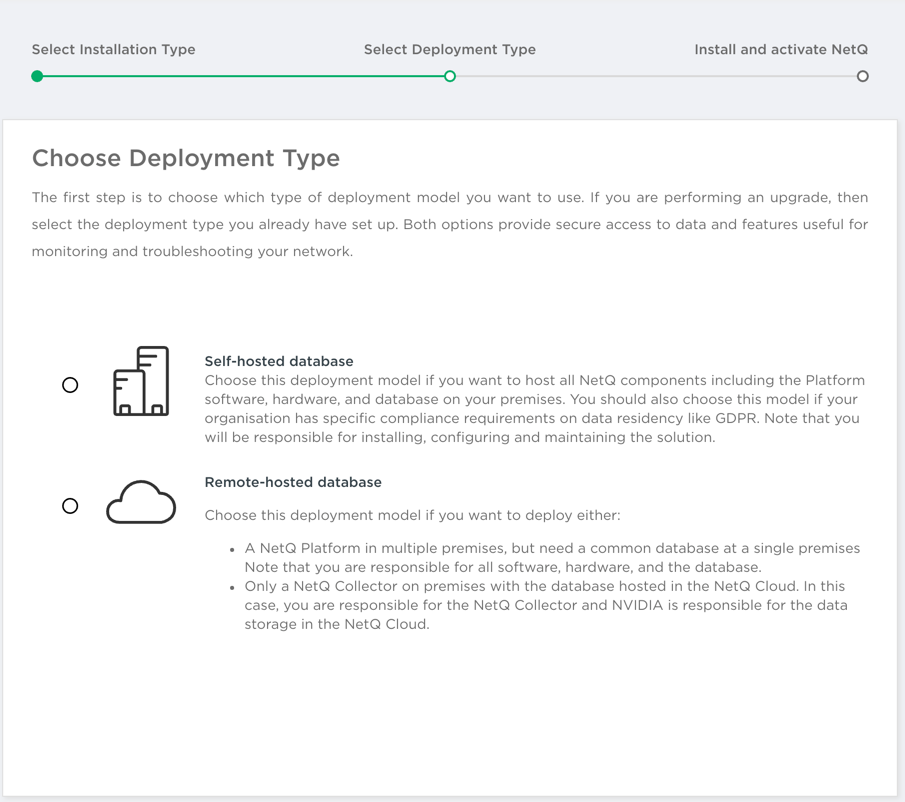
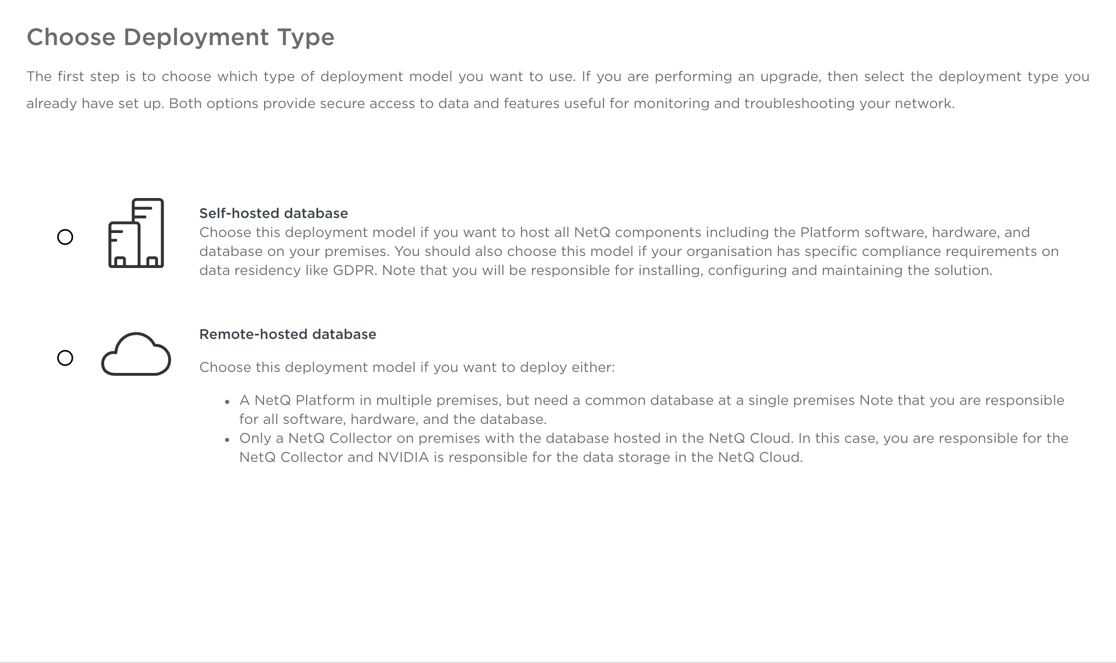
Select a deployment type.
Choose which type of deployment model you want to use. Both options provide secure access to data and features useful for monitoring and troubleshooting your network.
- Install the NetQ software according to your deployment type.
- Enter or upload the NetQ 4.0.0 tarball.
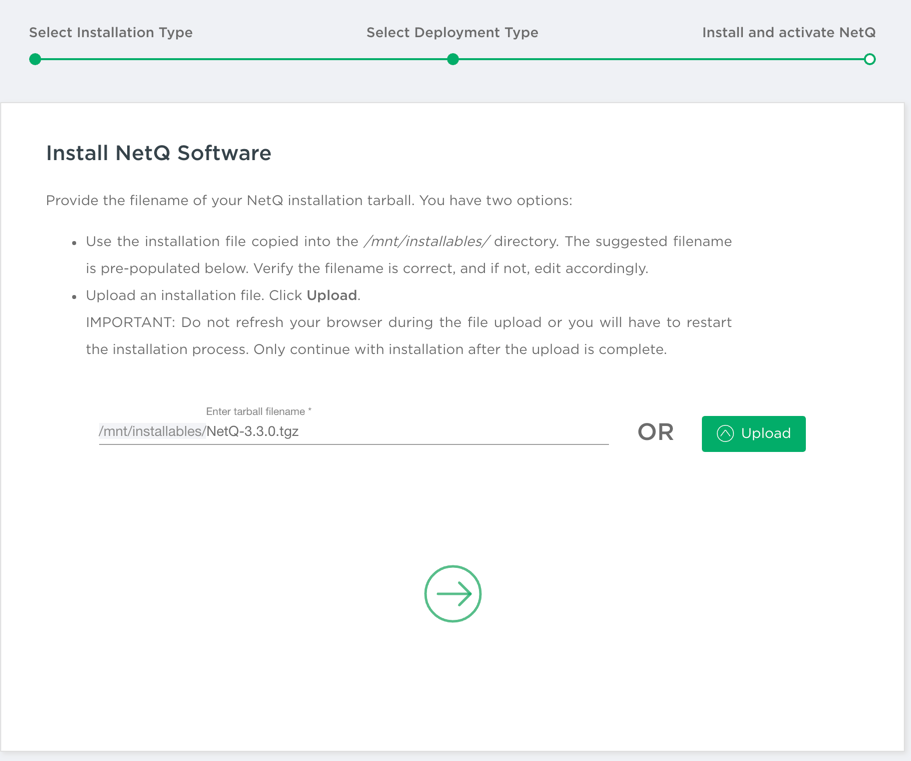
Click
once you are ready to install.NOTE: You cannot stop the installation once it has begun.
Enter or upload the NetQ 4.0.0 tarball.
Enter your configuration key.
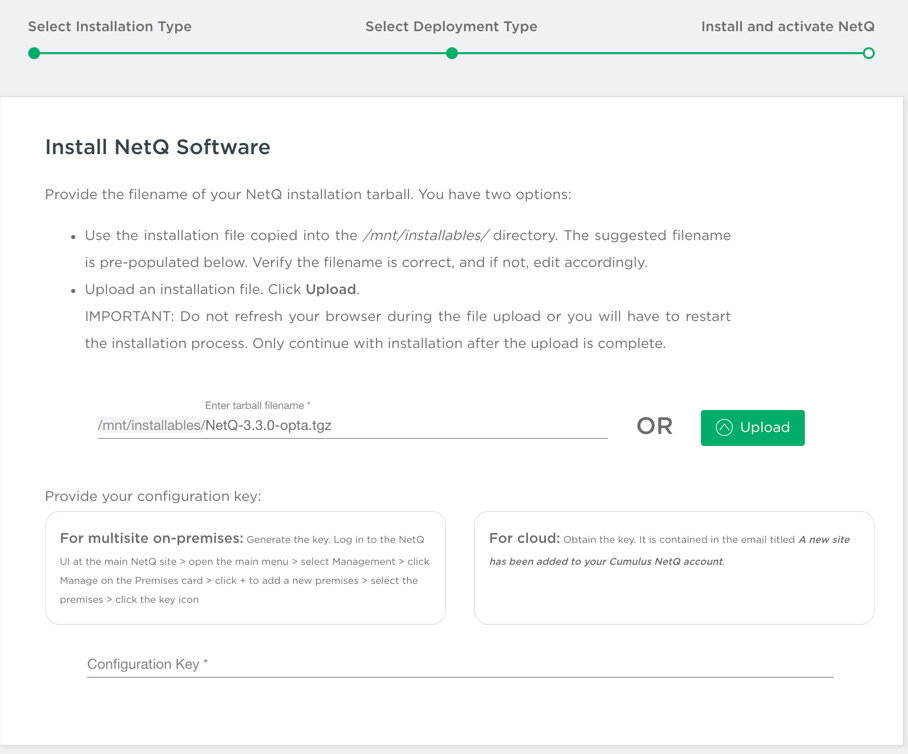
Click
.NOTE: You cannot stop the installation once it has begun.
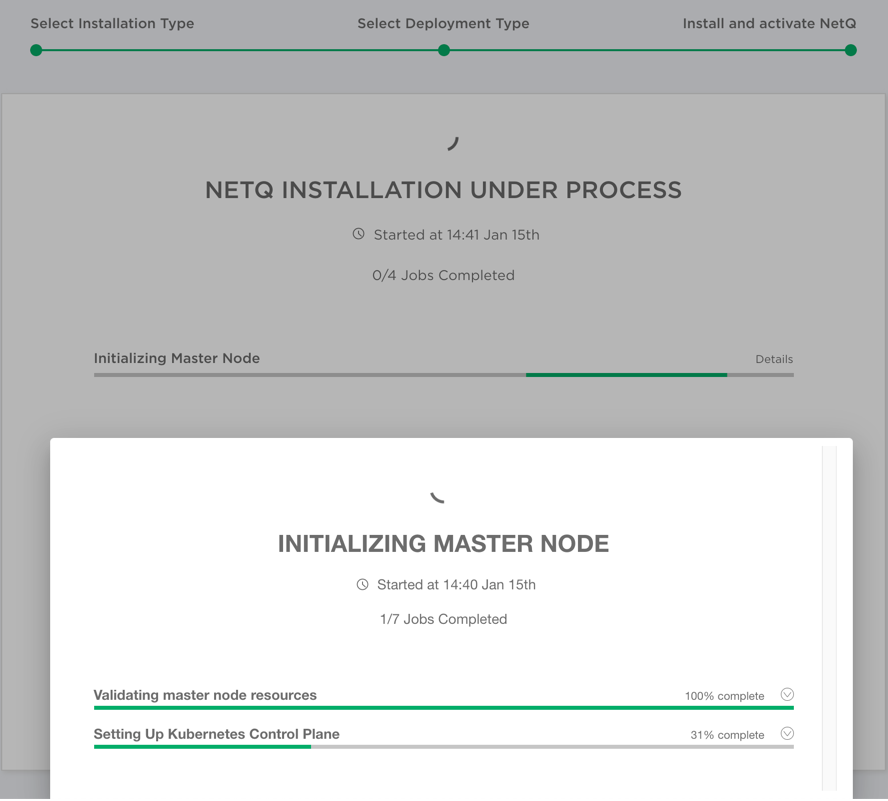
- Monitor the progress of the installation job. Click Details for a job to see more granular progress.
Installation Results
If the installation succeeds, you are directed to the Health page of the Admin UI. Refer to View NetQ System Health.
If the installation fails, a failure indication is given.
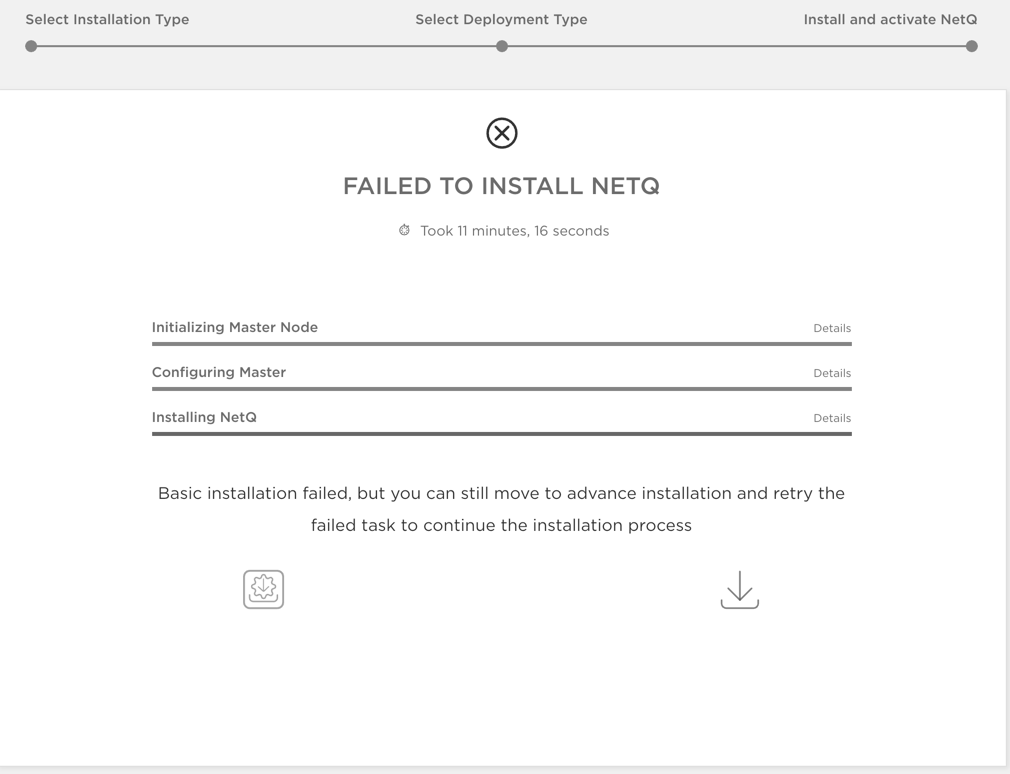
Click
 to download a json file with a description why the installation failed.
Can the error can be resolved by moving to the advanced configuration flow?
- No: close the Admin UI, resolve the error, run
netq boostrap resetandnetq bootstrap mastercommands, then reopen the Admin UI to start installation again. - Yes: click
 to be taken to the advanced installation flow and retry the failed task. Refer to the Advanced tab for instructions.
- No: close the Admin UI, resolve the error, run
- Select Advanced Install, then click .
Select your deployment type.
Choose the deployment model you want to use. Both options provide secure access to data and features useful for monitoring and troubleshooting your network.
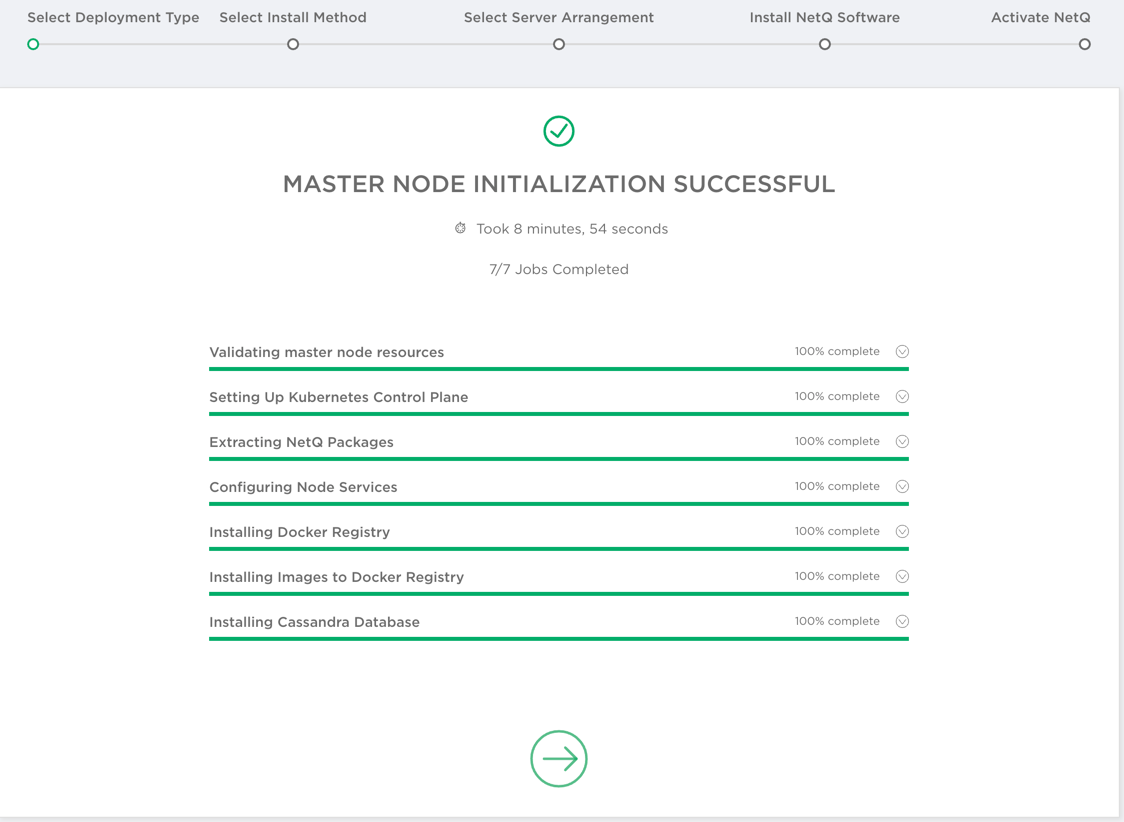
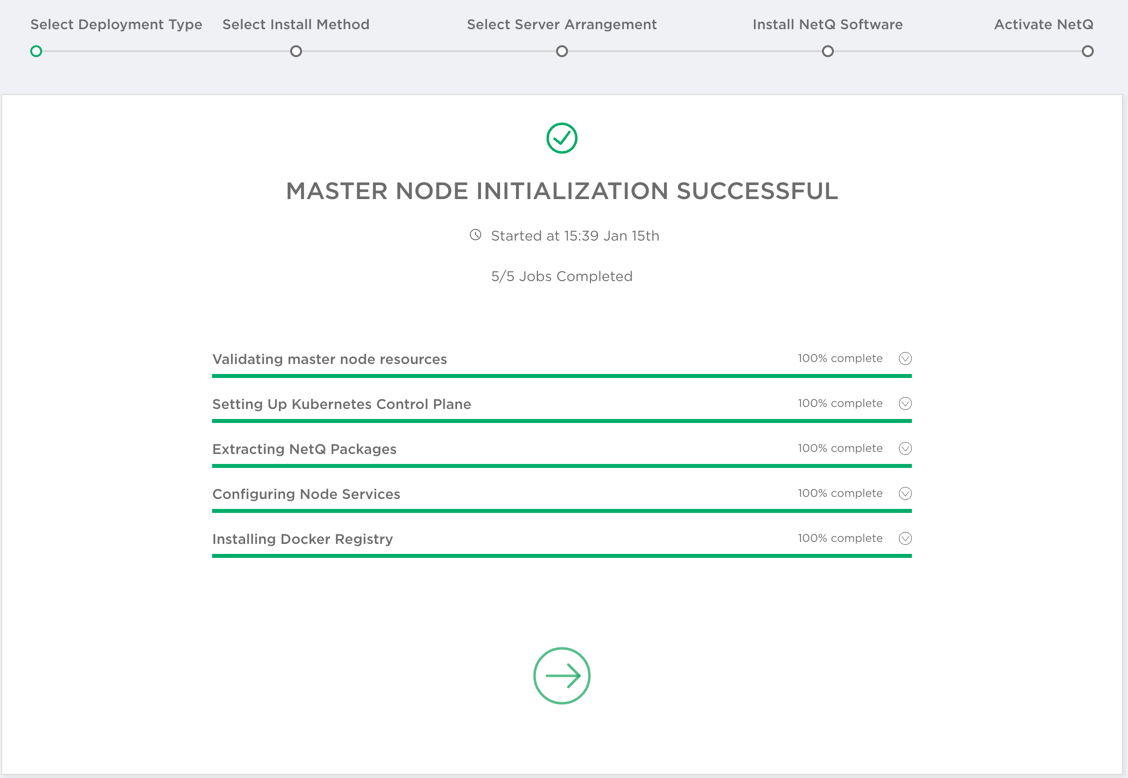
- Monitor the initialization of the master node. When complete, click .
Self-hosted, on-premises deployment
Remote-hosted, multi-site or cloud deployment
For on-premises (self-hosted) deployments only, select your install method. For cloud deployments, skip to step E.
Choose between restoring data from a previous version of NetQ or performing a fresh installation.
If you are moving from a standalone to a server cluster arrangement, you can only restore your data one time. After the data has been converted to the cluster schema, it cannot be returned to the single server format.
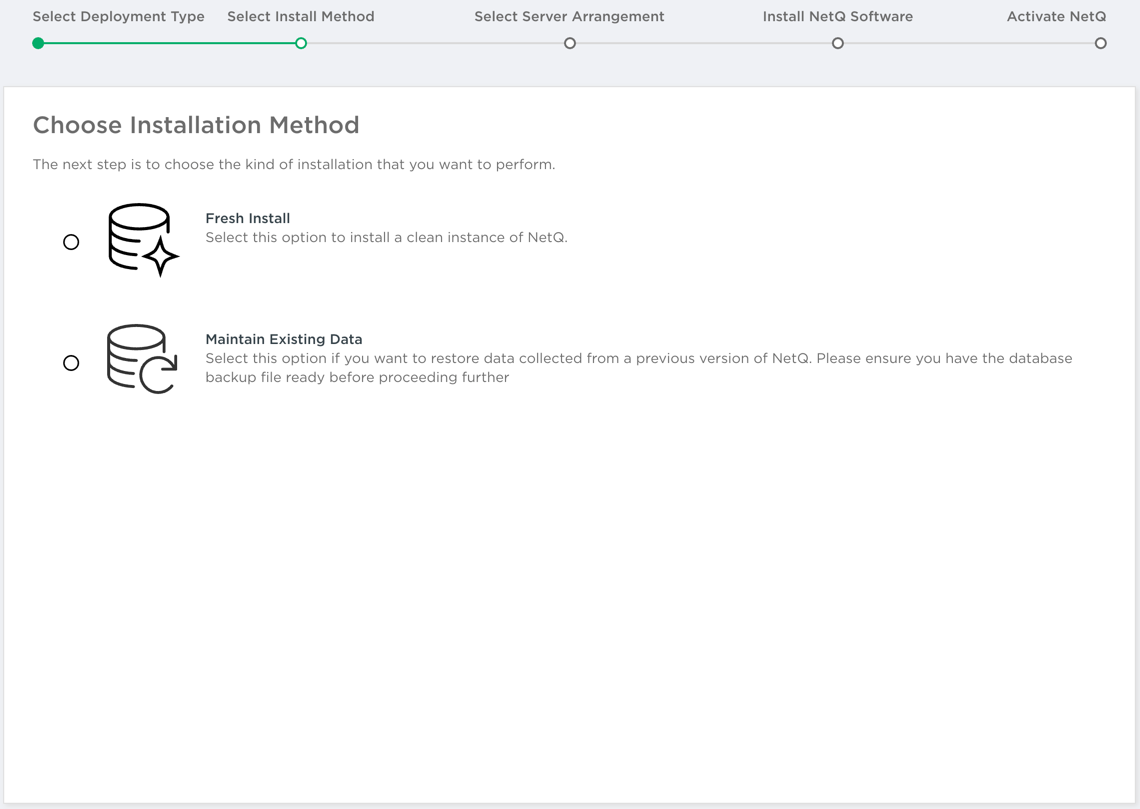
- Fresh Install: Continue with step E.
- Maintain Existing Data (on-premises only): If you have created a backup of your NetQ data, choose this option. Enter the restoration filename in the field provided and click or upload it.

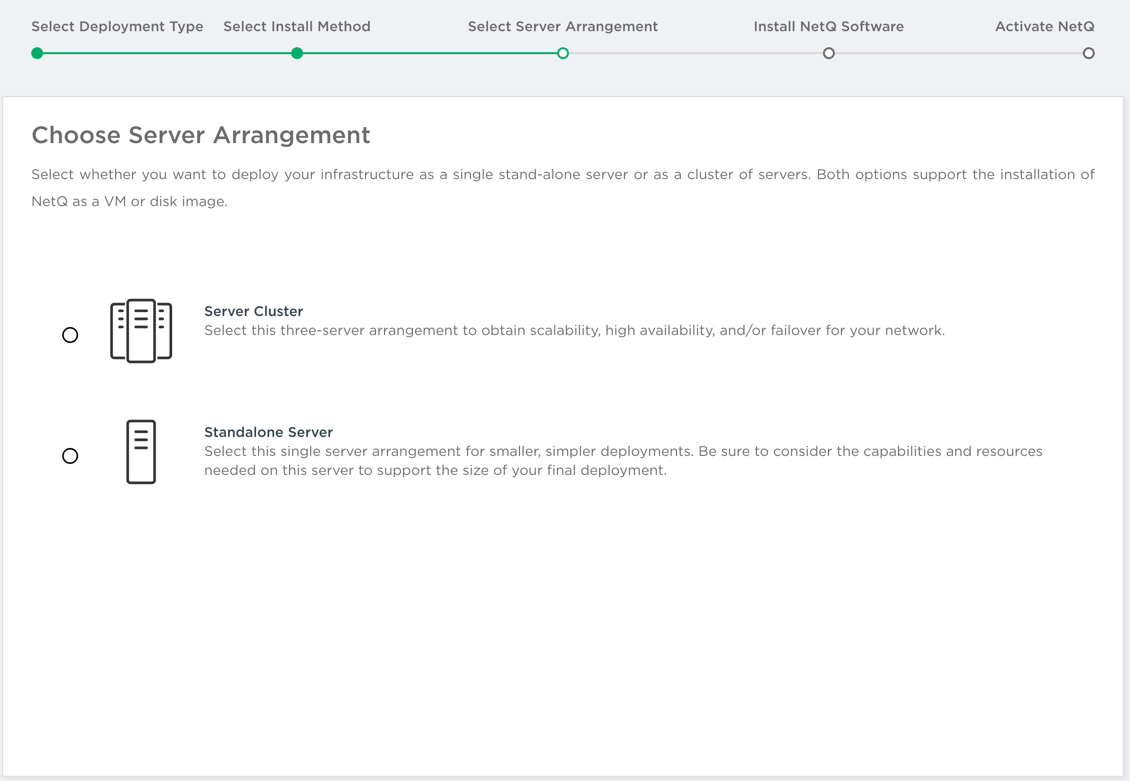
Select your server arrangement.
Select whether you want to deploy your infrastructure as a single stand-alone server or as a cluster of servers.
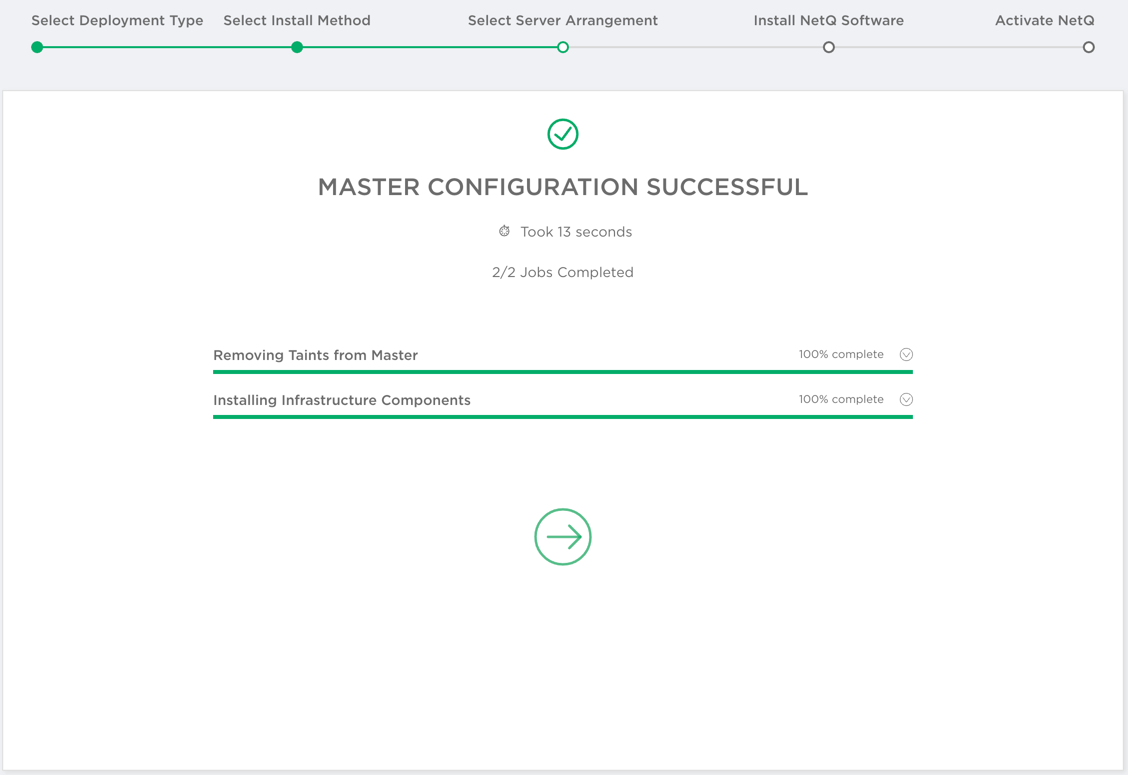
Monitor the master configuration. When complete click
.
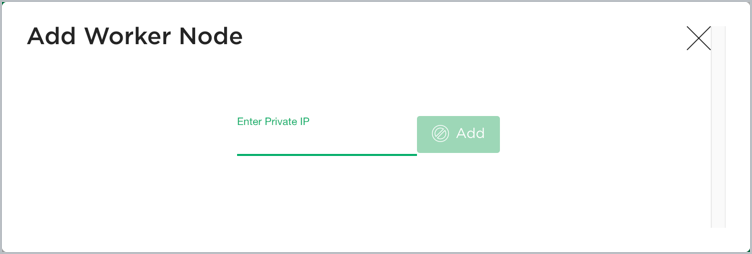
Use the private IP addresses that you assigned to the nodes being used as worker nodes to add the worker nodes to the server cluster.
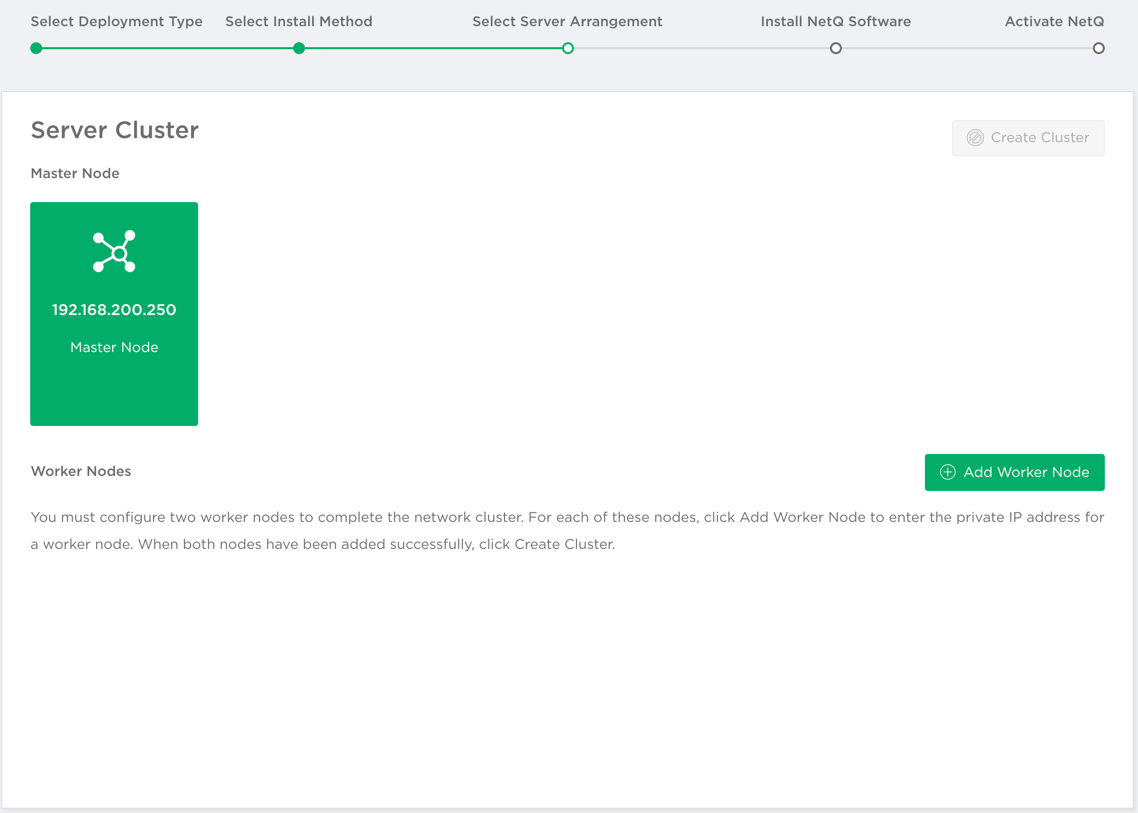
Click Add Worker Node. Enter the unique private IP address for the first worker node. It cannot be the same as the master node or other worker nodes. Click Add.
Monitor the progress. When complete click
.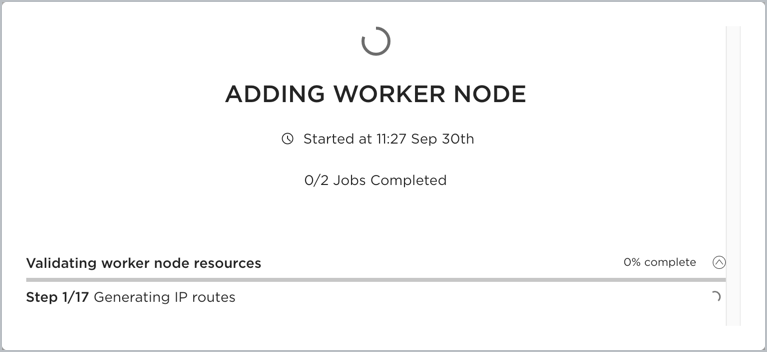
Repeat these steps for the second worker node.
Click Create Cluster. When complete click
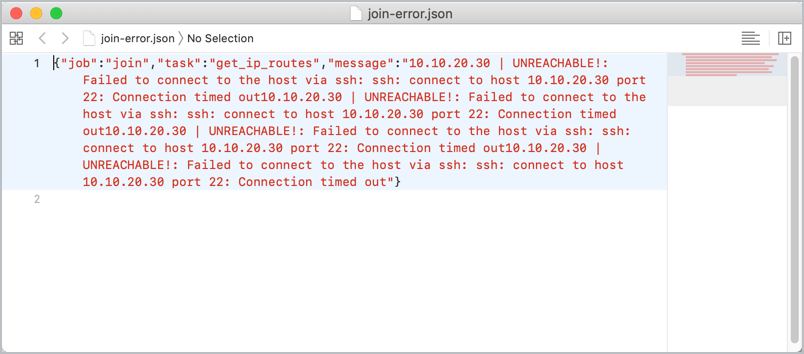
.If either of the add worker jobs fail, an indication is given. For example, the IP address provided for the worker node was unreachable. You can see this by clicking
to open the error file.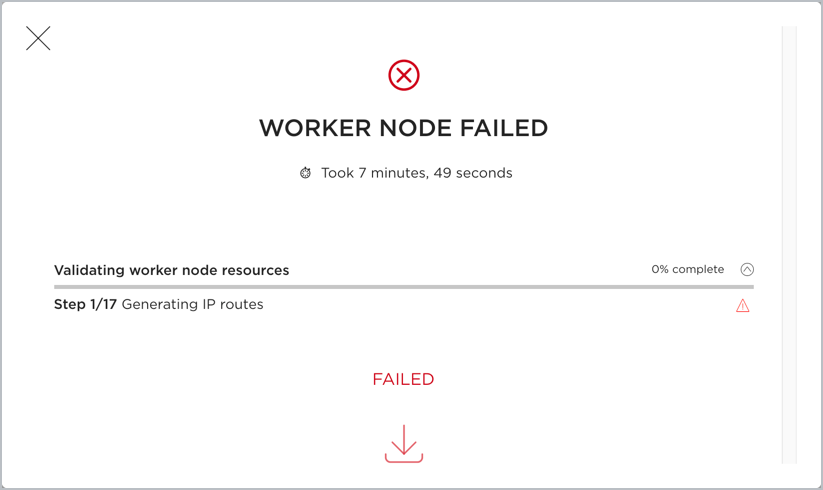
Refer to Add More Nodes to Your Server Cluster to add additional worker nodes after NetQ installation is complete.
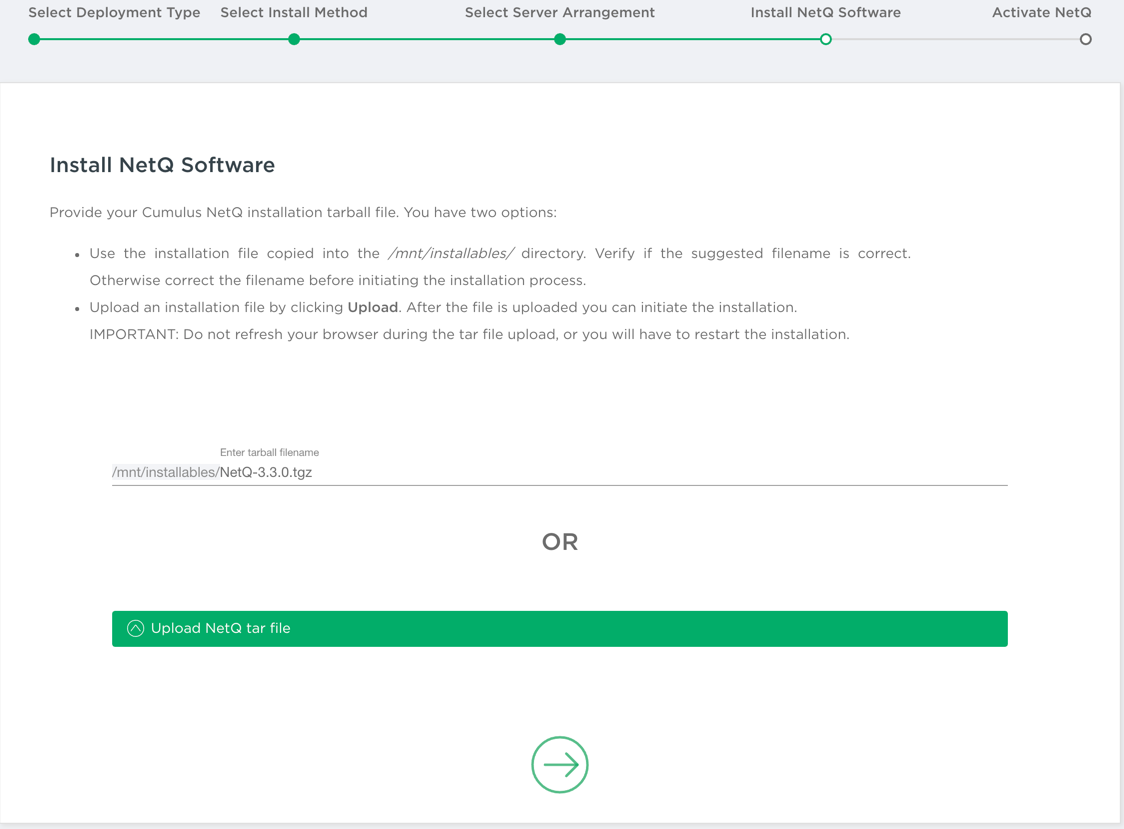
Install the NetQ software.
You install the NetQ software using the installation files (
NetQ-4.0.0-tgzfor on-premises deployments orNetQ-4.0.0-opta.tgzfor cloud deployments) that you downloaded and stored previously.For on-premises: Accept the path and filename suggested, or modify these to reflect where you stored your installation file, then click
. Alternately, upload the file.
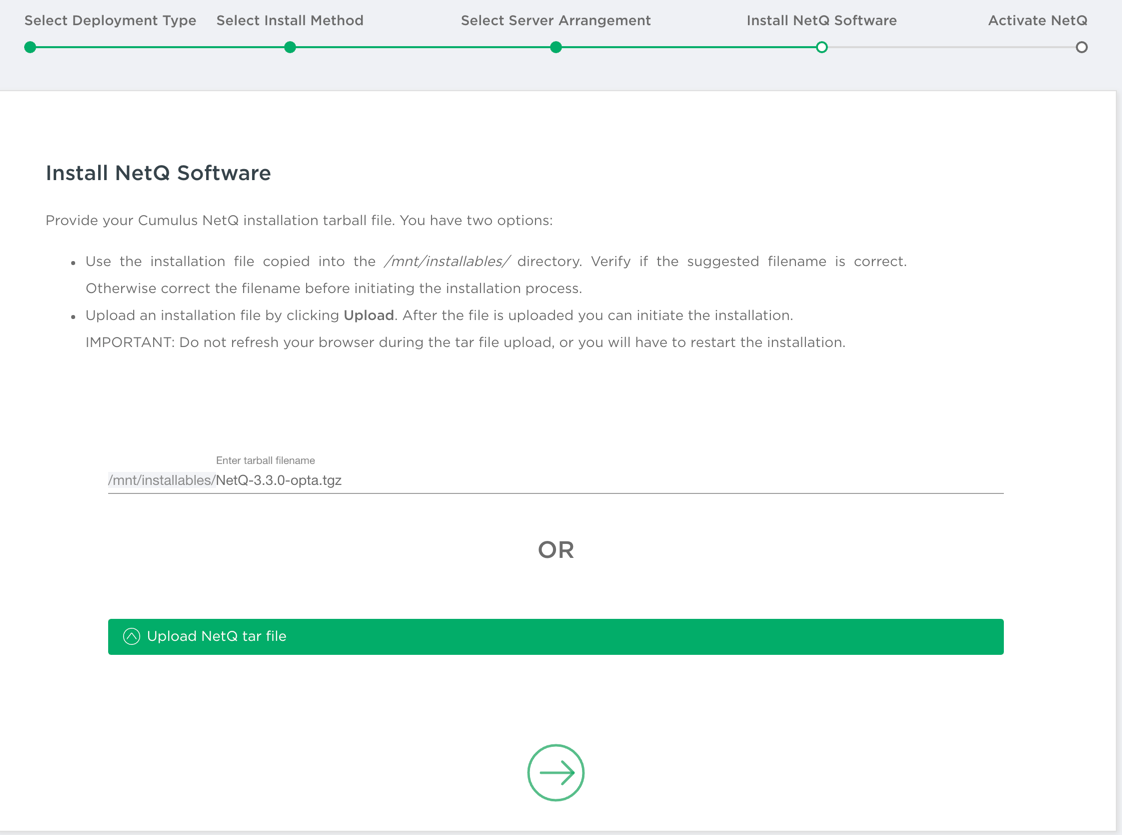
For cloud: Accept the path and filename suggested, or modify these to reflect where you stored your installation file. Enter your configuration key. Then click
.
If the installation fails, a failure indication is given. For example:
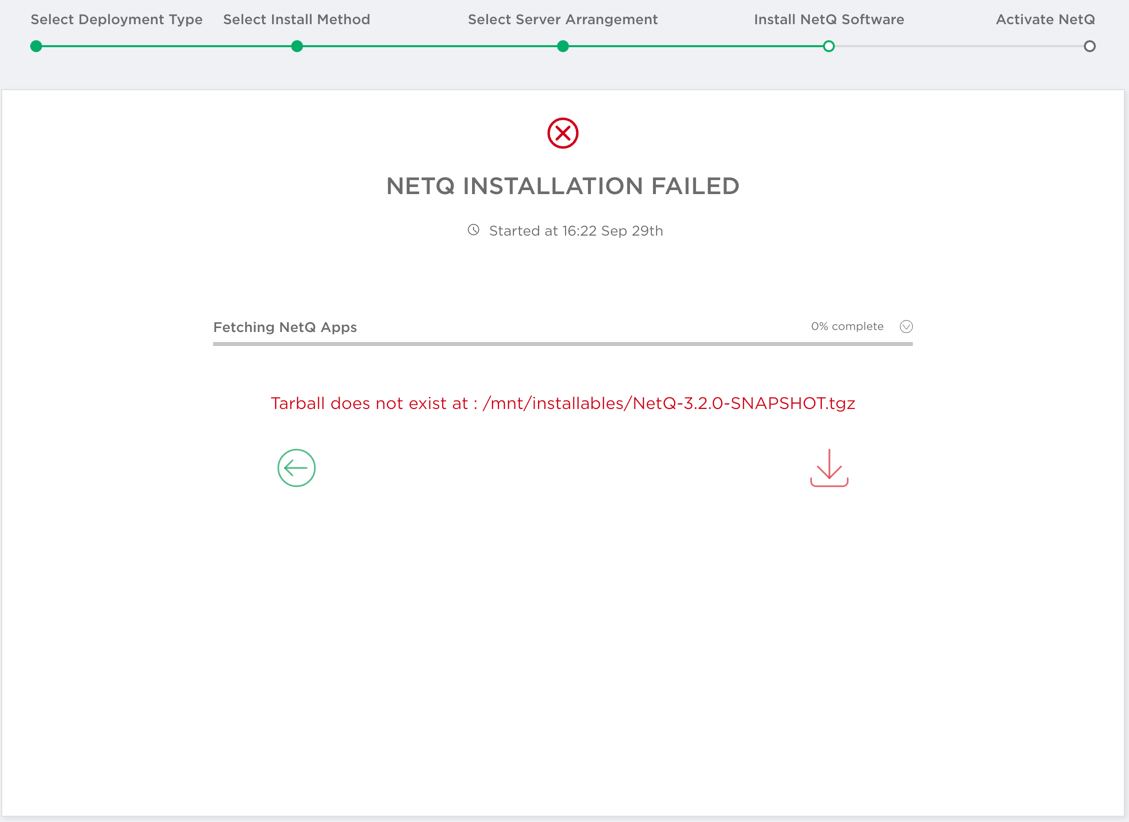
Click
to download an error file in JSON format, or click  to return to the previous step.
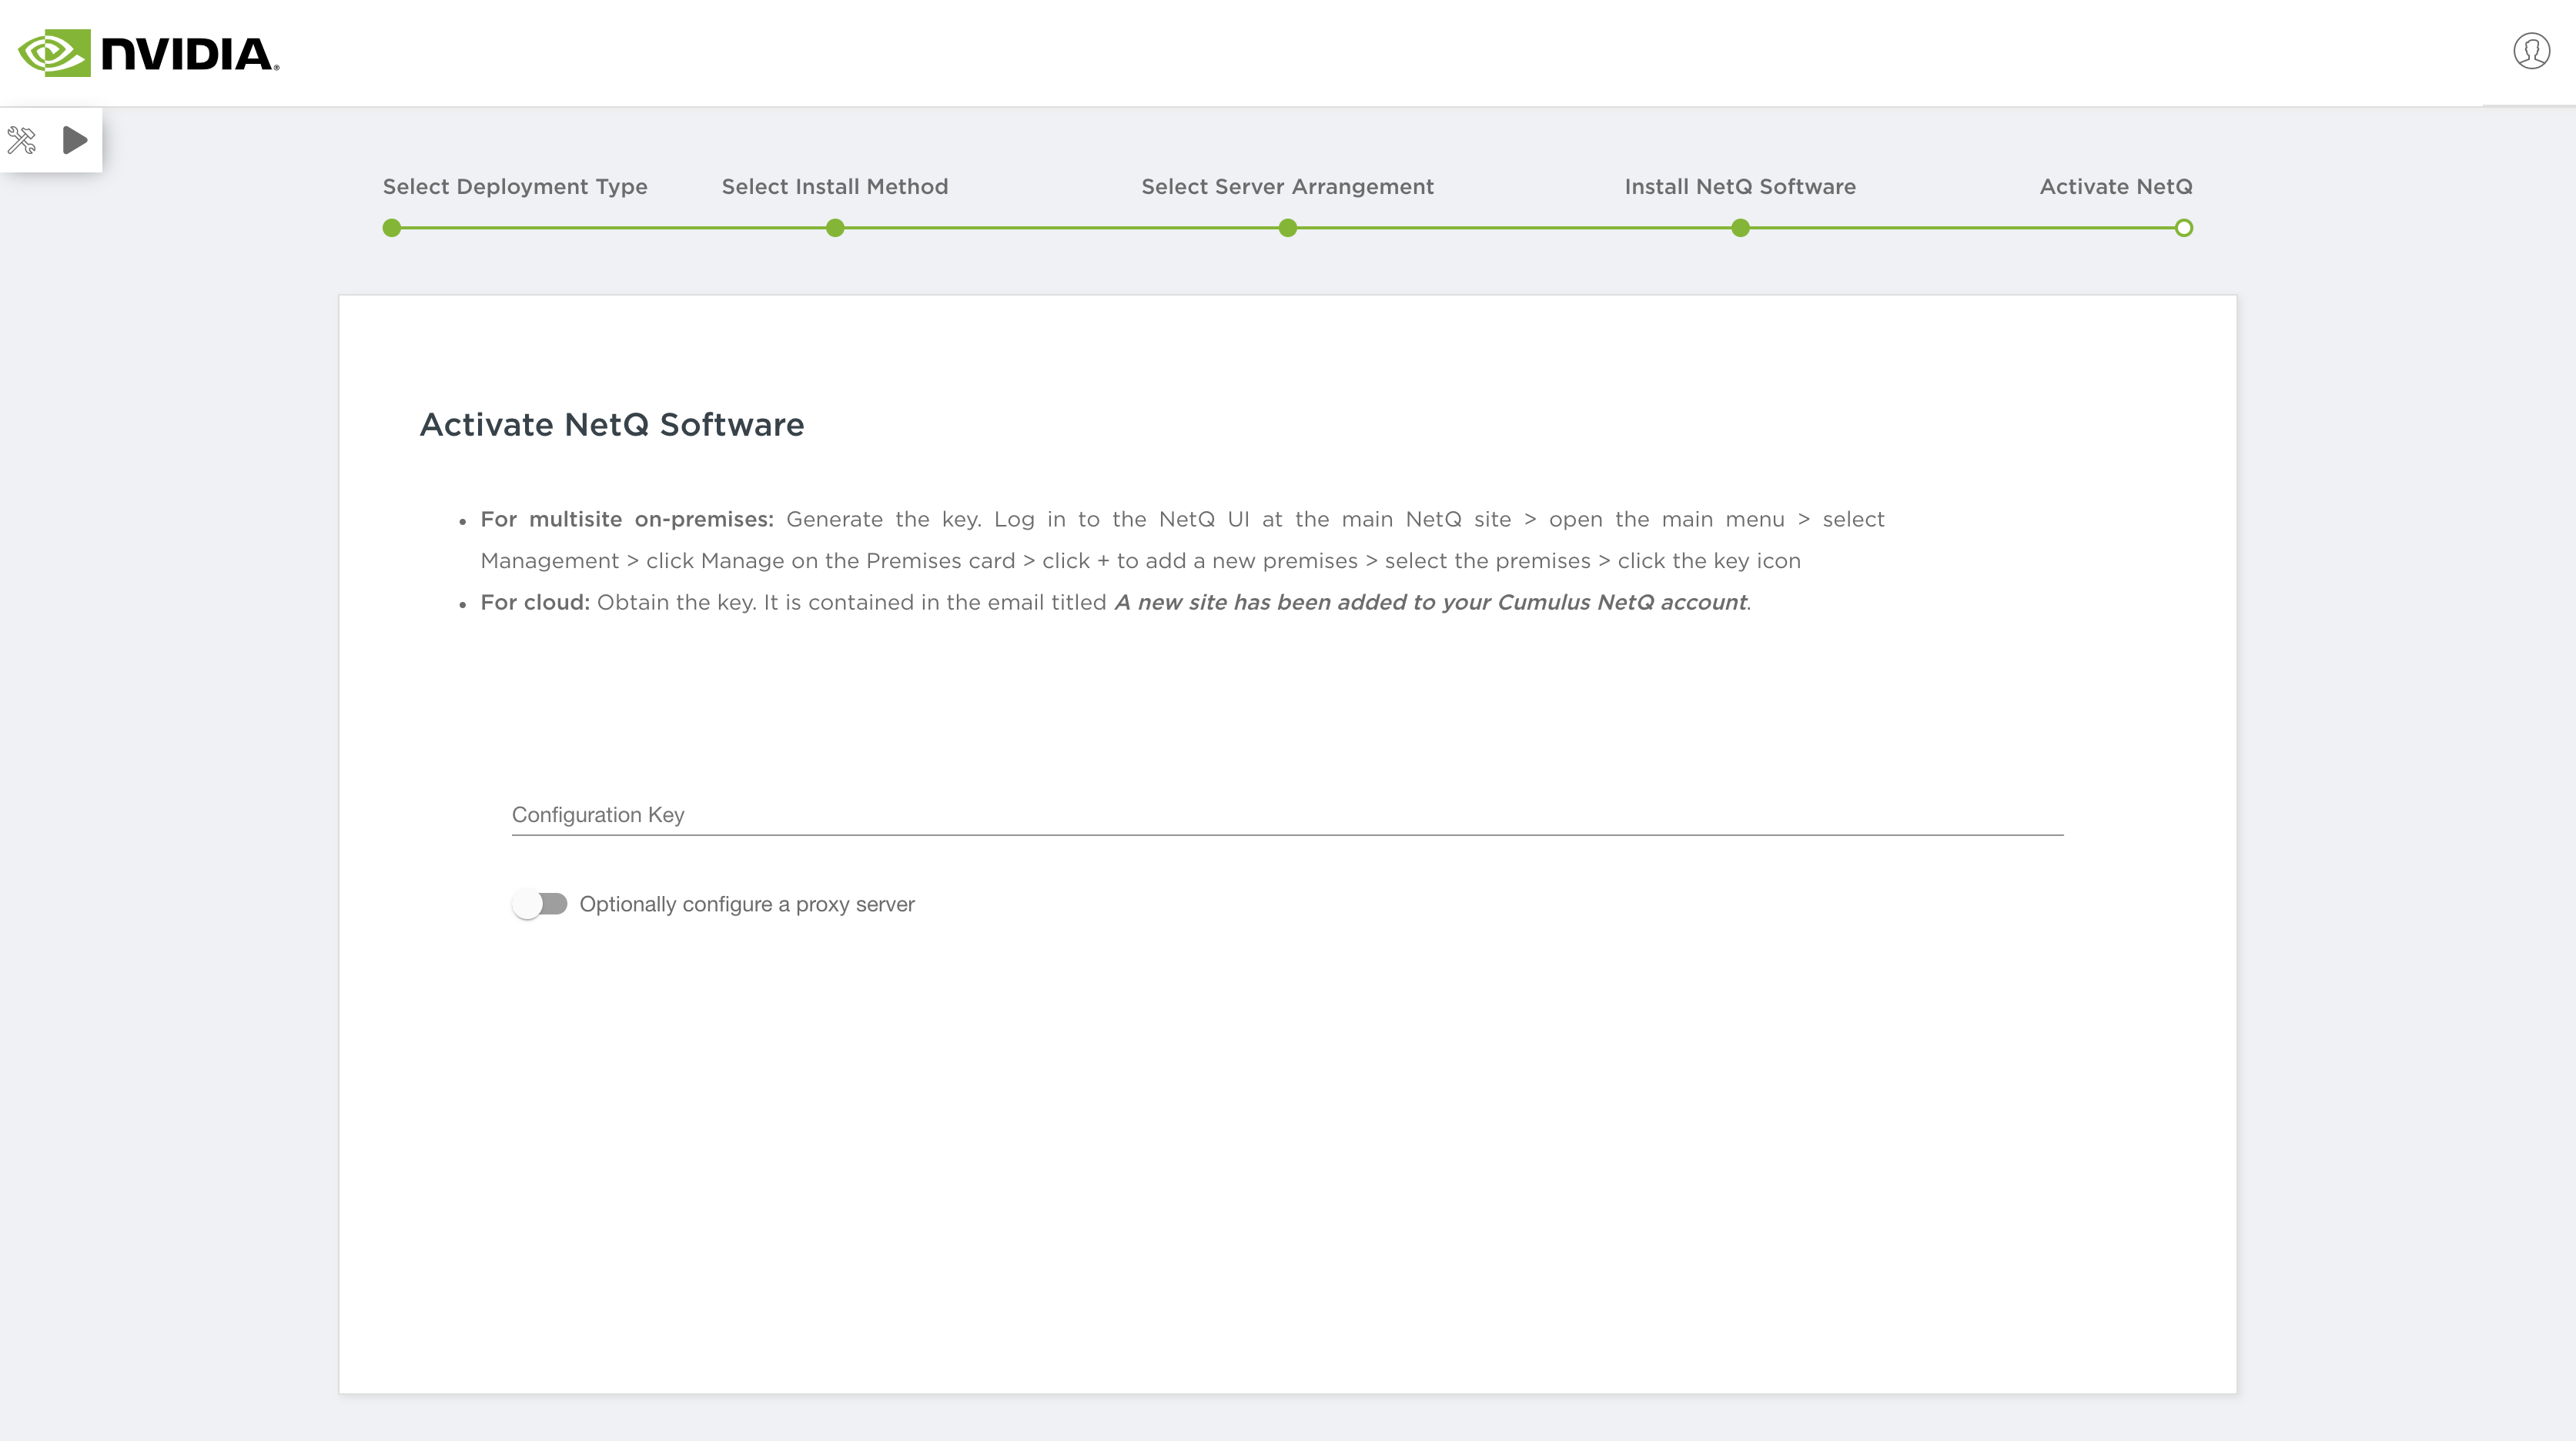
Activate NetQ.
This final step activates the software and enables you to view the health of your NetQ system. For remote deployments, you must enter your configuration key.
- Select Basic Install, then click
View NetQ System Health
When the installation and activation is complete, the NetQ System Health dashboard is visible for tracking the status of key components in the system. The cards displayed represent the deployment chosen:
| Server Arrangement | Deployment Type | Node Card/s | Pod Card | Kafka Card | Zookeeper Card | Cassandra Card |
|---|---|---|---|---|---|---|
| Standalone server | On-premises | Master | Yes | Yes | Yes | Yes |
| Standalone server | Cloud | Master | Yes | No | No | No |
| Server cluster | On-premises | Master, 2+ Workers | Yes | Yes | Yes | Yes |
| Server cluster | Cloud | Master, 2+ Workers | Yes | No | No | No |
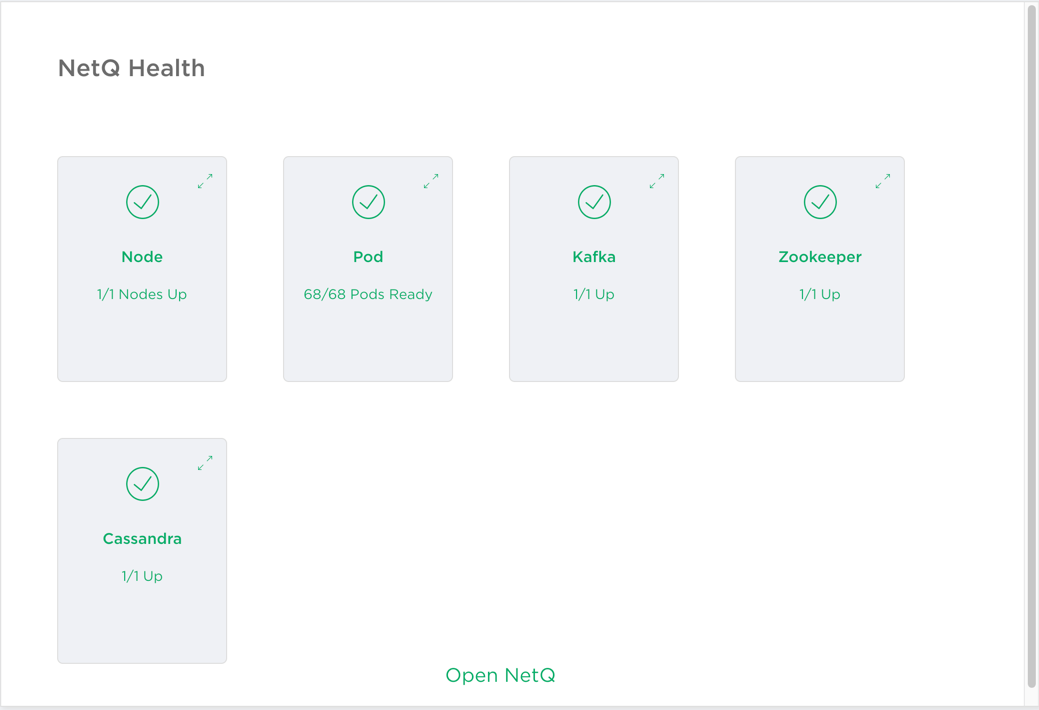
Self-hosted, on-premises deployment
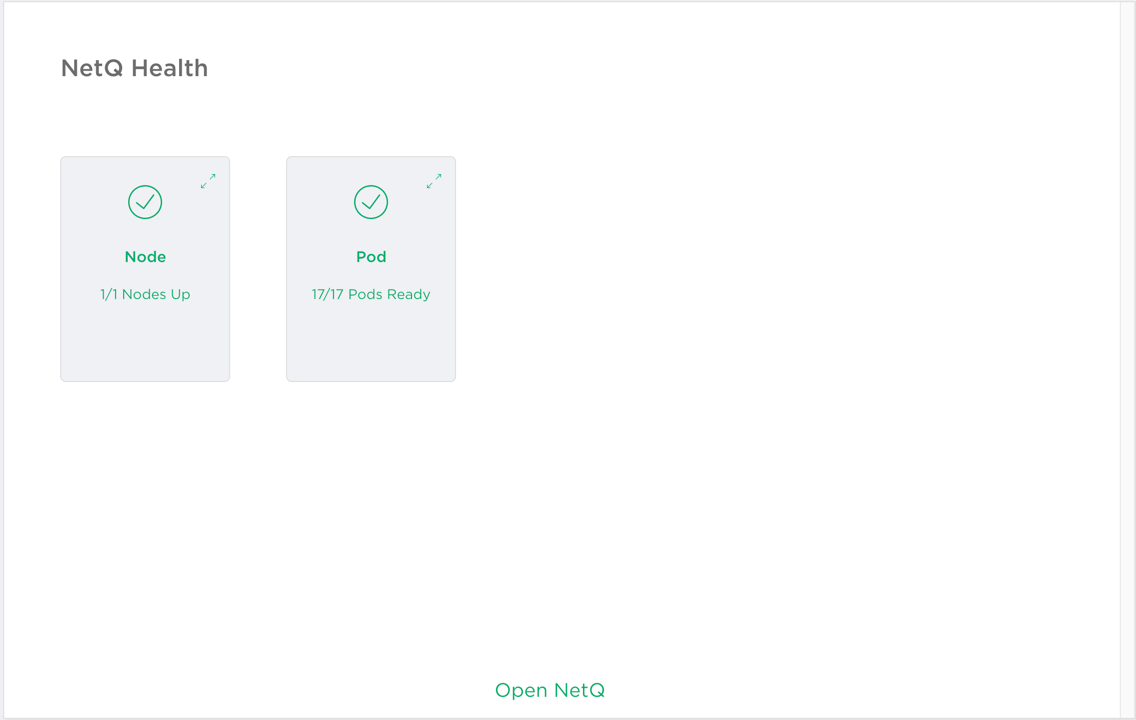
Remote-hosted, mulit-site or cloud, deployment
If you have deployed an on-premises solution, you can add a custom signed certificate. Refer to Install a Certificate for instructions.
Click Open NetQ to enter the NetQ UI application.