Premises Management
Managing premises involves renaming existing premises or creating multiple premises.
Configure Multiple Premises
The NetQ Management dashboard lets you configure a single NetQ UI and CLI for monitoring data from multiple premises. This mean you do not need to log in to each premises to view the data.
There are two ways to implement a multi-site, on-premises deployment: either as a full deployment at each premises or as a full deployment at the primary site with a smaller deployment at secondary sites.
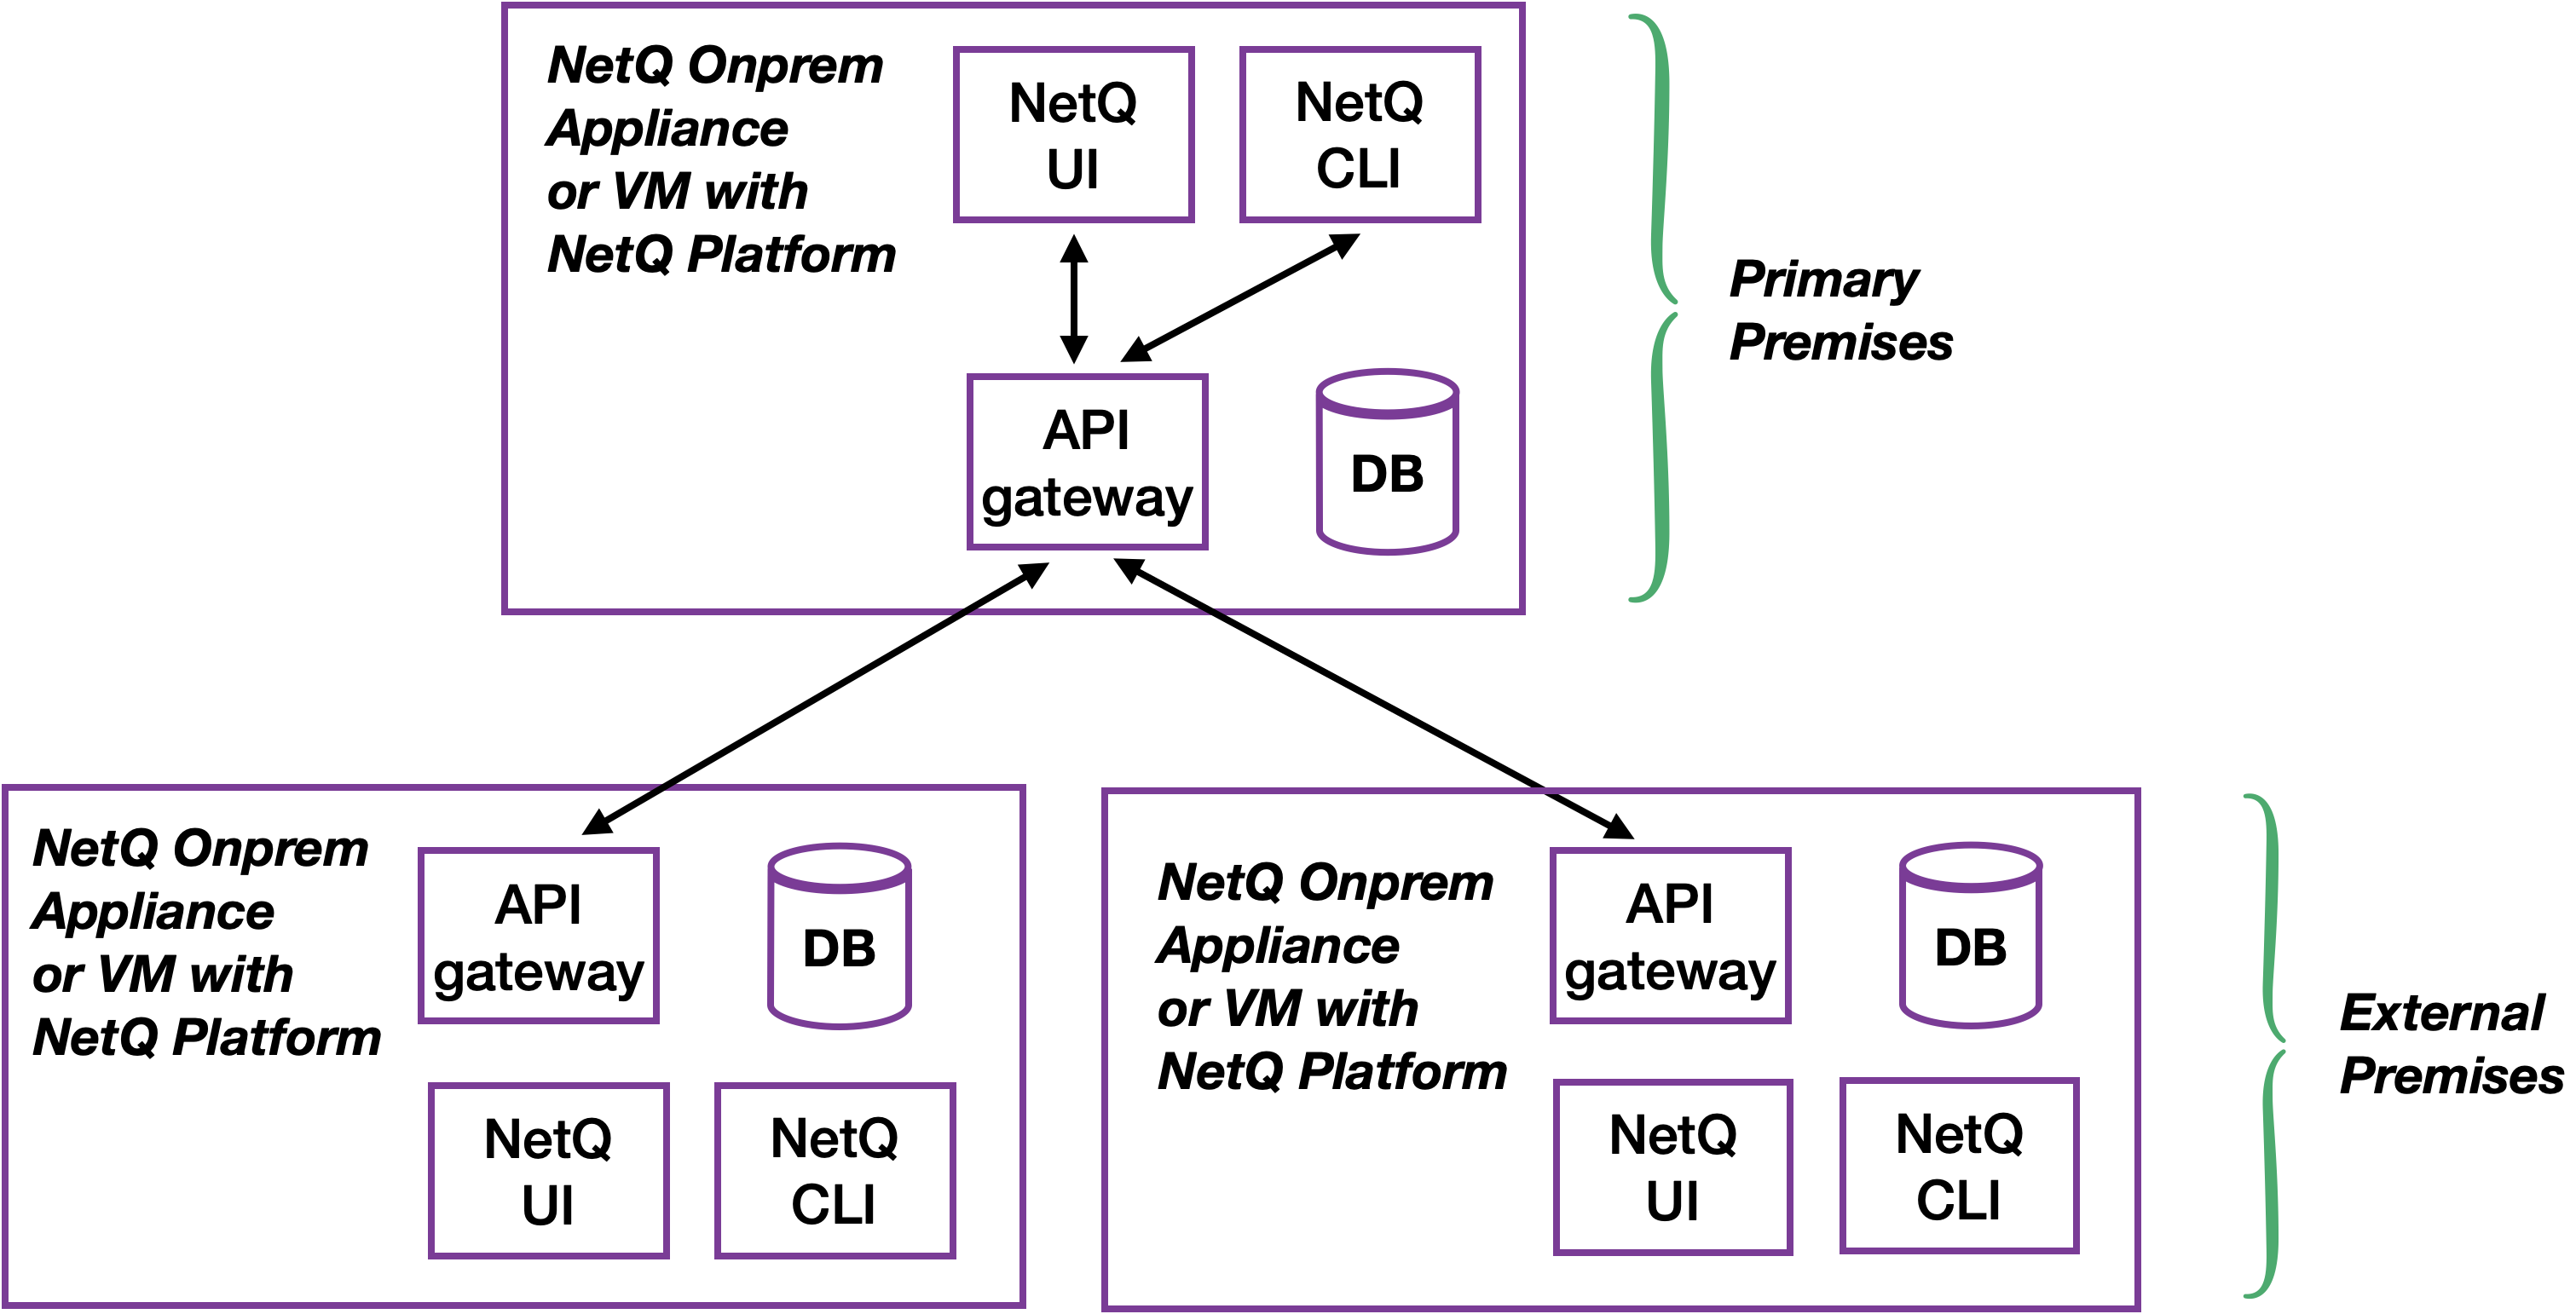
Full NetQ Deployment at Each Premises
In this implementation, there is a NetQ appliance or VM running the NetQ Platform software with a database. Each premises operates independently, with its own NetQ UI and CLI. The NetQ appliance or VM at one of the deployments acts as the primary premises for the premises in the other deployments. A list of these secondary premises is stored with the primary deployment.
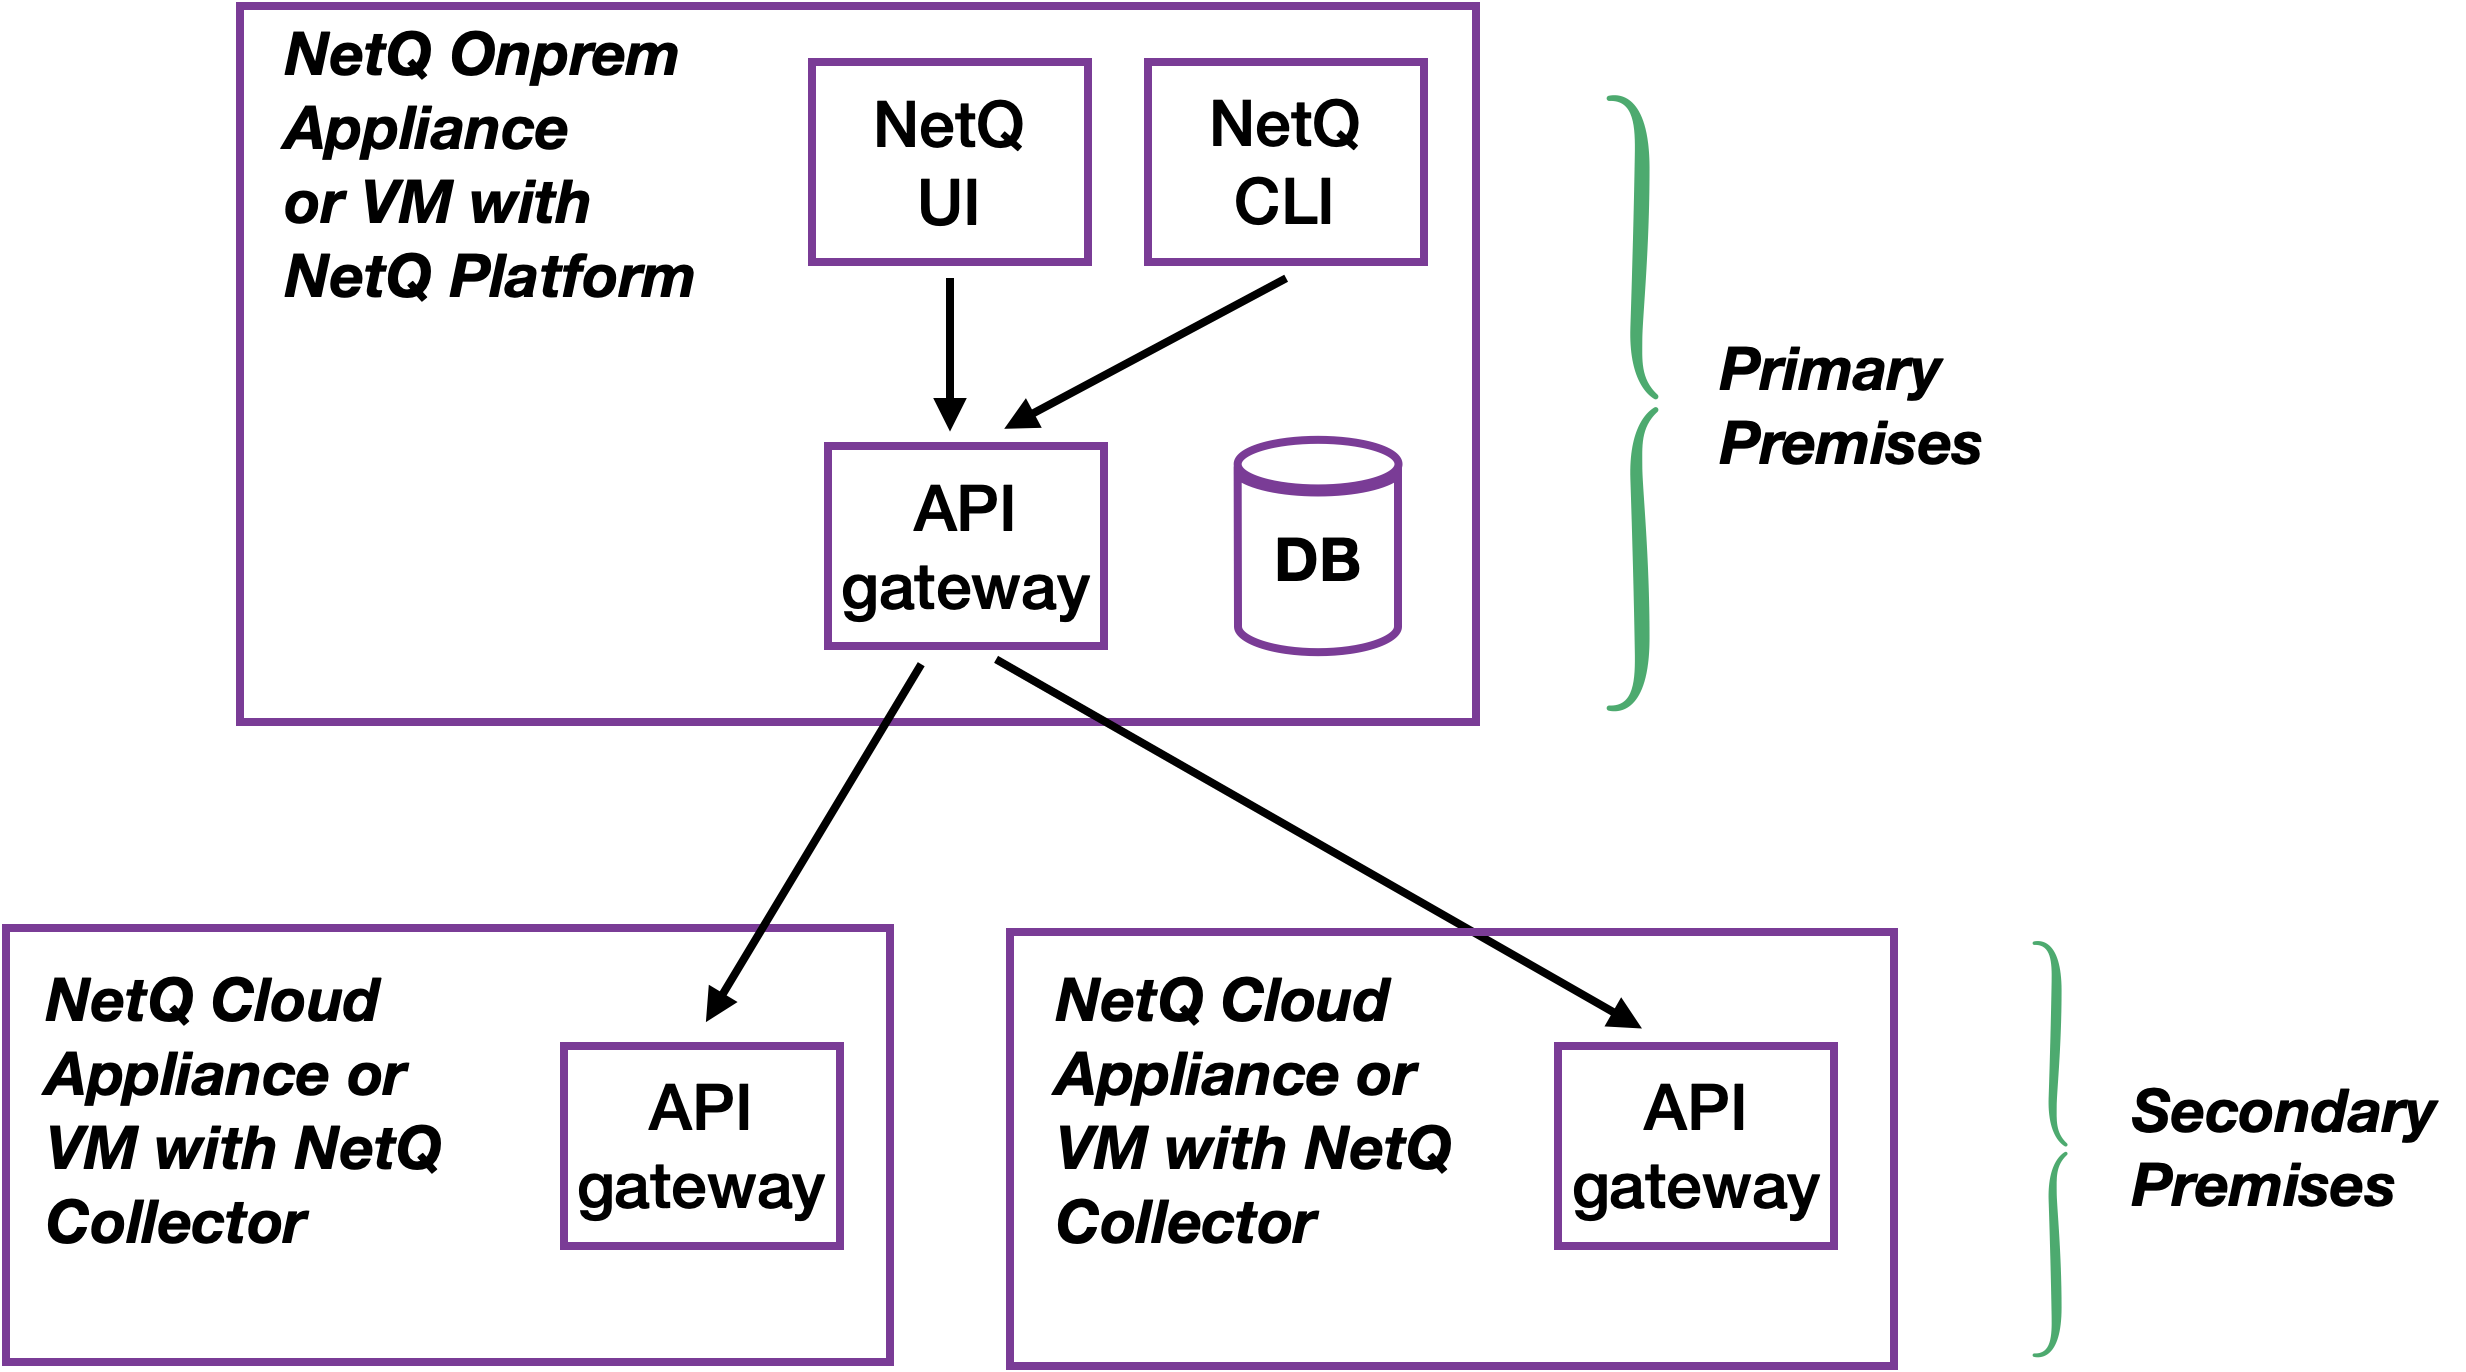
Full NetQ Deployment at Primary Site and Smaller Deployment at Secondary Sites
In this implementation, there is a NetQ appliance or VM at one of the deployments acting as the primary premises for the premises in the other deployments. The primary premises runs the NetQ Platform software (including the NetQ UI and CLI) and houses the database. All other deployments are secondary premises; they run the NetQ Controller software and send their data to the primary premises for storage and processing. A list of these secondary premises is stored with the primary deployment.
After the multiple premises are configured, you can view this list of premises in the NetQ UI at the primary premises, change the name of premises on the list, and delete premises from the list.
To configure secondary premises so that you can view their data using the primary site NetQ UI, follow the instructions for the relevant deployment type of the secondary premises.
In this deployment model, each NetQ deployment can be installed separately. The data is stored and can be viewed from the NetQ UI at each premises.
To configure a these premises so that their data can be viewed from one premises:
On the workbench, under Premises, click
 .
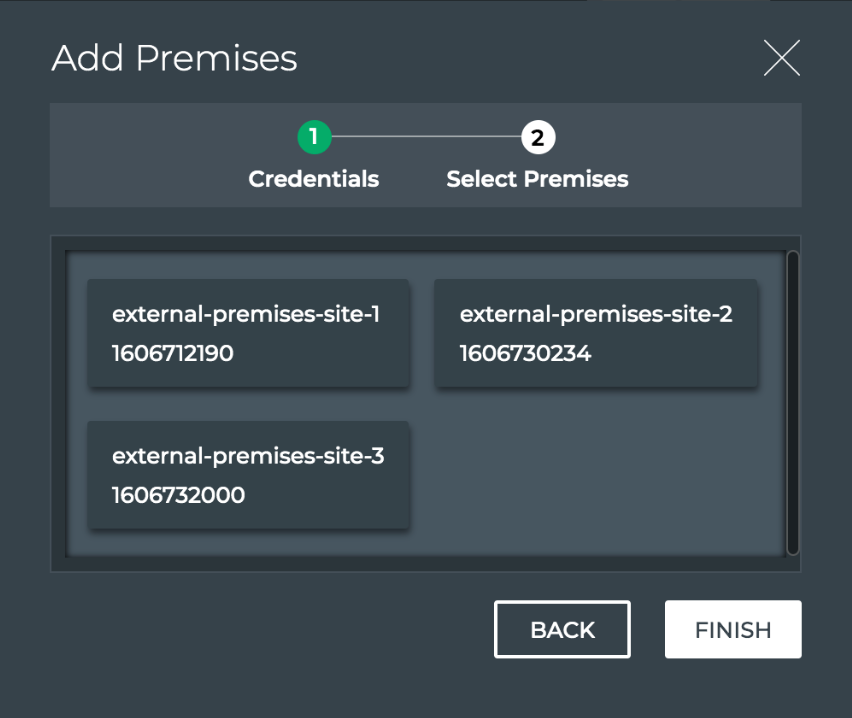
.Select Manage Premises, then External Premises.
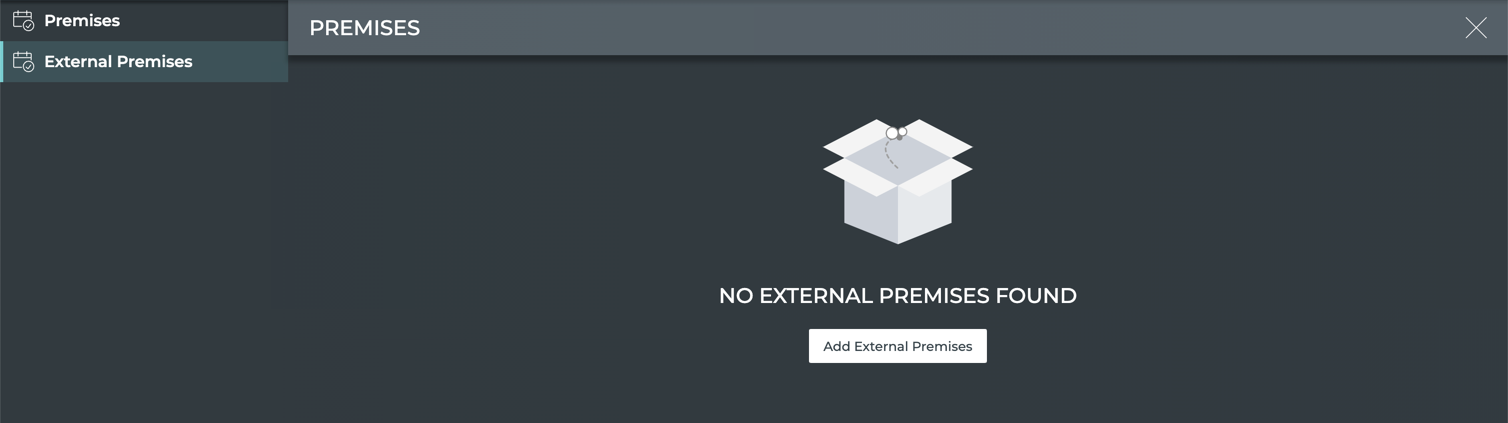
- Select Add External Premises.
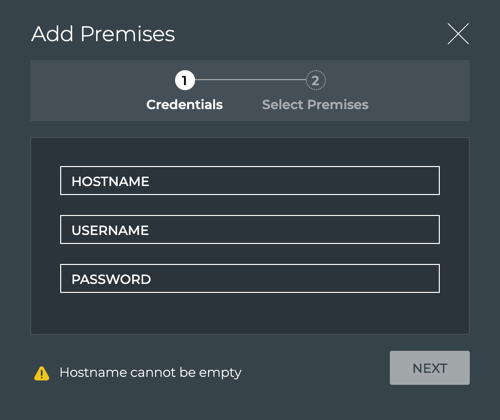
Enter the IP address for the API gateway on the NetQ appliance or VM for one of the secondary premises.
Enter the access credentials for this host then click Next.
Select the premises you want to connect then click Finish.
- Add additional secondary premises by clicking
 .
.
In this deployment model, the data is stored and can be viewed only from the NetQ UI at the primary premises.
The primary NetQ premises must be installed before the secondary premises can be added. For the secondary premises, create the premises here, then install them.
On the workbench, under Premises, click
.Click Manage Premises. Your primary premises (OPID0) is shown by default.
Click
(Add Premises).
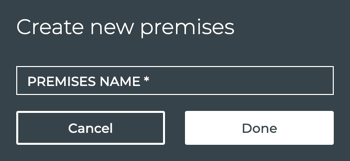
- Enter the name of one of the secondary premises you want to add, then click Done.

Select the premises you just created.
Click
 to generate a configuration key.
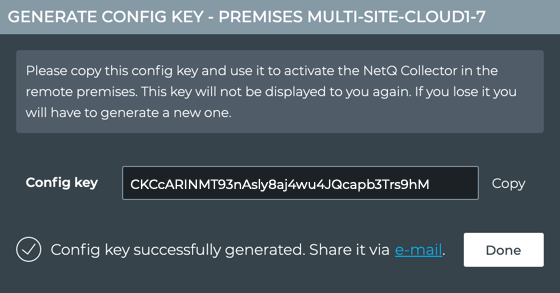
- Click Copy and save the key to a safe place, or click e-mail to send it to yourself or other administrator as appropriate. Then click Done
Rename a Premises
To rename an existing premises:
On the workbench, under Premises, click
, then Manage Premises.To rename an external premises, click External Premises.
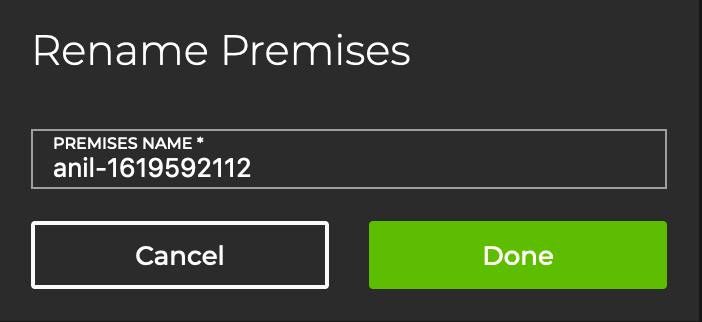
On the right side of the screen, select a premises to rename, then click
 .
.Enter the new name for the premises, then click Done.
System Server Information
To view the physical server or VM configuration:
Click menu
 .
.Under Admin, select Management.
Locate the System Server Info card.
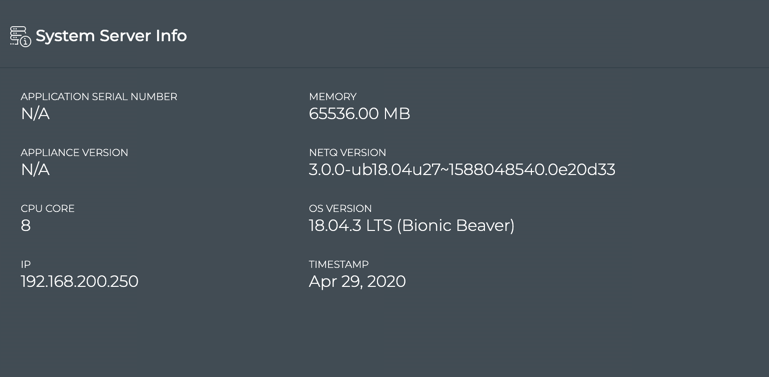
If no data is present on this card, it is likely that the NetQ Agent on your server or VM is not running properly or the underlying streaming services are impaired.