Lifecycle Management
Using the NetQ UI or CLI, lifecycle management (LCM) allows you to:
- Manage Cumulus Linux switch inventory and roles
- Manage Cumulus Linux and NetQ images in a local repository
- Install or upgrade NetQ (Agents and CLI) and Cumulus Linux on switches
- Create NetQ Agent configuration profiles
- Configure switch access credentials and profiles (required for installations and upgrades)
- View a history of upgrade attempts
Lifecycle management is enabled for on-premises deployments and disabled for cloud deployments by default. Contact your NVIDIA sales representative or submit a support ticket to activate LCM on cloud deployments.
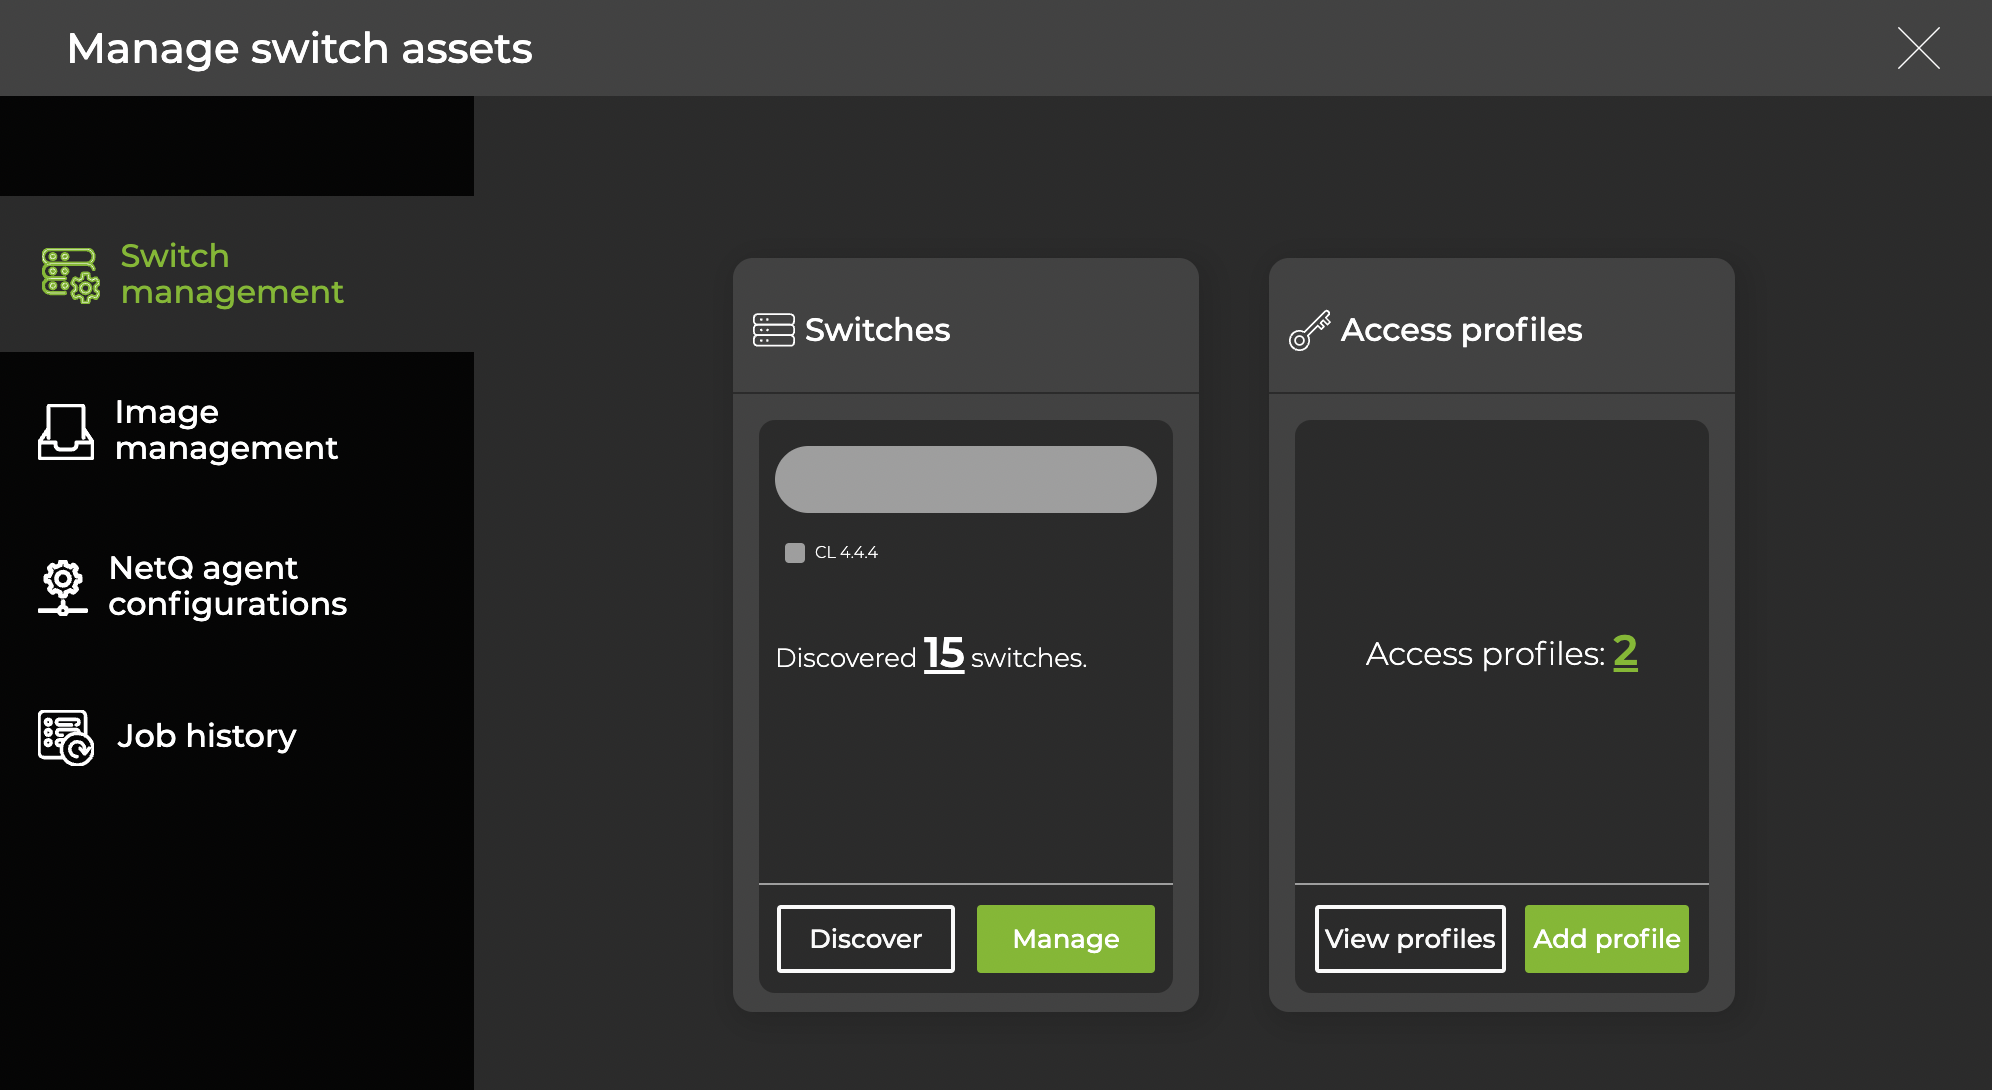
Access Lifecycle Management in the UI
You can access the LCM dashboard in a few ways:
- Expand the
 Menu, then select Manage switches
 - Click
 Upgrade in a workbench header
 - Click
 Devices in a workbench header, then select Manage switches
LCM Summary
This table summarizes LCM functionalities in the UI and CLI:
Function | Description | NetQ UI Cards | NetQ CLI Commands |
|---|---|---|---|
| Switch management | Discover switches, view switch inventory, assign roles, set user access credentials, perform software installation and upgrade networkwide |
|
|
| Image management | View, add, and remove images for software installation and upgrade |
|
|
| NetQ agent configurations | Customize configuration profiles for NetQ Agents running on switches |
|
|
| Job history | View the results of installation, upgrade, and configuration assignment jobs |
|
|
LCM Support for In-band Management
If you manage a switch using an in-band network interface, the inband-interface option must be specified in the initial agent configuration for LCM operations to function as expected. You can configure the agent by specifying the in-band interface in the /etc/netq/netq.yml file. Alternately, you can use the CLI and include the inband-interface option.
/etc/netq/netq.ymlconfiguration file example:netq-agent: inband-interface: swp1 port: 31980 server: 192.168.1.254 vrf: defaultCLI configuration example:
sudo netq config add agent server 192.168.1.254 vrf default inband-interface swp1
After the NetQ Agent is configured for in-band connections, you can create custom agent configuration profiles, then apply the custom profiles to switches during upgrades.