This tutorial provides step-by-step procedures for building an application that demonstrates VPI programming concepts. With this tutorial a simple grayscale image blurring command line application that runs on CUDA is created.
Requirements
Creating the application requires:
- c++ compiler (g++ or clang++ works, testing was performed with version g++-7 and clang++-7)
- cmake >= 3.8, to build the project
- OpenCV >= 3.0, for image Input/Output
On Ubuntu 18.04, install these packages:
Creating a CMake Project
Create the cmake project to build the application as follows.
Note that cmake automatically sets up the VPI header and library paths for the executable. It is not necessary to manually define them.
Writing an Image Blurring Application
Write the C++ code that gets one image file from command line, blurs it, and writes the results back to disk.
Copy the provided code to a file named main.cpp. For simplicity, error checking is purposely left out. Consult the 2D convolution sample for a complete application with proper error handling.
Building and Testing the Application
With everything set in place, execute:
The executable vpi_blur is created in the same directory.
To run the application, execute:
substituting <image file name> by some image on disk.
A sample input image and the resulting blurred image is displayed. Note that although the input in in color, OpenCV converts the to grayscale prior passing it to VPI which results in grayscale output.
| Input image | Output image, blurred |
|---|---|
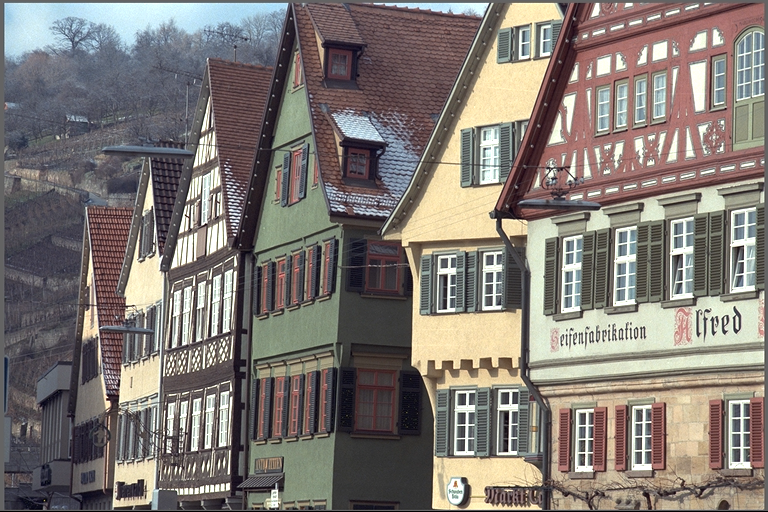 |  |