Installing Red Hat Enterprise on the Host Server#
Attention
Note that the instructions are for RHEL 8.4, the instructions will be nearly identical to RHEL 9.
Attach the Red Hat Enterprise Linux (RHEL) ISO to your host server’s virtual media.
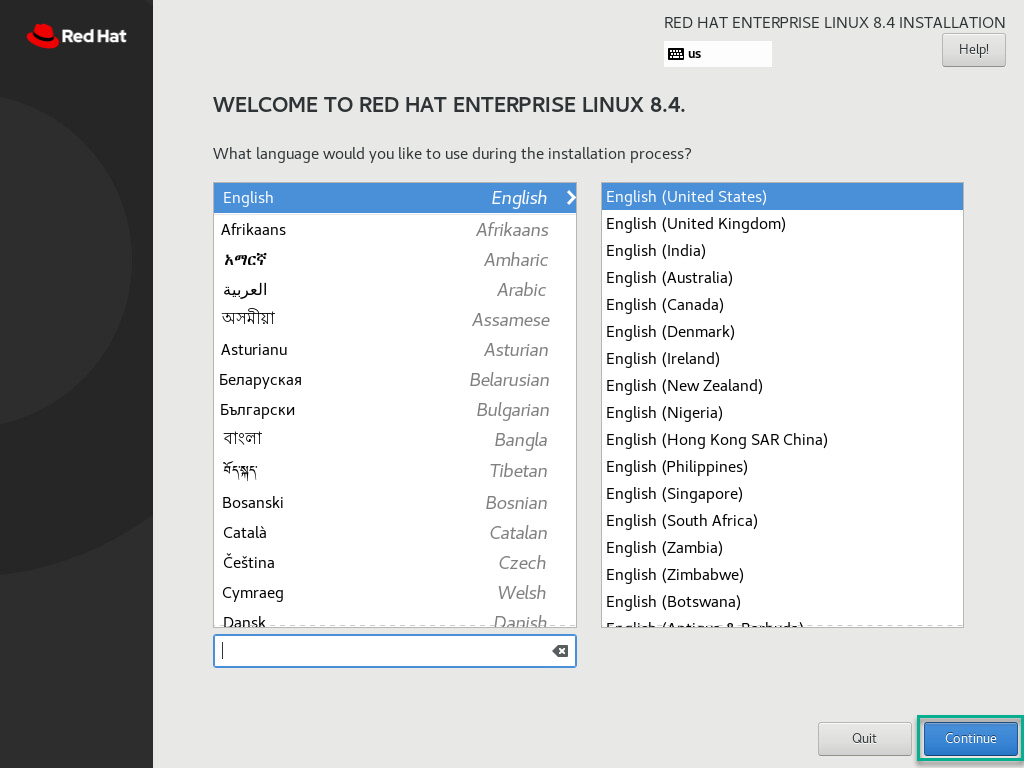
Select your preferred language and Continue.
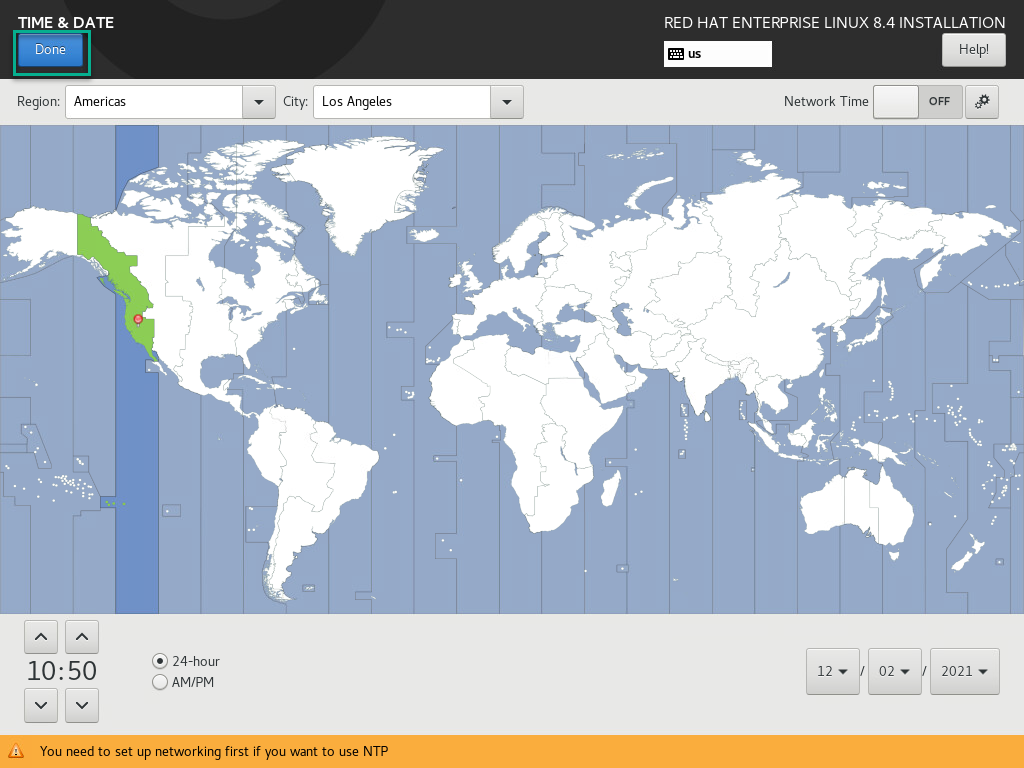
Next, select Time & Date under the Localization column. Set the time and date as required and click Done.
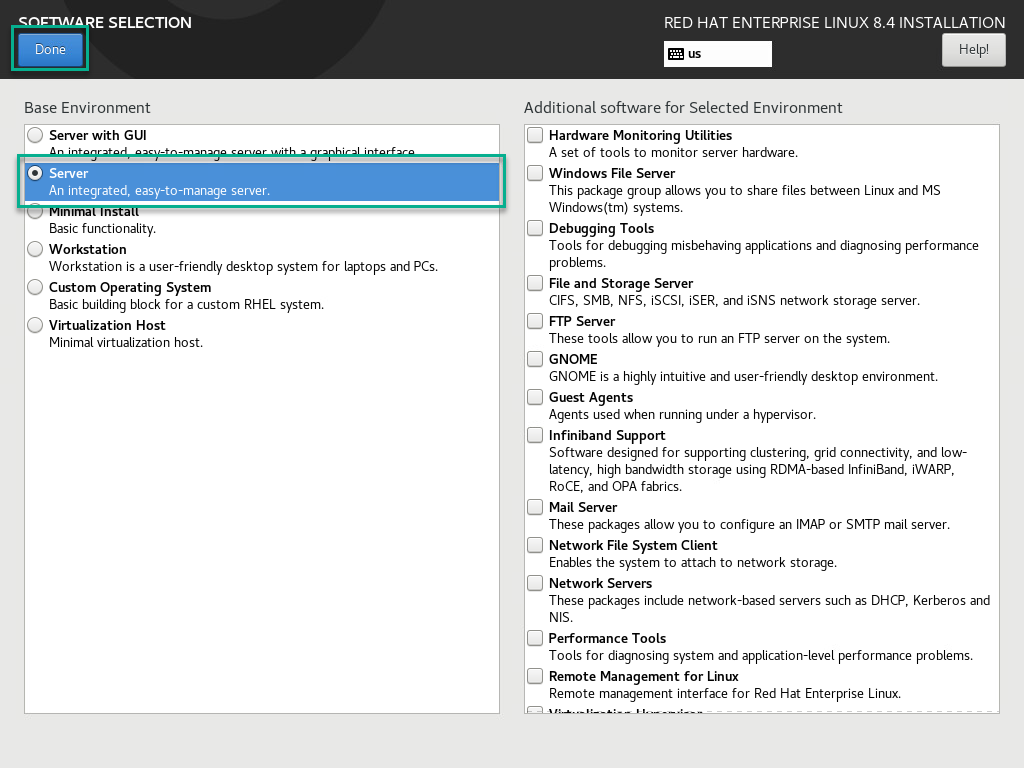
Next, select Software Packages under the Software column. Select Server and click Done.
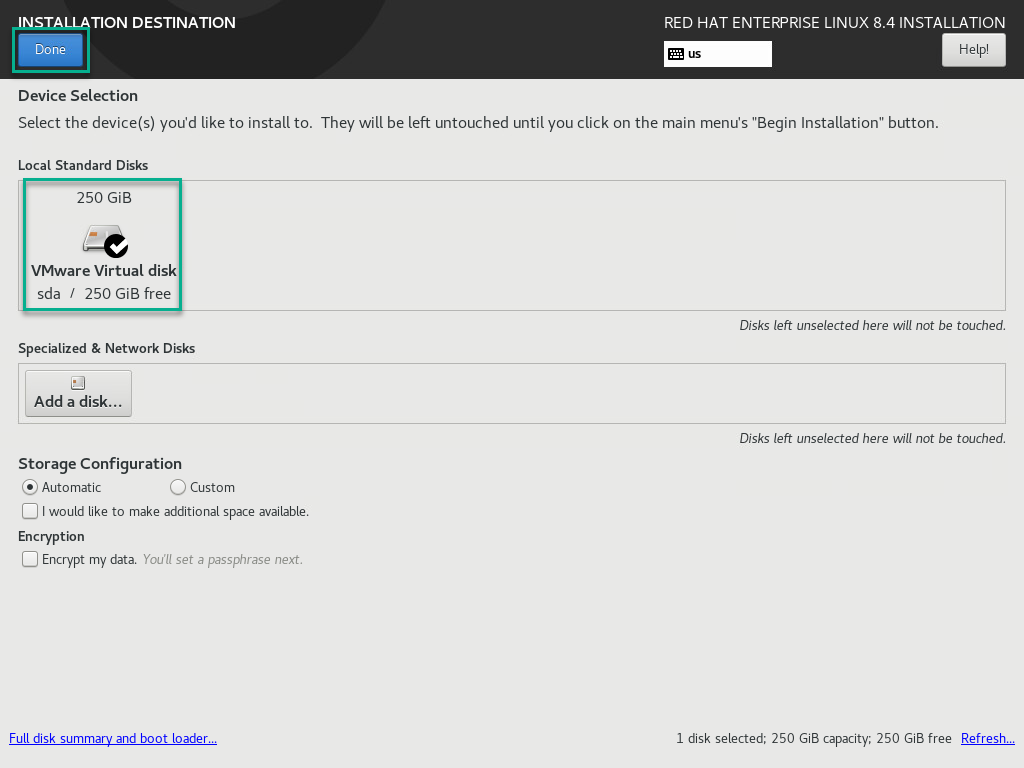
Next, select Installation Destination under the System Menu. Select the VMware Virtual disk and click Done.
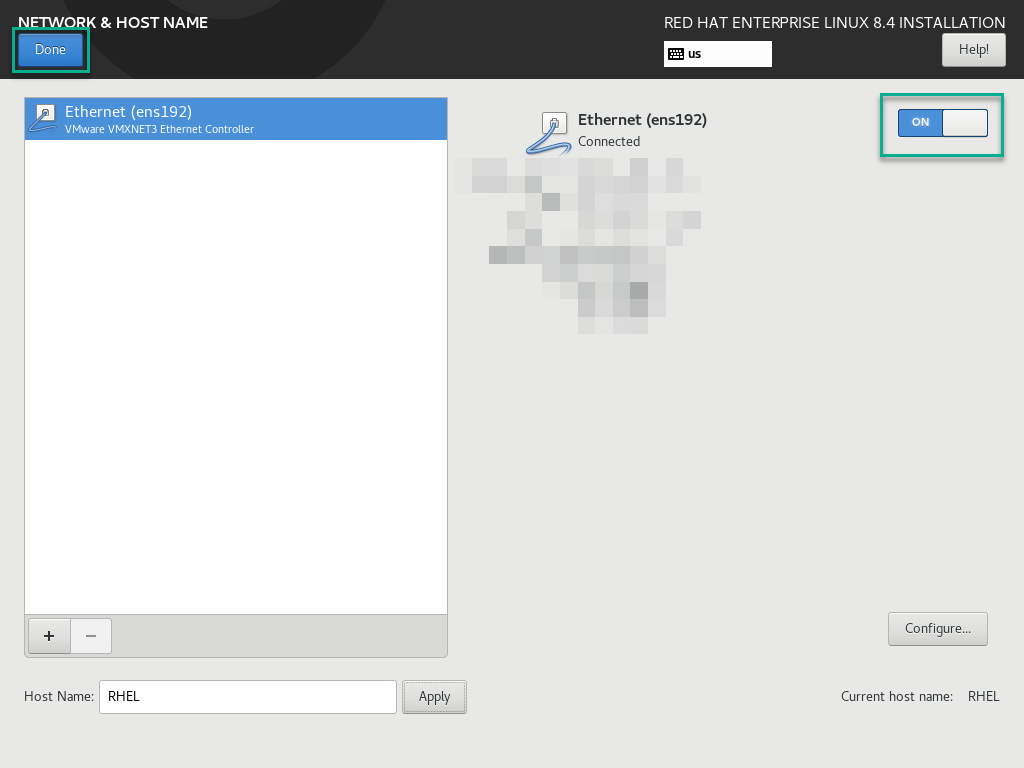
Next, select Network & Host Name under the System column. If your system is connected to a network, then it will try to get IP from DHCP server otherwise it can be configured manually. Click Done when finished.
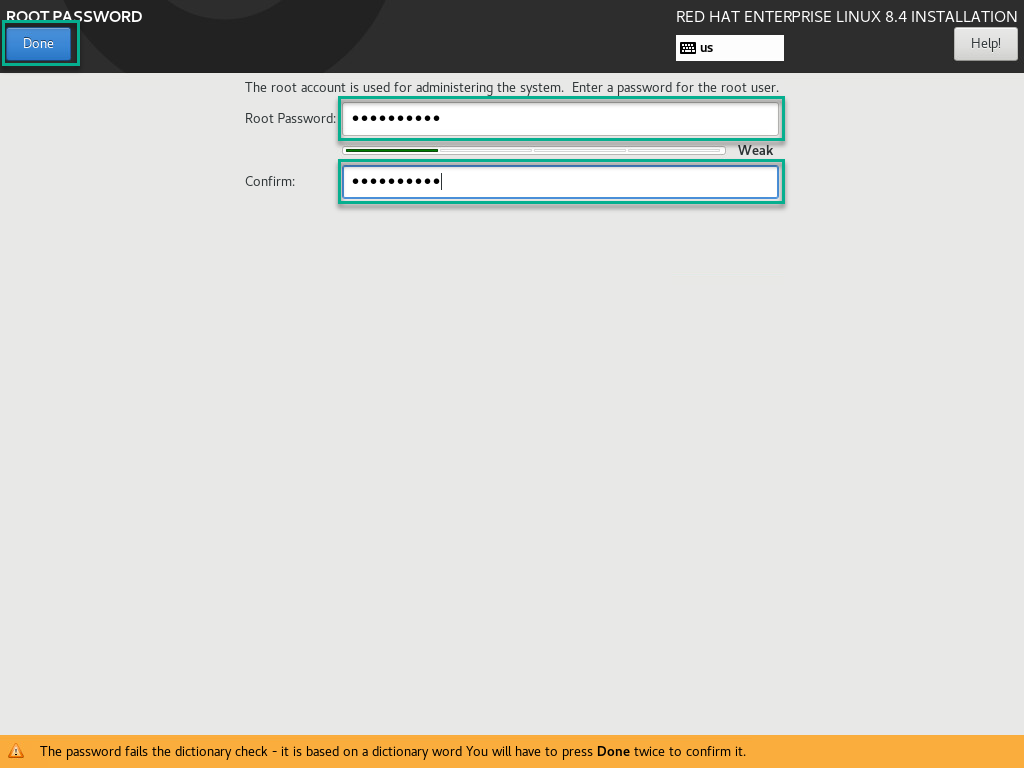
Select Root Password under the User Settings Column. Create a password and click Done.
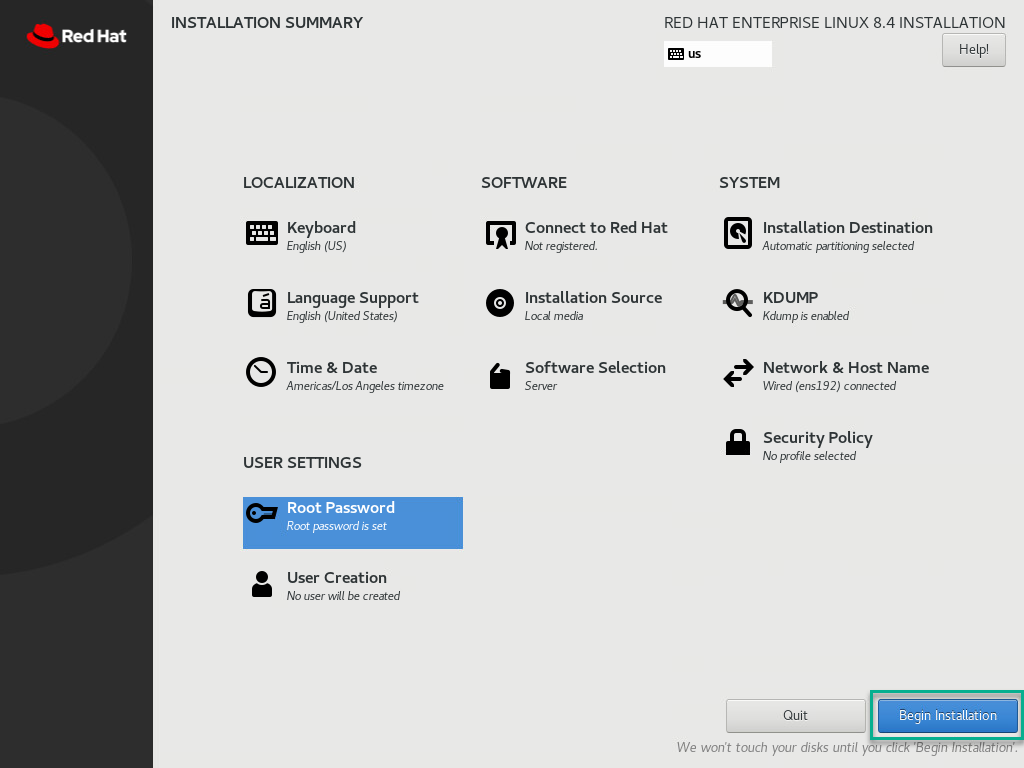
Click Begin Installation to start the install.
The installation will begin as shown below.
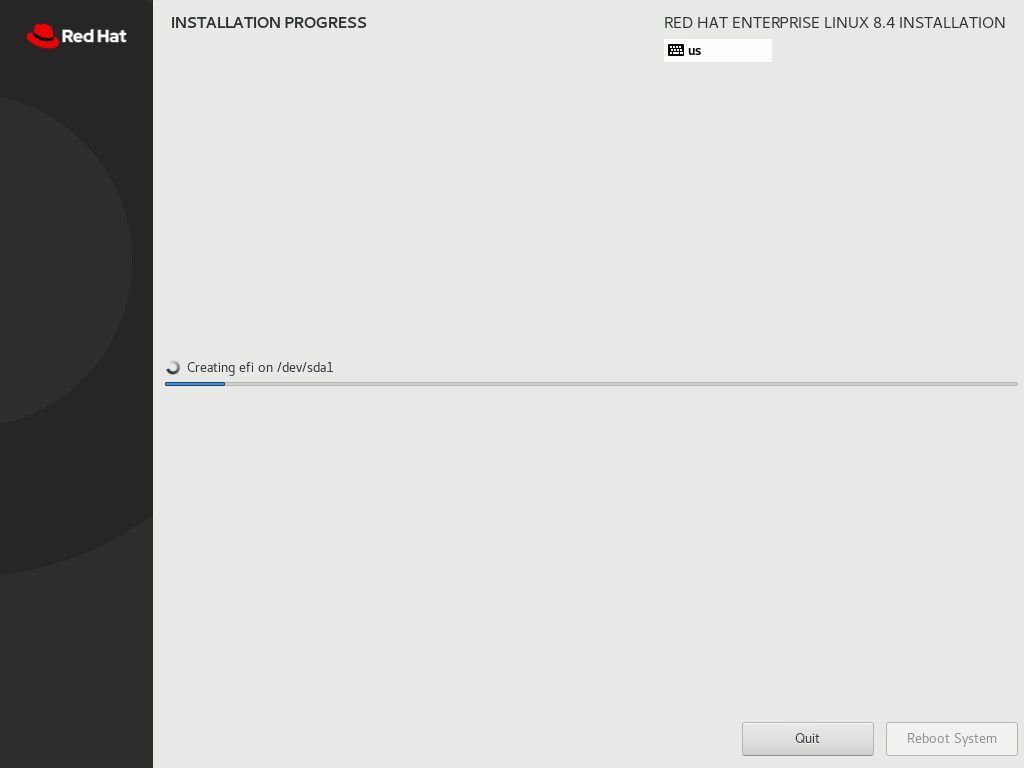
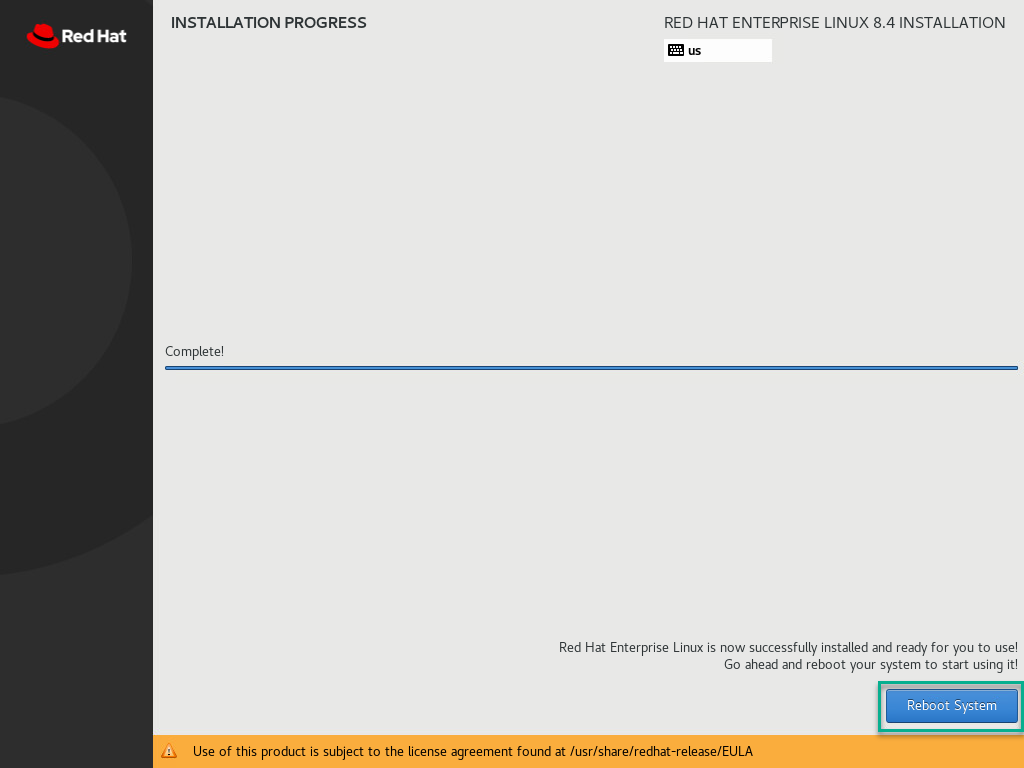
Once the installation is completed reboot by clicking the Reboot System.
Disconnect the Ubuntu ISO to your host server’s virtual media.