Dia Text-to-Speech Example
Learn how to deploy a Gradio app for interacting with the open source Dia TTS model.
Dia is a lightweight open source text-to-speech (TTS) model developed by Nari Labs which generates realistic audio with fine-grained control over emotion and tone. Their GitHub repository includes a sample frontend application built in Gradio to make it easy to interact with the models. This guide shows how to build their custom Docker container on DGX Cloud Lepton, deploy the Gradio application as an endpoint, and interact with the model via the application.
Prerequisites
To follow this example, you need:
- Access to at least one NVIDIA GPU on DGX Cloud Lepton.
- Access to a container registry to host the custom image.
- Privileged mode enabled in the DGX Cloud Lepton workspace to build custom containers.
Build Custom Dia Container
Dia includes a Dockerfile with all dependencies for the demo application. The container must first be built and pushed to a container registry so it can be deployed as an endpoint on DGX Cloud Lepton. The container can be built directly on DGX Cloud Lepton using a dev pod. The full process for building a container using a dev pod can be found here.
To build the container, create a new dev pod with the following options:
- Enter a pod name, such as
dia-builder. - Select a single GPU in your node group for the resource shape.
- Check the Enable privileged mode box in the Resource form.
- Select a Custom image and specify
nvcr.io/nvidia/pytorch:25.06-py3for the image. - Select Custom entrypoint for the container Entrypoint.
- Enter the following as the entrypoint command. Replace
docker tag dia-gpu <registry tag>with the location of your registry to push to. For example, if you will push the container to a private registry on nvcr.io namedmy-private-registry, the command will bedocker tag dia-gpu nvcr.io/my-private-registry/dia-gpu. Copy the same tag for thedocker pushcommand beneath it as well, such asdocker push nvcr.io/my-private-registry/dia-gpu.
Click the Create button at the bottom of the page to run the dev pod and build the image. This process can take 30 minutes or longer depending on connection speed and processing power. Progress can be monitored in the job logs in the UI.
Once the dev pod completes, the image should be available at the container registry you specified at the end of the entrypoint command.
Run the Gradio Application
After the container is built, the Gradio application can be deployed as an endpoint. Navigate to the create endpoint page on the dashboard.
Specify a name for the endpoint in the Endpoint Name field such as dia-app.
Select the node group and resource shape to use for the deployment in the Resource section. Given the model is small, a single GPU is sufficient.
For the Image Configuration section, specify the name of your <registry tag> that was used during the container build for the Image field. This is the location that the custom container was pushed to. If the registry requires additional authentication for pulling images, add your registry authentication key in the Private Image Registry Auth field.
The Gradio application runs on port 7860 by default. Enter 7860 in the Server Port field as this will expose the application on the URL when the endpoint is deployed. If the server port in the container is changed for any reason, the Server Port field needs to match the port that the application runs on inside the container.
Enter python app.py for the Run Command field.
Access Token
By default, endpoints require authentication with requests. This can be changed in the Access Tokens section. A random token will be generated for requests if access tokens are enabled. This will be shown in the UI alongside the deployed endpoint once ready.
Endpoints can also be made publicly available without authentication. Please note that anyone with the endpoint URL can access the model and send requests without authentication if made public.
Since this example is hosting a web server, it is recommended to enable public access and disable authentication.
Once the form is complete, click the Create button to deploy the endpoint.
Testing Endpoint
You can view your endpoint in the Endpoints page. Once it's running, it will look similar to the following:

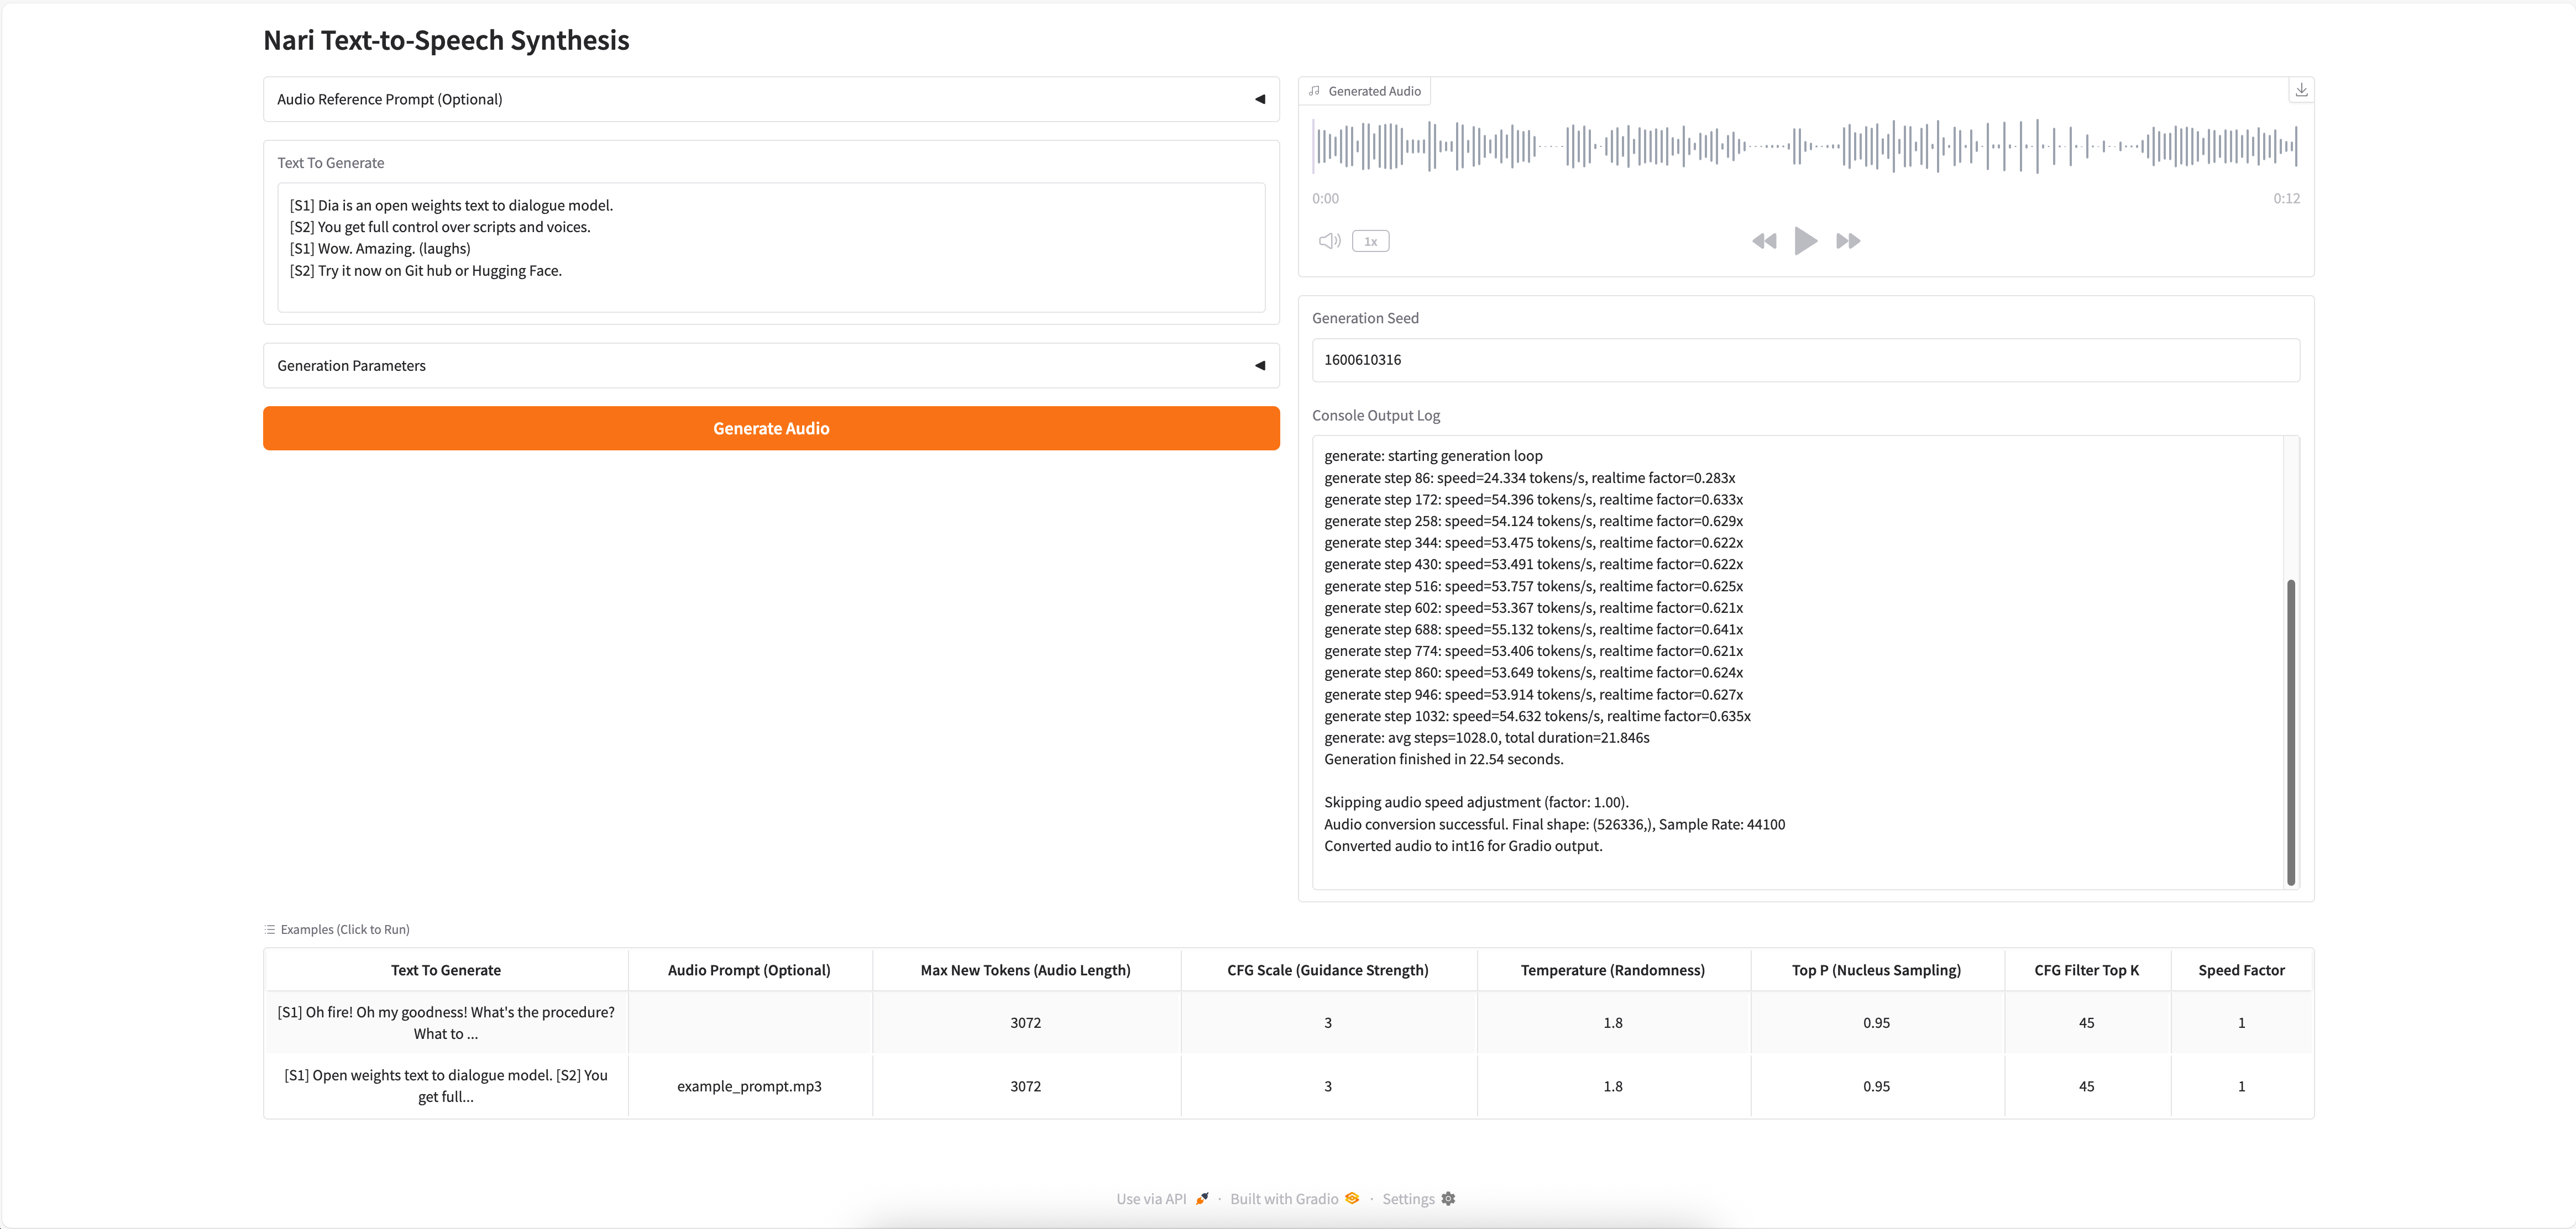
To access the application, copy the URL after Endpoint in the job description and open it in a new browser tab. This will open the Gradio frontend where you can experiment with the Dia model.
For more information on the Dia model, please refer to their GitHub repo.