Access JupyterLab on Dev Pod
JupyterLab is a web-based interactive development environment for Jupyter notebooks, code, and data. This guide will help you set up and access JupyterLab in your Dev Pod on DGX Cloud Lepton.
Method 1: Use ngrok to Access
Step 1: Enable JupyterLab When Creating
DGX Cloud Lepton provides an easy way to automatically install and launch JupyterLab in your Dev Pod container. This requires the following two options:
- Use a Built-in image provided by DGX Cloud Lepton.
- Use the Dev pod entrypoint as the Entrypoint.
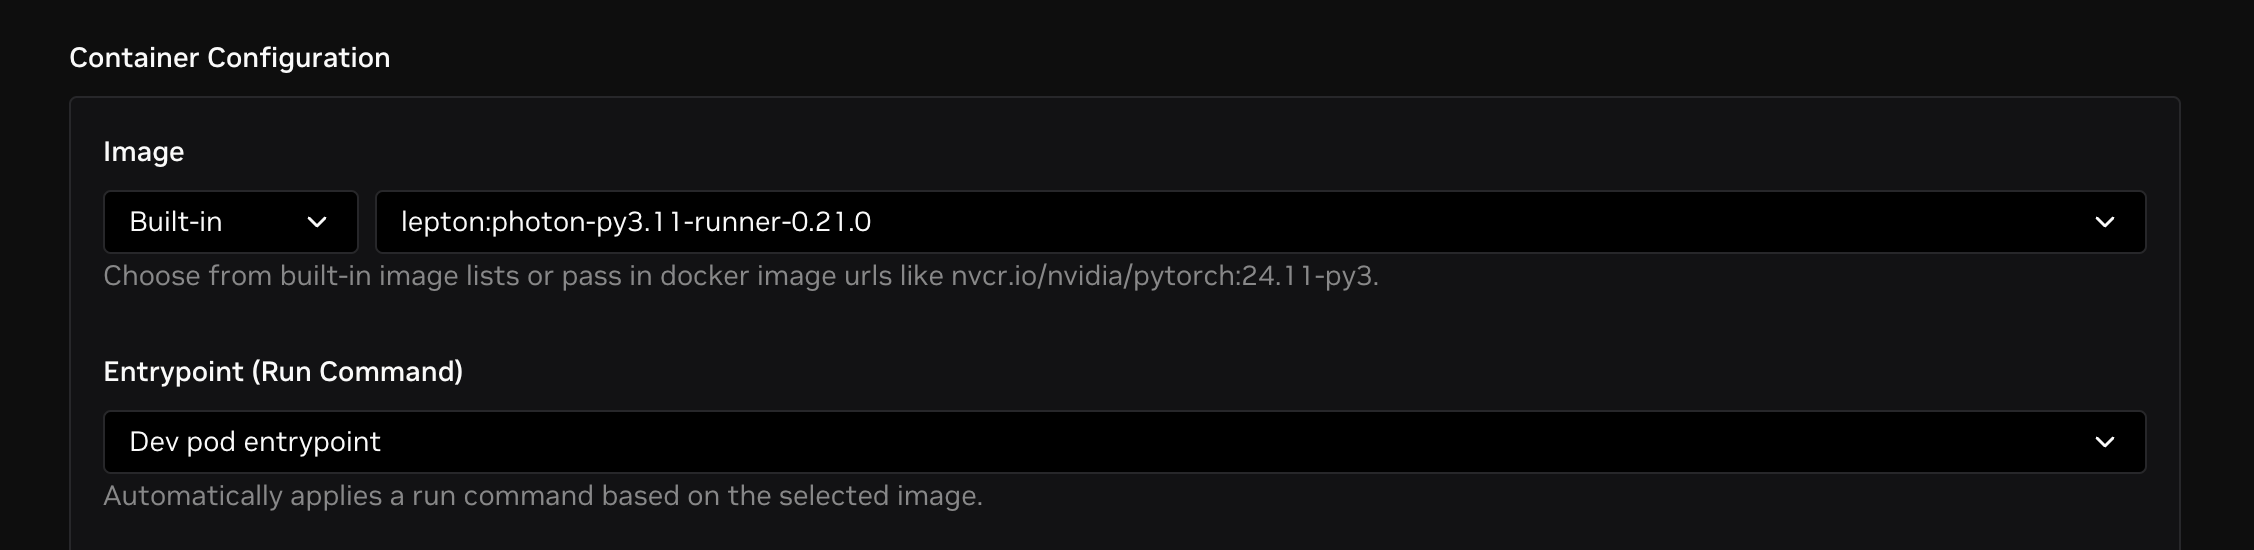
Then, toggle the Enable JupyterLab checkbox to turn on that feature and click the Create button to create the Dev Pod.
Step 2: Set JupyterLab Token
After creation and when the Dev Pod is ready, go to the details page and open the Terminal tab. Run the following command to set a new token for JupyterLab:
lepton-set-password jupyter [your-token]
This command will help set a new token and restart the JupyterLab instance.
Step 3: Create ngrok Account
Create an ngrok account for port forwarding. Go to the ngrok signup page and follow the instructions to create an ngrok account.
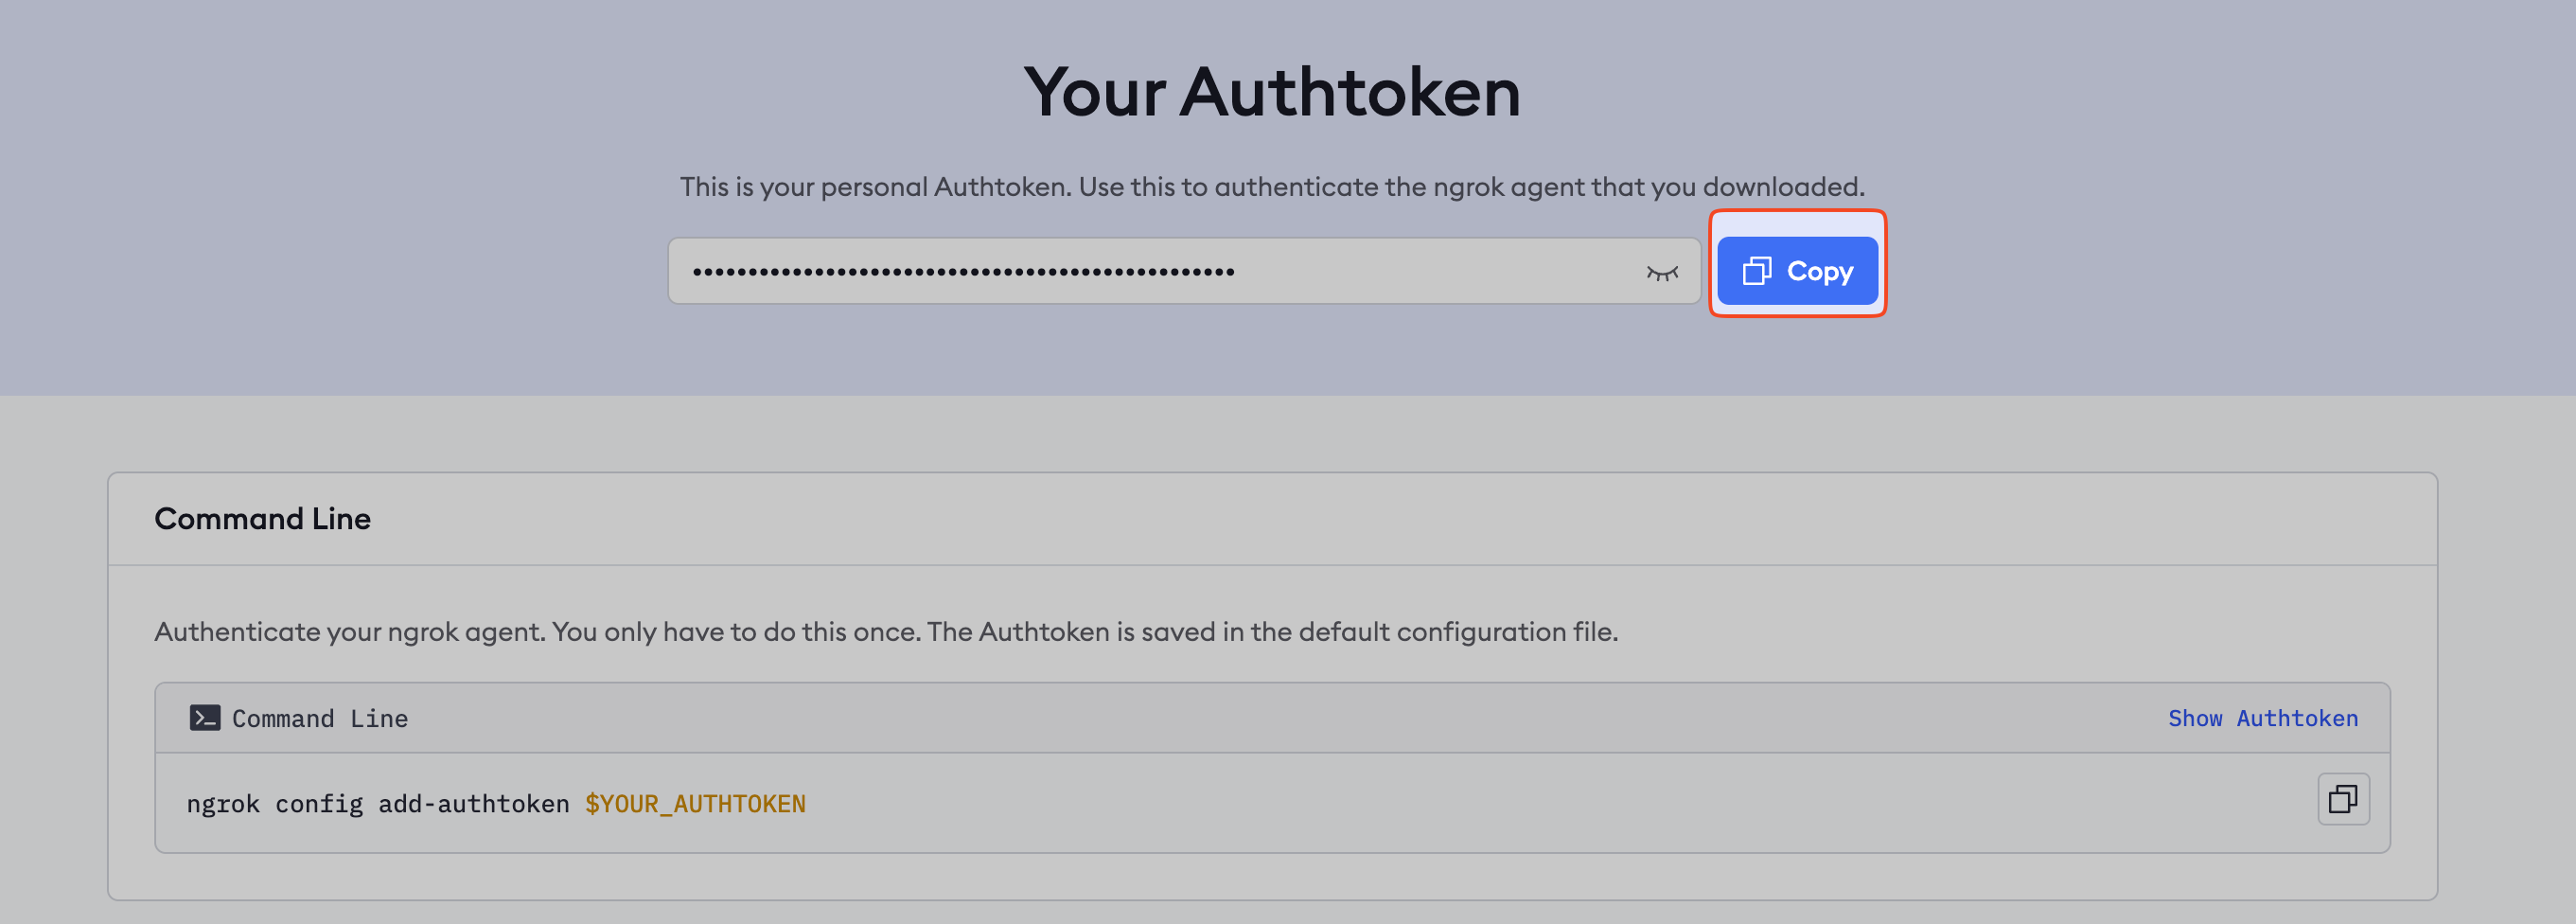
Step 4: Get ngrok Authtoken
Go to the ngrok authtoken page. Click on the Copy button to copy the authtoken and save it for later use.
Step 5: Install and Set Up ngrok
Go back to the Dev Pod Terminal tab. In the web terminal, run the following command to install ngrok:
curl -sSL https://ngrok-agent.s3.amazonaws.com/ngrok.asc \
  | tee /etc/apt/trusted.gpg.d/ngrok.asc >/dev/null \
  && echo "deb https://ngrok-agent.s3.amazonaws.com buster main" \
  | tee /etc/apt/sources.list.d/ngrok.list \
  && apt update \
  && apt install ngrok
Then, run the following command to set up ngrok. Replace $NGROK_AUTHTOKEN with the authtoken you copied in step 4.
ngrok config add-authtoken $NGROK_AUTHTOKEN
Step 6: Start ngrok
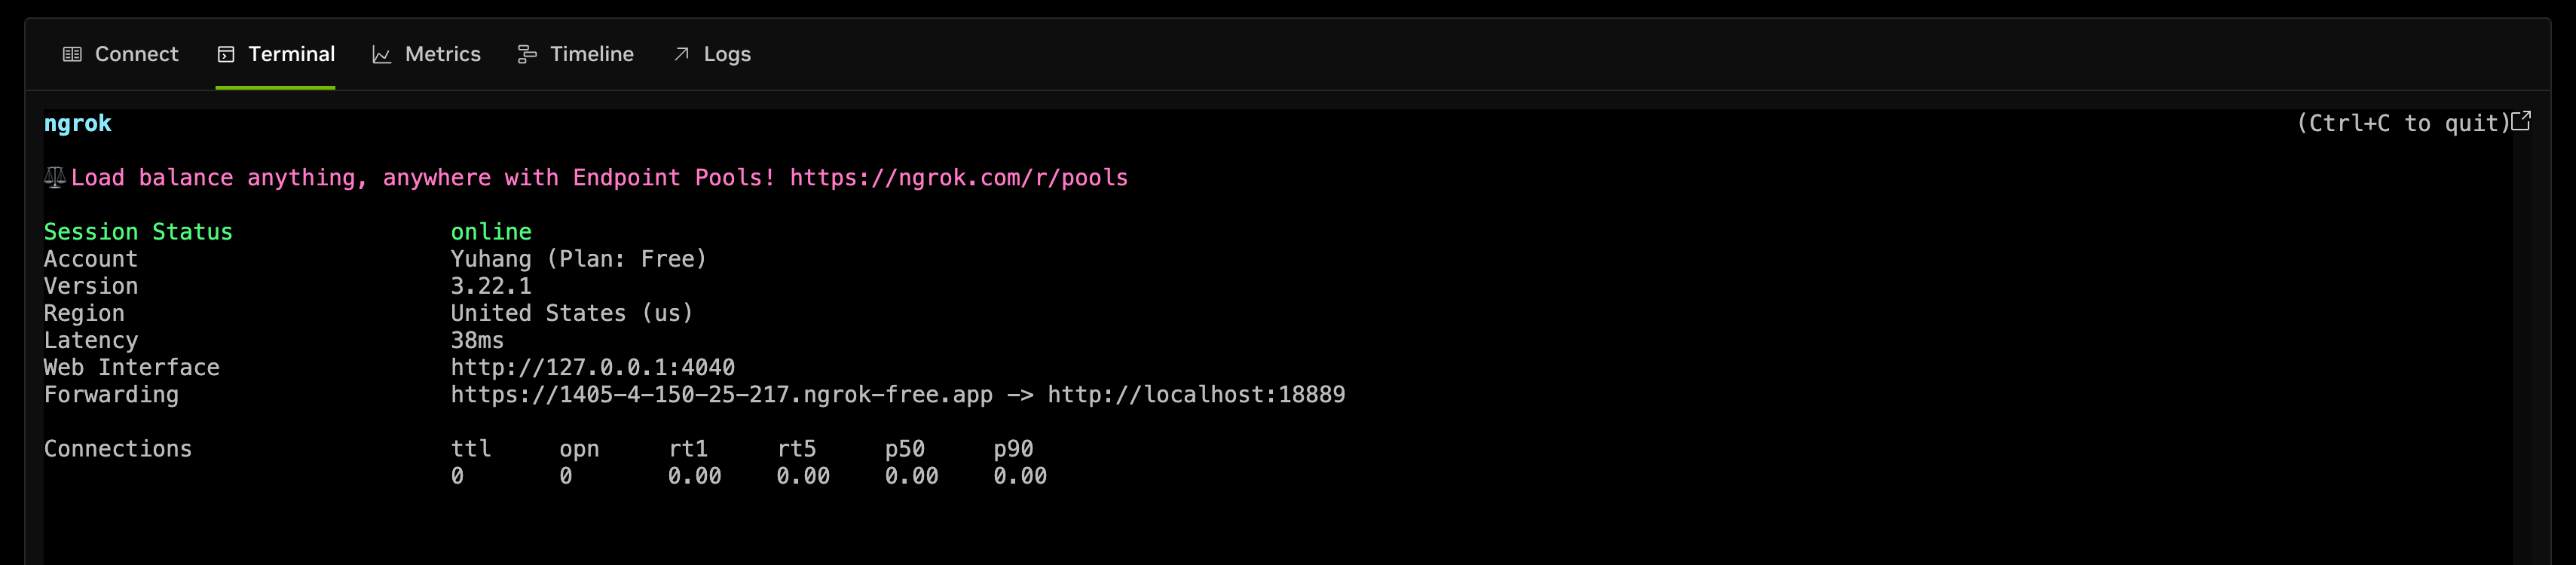
After the authtoken is saved in the ngrok config, start ngrok on port 18889 using the following command:
ngrok http 18889
You will see the ngrok tunnel start, and the public URL will be displayed in the terminal.
If you want to run ngrok continuously in the background, follow these steps:
- Run
apt install tmuxto install tmux. - Run
tmuxto attach to the tmux session. - Run
ngrok http 18889in the tmux session. - Now you can detach from the tmux session by pressing
Ctrl+band thend. - You can reattach to the tmux session by running
tmux a.
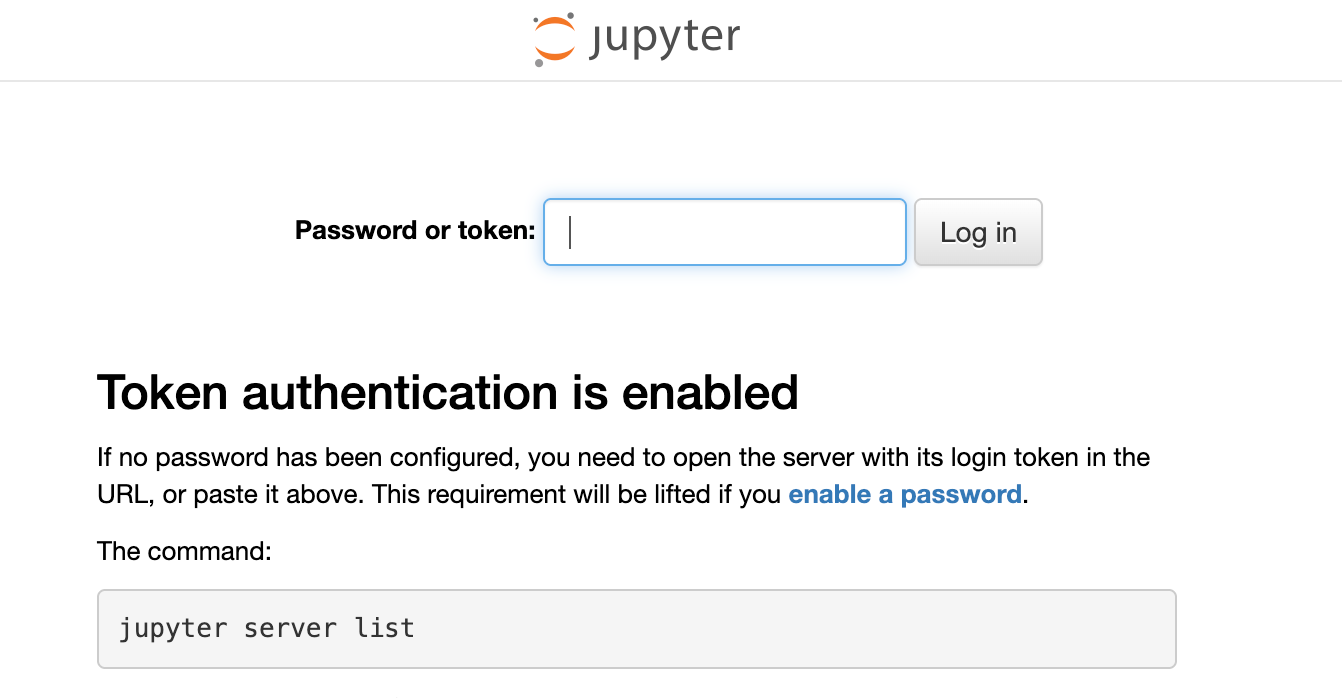
Step 7: Access JupyterLab
Now you can access JupyterLab via the public URL from ngrok and the token you set in step 2.
Method 2: Expose Container Port to Access
Step 1: Enable JupyterLab
Similar to the first method, enable JupyterLab when creating the Dev Pod. This requires the following two options:
- Use a Built-in image provided by DGX Cloud Lepton.
- Use the Dev pod entrypoint as the Entrypoint.
Then, toggle the Enable JupyterLab checkbox to turn on that feature.
Step 2: Expose JupyterLab Port
DGX Cloud Lepton does not expose any ports by default for security reasons.
If you choose to expose container ports, ensure proper authentication and security measures are in place. You are responsible for the security of your exposed services.
If you enabled JupyterLab for a Dev Pod as in the first step, DGX Cloud Lepton will start the JupyterLab instance on container port 18889.
You need to manually expose the port if you want to access JupyterLab from outside the container.
For more information on how to expose container ports, please refer to this guide.
In the Container Ports section, add a new port with the following configurations:
- Protocol: TCP
- Port: 18889
- Expose Through: Select from Host Network and Proxy options. Learn more about the differences here, we will use Proxy in this example.
You can also simply turn on the Enable JupyterLab Proxy checkbox, and the form will automatically fill in the port and protocol for you.

Step 3: Create the Dev Pod
After those configurations, create the Dev Pod by clicking the Create Pod button.
Step 4: Set New Token for JupyterLab
Once the Dev Pod is created and got ready, you can go to the details page and find connection information on the JupyterLab tab.
Before accessing your JupyterLab instance, use the following command to set a new token for JupyterLab in the Terminal tab:
lepton-set-password jupyter [your-token]
This command will help set a new token and restart the JupyterLab instance.
Step 5: Access JupyterLab
You can now access JupyterLab by clicking the generated proxy URL shown in the JupyterLab tab. Alternatively, visit the host node IP address with port 18889 if you have choosen to expose the port through Host Network.
Enter the token you set in the previous step to log in. You can then start using JupyterLab.