Use SSH to Access Dev Pod
This document guides you through the process of configuring SSH to access your Dev Pod.
SSH with Default Images
Default images provided by DGX Cloud Lepton come with SSH service pre-configured, all you need to do is to add your SSH public key during the creation process.
Navigate to the Dev Pod creation page, in the Container Configuration section, select one of the default images.
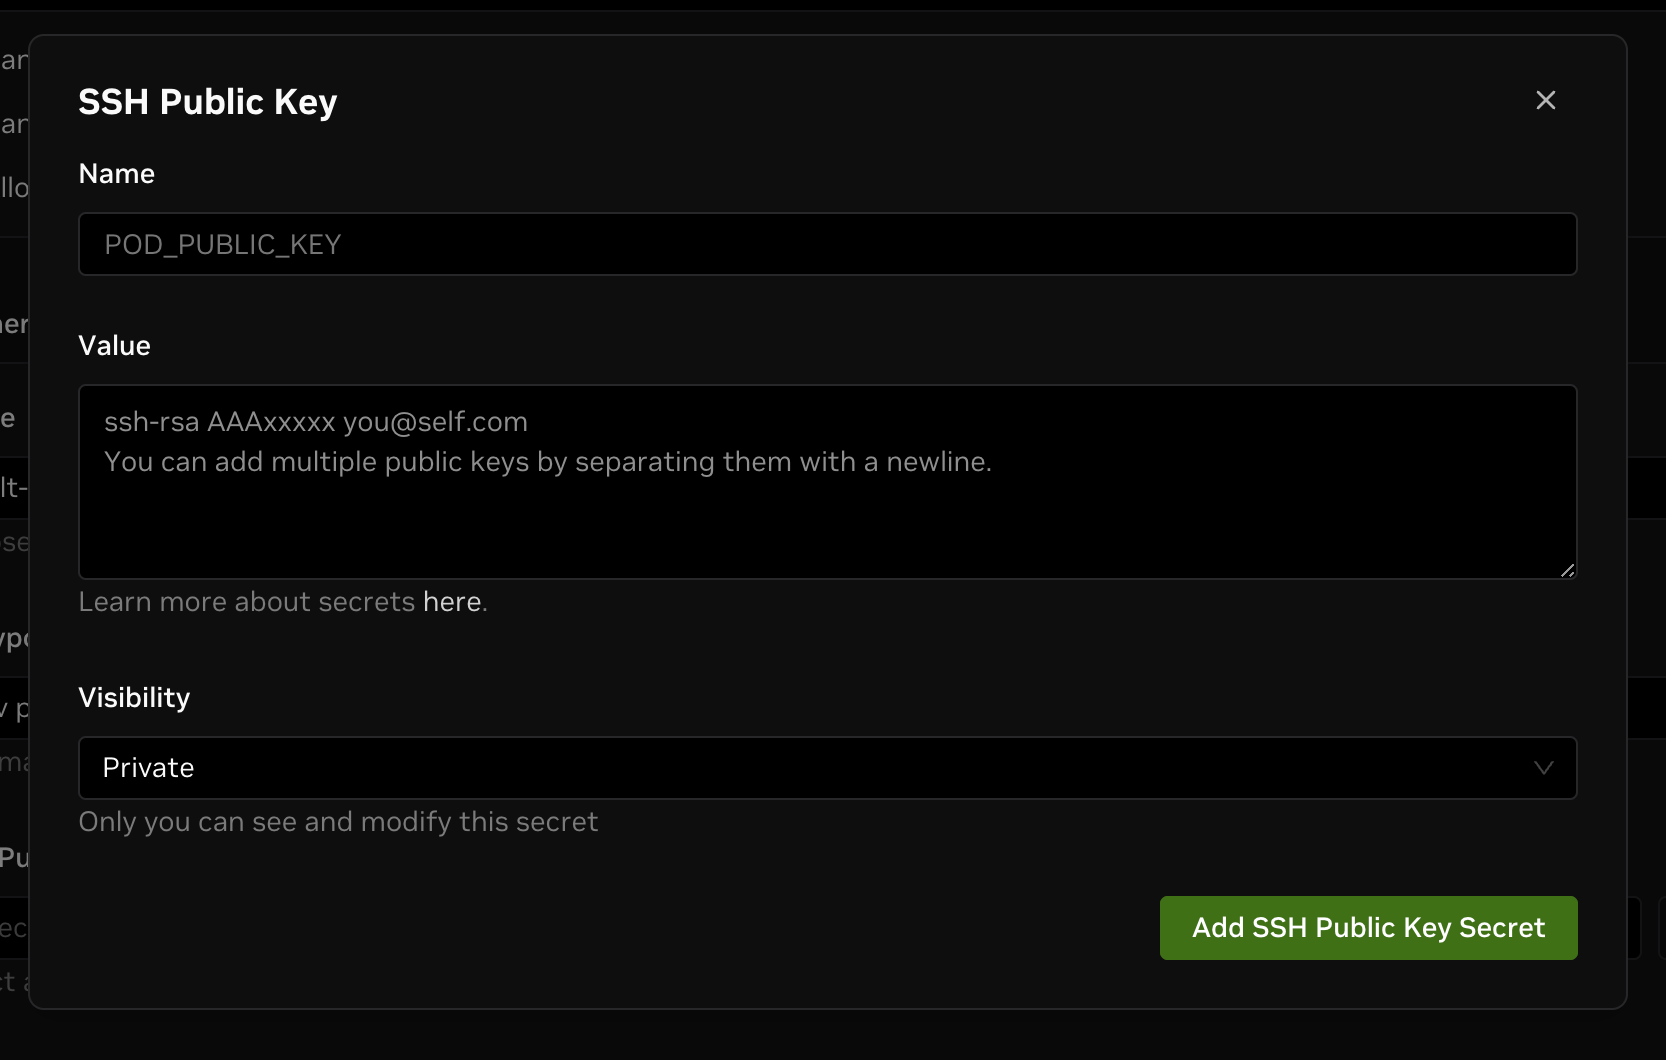
In the SSH Public Key field, you can create a new SSH public key. All public keys will be saved securely as secret in your workspace, you can also select keys you created on DGX Cloud Lepton before.
Generate a public key in your local terminal:
ssh-keygen -t rsa -b 4096 -C "your_email@example.com"
Click on the New button, fill in the name and paste the public key you generated in the previous step, and click on the Add SSH Public Key Secret button. The key will be automatically filled in the section after creation.
Fill in the rest of configurations and create the Dev Pod, you can see an SSH connection information in the Connection tab.
Copy the SSH connection command and run it in your local terminal(on the machine where you generate and add the SSH public key), you can now access your Dev Pod via SSH.
Manually Install SSH for Custom Images
If you are using a custom image, there won't be a SSH Public Key field since DGX Cloud Lepton can't know whether the image has SSH service pre-configured.
You can still use SSH to access your Dev Pod by manually installing the SSH service in the container.
Step 1: Prepare the Setup Script
Prepare your SSH public key, and fill it into the script below.
#!/bin/bash
# Please fill in your SSH public key here (something like ssh-rsa AAAxxxxx lepton@sampleDomain.com)
SSHPUB="YOUR_SSH_PUBLIC_KEY"

export DEBIAN_FRONTEND=noninteractive
export TZ=Etc/UTC

function InstallSSH {
  # Check if OpenSSH server is already installed
  if ! command -v sshd &> /dev/null; then
      echo "OpenSSH server is not installed. Installing..."

      apt update
      apt install -y openssh-server

      echo "OpenSSH server installation complete."
  else
      echo "OpenSSH server is already installed."
  fi

  # Check if LEPTON_PUBLIC_KEY variable is set and not empty
  if [[ -n "$SSHPUB" ]]; then
      # Create the .ssh directory and authorized_keys file if they don't exist
      if [ ! -d "$HOME/.ssh" ]; then
          mkdir -p "$HOME/.ssh"
          chmod 0700 "$HOME/.ssh"
          echo "Directory $HOME/.ssh created."
      fi
      if [ ! -f "$HOME/.ssh/authorized_keys" ]; then
          touch "$HOME/.ssh/authorized_keys"
          chmod 0600 "$HOME/.ssh/authorized_keys"
          echo "File $HOME/.ssh/authorized_keys created."
      fi
      # Check if the public key is not already present in authorized_keys
      if ! grep -q "${SSHPUB}" "$HOME/.ssh/authorized_keys"; then
          # Append the public key to authorized_keys
          echo "$SSHPUB" >> "$HOME/.ssh/authorized_keys"
          echo "Public key from env variable added."
      fi
  fi

  # turn off PAM to fix sshd login issue
  sed -i 's/UsePAM yes/UsePAM no/' /etc/ssh/sshd_config

  # set default port to 2222
  sed -i 's/#Port 22/Port 2222/' /etc/ssh/sshd_config

  echo "Exposing ENV variables"
  env | sed 's/=/="/' | sed 's/$/"/' > /etc/environment
  echo "set -a; source /etc/environment; set +a;" >> /root/.bashrc

  mkdir -p /run/sshd
  chmod 0755 /run/sshd

  # Start SSH service only if it's not already running
  if ! service sshd status > /dev/null 2>&1; then
    service ssh start
    echo "sshd service started"
  else
    echo "sshd service is already running"
    # Restart to apply configuration changes
    service ssh restart
    echo "sshd service restarted to apply configuration changes"
  fi
}

if [[  -n $SSHPUB  ]]; then
  InstallSSH
fi
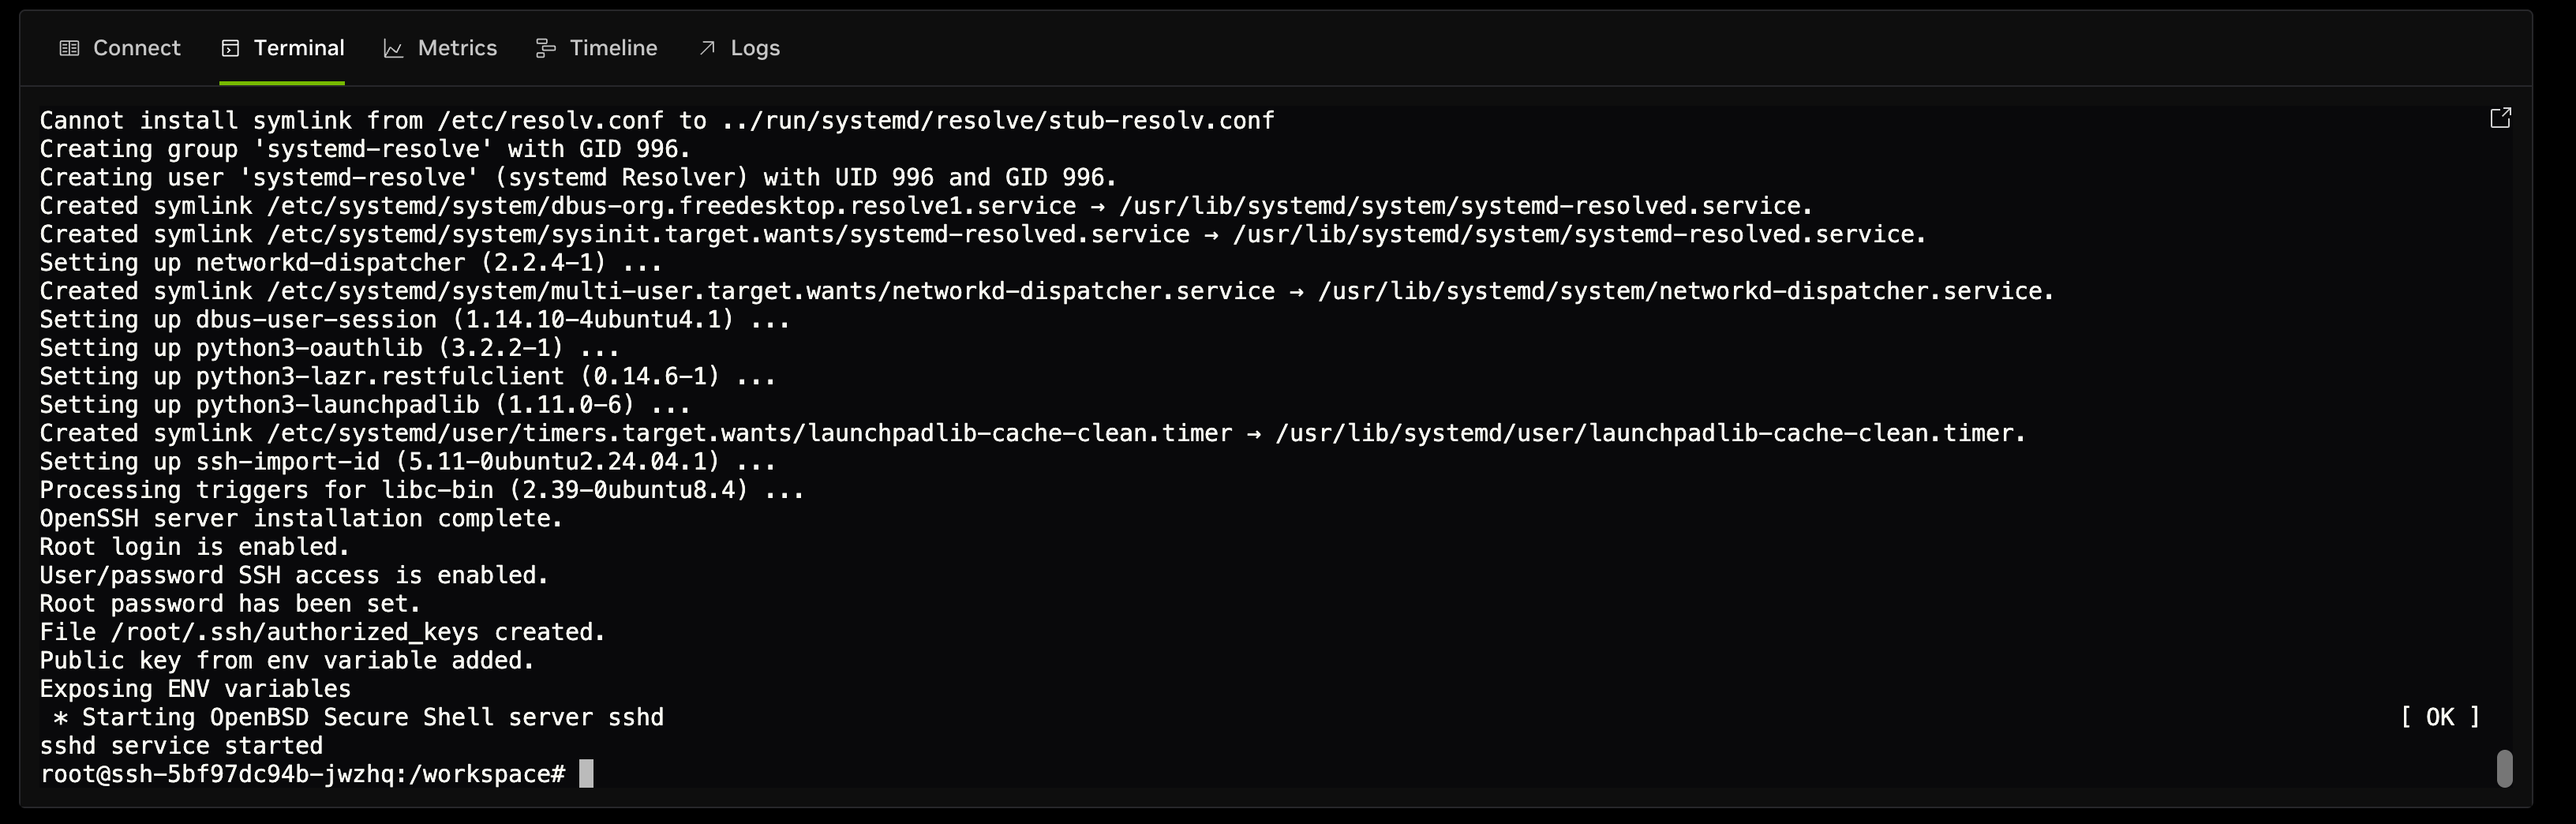
Step 2: Execute the Script via Web Terminal
Navigate to the pod details page, switch to the Terminal tab to open web terminal for the pod.
Copy and paste the script into the terminal, and press Enter to execute it.
Step 3: Connect to the Dev Pod via SSH
After the script is executed and finished, you can connect to the Dev Pod via SSH in your local terminal with the command showing in the Connect tab.
You need to ensure that node public IP is reachable. Alternatively, you can try the node private IP if you have a private connection to the node.
Next Steps
- Learn how to customize your container to meet your needs.