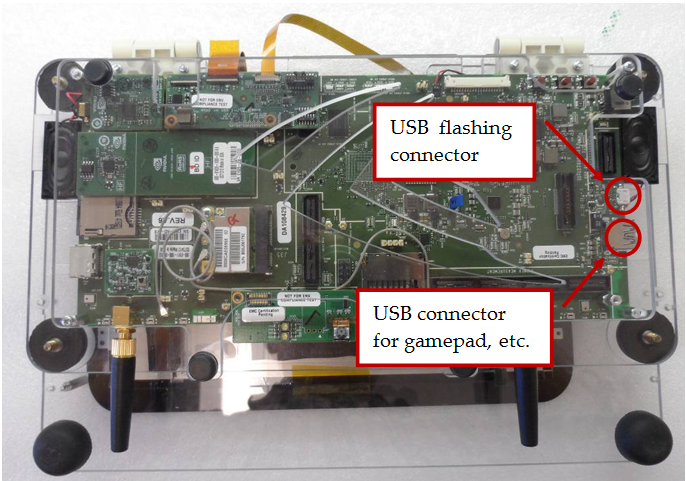
The first step is to connect the devkit’s power and connect the devkit to the development PC via USB.
The debug board includes several additional ports that advanced developers may use with their applications (such as a low-level JTAG port). However, the main features of the expansion board are the buttons, including the “on” and reset buttons, as well as volume and other device buttons.
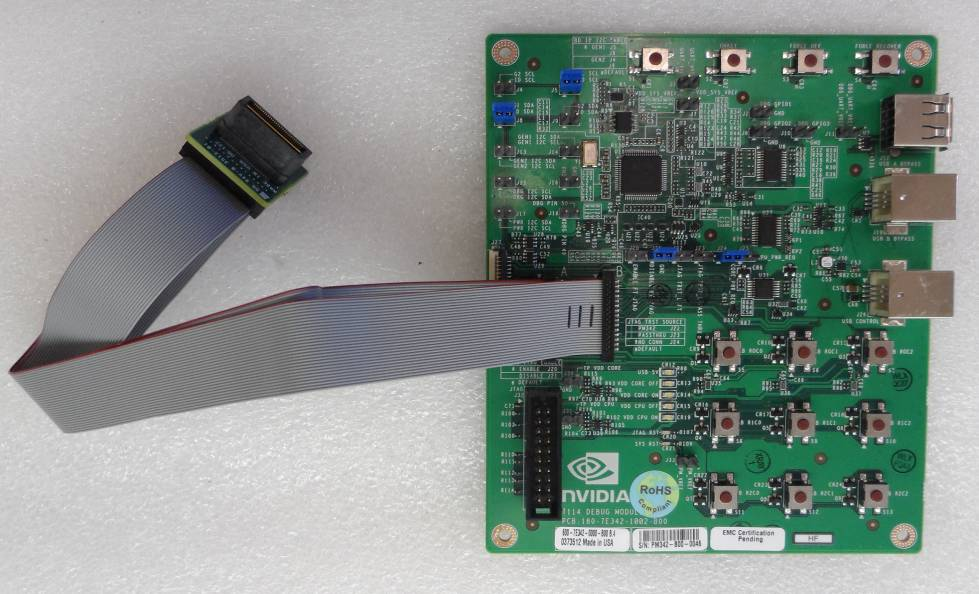
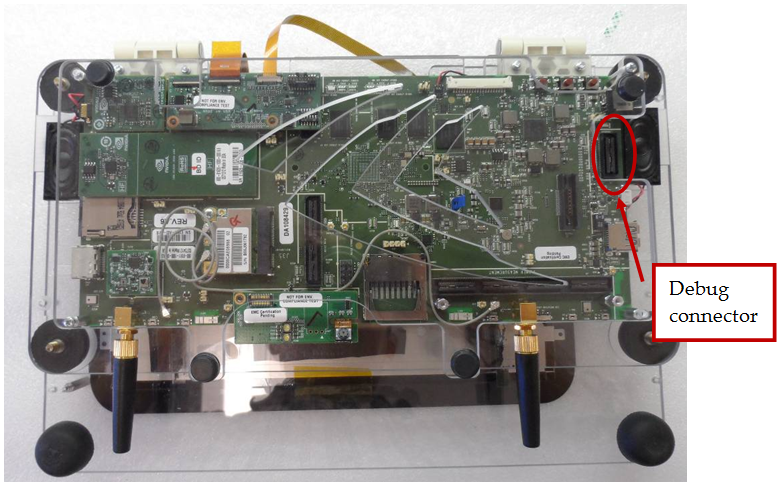
Connecting the debug board to the Dalmore devkit is quite simple; connect the black plug on the end of the expansion board to the debug jack on the main Dalmore board. This connector is marked “J3 DEBUG” on the board, and is adjacent to the micro USB connector.
Once the hardware is assembled and connected, return to the development PC and wait for the download process to complete (if it has not completed already).
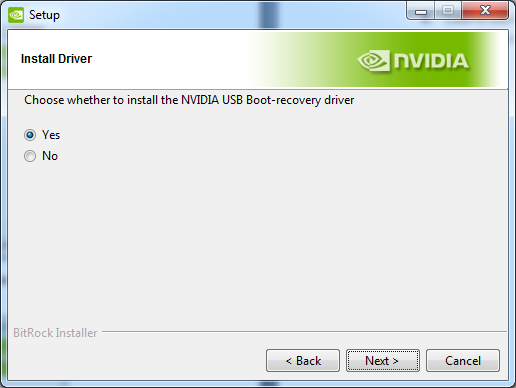
Toward the end of the installation process, you will be asked if you wish to install the "NVIDIA USB Boot-recovery driver." Select Yes and click Next.
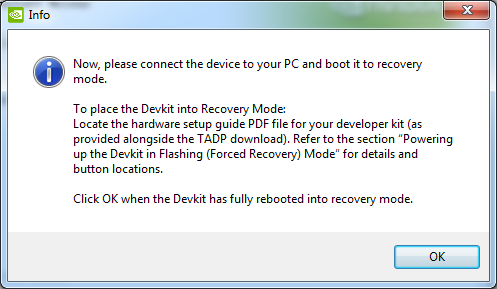
The driver will be installed and you will be shown a flashing instruction dialog similar to the one pictured below. It's important to note that you should NOT click OK on this dialog yet.
Leave the dialog as it is without clicking OK, and proceed to Flashing the Devkit, which will explain in detail how to place the Dalmore into recovery mode and prepare it for flashing.

NVIDIA® GameWorks™ Documentation Rev. 1.0.220830 ©2014-2022. NVIDIA Corporation and affiliates. All Rights Reserved.