Installing Red Hat Enterprise Linux#
Red Hat provides several methods to install RHEL. Refer to the RHEL Installation Guide that is available in the RHEL Documentation Portal. Before you install, to determine whether modifications are required for your environment, review Appendix D. This section provides information about how to install RHEL using the Quick Install method and reclaim the disk space used by an existing installation in the process.
Note
It describes a minimal installation.
If you have a preferred method to install RHEL, you can skip this section but ensure that you reclaim the disk space that is used by an existing OS installation. The Quick Install method installs RHEL on the Grace system remotely through facilities hosted on the BMC.
Obtaining Red Hat Enterprise Linux#
Obtain the RHEL ISO for Arm® image (aarch64) and store it on your local disk. Refer to Downloading Red Hat Enterprise Linux for the instructions.
Remotely Booting the Red Hat Enterprise Linux ISO#
Attention
Here is some important information to know before you begin:
The Grace BMC comes with default login credentials, and NVIDIA recommends that you create a unique user ID and password.
Contact the system vendor if you have issues logging into the BMC.
As a performance consideration, for networks that are distributed across a wide geographical area, such as a corporate VPN, we recommend that you use a browser from a host near the target server.
This can be accomplished by using a remote application software solution, for example VNC, or by exporting the application X session and tunneling over SSH.
This sequence is intended for the NVIDIA reference BMC, and your results might vary when using an IBV BMC.
Connect to the BMC.
Open a browser in your LAN, navigate to https://<BMC-IP-address>/, and log in.
Download the ISO image to a location that the browser can access.
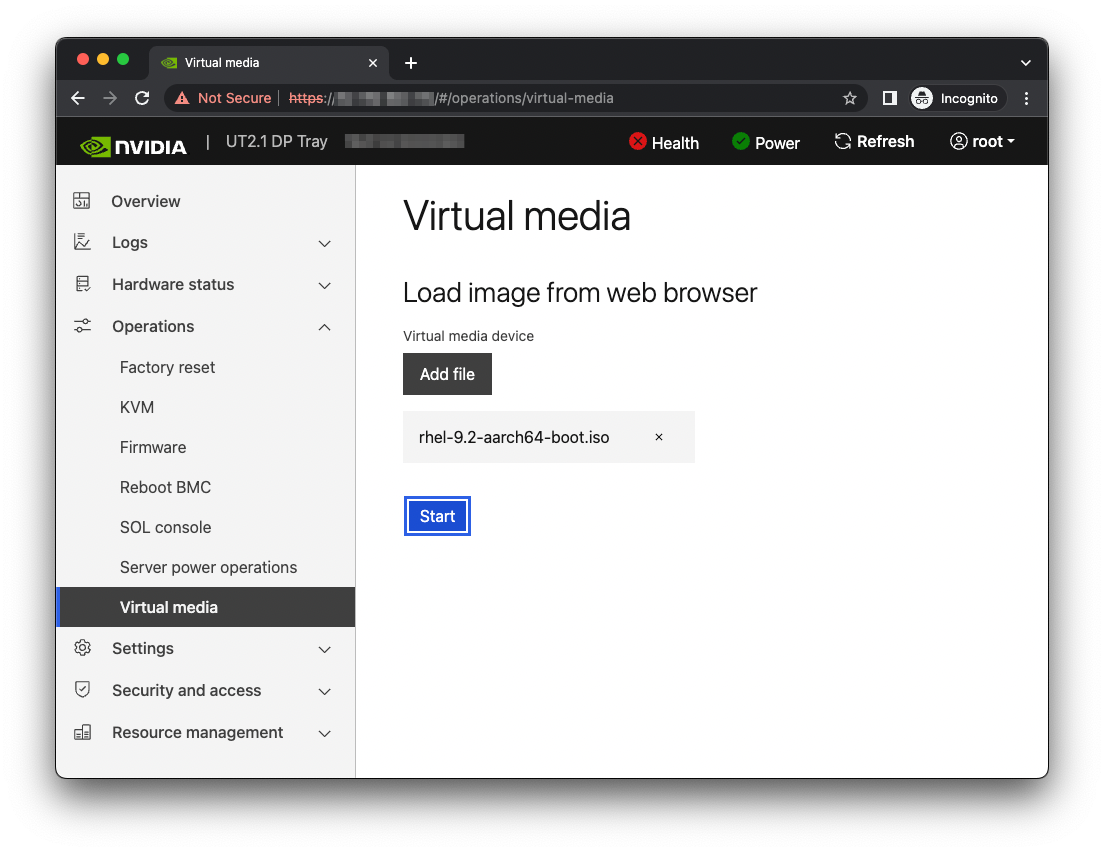
Set up the ISO image as virtual media.
From the left hand menu, expand Operations.
Select Virtual media.
Click Add file, navigate to the downloaded ISO image, and select it.
To begin serving the ISO image to the target server, click Start.
Boot from the virtual media.
Typically, the default boot order does not boot the CD-ROM image. You can change this in the BIOS or as a one-time option in the boot menu.
Connect to the console.
From the left hand menu, expand Operations, and select the SOL console.
Alternatively, SSH to the BMC from a terminal emulator, log in, and at the prompt, run the obmc-console-client command.
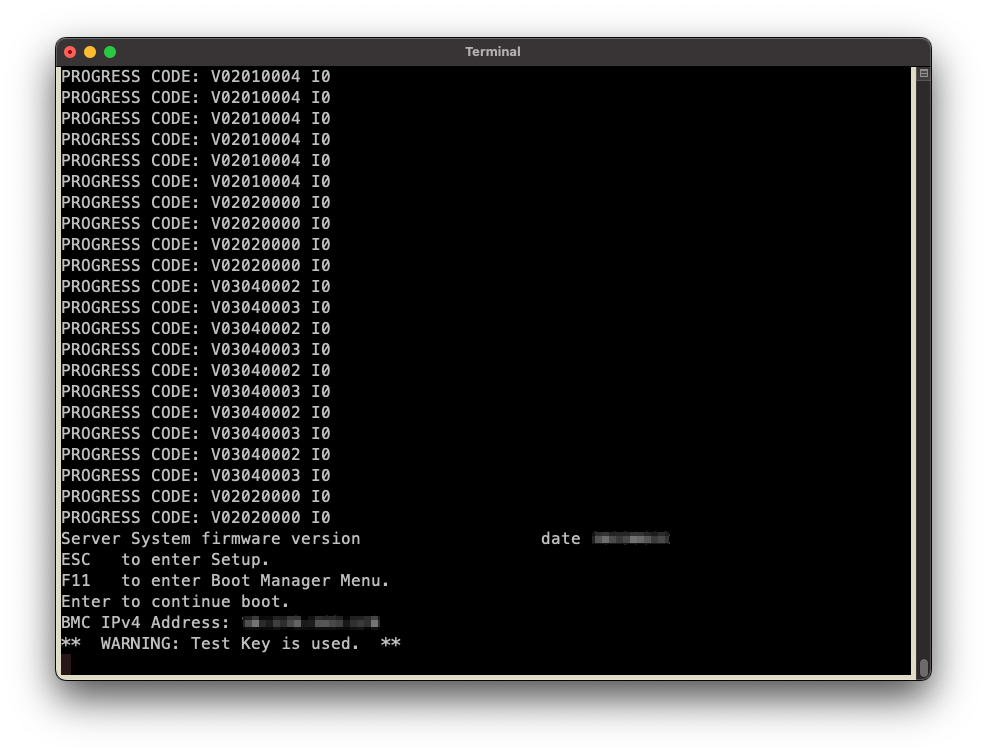
To bring up the boot menu, press Escape or F11 at the beginning of the boot process.
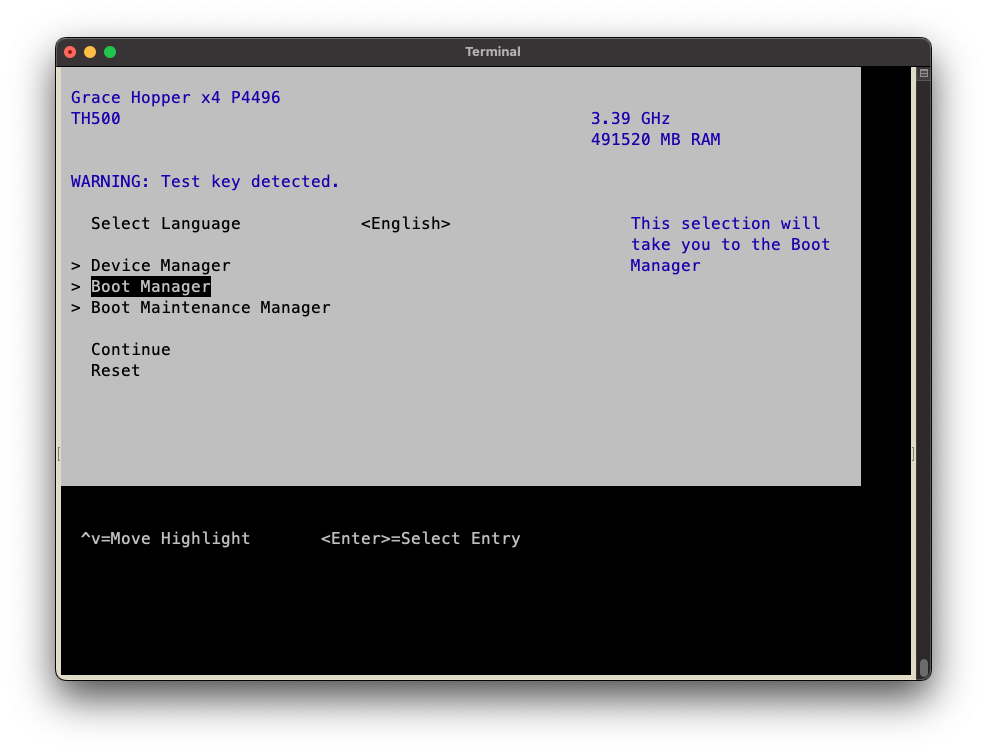
In the boot menu, select UEFI OpenBMC Virtual Media Device as the boot device and press Enter.
Follow the instructions in Installing Red Hat Enterprise Linux.
Installing Red Hat Enterprise Linux#
Prerequisites: This section assumes you have already booted the RHEL ISO image.
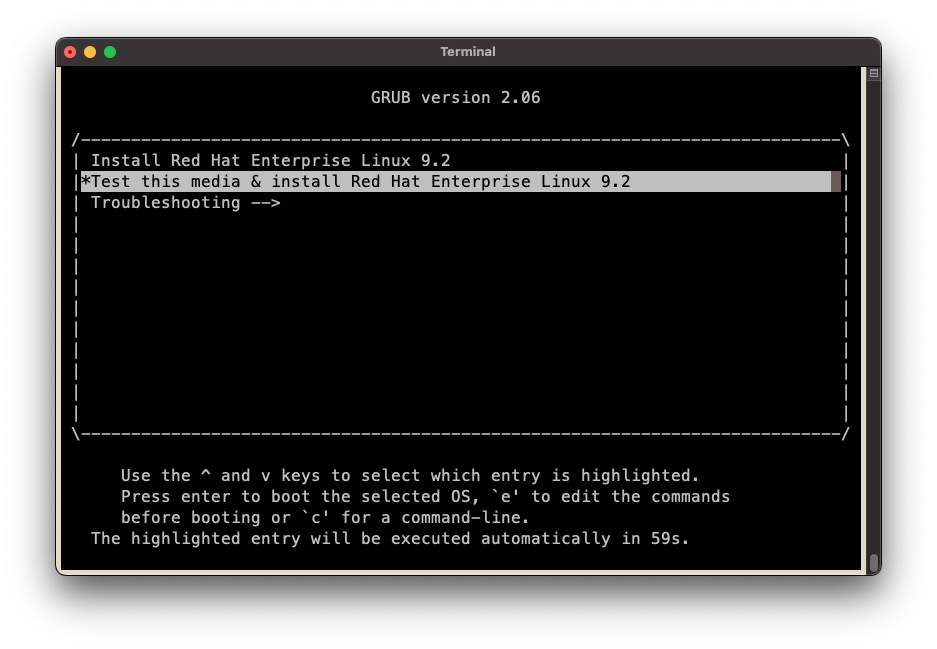
After booting the ISO image, the GRUB menu for the installer will appear.
The menu will time out after 60 seconds.
If no action is taken, it will proceed with booting the Test this media & install Red Hat Enterprise Linux 9.2 default selection.
Note
When installing RHEL 10.0 on a multi-socket system, modify the GRUB entry to add
nr_cpus=72to avoid a hang during installation. Refer to Knowledgebase for more information.To automate the installation with a Kickstart configuration file, refer to Installing with Kickstart.
Select one of the Install entries at the grub menu or wait for the timeout.
Refer to the Red Hat Enterprise Linux Quick Installation Guide for guidance on using the installer.
Follow the installer prompts to configure the manual installation.
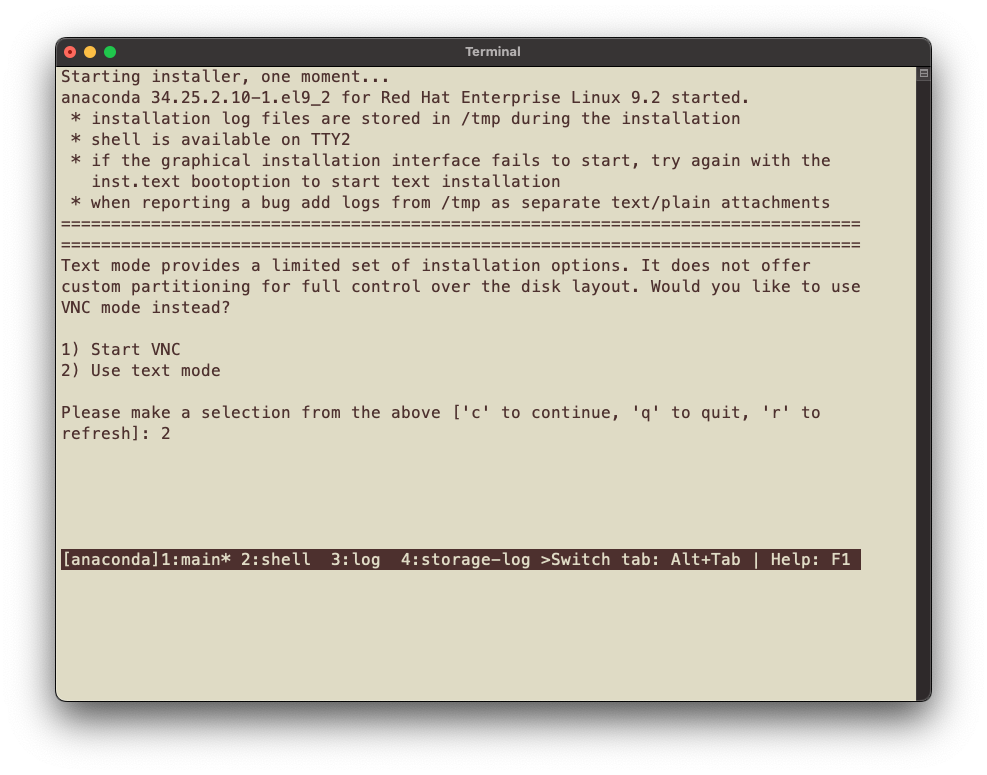
Select Use text mode.
Note
If the installer menu fails to start, check the KVM console to continue installation. The installation mode can be specified by modifying the GRUB entry to add the
inst.textor theinst.vncboot parameter. Refer to Boot options for RHEL Installer for more information.Select the Language and the Timezone.
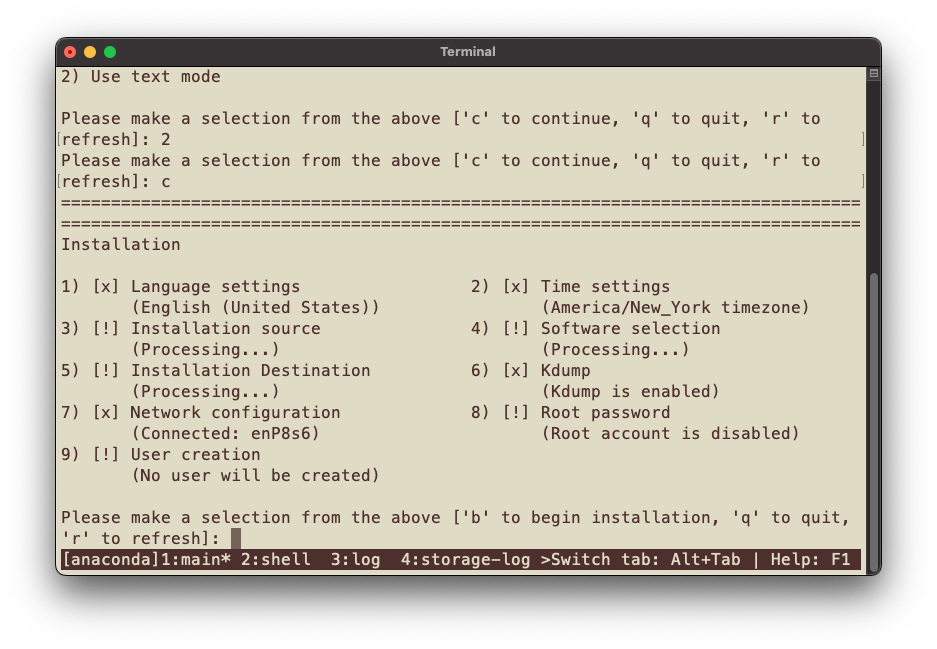
Select the Base environment and any additional software you want to install.
Note
When installing RHEL 9.2 or RHEL 9.3, you must select the Minimal Install base environment. There is a dependency with the kmod-kvdo package, and this step prevents the 4k kernel from being installed concurrently with the 64k kernel (refer to Installing kernel-64k for ARM 64 for more information).
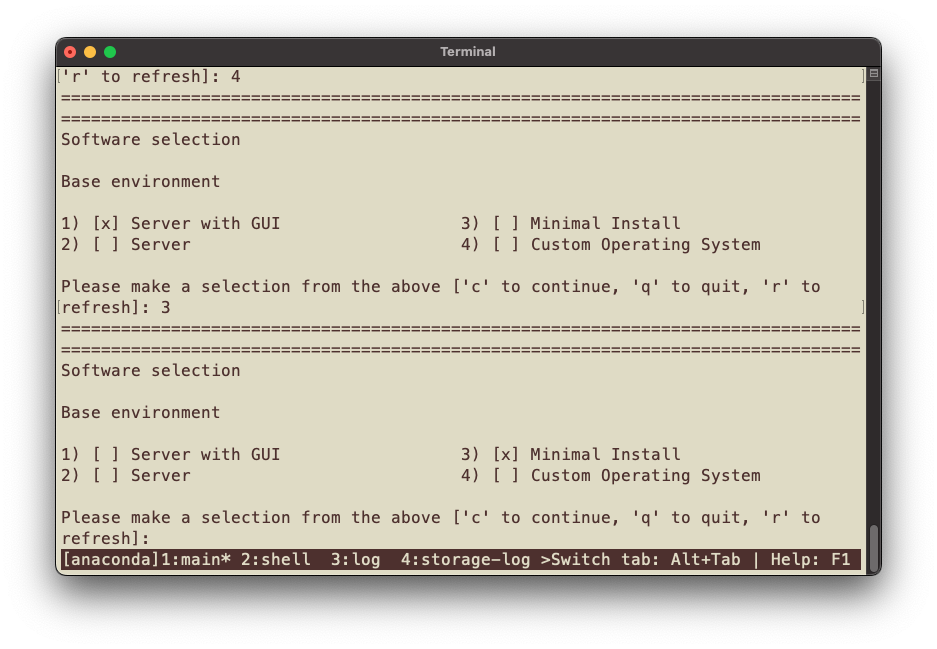
On RHEL 9.3 and later, select the 64k kernel option.
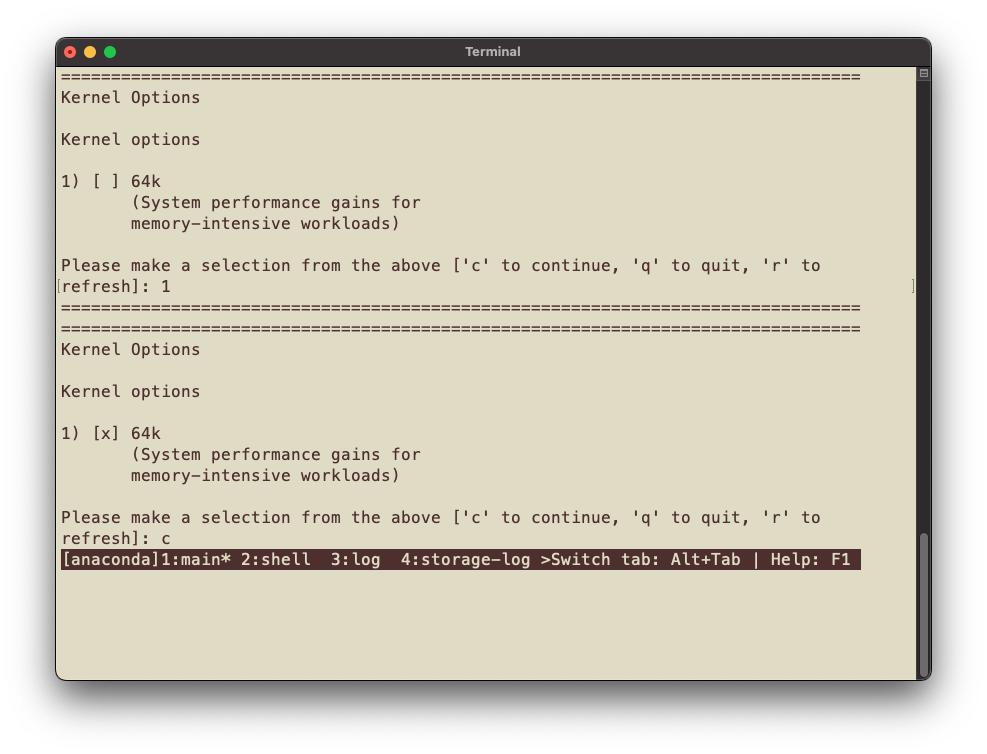
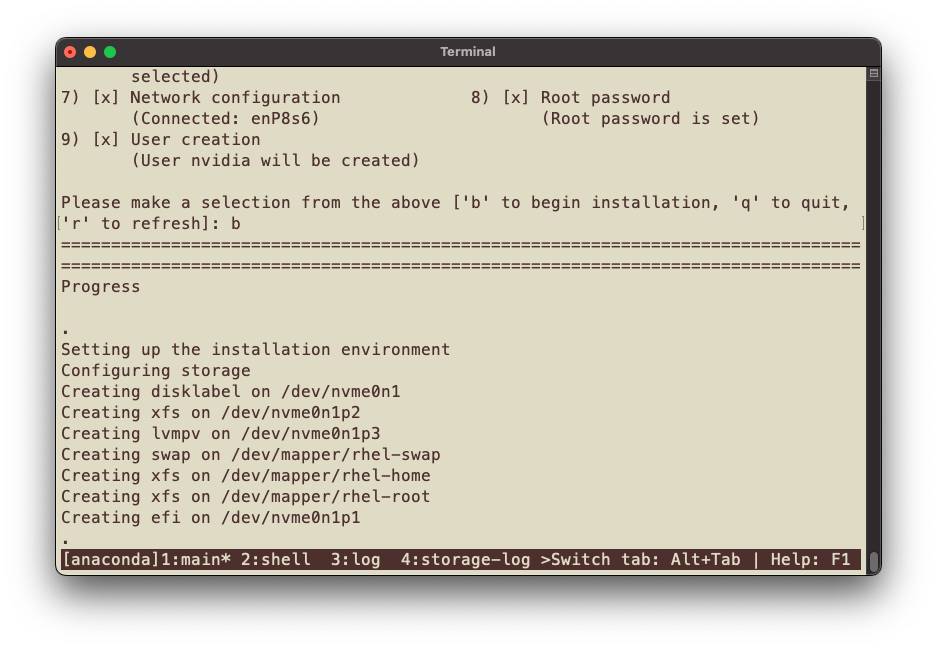
Select the installation destination, the partitioning scheme, and partitioning options.


Create the users and set the root password.
To start the installation, enter b.
After the installation is complete, the system will display a EULA prompt.
Press ENTER to quit the installer and reboot the system.
If you are using RHEL 9.3 and later, and you selected the 64k kernel in step 9, you can skip to step 19.
After the system reboots, log in and install the 64k kernel as the default by running the following commands:
sudo dnf install -y kernel-64k
k=$(echo /boot/vmlinuz*64k)
sudo grubby --set-default=$k --update-kernel=$k --args="crashkernel=auto"
sudo grub2-editenv - unset menu_auto_hide
sudo reboot
After the system reboots, confirm that the system is running the 64k kernel by evaluating the page size.
$ getconf PAGESIZE
65536
With the 64k kernel now booted, the 4k kernel must be removed per Red Hat’s recommendation by running the following command.
sudo dnf erase kernel
The installation on Grace is complete.