Flashing and Booting the Target Device
Use the flash.sh helper script to flash the board with the bootloader and kernel, and optionally, flash the root file system to internal eMMC.
Before You Begin
The following directories must be present:
• bootloader—bootloader plus flashing tools, such as NvFlash, CFG, BCT, etc.
• kernel—a kernel Image /vmlinux.uimg, DTB files, and kernel modules
• rootfs—the root file system that you download
This directory starts empty and you populate it with the sample file system.
• nv_tegra—NVIDIA® Tegra® user space binaries and sample applications
Additionally, before running these commands, you must have the USB cable connected to the recovery port.
To flash using a USB
Use the USB device mode default configuration script and associated README that describes how the USB flashing port operates in device mode.
To flash the bootloader and kernel
1. Put the target into reset/recovery mode.
• Power on the carrier board and hold the RECOVERY button.
• Then press the RESET button.
2. Run the flash.sh script that is in the top-level directory of this release. The script must be supplied with the target board (jetson-xavier) for the root file system:
sudo ./flash.sh <platform> <rootdev>
Where <rootdev> depends on where the root file system is located:
For a root file system on the NVIDIA® Jetson AGX Xavier™ module’s internal eMMC, execute the script as follows:
sudo ./flash.sh jetson-xavier mmcblk0p1
To RAM boot to NFS
1. Put the device into reset/recovery mode.
• Power on the carrier board and hold the RECOVERY button.
• Then press the RESET button.
2. Execute the command:
sudo ./flash.sh -N <ip-addr-of-linux-host>:/<path-to-NFS-rootfs> --rcm-boot <platform> eth0
Where:
• <ip_addr> is the IP address of the host system
• <root_path> is the path to the NFS rootfs
• <platform> is the target’s platform type: nano, jetson-xavier, tx2, or tx1
Flash Script Usage
Locate the most up-to-date usage information by running flash.sh -h (using the flash.sh script included in the release). The basic usage is as follows.
sudo ./flash.sh [options] <platform> <rootdev>
Specify the required parameters and one or more of the options.
Flashing to a Flash Drive
The Jetson AGX Xavier platform (target device) can be booted from a USB device with mass storage class and bulk only protocol, such as a flash drive. Hot plugging is not supported; the flash drive must be attached before the device is booted.
This procedure uses CBoot, and flashes only the kernel and kernel DTB to the USB device. The kernel uses the file system in the target device’s internal eMMC. The target device must be flashed at least once before the procedure is performed to ensure that the file system is available.
To set up a flash drive for booting
1. Connect the USB stick to host computer.
2. Check the USB device’s device name (e.g. /dev/sdb, /dev/sdd, or /dev/sdc):
sudo lshw -quiet -short -c disk
3. Create a new GPT.
sudo parted /dev/sdb mklabel gpt
If the device name is /dev/sdb. The device name fetches it at runtime.
4. Add the kernel partition and allocate 64 MB to it:
sudo parted /dev/sdb mkpart kernel 0MB 64MB
5. Add the kernel-dtb partition and allocate 1 MB to it:
sudo parted /dev/sdb mkpart kernel-dtb 64MB 65MB
6. Print the start, end, and size in sectors of the partitions:
sudo parted /dev/sdb unit s print
7. Write the kernel image to the kernel partition:
sudo dd if=bootloader/boot.img of=<dn>1
8. Write the kernel-dtb image to the kernel-dtb partition:
sudo dd if=bootloader/<dtbname> of=<dn>2
In this procedure:
• <dn> is the device name of the USB device, e.g. /dev/sdb.
• <dtbname> is the filename of the .dtb file. For the Jetson AGX Xavier it is:
tegra194-p2888-0001-p2822-0000.dtb
Preparing Files to Boot from a Flash Drive with Secureboot Implemented
With Secureboot implemented, both boot.img and tegra194-p2888-0001-p2822-0000.dtb must be signed and encrypted if they are to be used on a system that is booted from a flash drive (USB or SD Card) or from TFTPboot.
Enter these commands to generate signed, encrypted files:
• For boot.img:
sudo ./flash.sh --no-flash -k kernel jetson-xavier mmcblk0p1
• For the .dtb file:
sudo ./flash.sh --no-flash -k kernel-dtb jetson-xavier mmcblk0p1
Flashing a Specific Partition
You can flash a specific partition instead of flashing the whole device by using the comand line switch ‑k.
To flash a specific partition
• Enter the command:
sudo ./flash.sh -k <partition_name> [--image <image_name>] <platform> <rootdev>
Where:
• <partition_name> is the name of the partition to be flashed. Possible values depend on the target device. For details, see the section
Default Partition Overview in the topic
Bootloader.
• <image_name> is the name of the image file. If omitted, flash.sh chooses the image file that was used to flash whole device.
• <platform> is:
• For Jetson Nano: jetson-nano-qspi-sd
• For Jetson AGX Xavier: jetson-xavier
• For Jetson TX2: jetson-tx2
• <rootdev> is the device name of the root file system, for example emmcblk0p1.
Examples
To flash the kernel on Jetson AGX Xavier using the default file <L4T>/kernel/Image:
sudo ./flash.sh -k kernel jetson-xavier mmcblk0p1
To flash mb1 bct on Jetson AGX Xavier using a predefined list of configuration files:
sudo ./flash.sh -k MB1_BCT jetson-xavier mmcblk0p1
To flash CPU bootloader on Jetson TX2 by using a user-specified image file <user_path>/cboot.bin:
sudo ./flash.sh -k cpu-obootloader --image <user_path>/cboot.bin jetson-tx2 mmcblk0p1
Notes on the “-k kernel” option
Since U‑Boot is required for Jetson Nano and Jetson TX1, and is the default bootloader for Jetson TX2, the image flashed to the kernel partition is actually a U‑Boot image. U‑Boot loads the Linux kernel from /boot/Image in the root file system.
For this reason you cannot update Linux kernel image using the ‑k kernel switch. You may update e by either of these means:
• Modify /boot/extlinux/extlinux.conf to add a new boot entry.
Follow the instructions and example provided in /boot/extlinux/extlinux.conf. By this means you can always use cp or scp to replace /boot/Image with a custom-built kernel and launch it with U‑Boot.
• On T210 (Nano and TX1) devices only, connect the Jetson device’s recovery USB port to your host. Enter this command at the U‑Boot command prompt:
ums 0 mmc 1
This connects eMMC (or the Jetson Nano SD Card) to the host as a set of USB mass storage devices (each partition as a device). You then can copy your custom kernel to /boot/Image directly.
Increasing Internal Memory Partition for Root File System
The suggested rootfs partition size for the Jetson AGX Xavier platform is 15 gigabytes (GB). It is specified by default in the <target_board>.conf file used by the flash.sh script.
Use the -S <size-in-bytes> argument to flash.sh to change the partition size.
To flash for a larger partition
• Execute the following command:
$ sudo ./flash.sh -S <size> <platform> <rootdev>
Where:
• <size> is the desired size for the partition, such as 8589934592 (or 8 GiB) for 8 GB, if you want to decrease the size of the partition.
• <rootdev> is the rootfs partition internal memory, for example mmcblk0p1.
Determining the Success of a Driver Update
After updating drivers on a target board, verify that the update completed successfully. You can determine the success or failure of a driver update by using the following commands.
To determine the success of a driver update
• Execute the following command on a booted target device:
$ sha1sum -c /etc/nv_tegra_release
If the driver update succeeded, the output displays the word OK after the file name. A typical success message looks like this:
/usr/lib/xorg/modules/drivers/nvidia_drv.so: OK
The driver update fails if the file is missing. A typical error message looks like this:
sha1sum: /usr/lib/xorg/modules/drivers/nvidia_drv.so: No such file or directory
/usr/lib/xorg/modules/drivers/nvidia_drv.so: FAILED open or read
The driver update also fails if the new file is different from the existing file, producing an error such as:
/usr/lib/xorg/modules/drivers/nvidia_drv.so: FAILED
Reconfiguring a Jetson Device with oem-config
A target device that is flashed by SDK Manager runs the oem-config tool automatically the first time it boots after it is flashed. You can use this tool to change some parts of the device’s configuration.
The oem-config tool is useful for custom configuring production devices. In a typical use case you flash a default configuration and clone it to many production devices. The purchaser of each device can use oem-config to set their own username and password, language, time zone, and so on.
On a headed target device (one equipped with a display), oem-config runs as a GUI application. On a e target device (one without a display), it runs as a character interface application.
About Communication Through the Debugging Port
The serial application on the host computer customarily communicates with oem-config through the host computer’s tty device and the target device’s default debugging port.
Some Jetson developer kits also have a UART port on a 40‑pin header. You can edit the oem-config configuration file to make oem-config use this port instead. You must make this change before you flash images on the target device.
Jetson Nano supports use of the micro USB connector as a debugging port. This is the easiest way to control a headless Jetson Nano device, since a USB to TTL adapter is not required.
To configure oem-config to use a 40‑pin header UART port
1. Locate the appropriate configuration file on the host computer:
• For Jetson Nano and Jetson TX1: <top>/etc/nv-oem-config.conf.t210
• For Jetson AGX Xavier: <top>/etc/nv-oem-config.conf.t194
• For Jetson TX2 series devices: <top>/etc/nv-oem-config.conf.t186
2. Open the configuration file and file the line that defines the property:
nv-oem-config-uart-port=ttyS0
3. Change the value of this property from ttyS0 to ttyTHS1.
4. Save and close the configuration file.
5. Proceed to flash the target device as described elsewhere in this topic.
Headless Mode Flow in oem-config
Before the target system boots for the first time, you must start a serial application on the host computer. You may use putty, screen, or any other serial application that communicates through the host computer’s tty device and supports the UTF‑8 character set.
Note | NVIDIA does not recommend using minicom for this application because it has some issues dealing with UTF‑8. |
When the target device boots for the first time after flashing and finds no display device, it runs oem-config in headless mode. Use the following procedure to reconfigure the target device.
To reconfigure the target device with oem-config
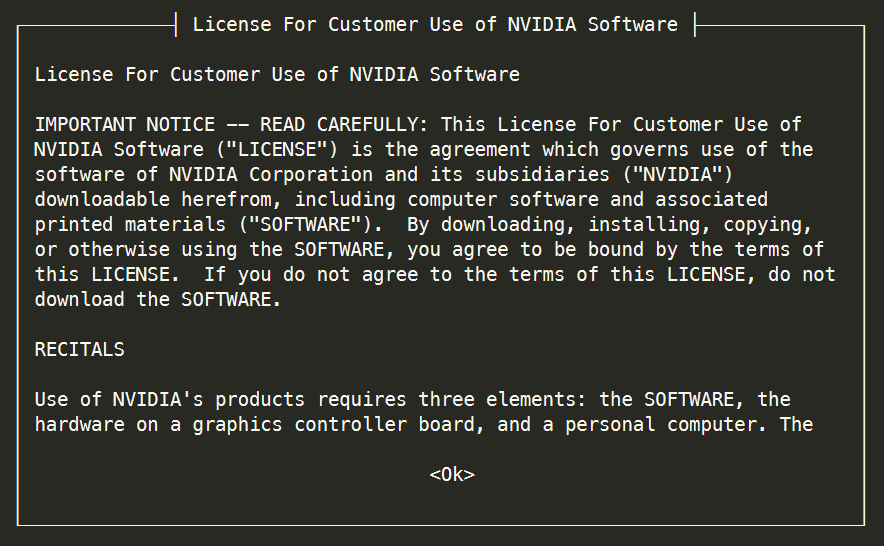
1. oem-config displays the license that governs its use. Read the license, then accept it by pressing Tab, then Enter.
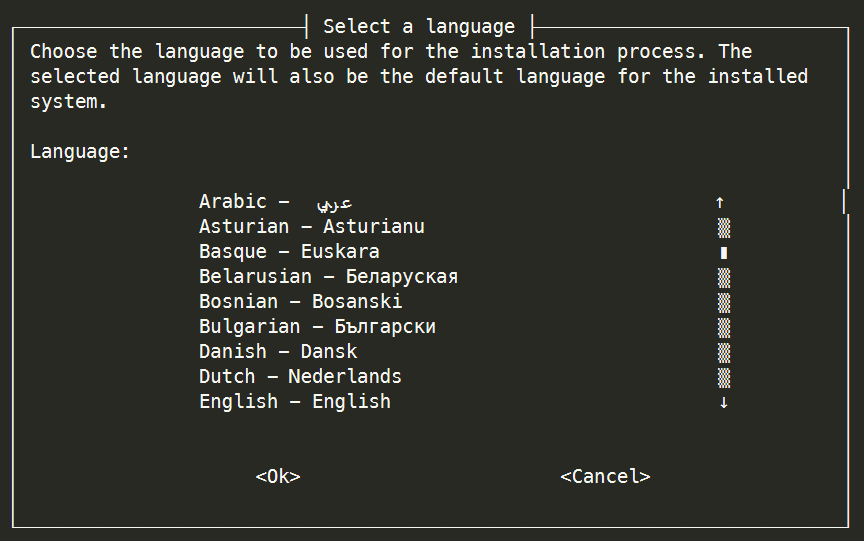
2. oem-config displays a screen that lists languages. Use the up and down-arrow keys to select the language you want to use for the installation process. Then press the left and right-arrow keys to select “OK,” and press Enter.
Note | To go back from any screen to the preceding one, select “Cancel” and press Enter. You can go back more than one screen by doing this more than once. |
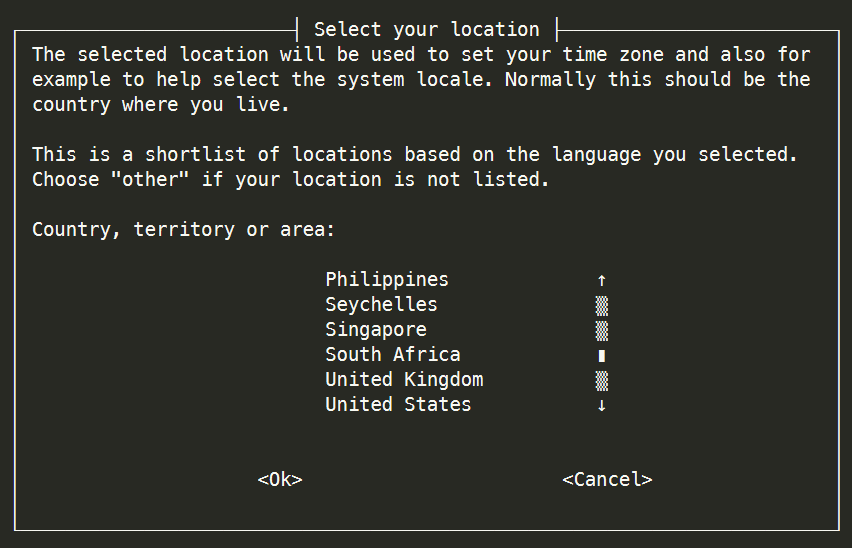
3. oem-config displays a screen that lists locations in which the language you selected is used. Select your location; then select “OK” and press Enter.
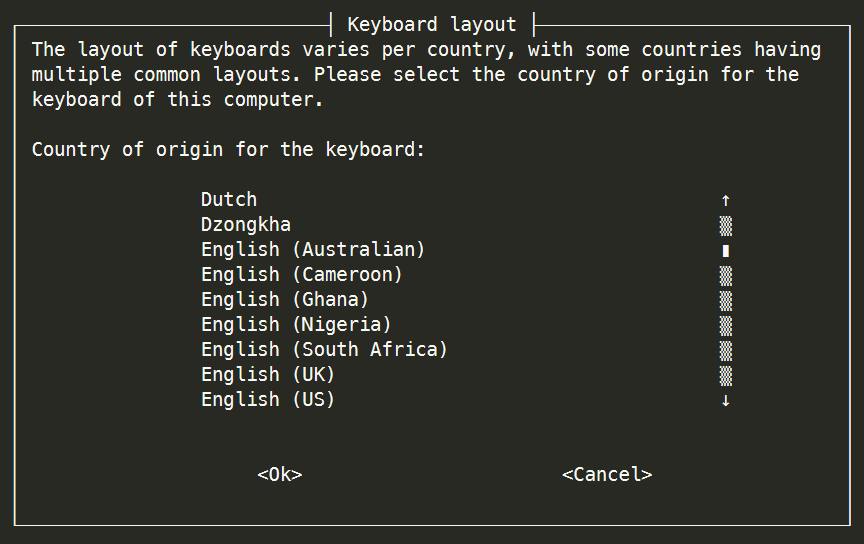
4. oem-config displays a screen that lists keyboard layouts. Select your keyboard’s layout, then select “OK” and press Enter.
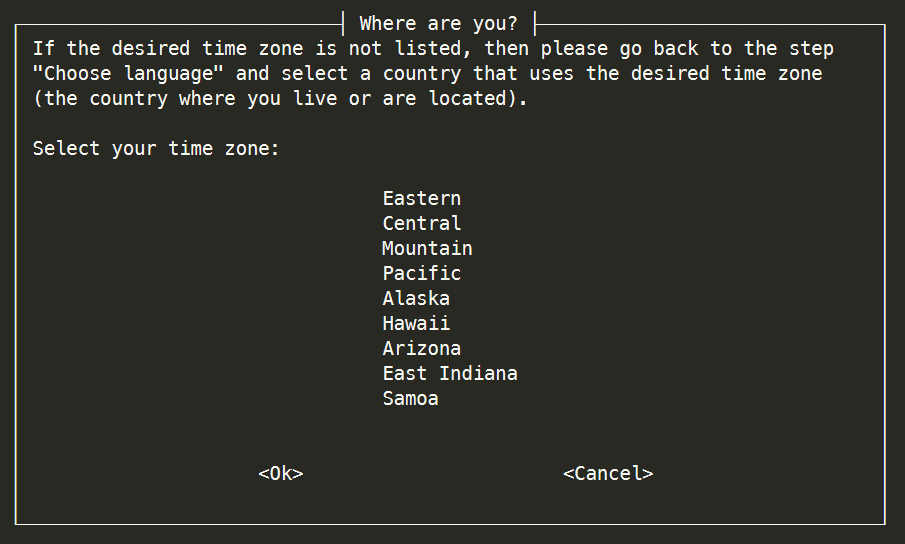
5. oem-config displays a screen that lists time zones that exist in the location you select. Select your time zone, then select “OK” and press Enter.
If your time zone is not listed, select “Cancel” as many times as necessary to go back to the screen that lists locations, and choose a different location.
6. oem-config asks whether you want to set the system clock to Universal Coordinated Time (UTC, or Greenwich Mean Time). Linux expects the system clock to be set to UTC; therefore, NVIDIA recommends that you select “Yes” and press Enter. If you are using another operating system that expects the system clock to set to local time, however, select “No.”
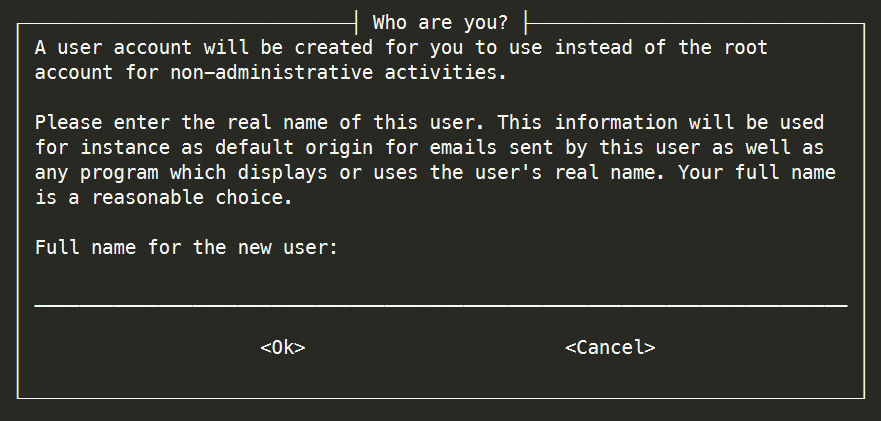
7. oem-config asks you to specify your name. Enter your full name (e.g. John Smith), then select “OK” and press Enter.
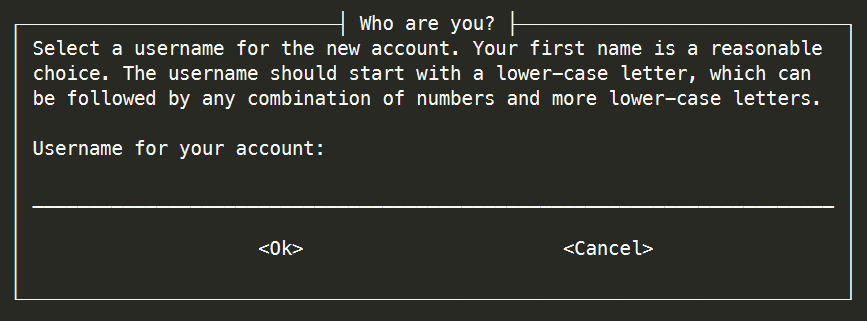
8. oem-config asks you to specify a username for your user account. oem-config creates a user account for this name. then select “OK” and press Enter.
NVIDIA suggests using your first name, using lower case letters only. Use this account instead of the root account for non-administrative activities.
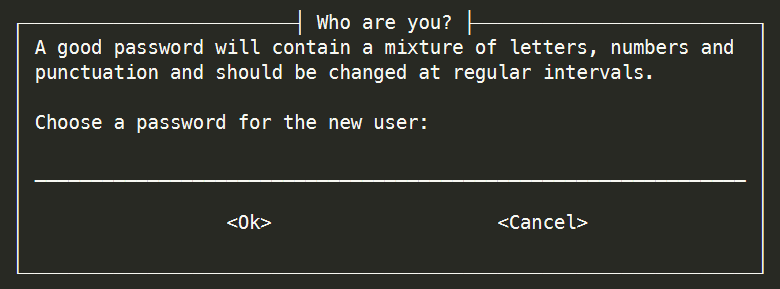
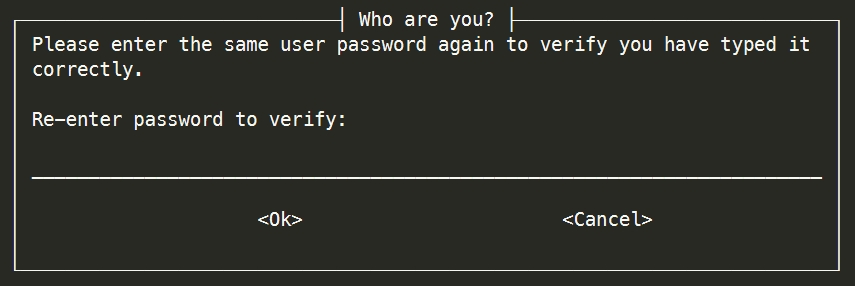
9. oem-config asks you to specify a password for your user account. Enter a password, then select “OK” and press Enter.
NVIDIA recommends that you specify a strong password, i.e. one that is more than eight characters long and contains at least one each of upper and lower case letters, numerals, and punctuation characters. If you enter a weak password, oem-config will ask you to confirm that you want to use it.
10. oem-config asks you to enter your password again to confirm that you entered it correctly. If you enter the same password both times, it sets the password and goes on to the next step. If not, it prompts you to specify a password again.
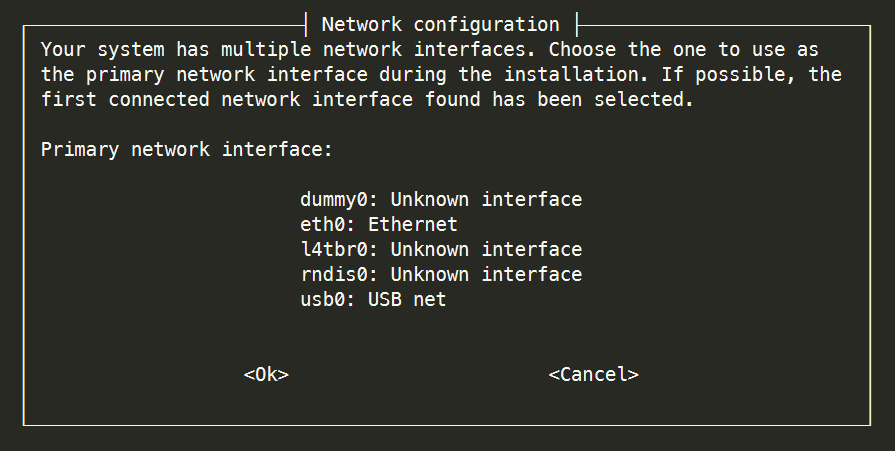
11. oem-config displays a list of interfaces which it can use as the primary network interface during installation. Select the interface you want to use, select “OK,” and press Enter.
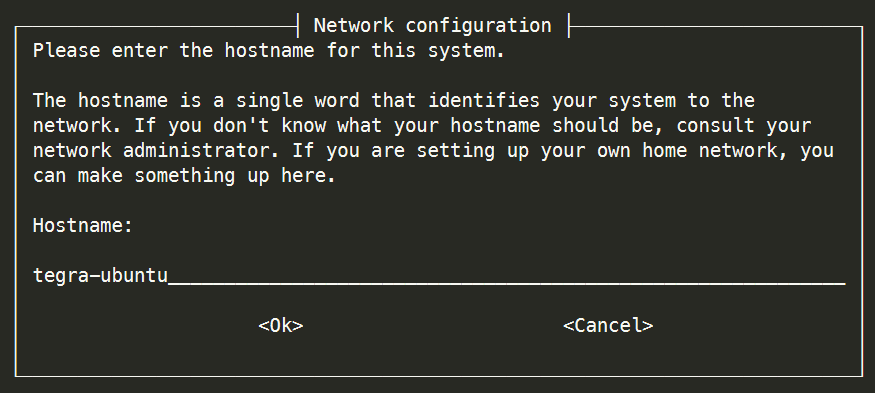
12. oem-config prompts you to enter your host computer’s hostname. If you don’t know the host’s name, ask your network administrator. If you are setting up a dedicated network, you may choose any name. Enter the hostname, then select “OK,” and press Enter.
13. eom-config reconfigures the system with the selections you have made, then proceeds to the system’s log-in prompt.