


OOBE: First Boot After Flashing#
Configuring a Jetson Device with NVIDIA OOBE#
A target device that is flashed by SDK Manager runs the NVIDIA OOBE tool automatically the first time it boots after it is flashed. You can use this tool to change some parts of the device configuration such as username and password, language, and time zone.
On a headed target device (one equipped with a display), NVIDIA OOBE runs the Gnome Initial Setup application. On a headless target device (one without a display), it runs oem-config as a character interface application that communicates through the flashing port with a terminal program running on the host.
Headed Mode Flow in System Configuration#
Before the target system boots for the first time, you must connect a display via DisplayPort or HDMI. NVIDIA OOBE will run Gnome Initial Setup application for system configuration.
Note
After Gnome Initial Setup is started, system configuration must be completed in headed mode, even if the system is accidentally restarted during the process.
Configuring the Target Device with Gnome Initial Setup#
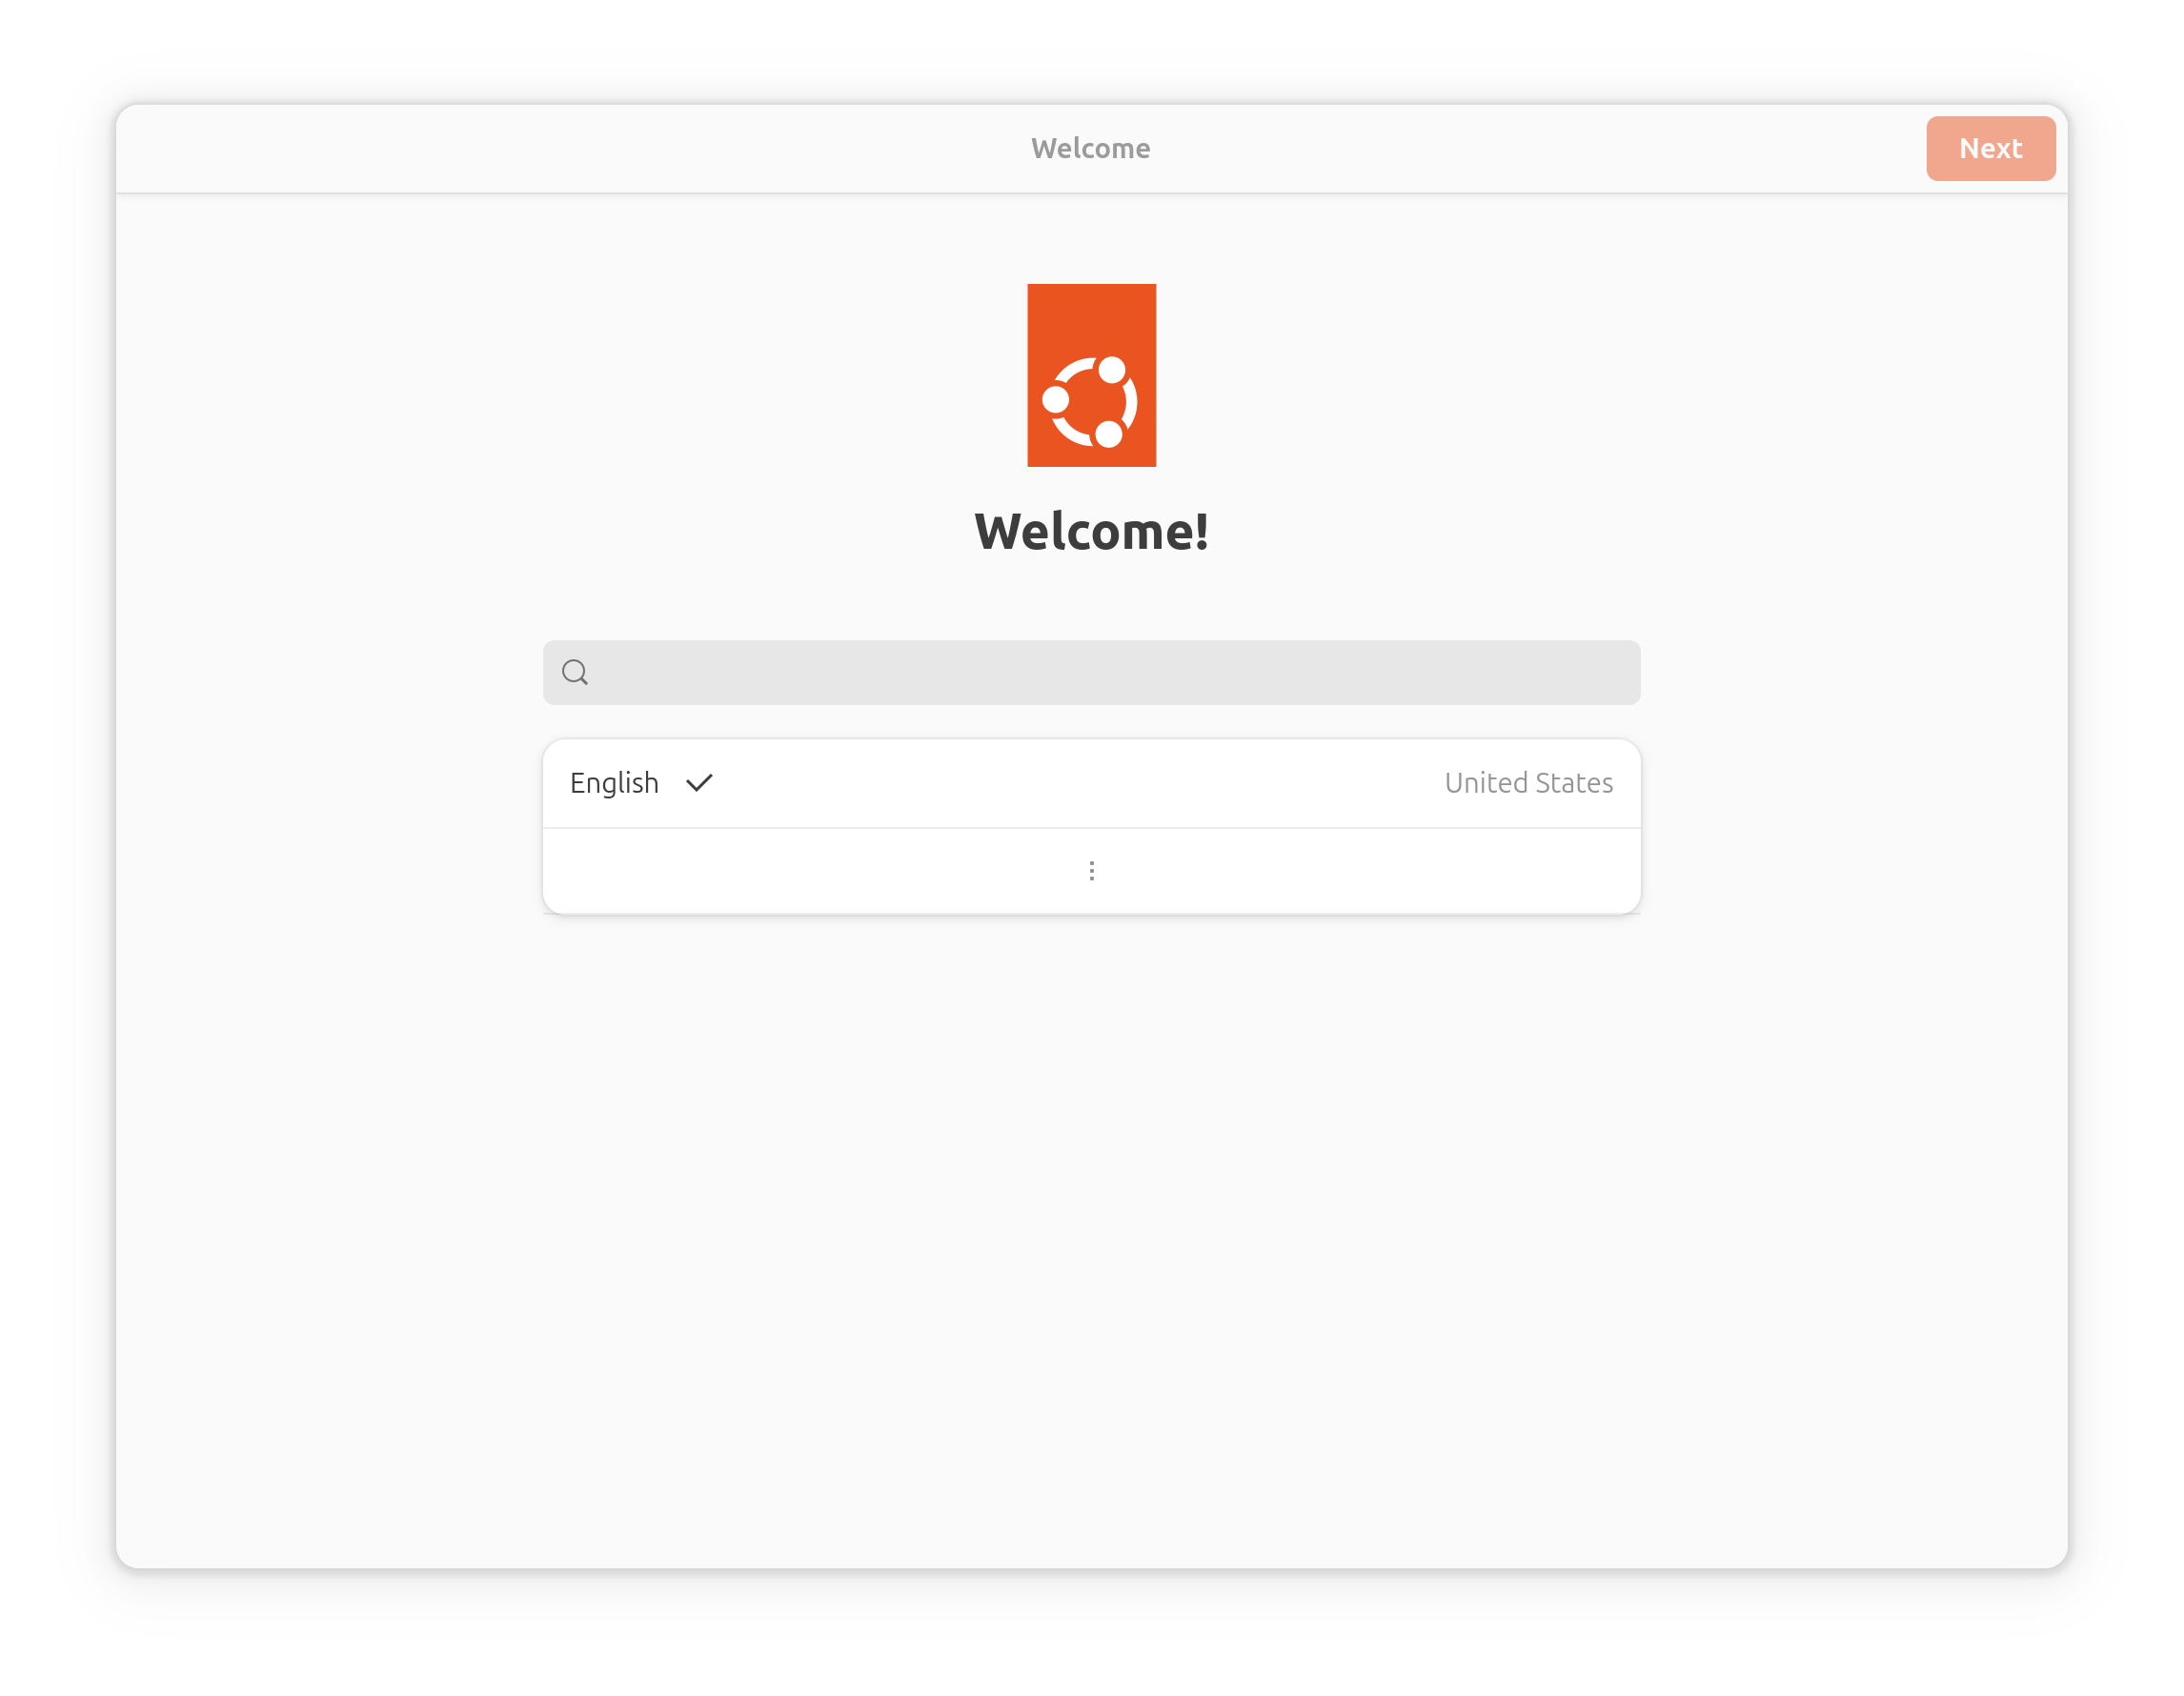
Gnome Initial Setup displays a welcome screen. To advance to the next screen, click the Next button.
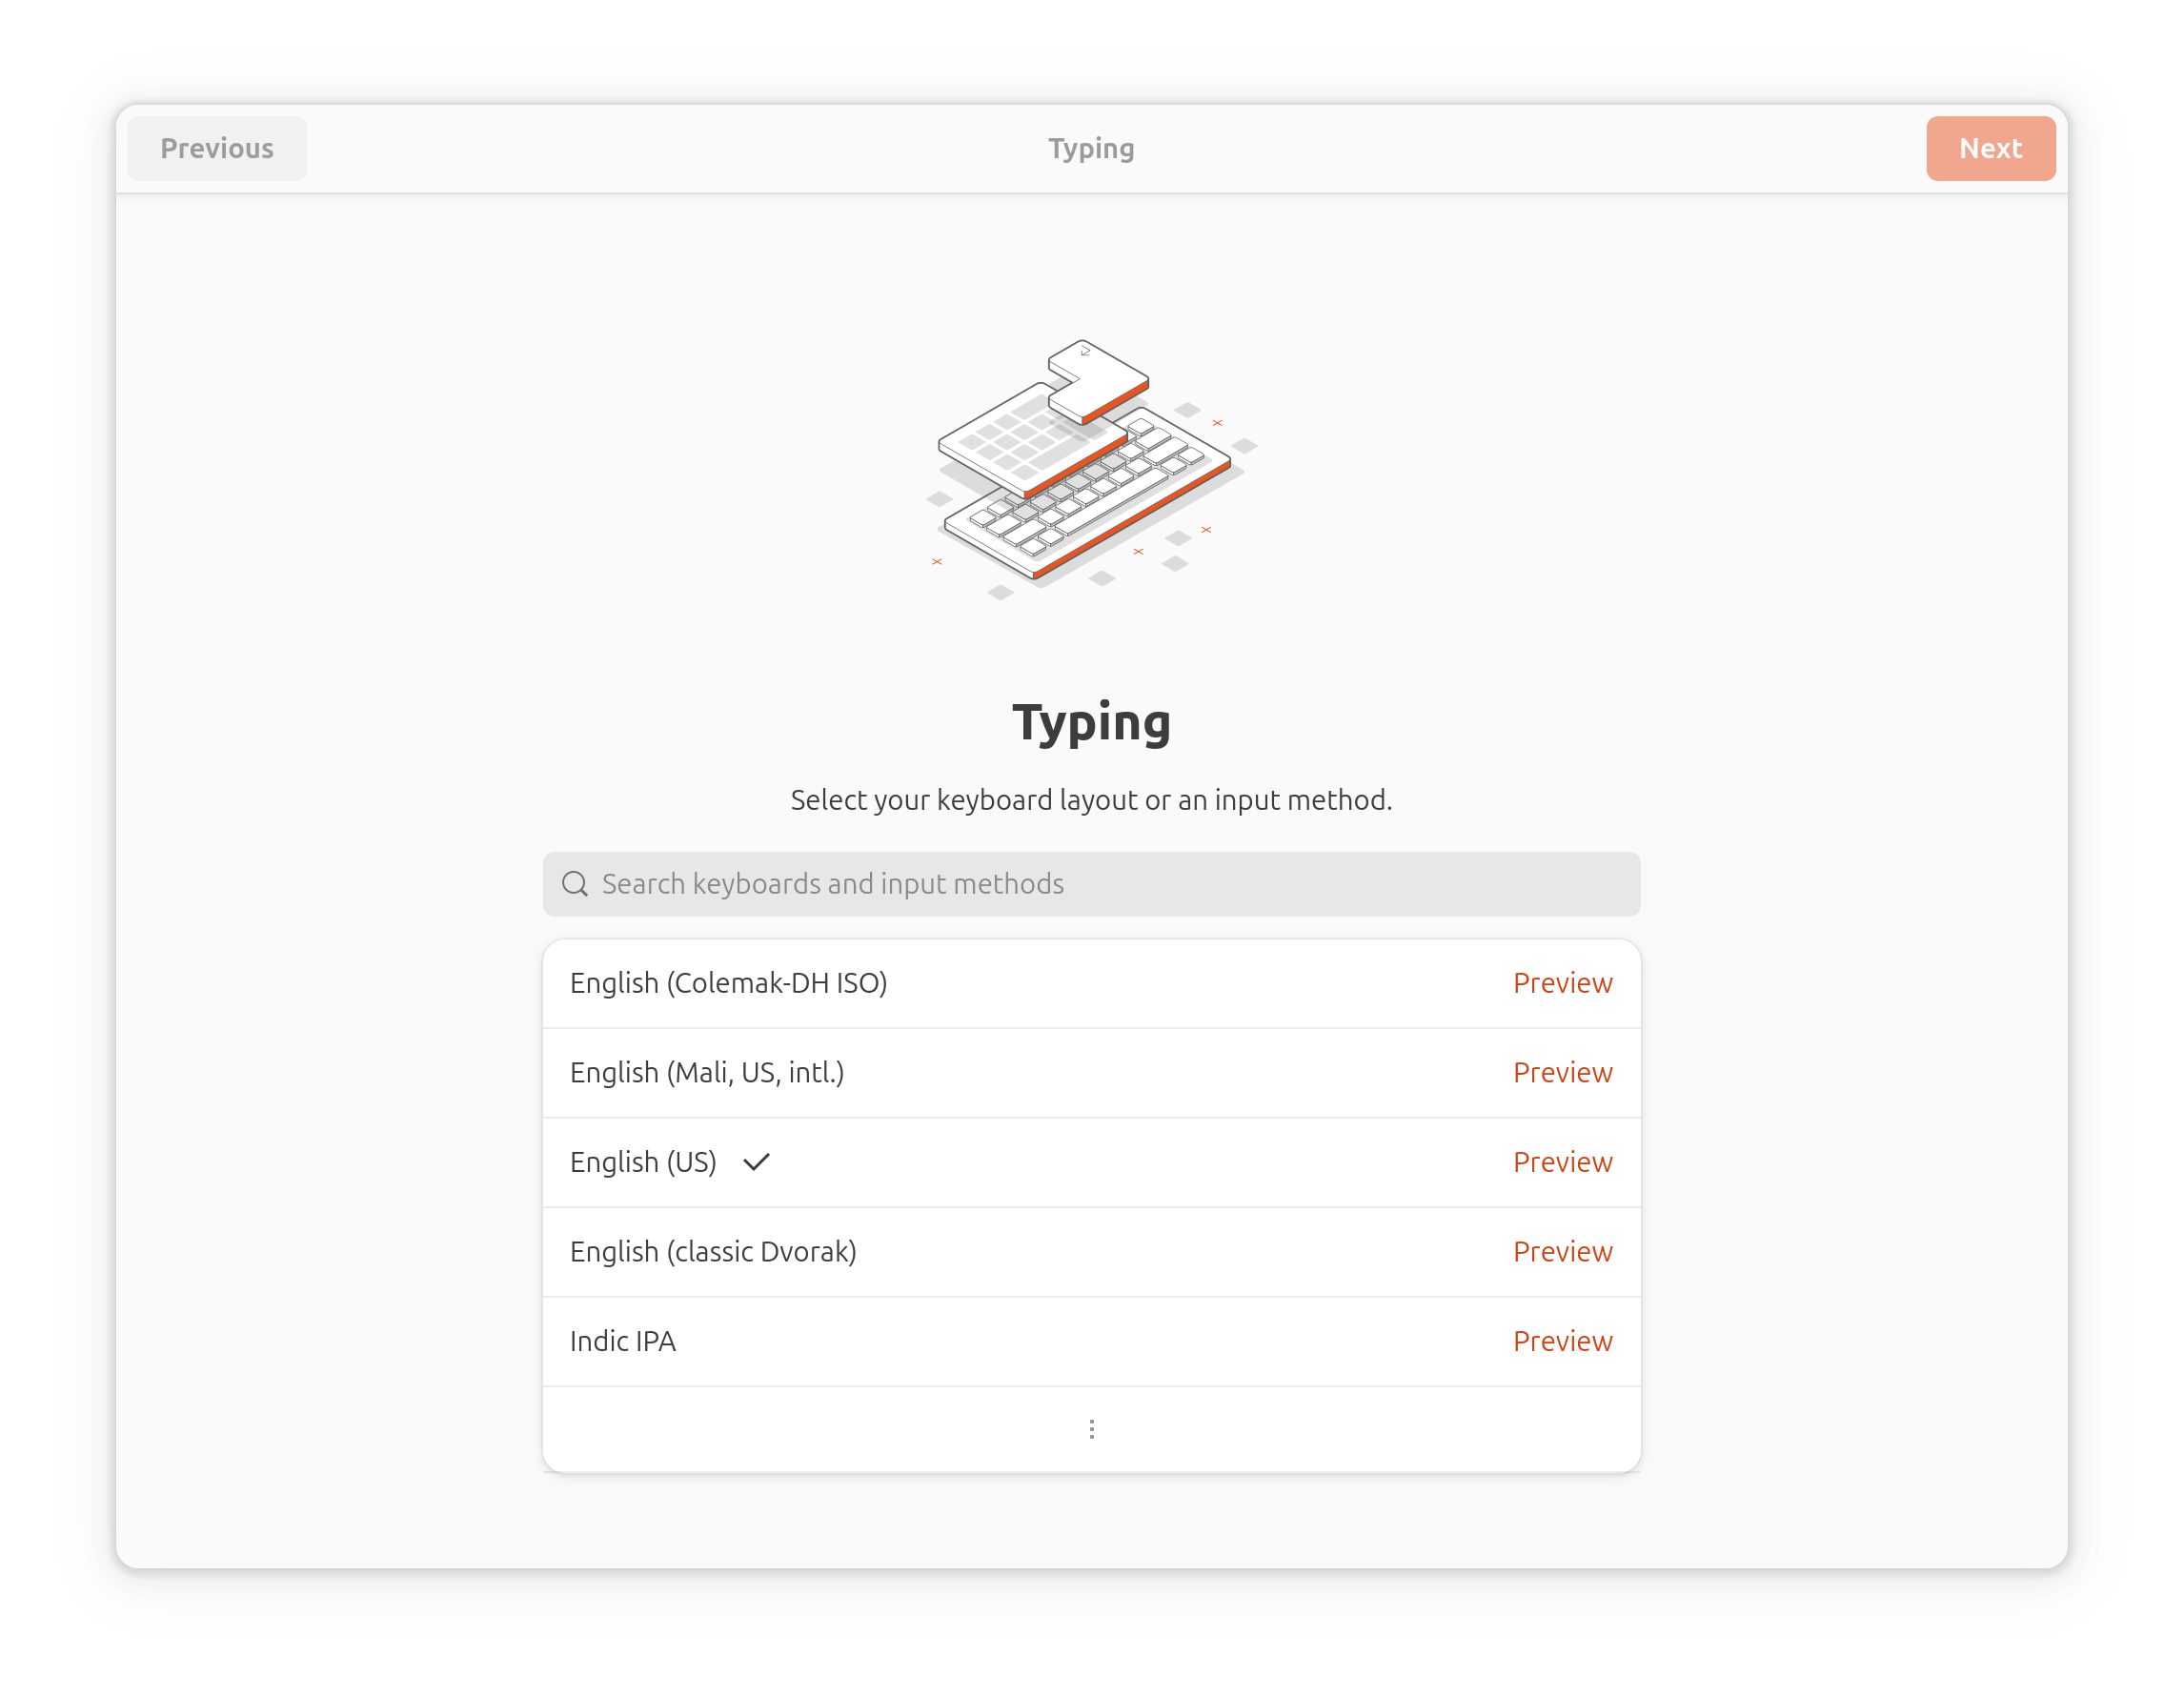
Gnome Initial Setup lists the keyboard layouts. Select your keyboard layout; then click the Next button.
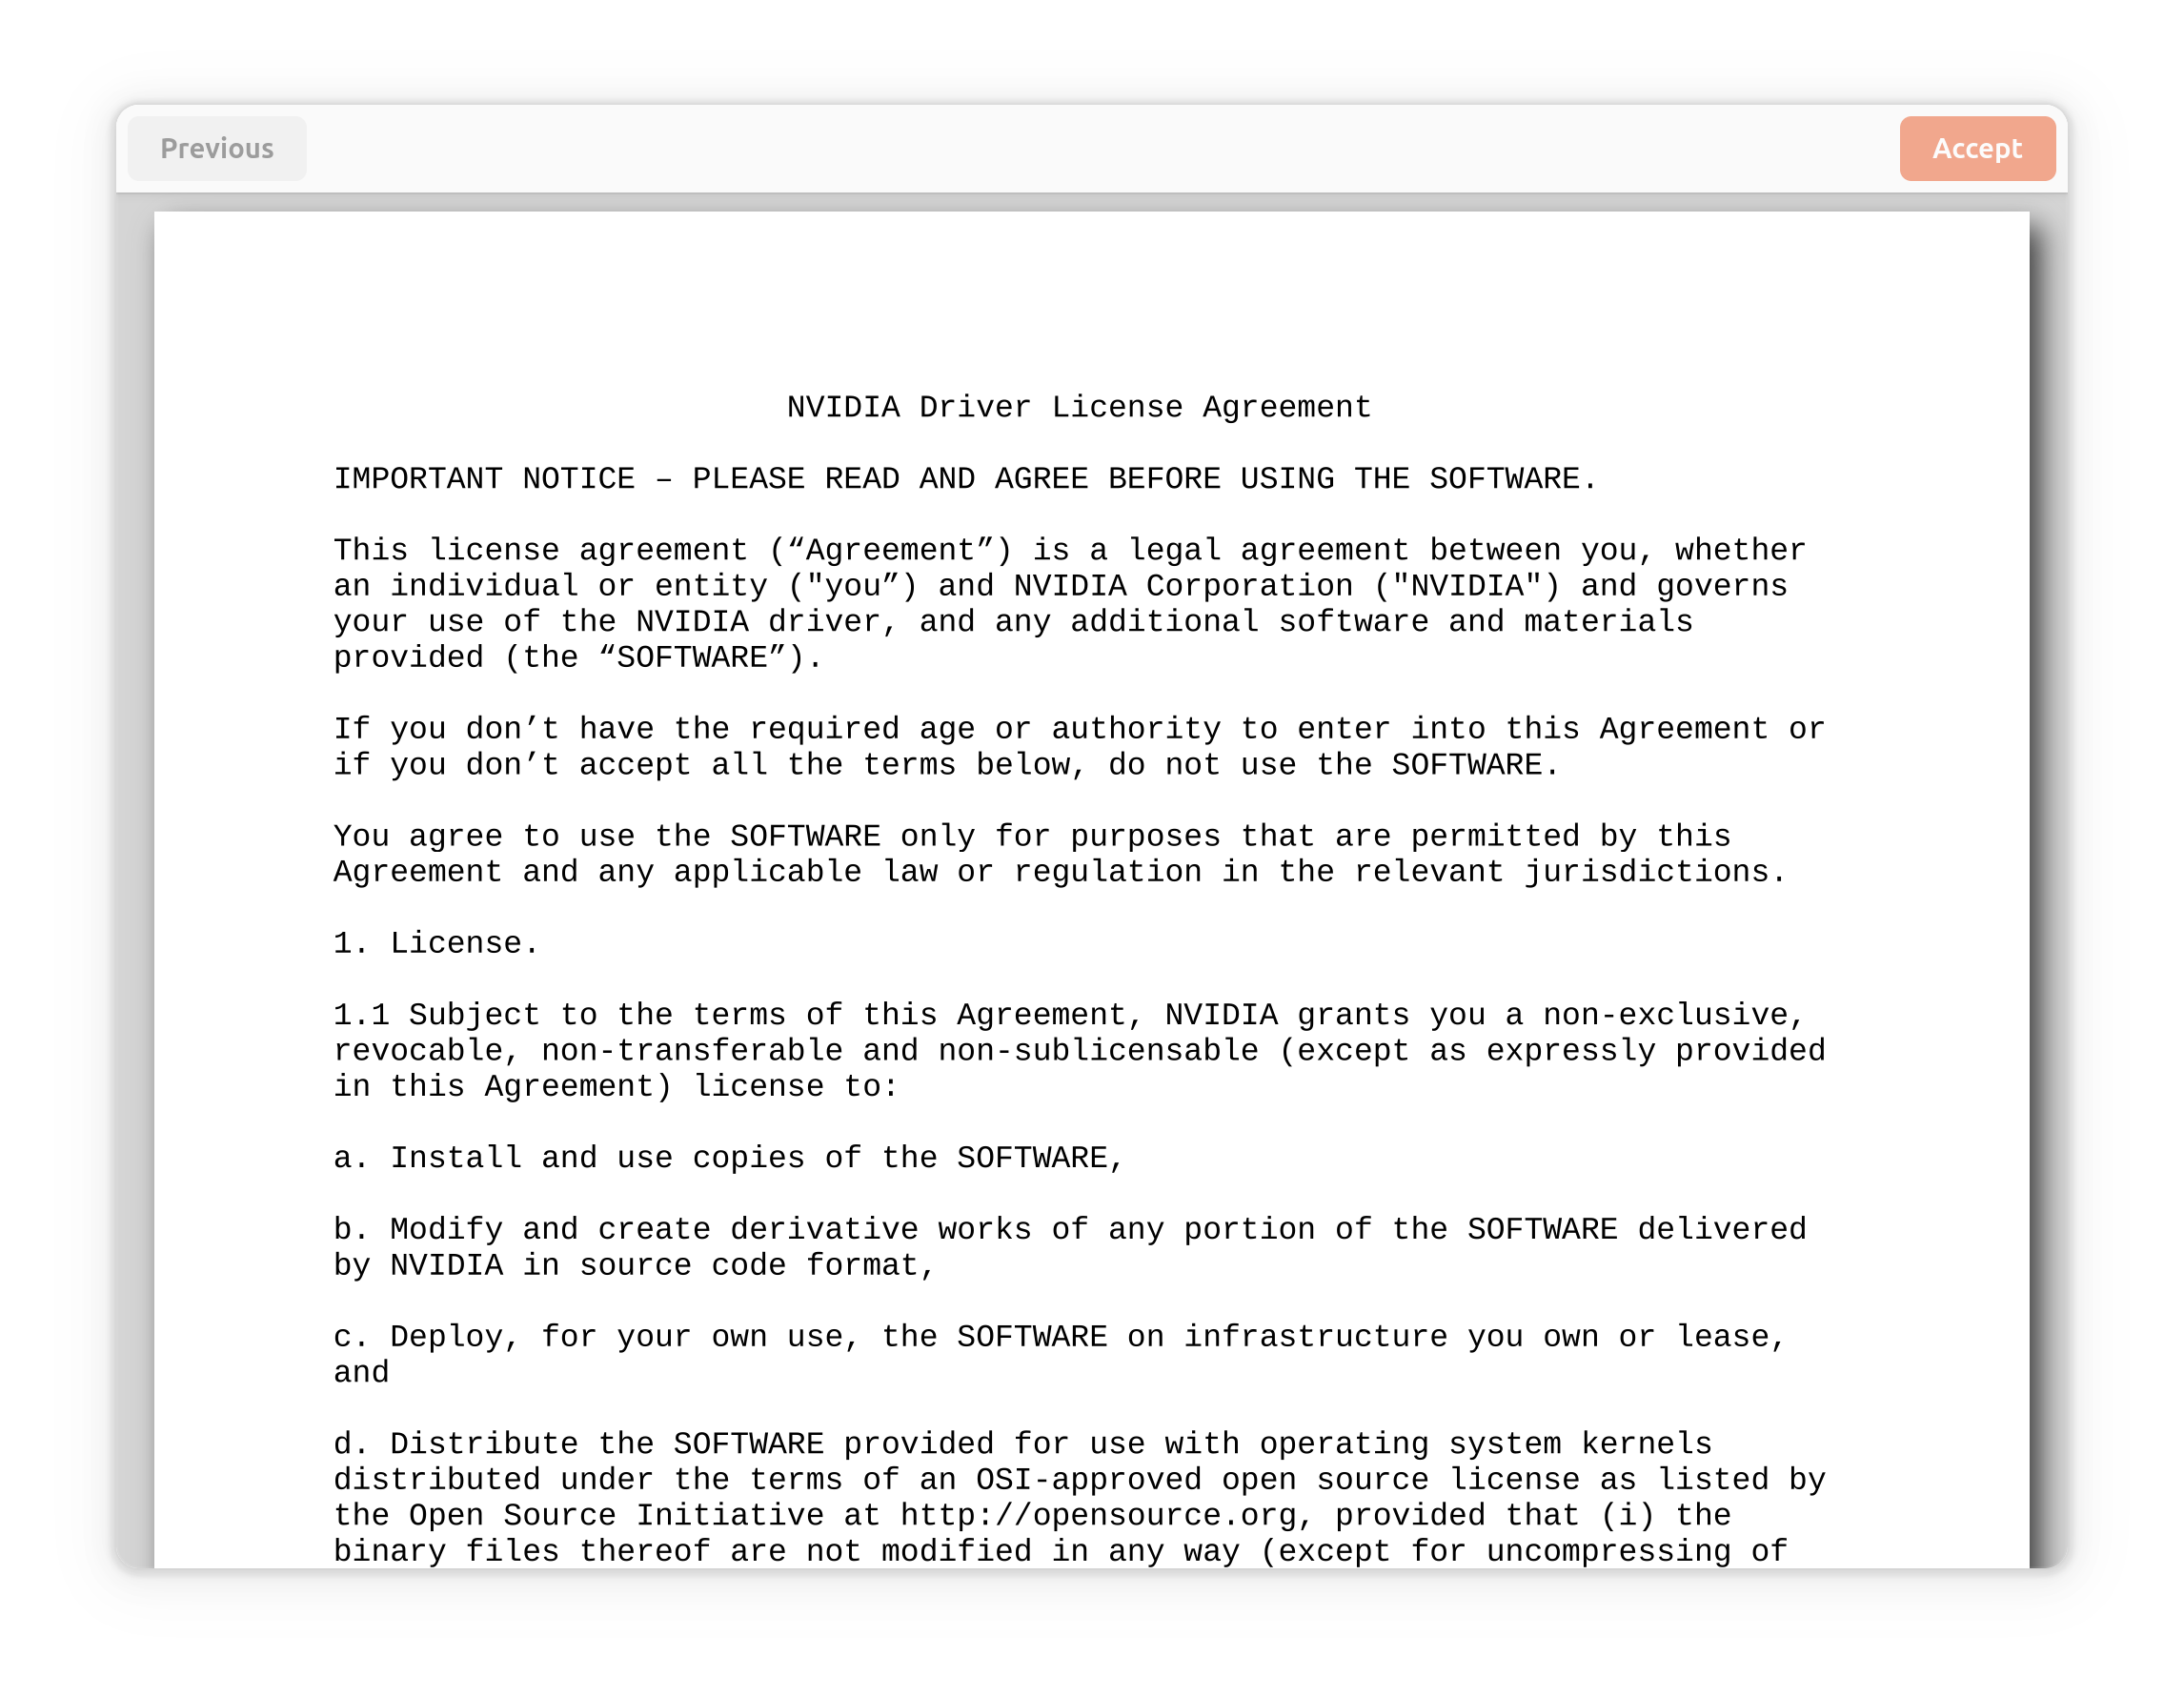
Gnome Initial Setup displays the license that governs its use. Read the license and accept it by clicking the Accept button.
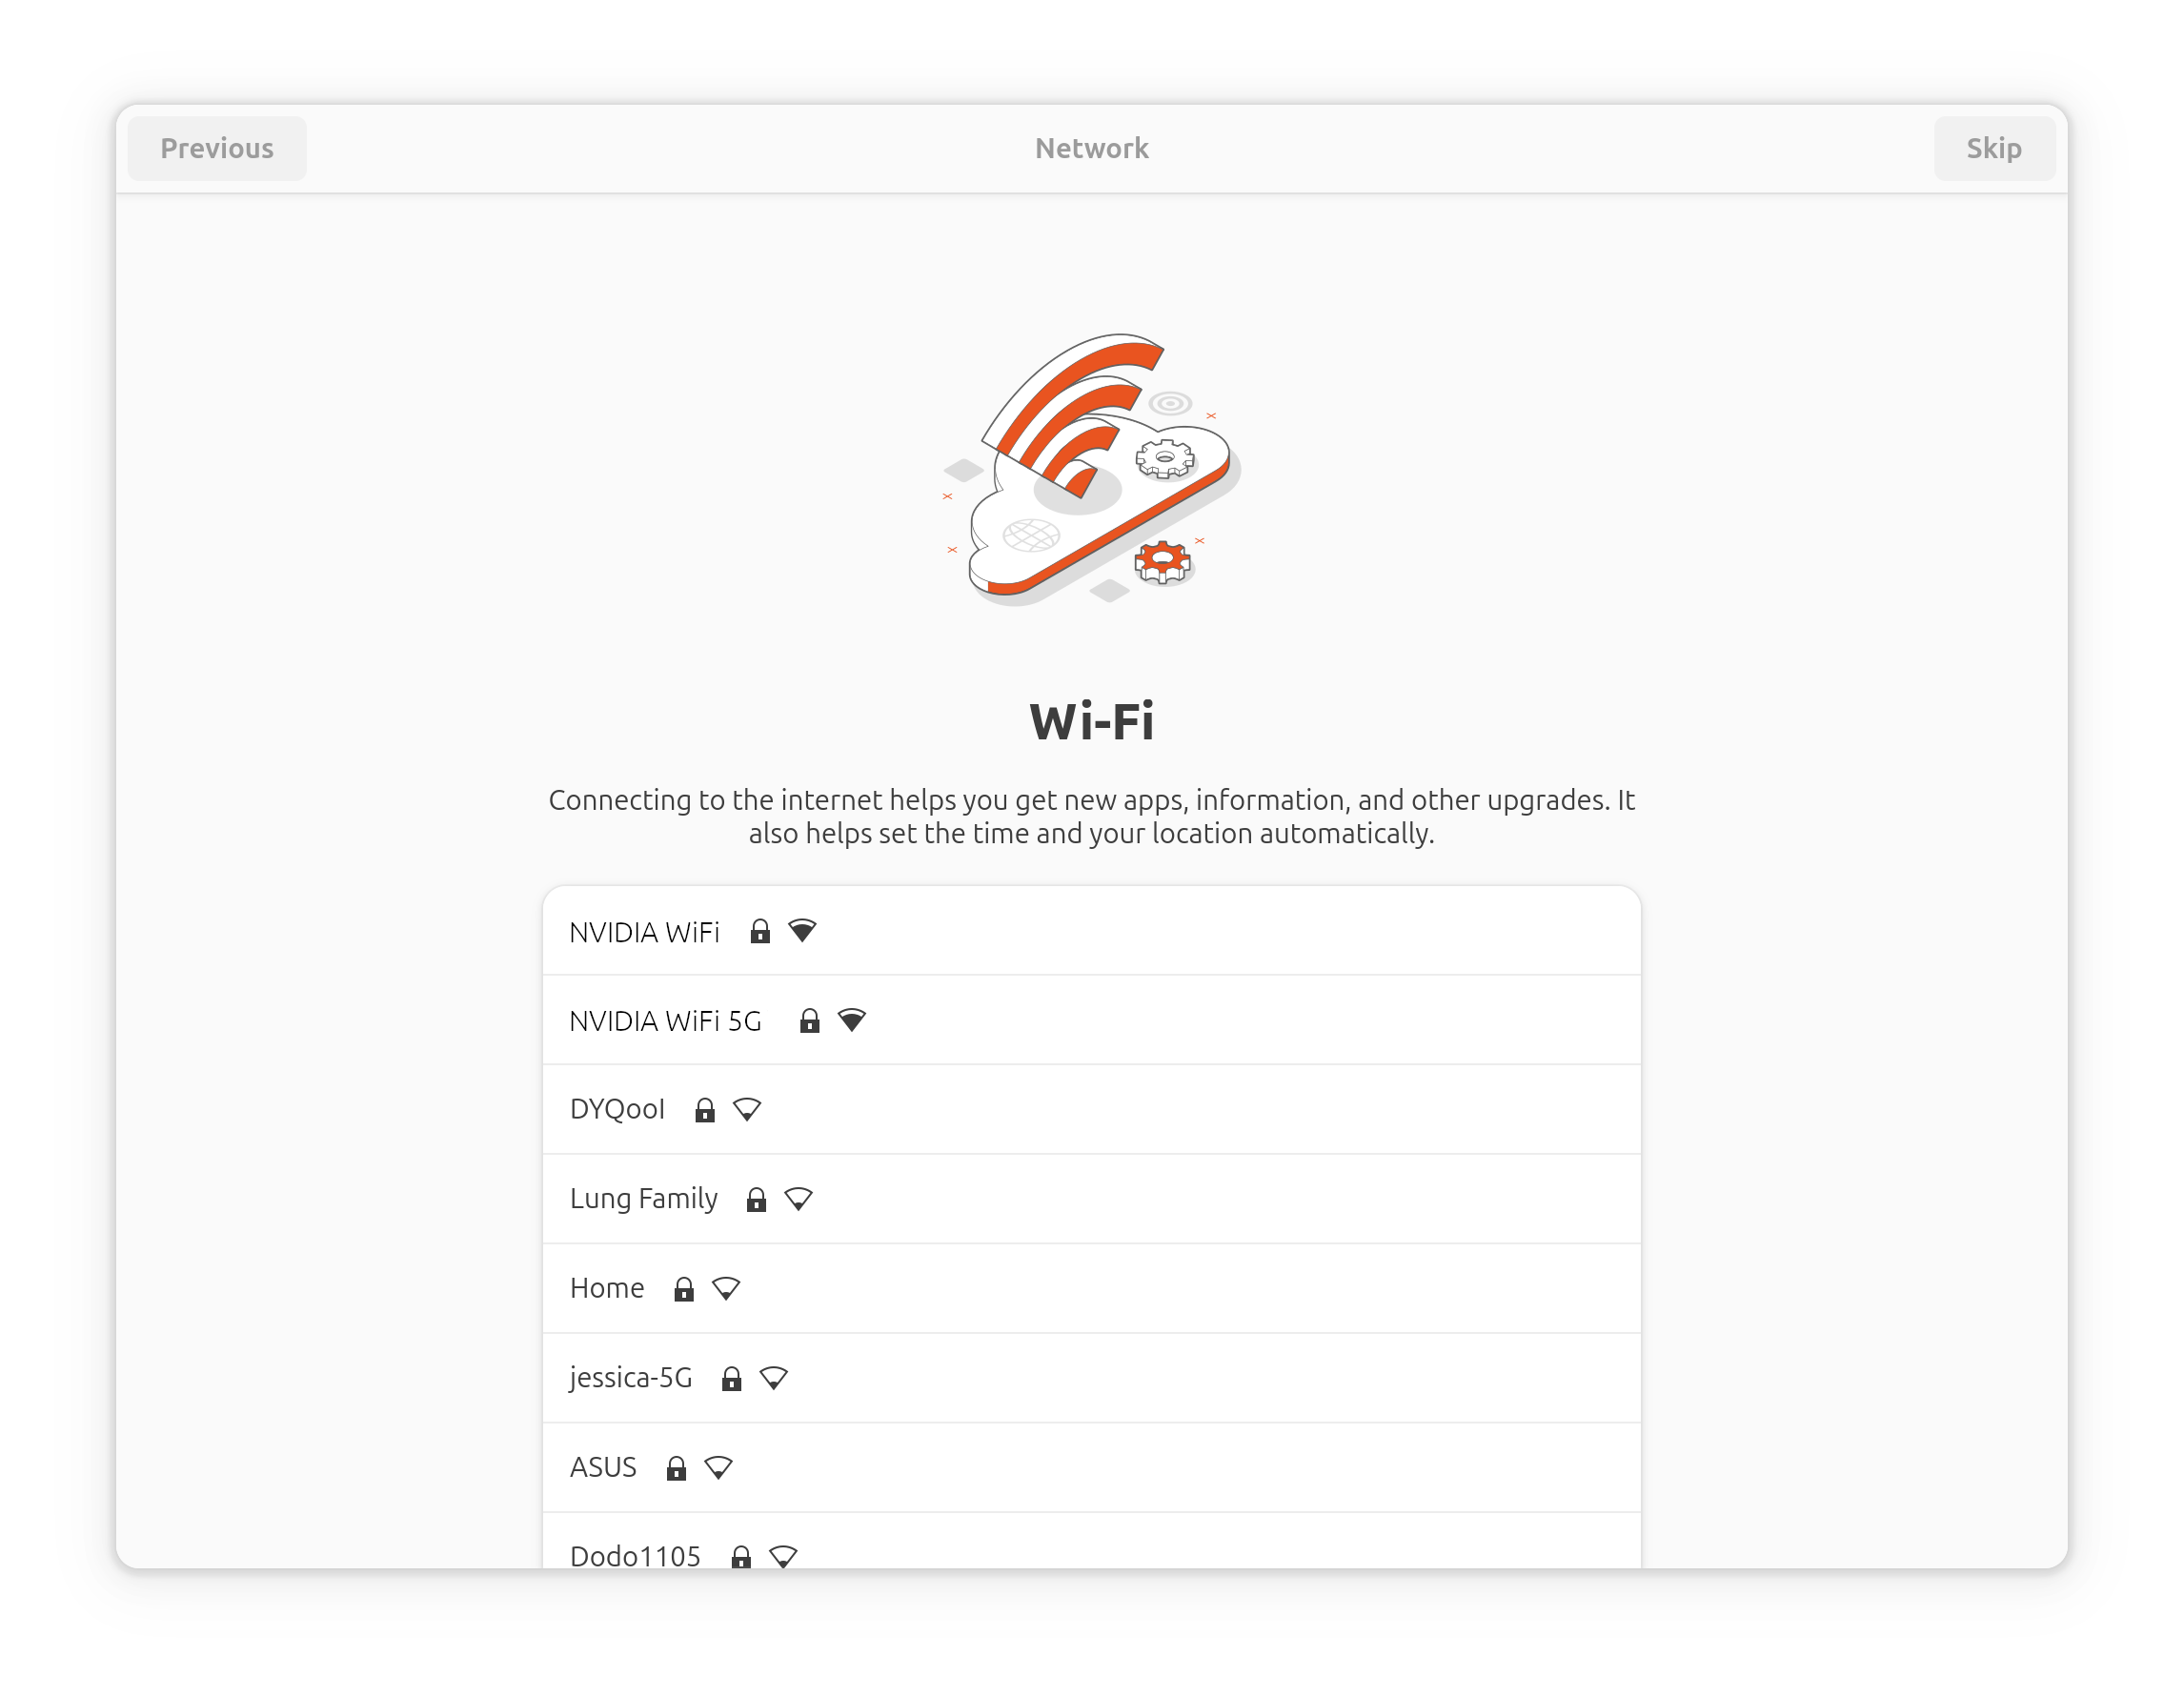
Gnome Initial Setup lists available Wi-Fi access points. Select a Wi-Fi access point to configure, or click the Skip button to skip Wi-Fi configuration.
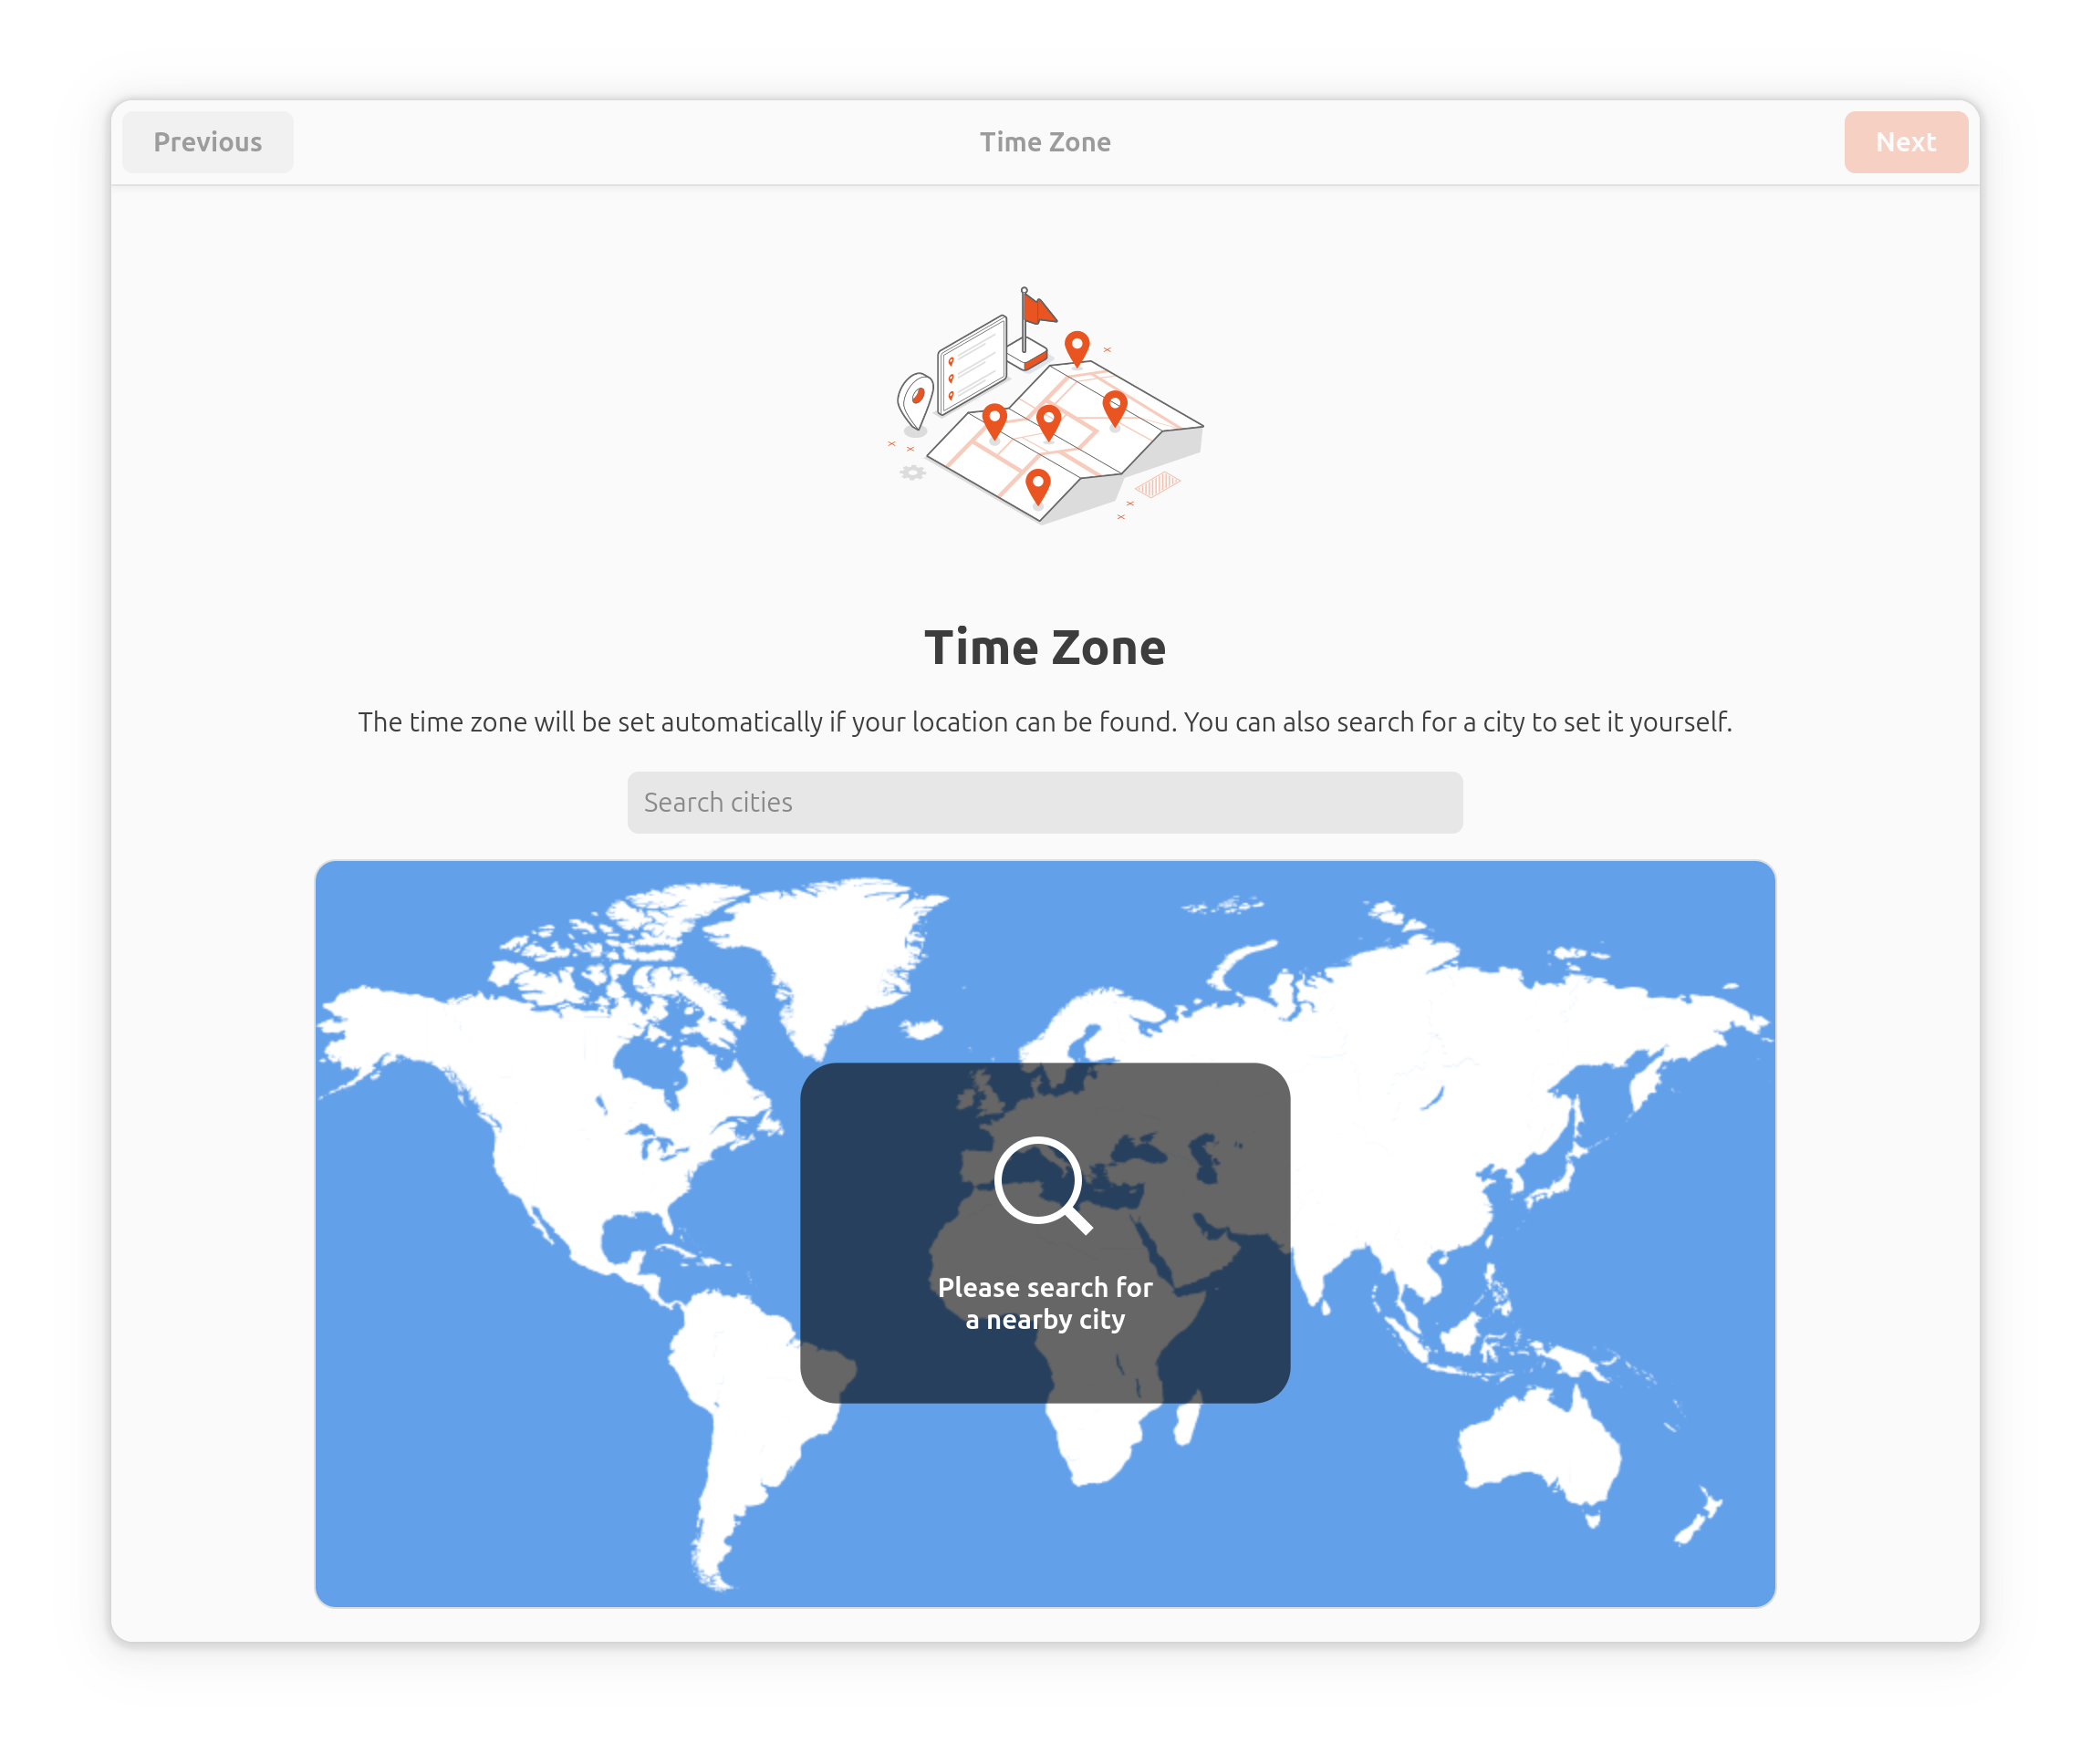
Gnome Initial Setup shows the world map. Click the map to select a nearby city, or enter a city name in the Search cities field to select a nearby city; then click the Next button.
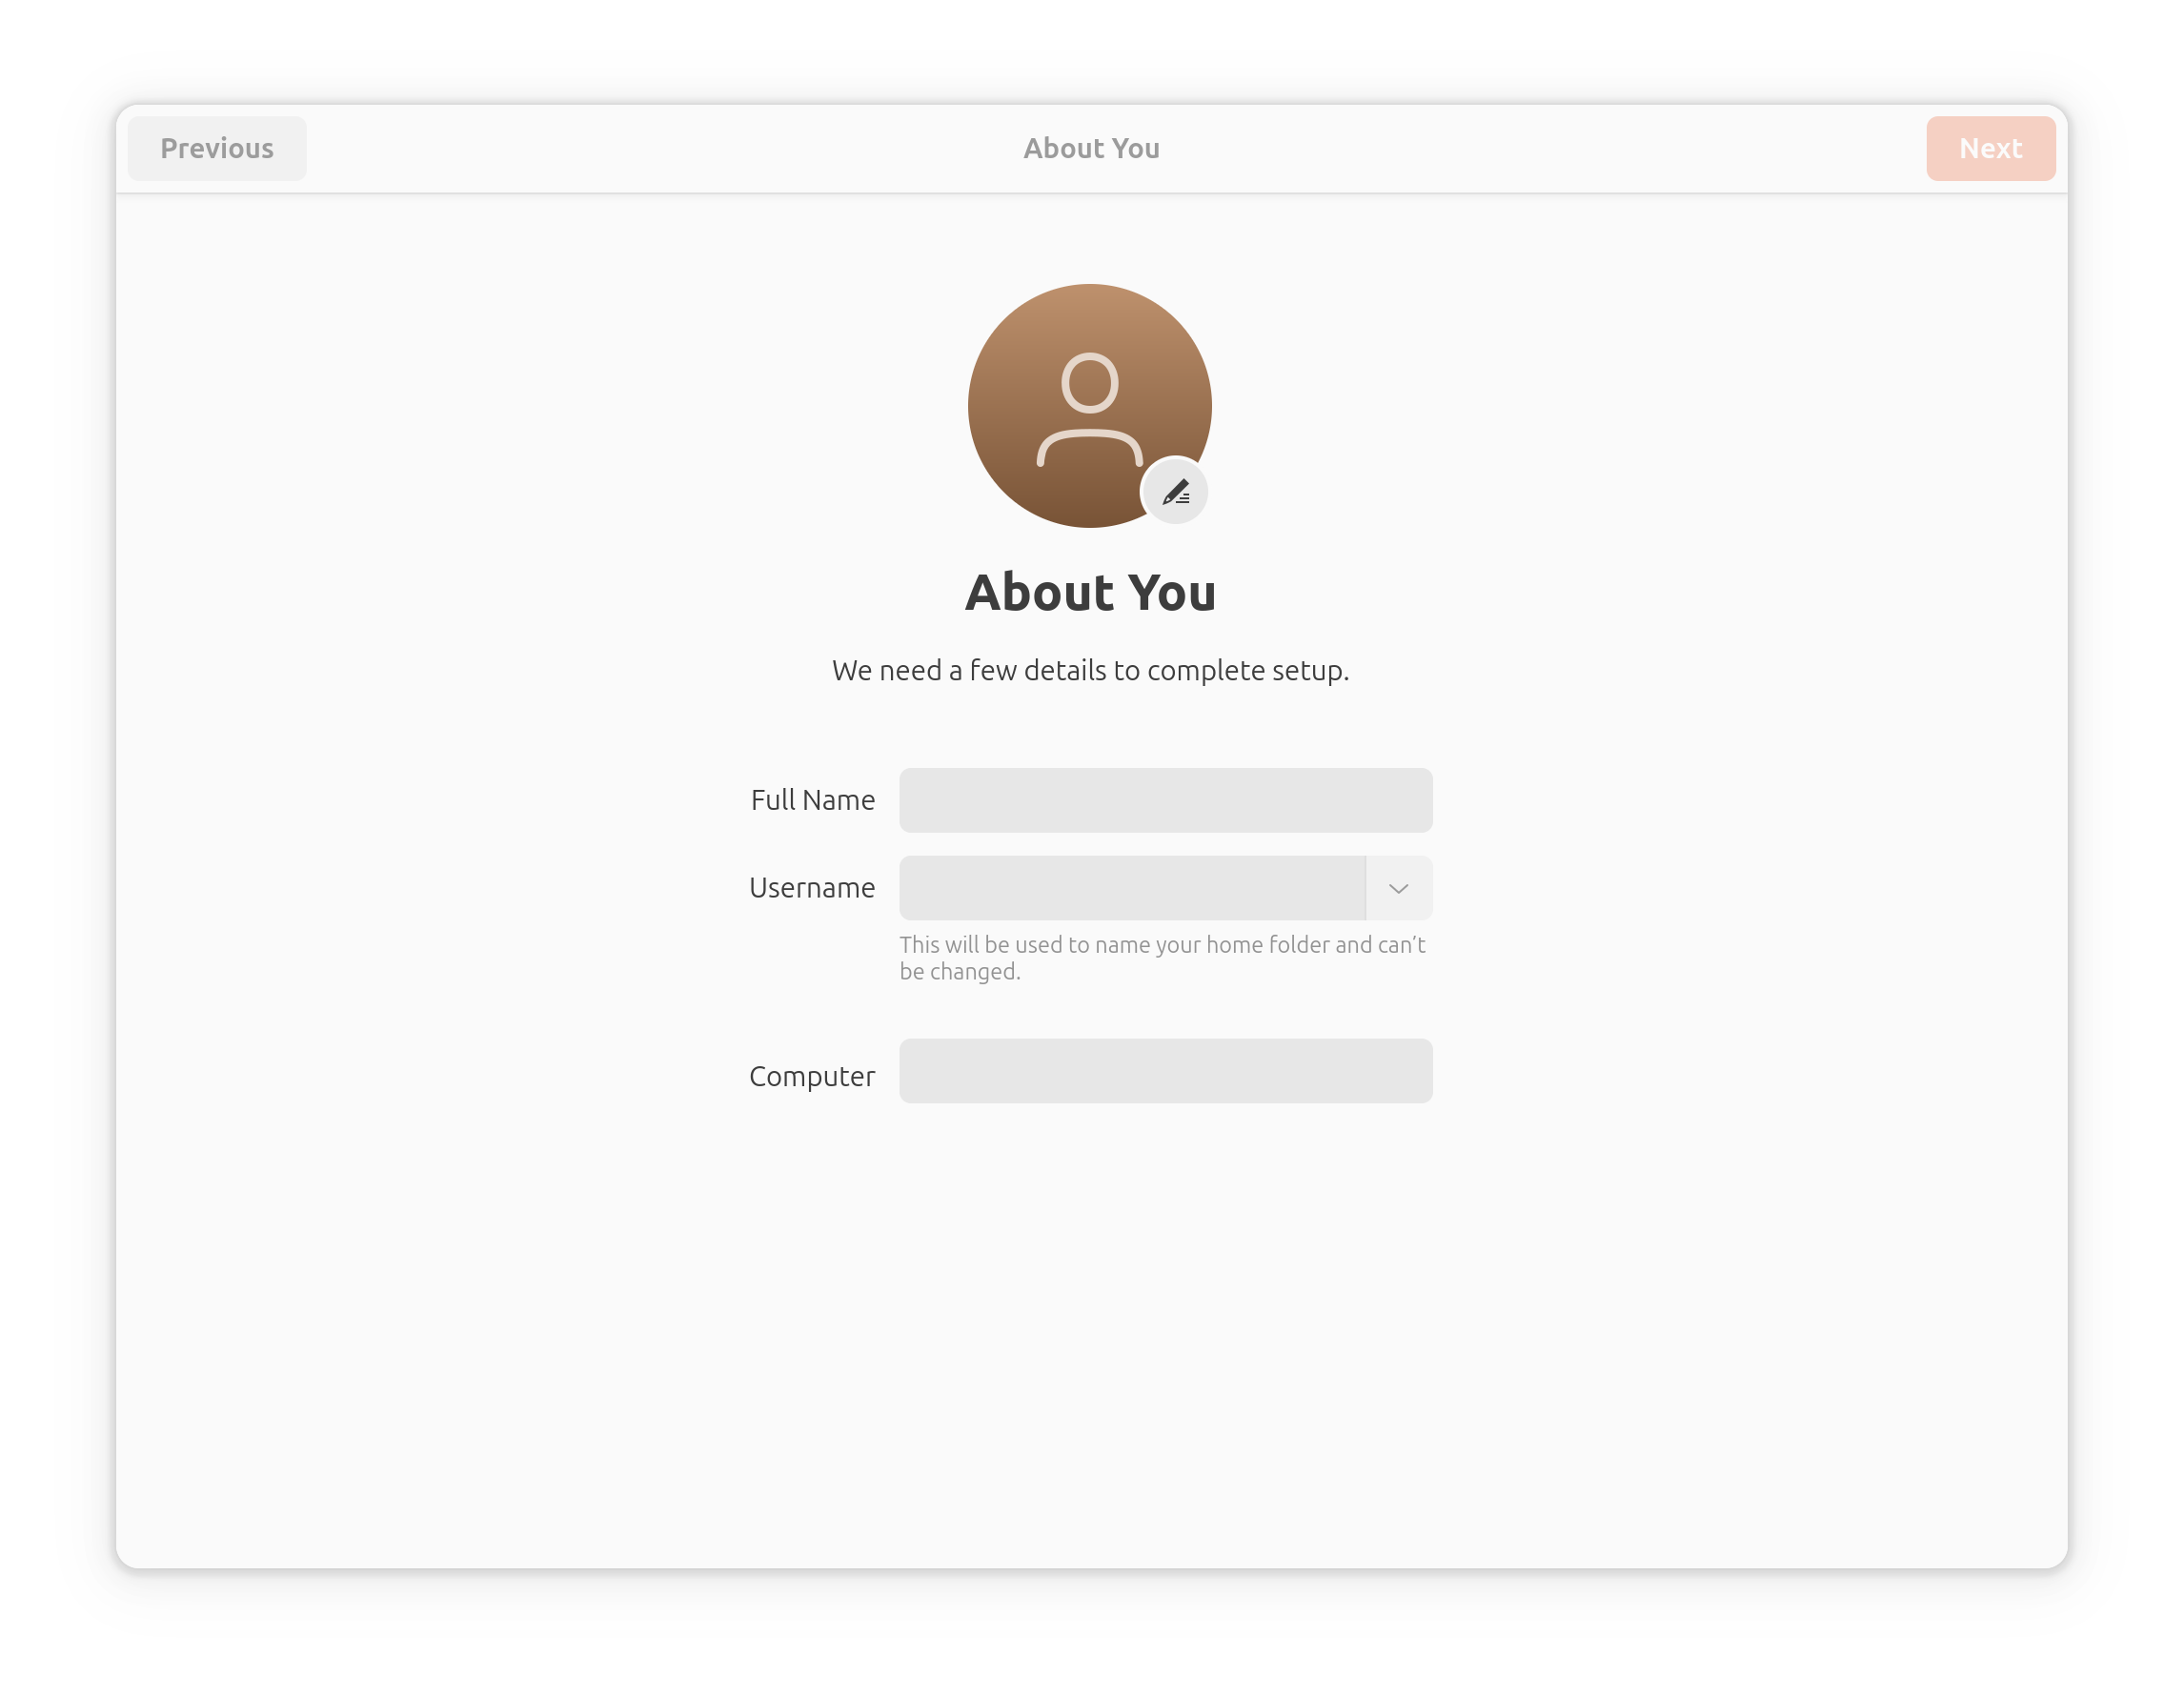
Gnome Initial Setup asks for details about the current device. Enter Full Name, Username, and Computer as hostname; then click the Next button.
Note
The hostname must be unique within the local network. Clicking Next completes the hostname setup. If you click Previous to return to this page and set up the hostname again, the same hostname cannot be used.
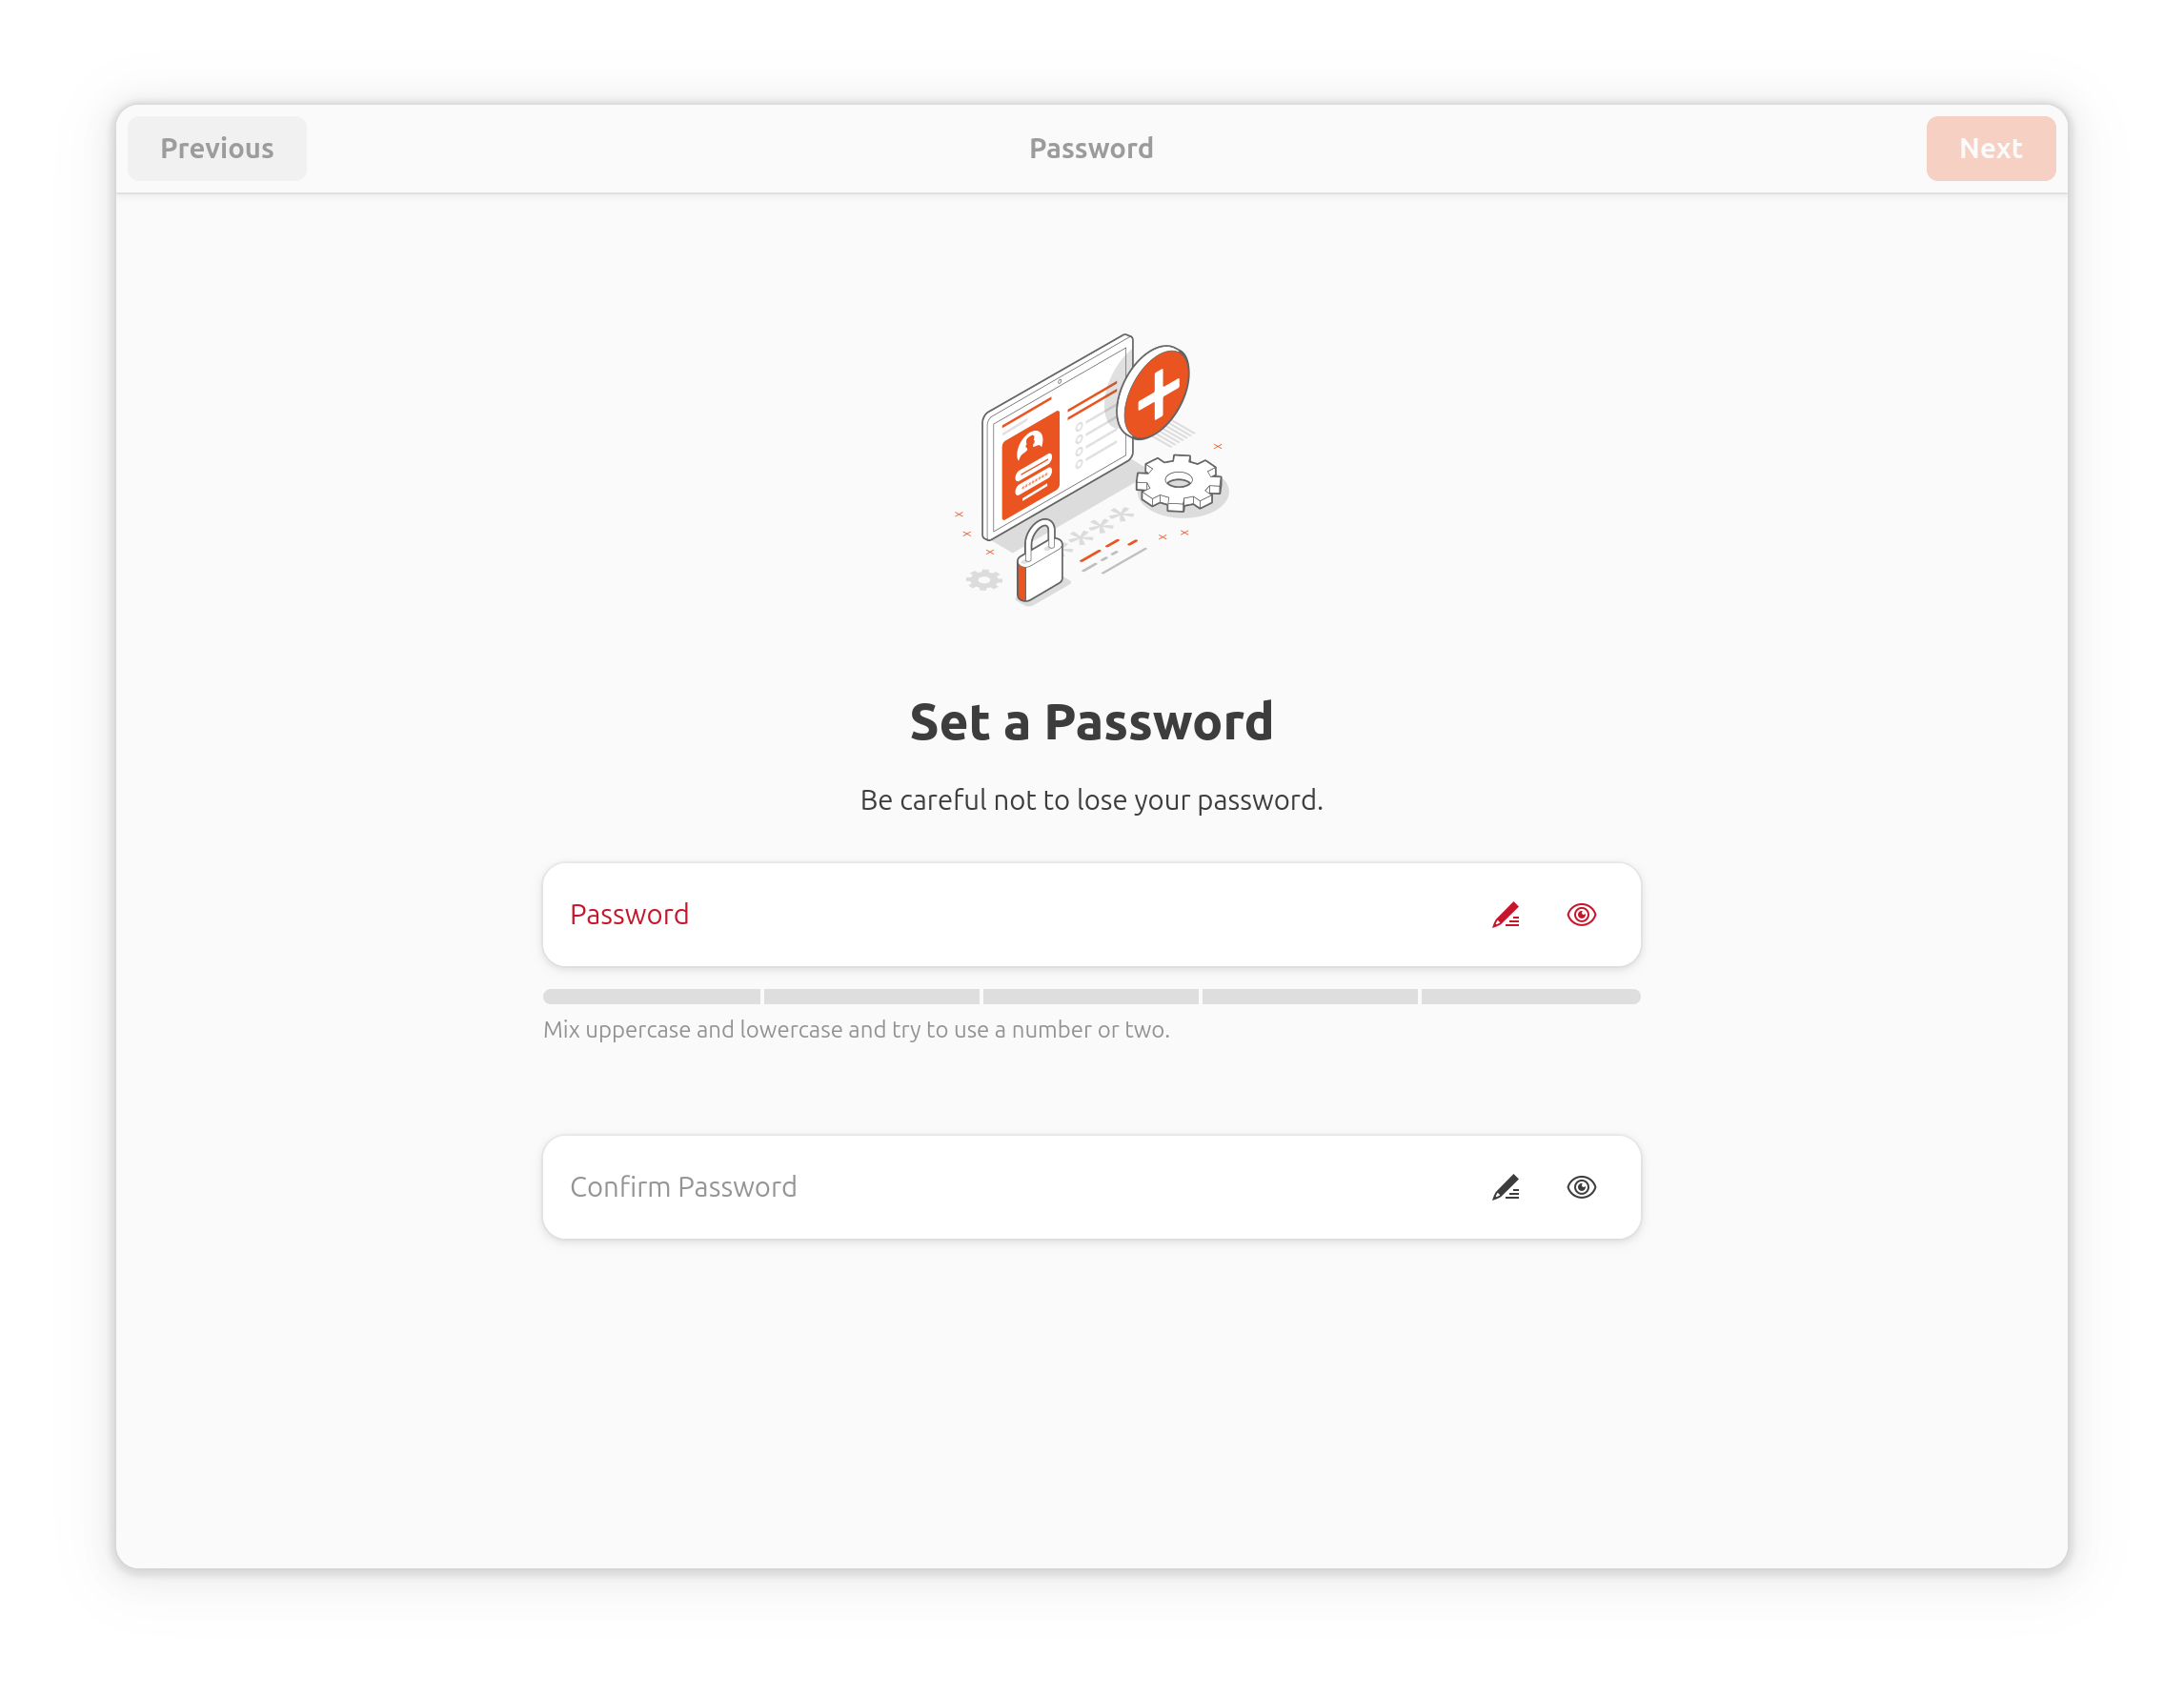
Gnome Initial Setup requests a password. Enter the password; then click the Next button.
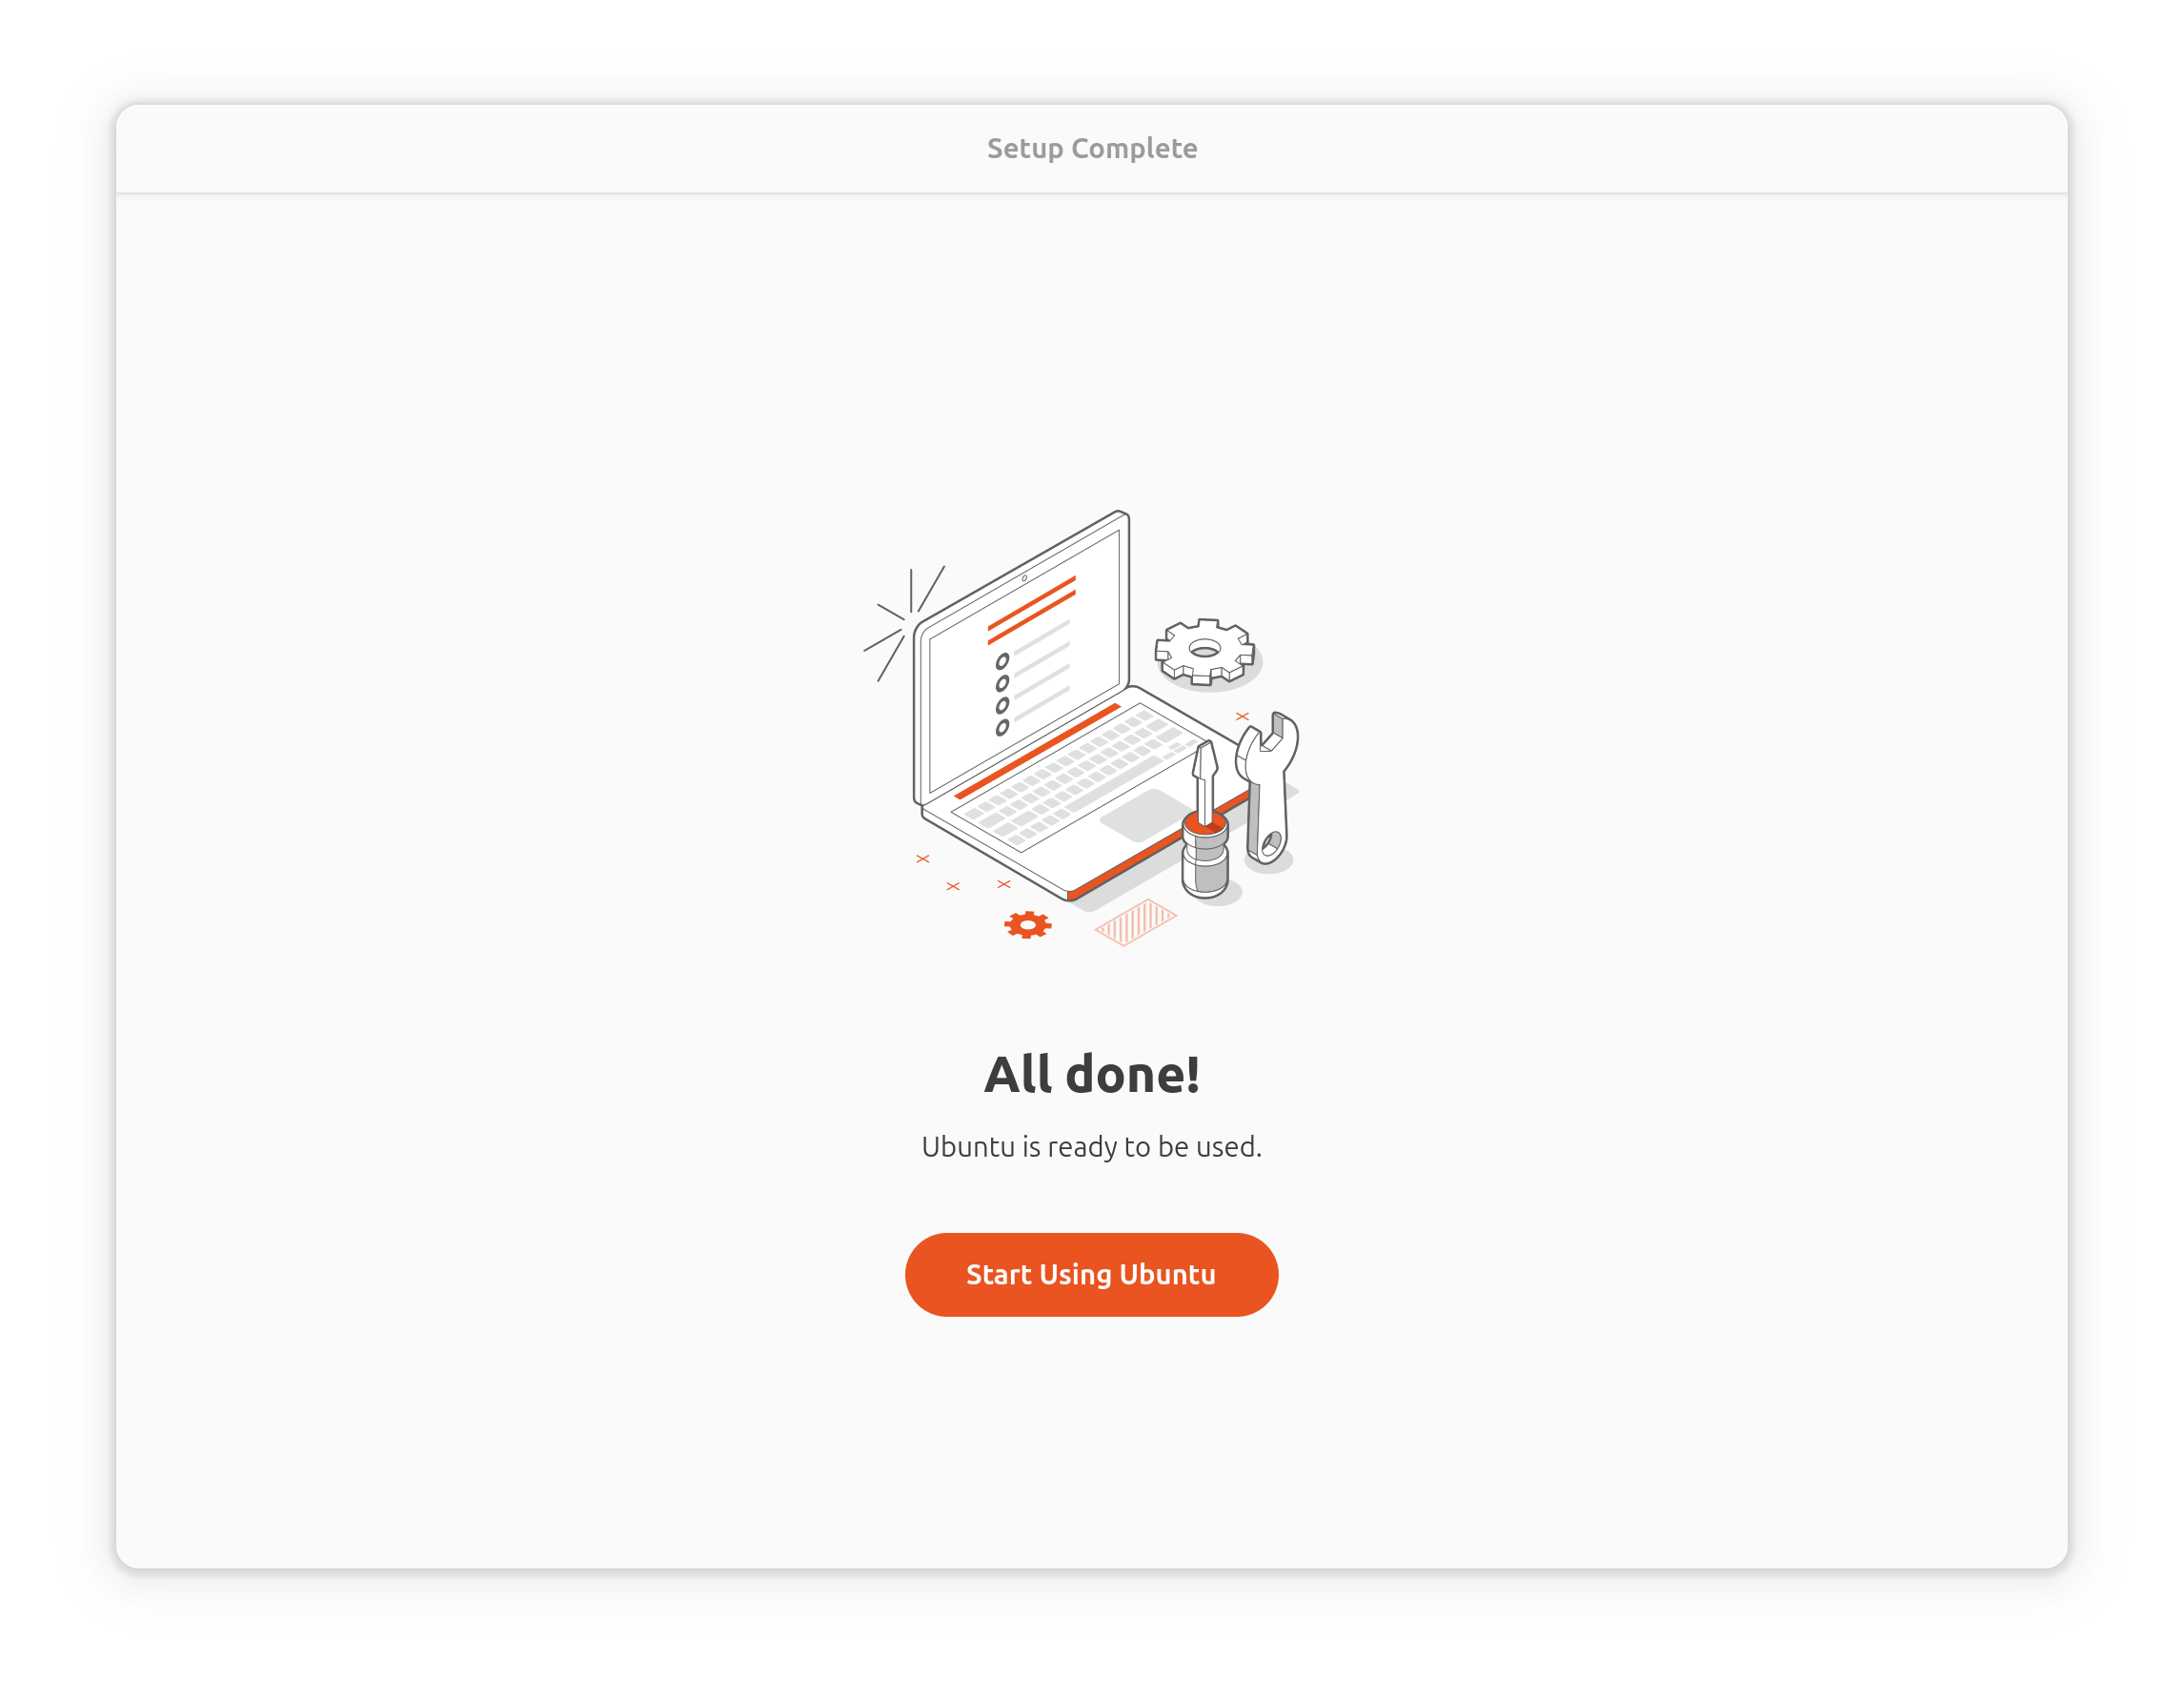
Gnome Initial Setup displays Setup Complete. Clicking Start Using Ubuntu to finish the system configuration.
Headless Mode Flow in System Configuration#
Before the target system boots for the first time, you must start a terminal program on the host computer. You can use putty, screen, or any other program that communicates through the host computer’s tty device and supports the UTF-8 character set.
Note
NVIDIA does not recommend using minicom for this application because it has some issues dealing with UTF-8.
When the target device boots for the first time after flashing and finds no display device, NVIDIA OOBE runs oem-config in headless mode. Use the following procedure to configure the target device.
Configuring the Target Device with oem-config#
oem-configdisplays a welcome screen. To advance to the next screen, press Tab and then Enter.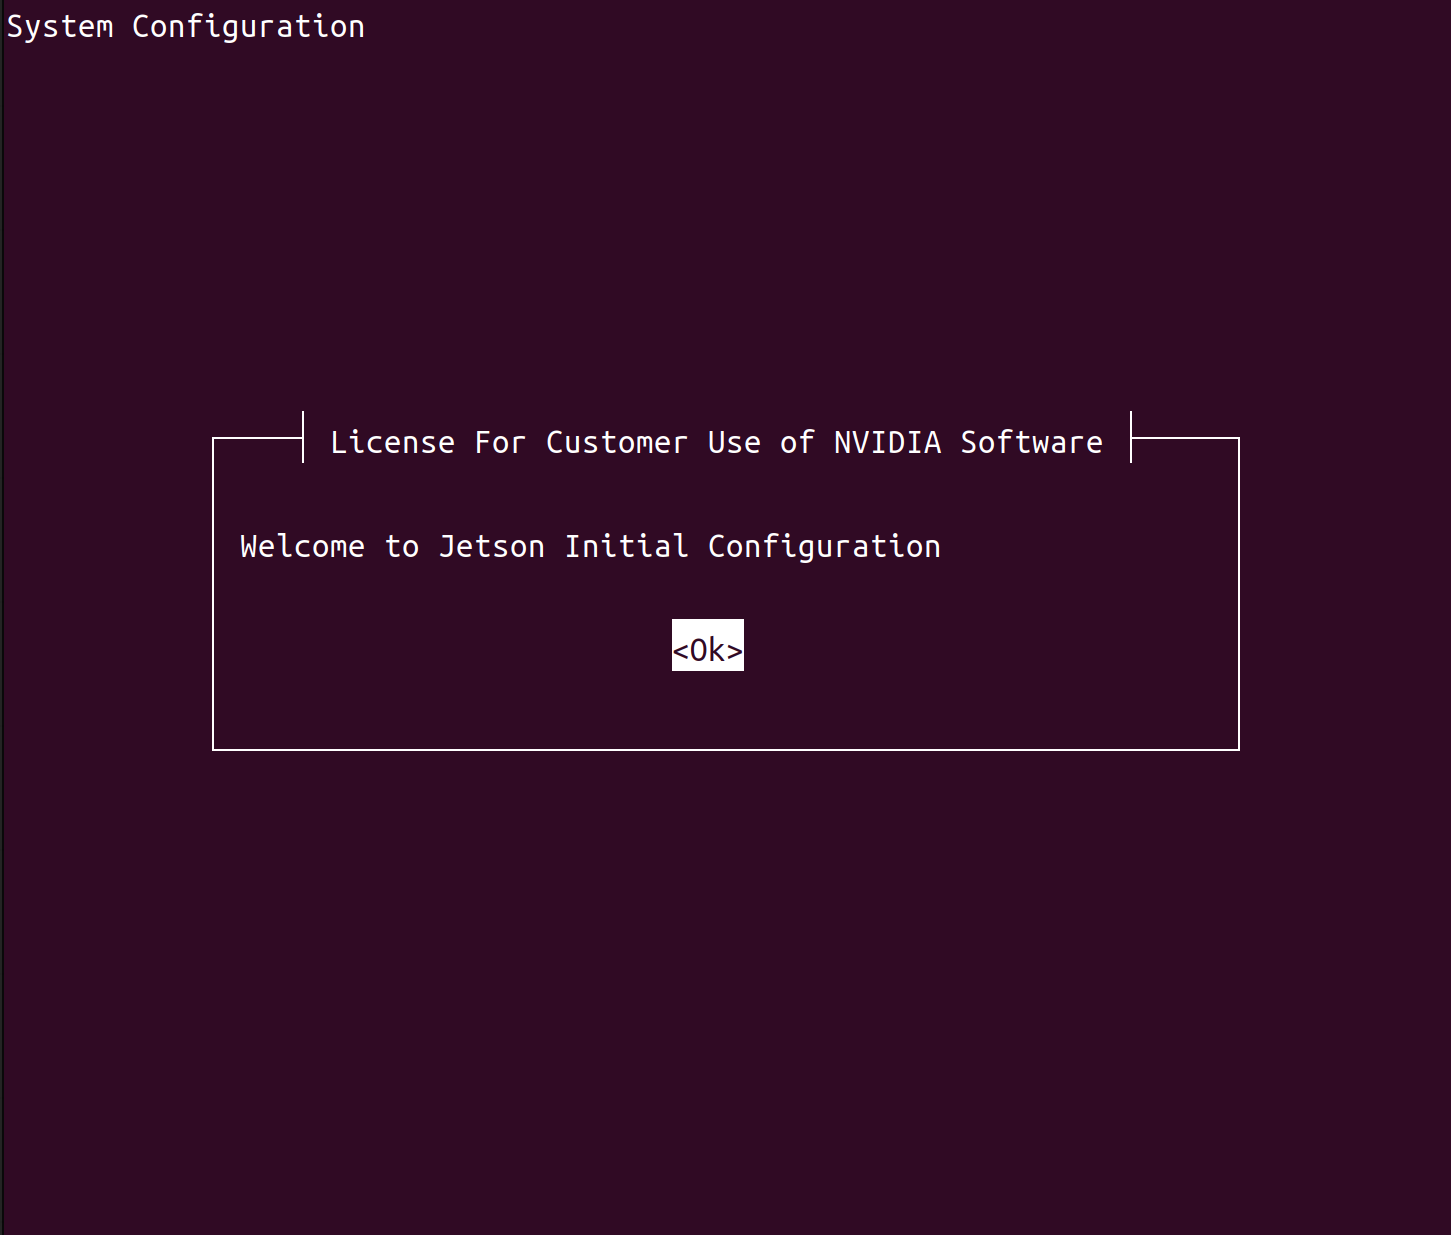
oem-configdisplays the license that governs its use. Read the license and accept it by pressing Tab and then Enter.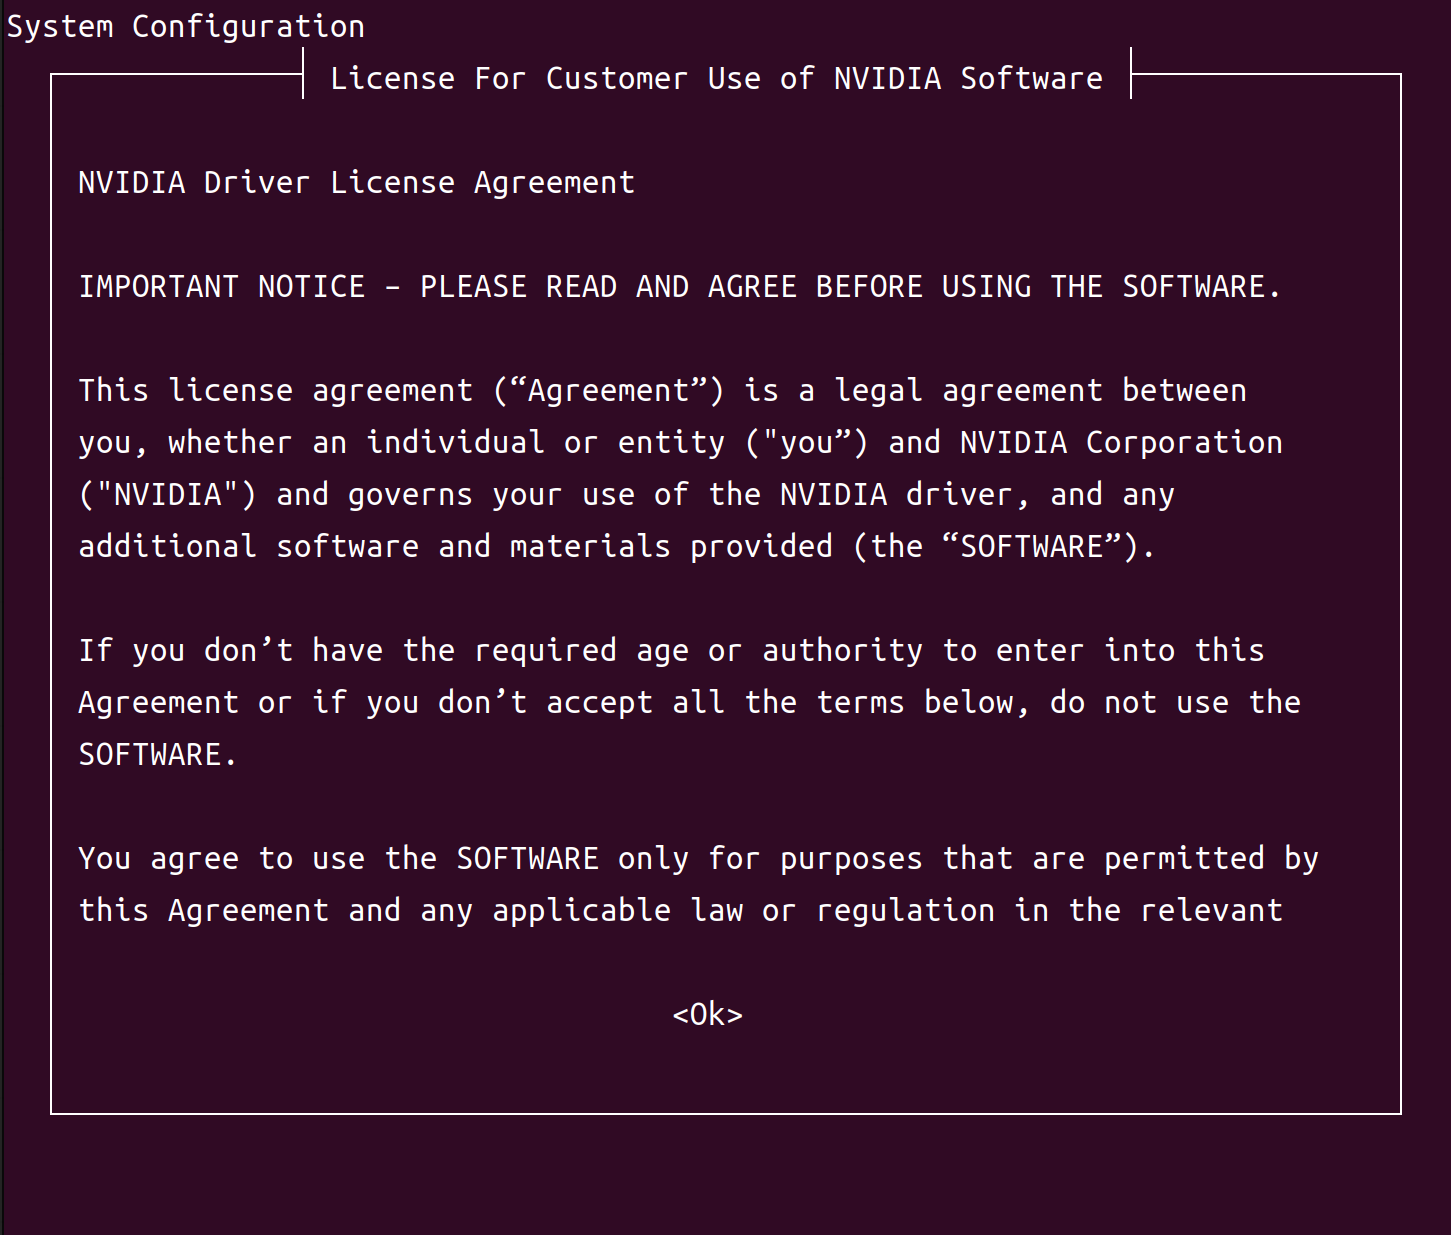
Tip
If you see a blank screen after launching the terminal program to open the port/device, press Tab and then press Enter to display the next page. Then press the Left arrow or Right arrow key to select Cancel, and press Enter to return to the previous page to read the NVIDIA Driver License Agreement.
oem-configdisplays a lists of languages. Use the Up arrow and Down arrow keys to select the language you want to use for the installation process. Then press the Left arrow or Right arrow key to select OK, and press Enter.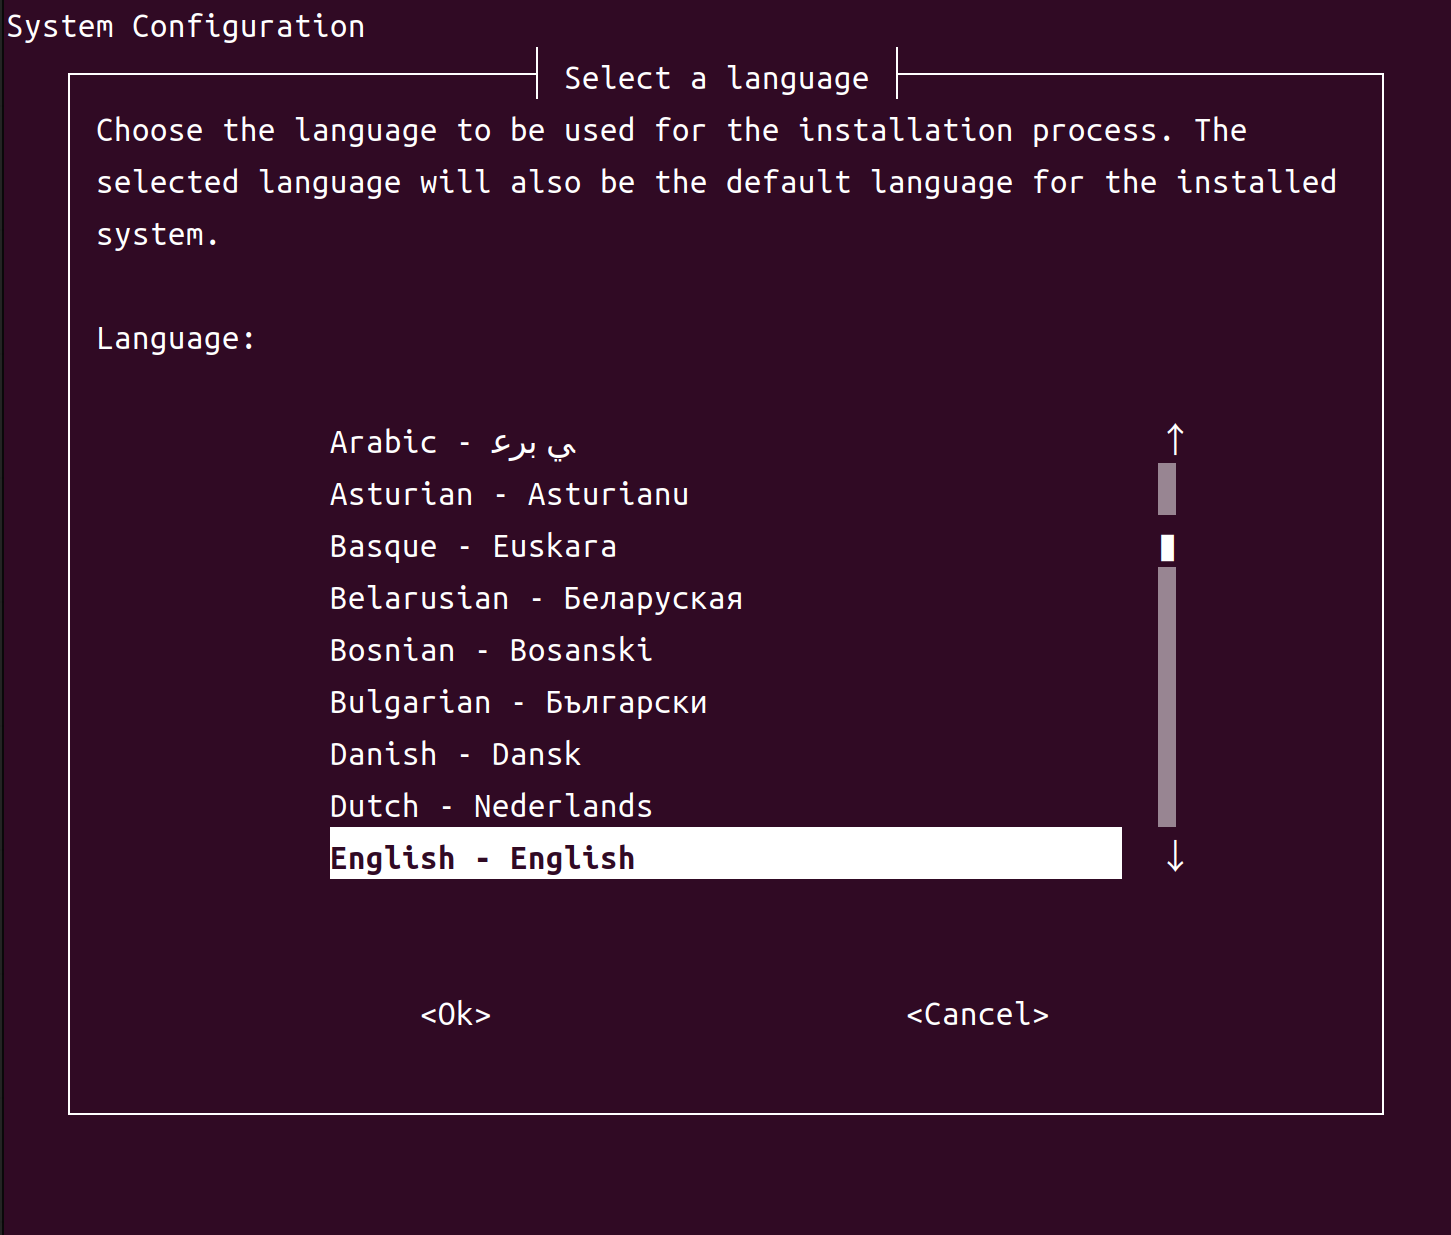
Note
To go back from any screen to the preceding one, select Cancel and press Enter. You can go back more than one screen by doing this more than once.
oem-configlists locations in which the language you selected is used. Select your location; then select OK and press Enter.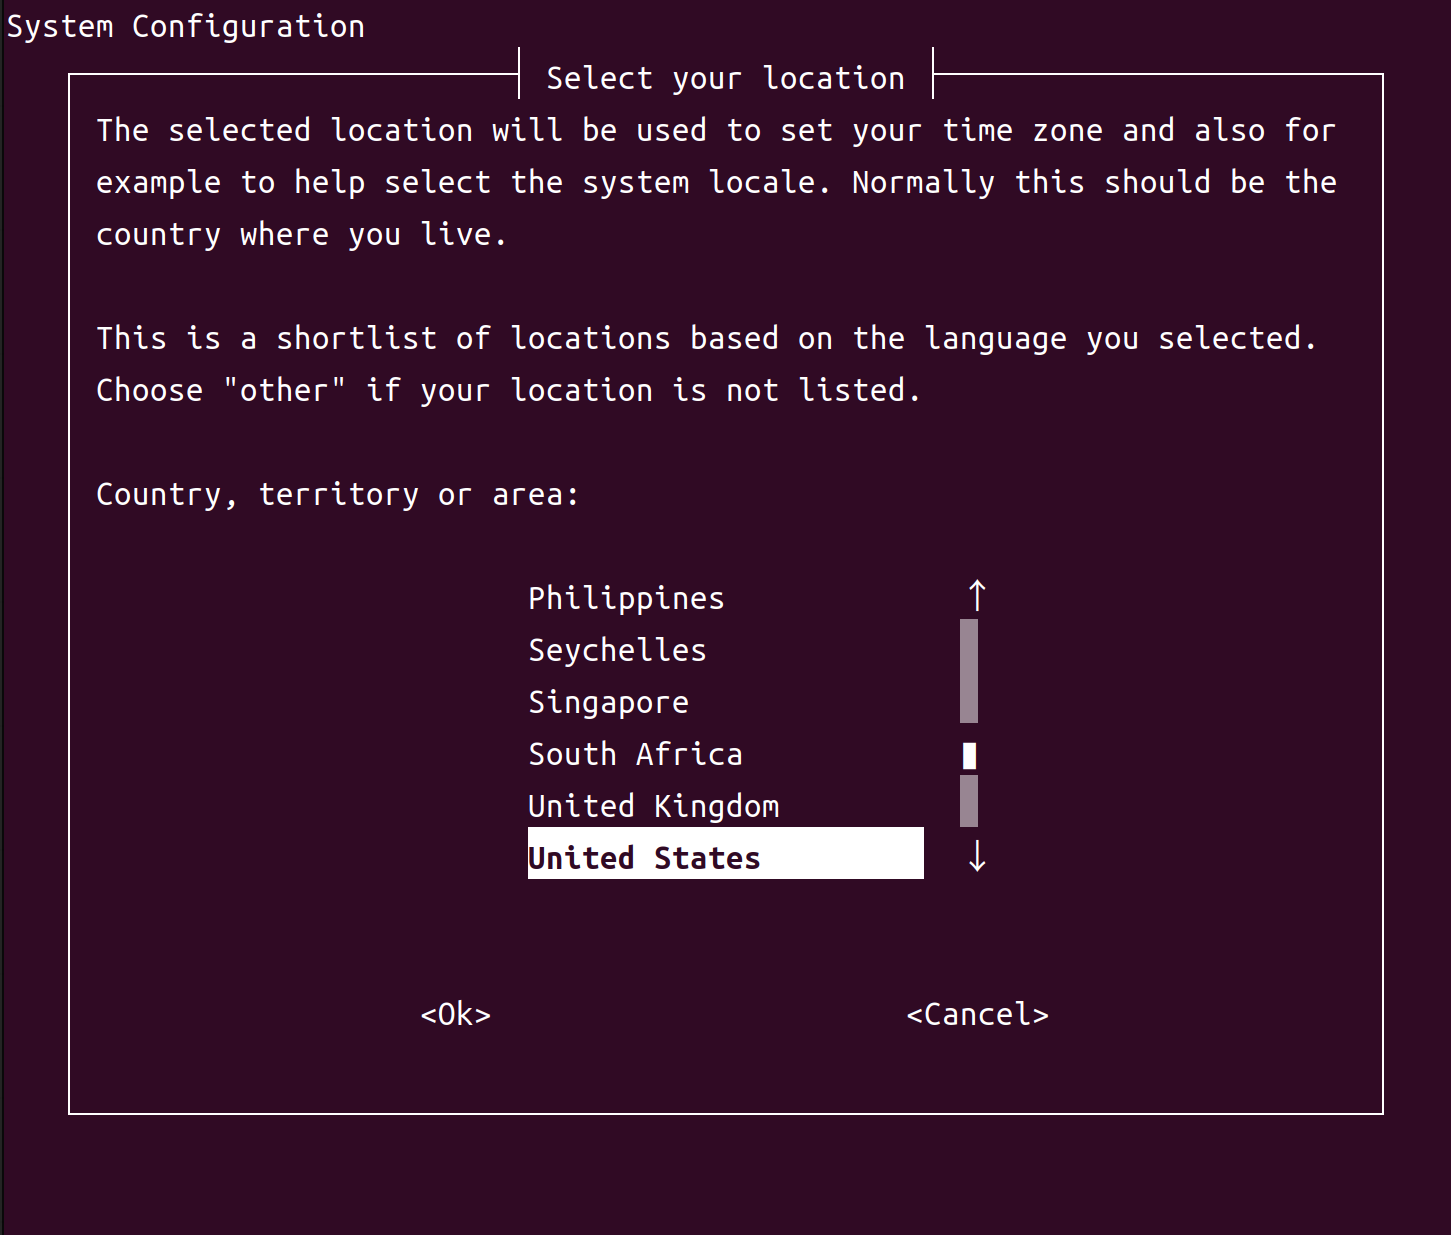
oem-configlists keyboard for various countries. Select the country of origin for your keyboard; then select OK and press Enter.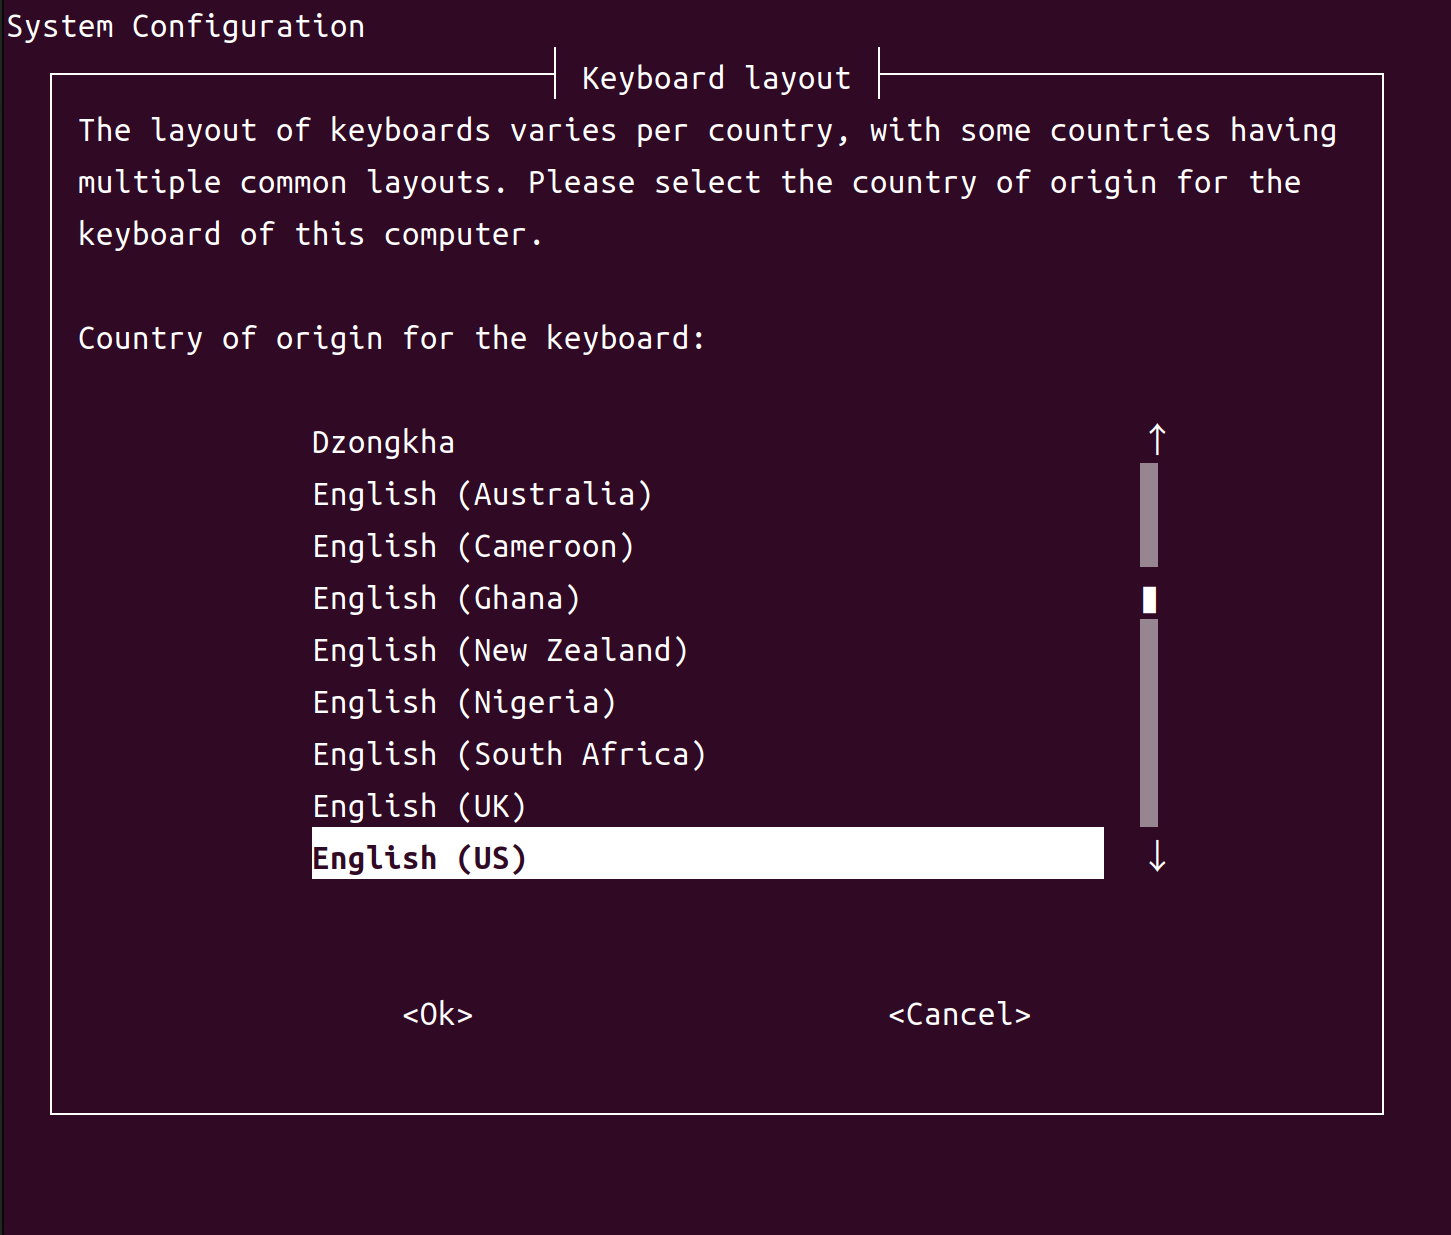
oem-configkeyboard layouts for your selected country. Select your keyboard’s layout; then select OK and press Enter.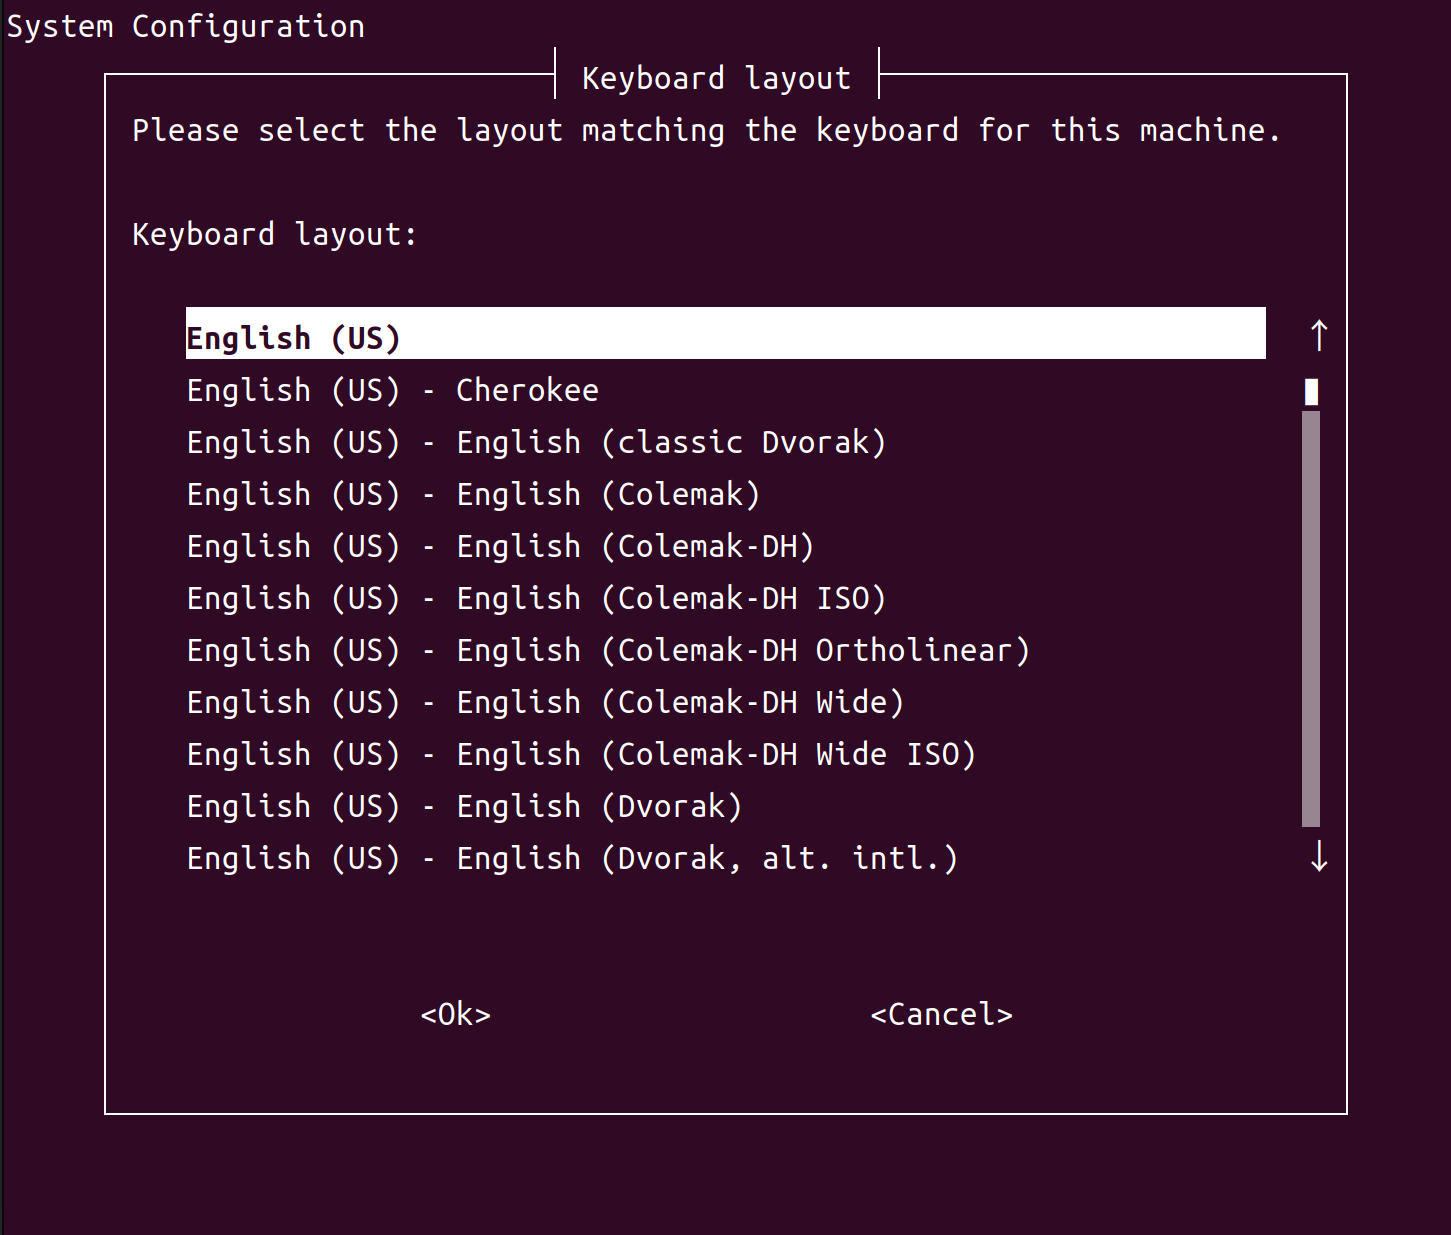
oem-configlists time zones that exist in the location you select. Select your time zone; then select OK and press Enter.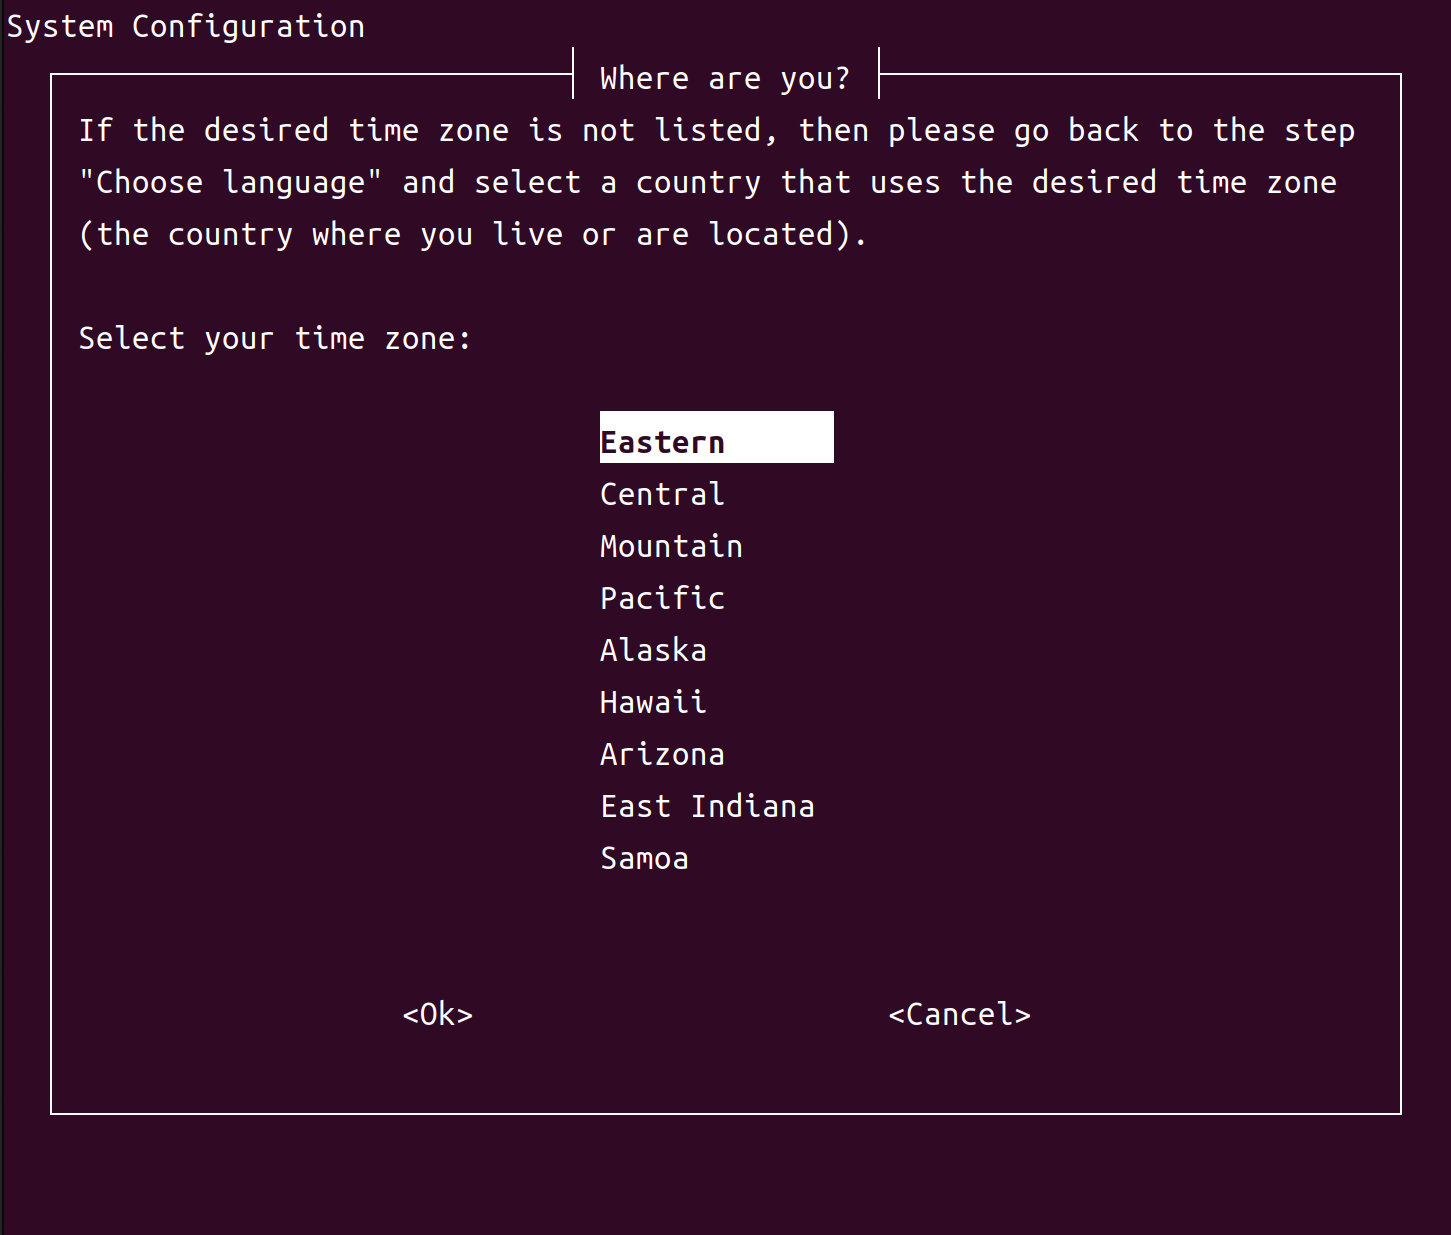
If your time zone is not listed, select Cancel as many times as necessary to go back to the screen that lists locations, and choose a different location.
oem-configasks whether you want to set the system clock to Coordinated Universal Time (UTC, or Greenwich Mean Time). Linux expects the system clock to be set to UTC, so we recommend that you select Yes and press Enter.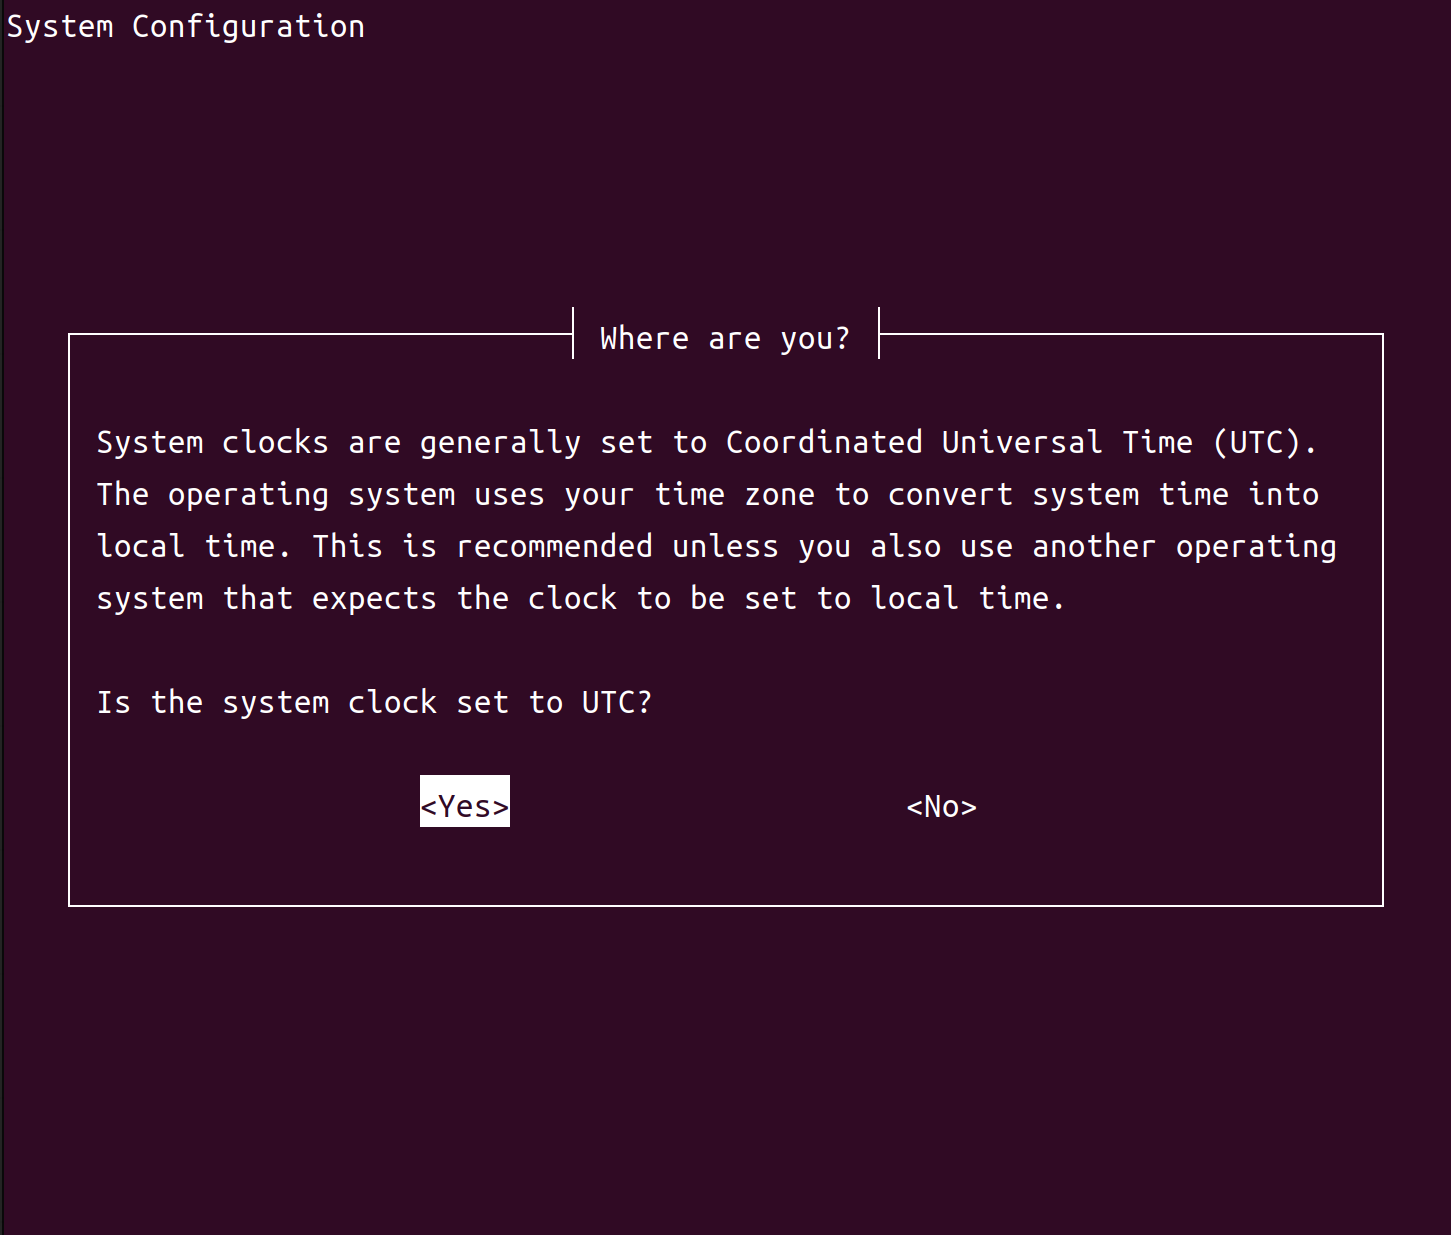
oem-configasks you to enter your name. Enter your full name (for example,John Smith), select OK, and press Enter.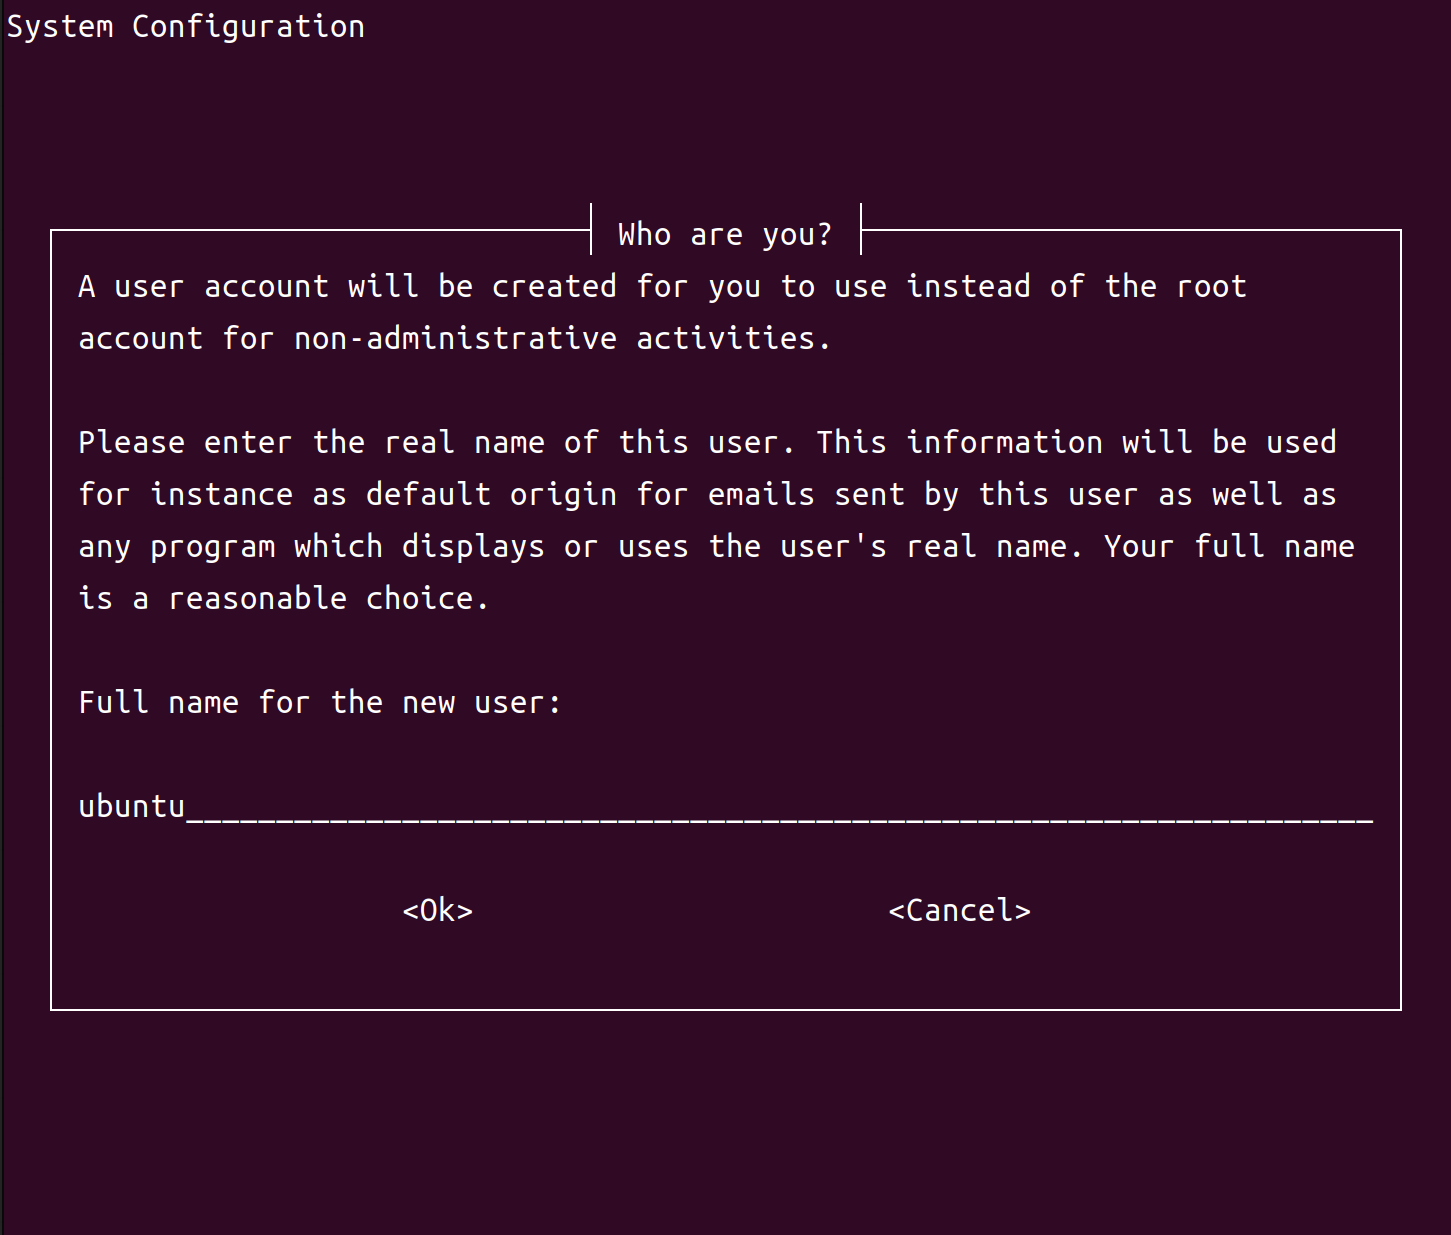
oem-configasks you to enter a username for your user account.oem-configcreates a user account with this name. Select OK and press Enter.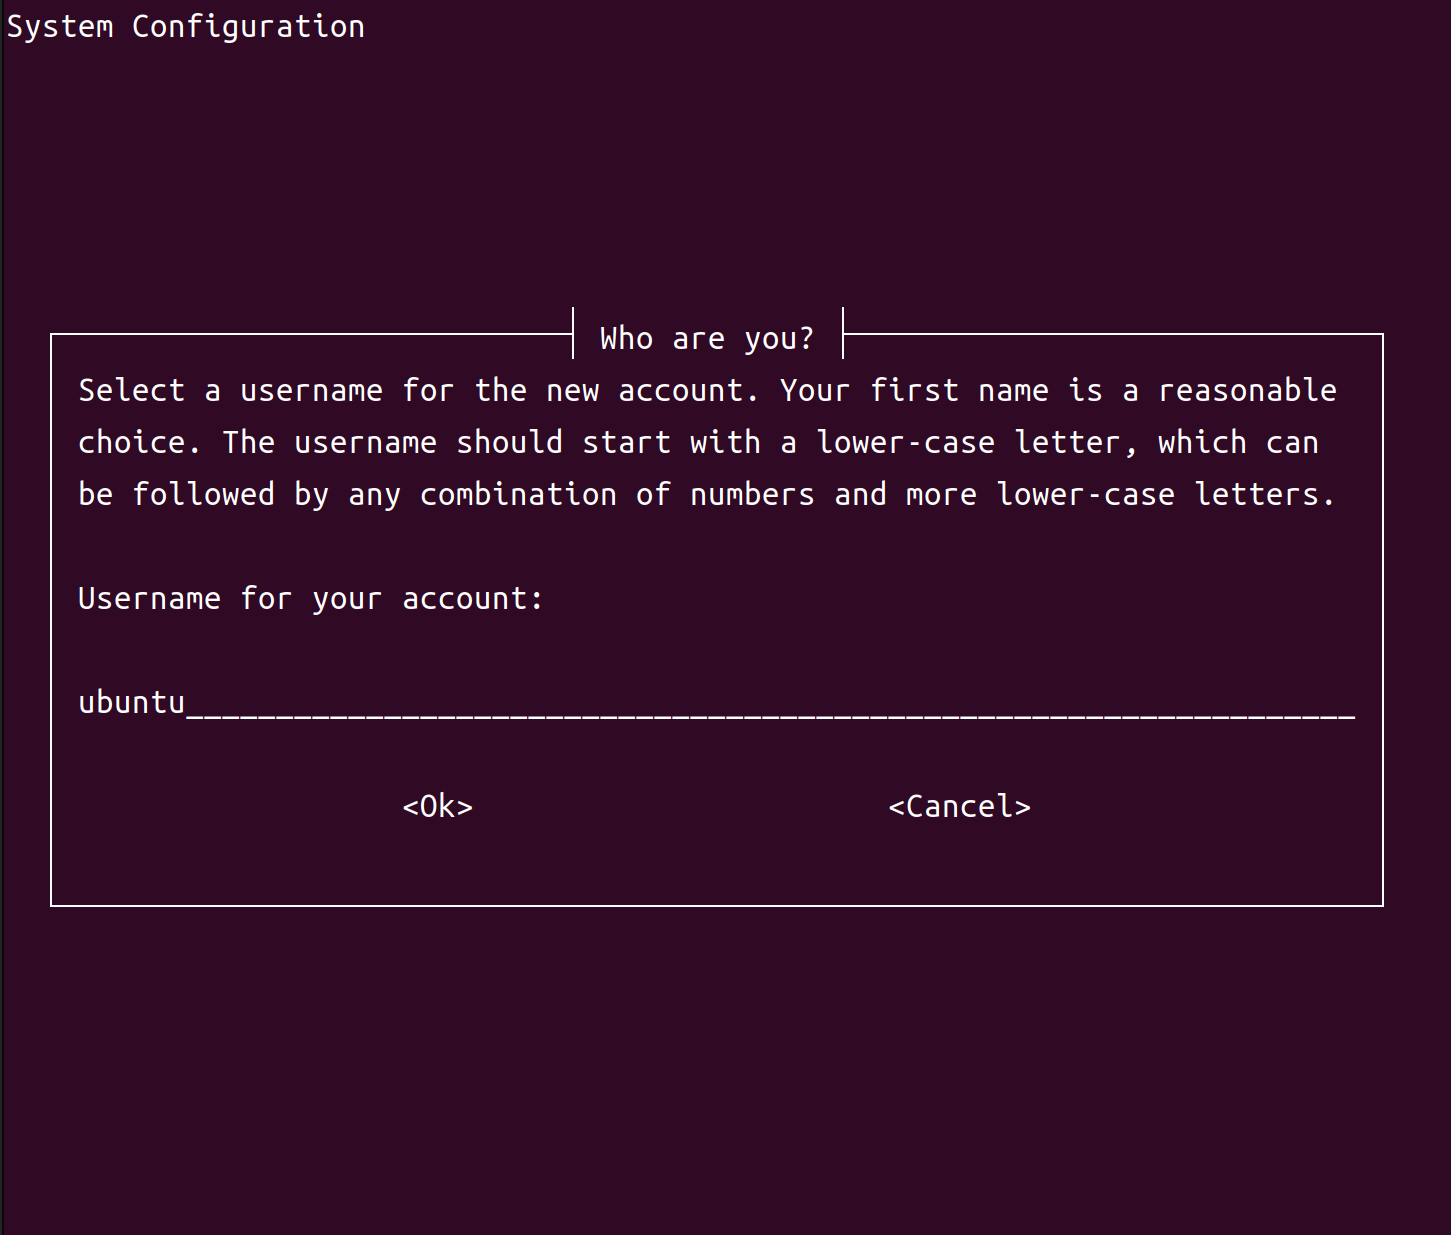
We suggest using your first name, in lowercase letters only. Use this account instead of the root account for anything other than administrative activities.
oem-configasks you to enter a password for your user account. Enter a password, select OK, and press Enter.We recommend that you choose a strong password, such as one that contains more than eight characters and at least one each of uppercase and lowercase letters, numerals, and other characters. If you enter a weak password,
oem-configasks you to confirm that you want to use it.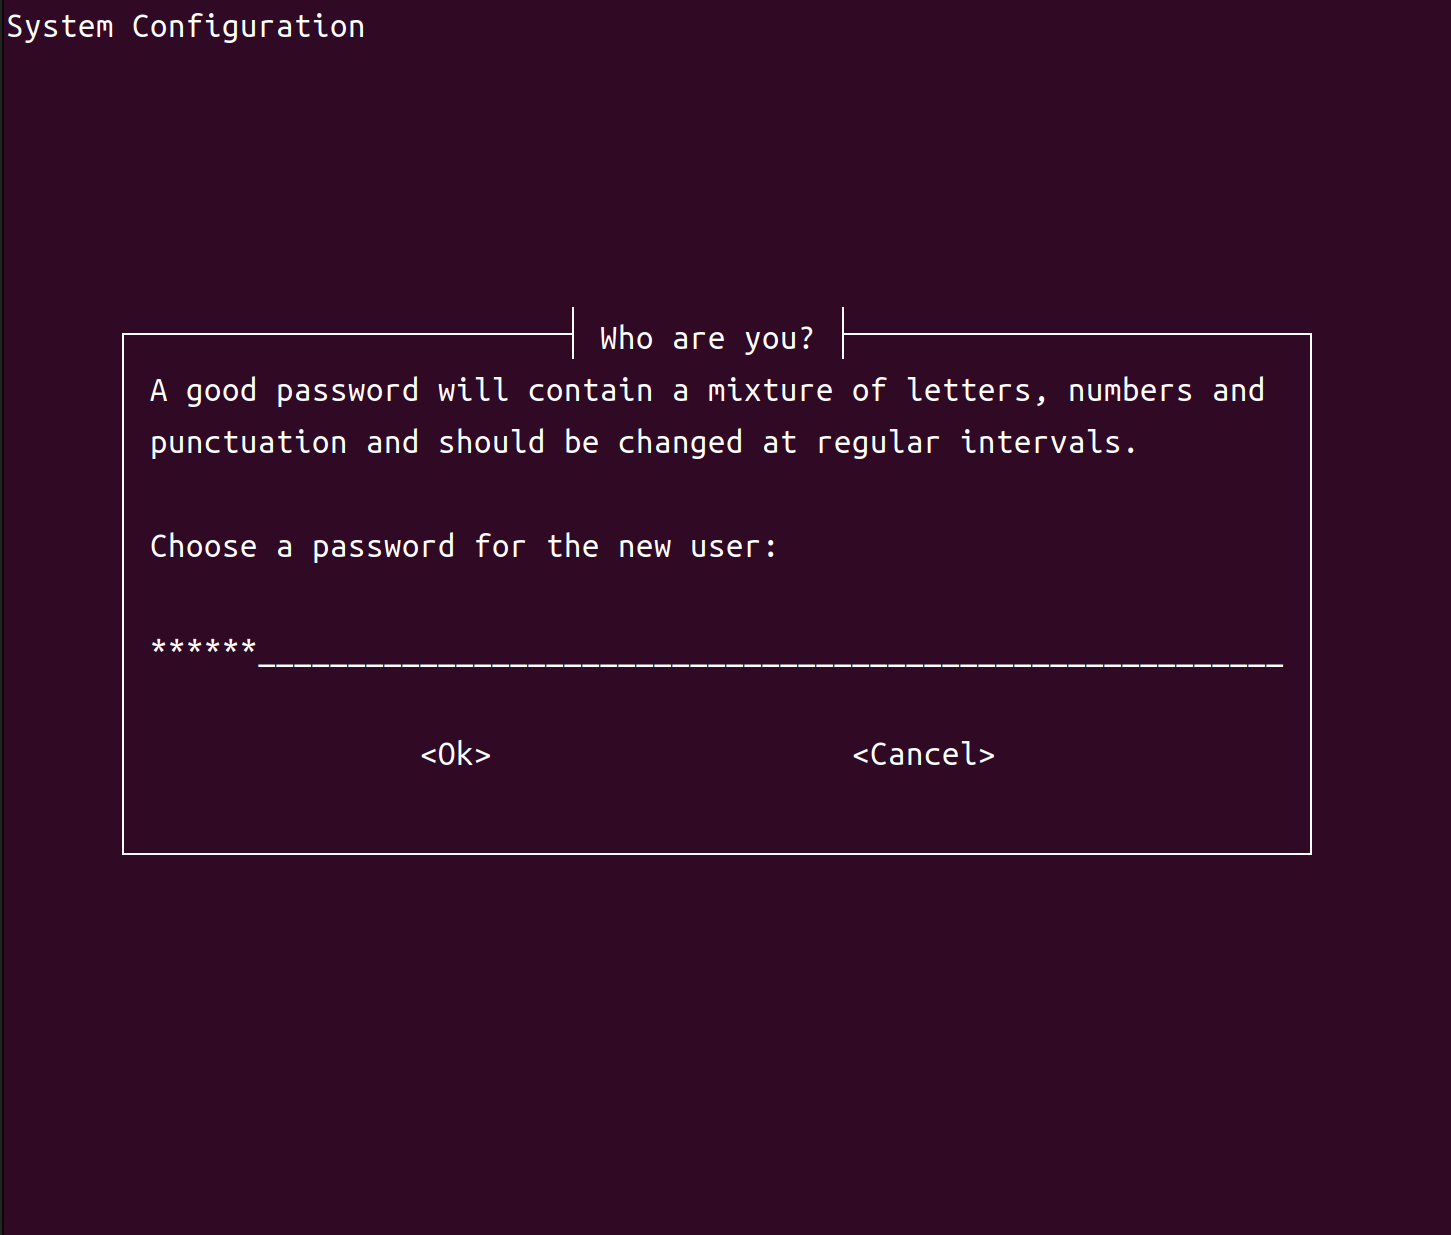
oem-configasks you to enter your password again to confirm that you entered it correctly. If you enter the same password both times, it sets the password and goes on to the next step. If not, it prompts you to enter a password again.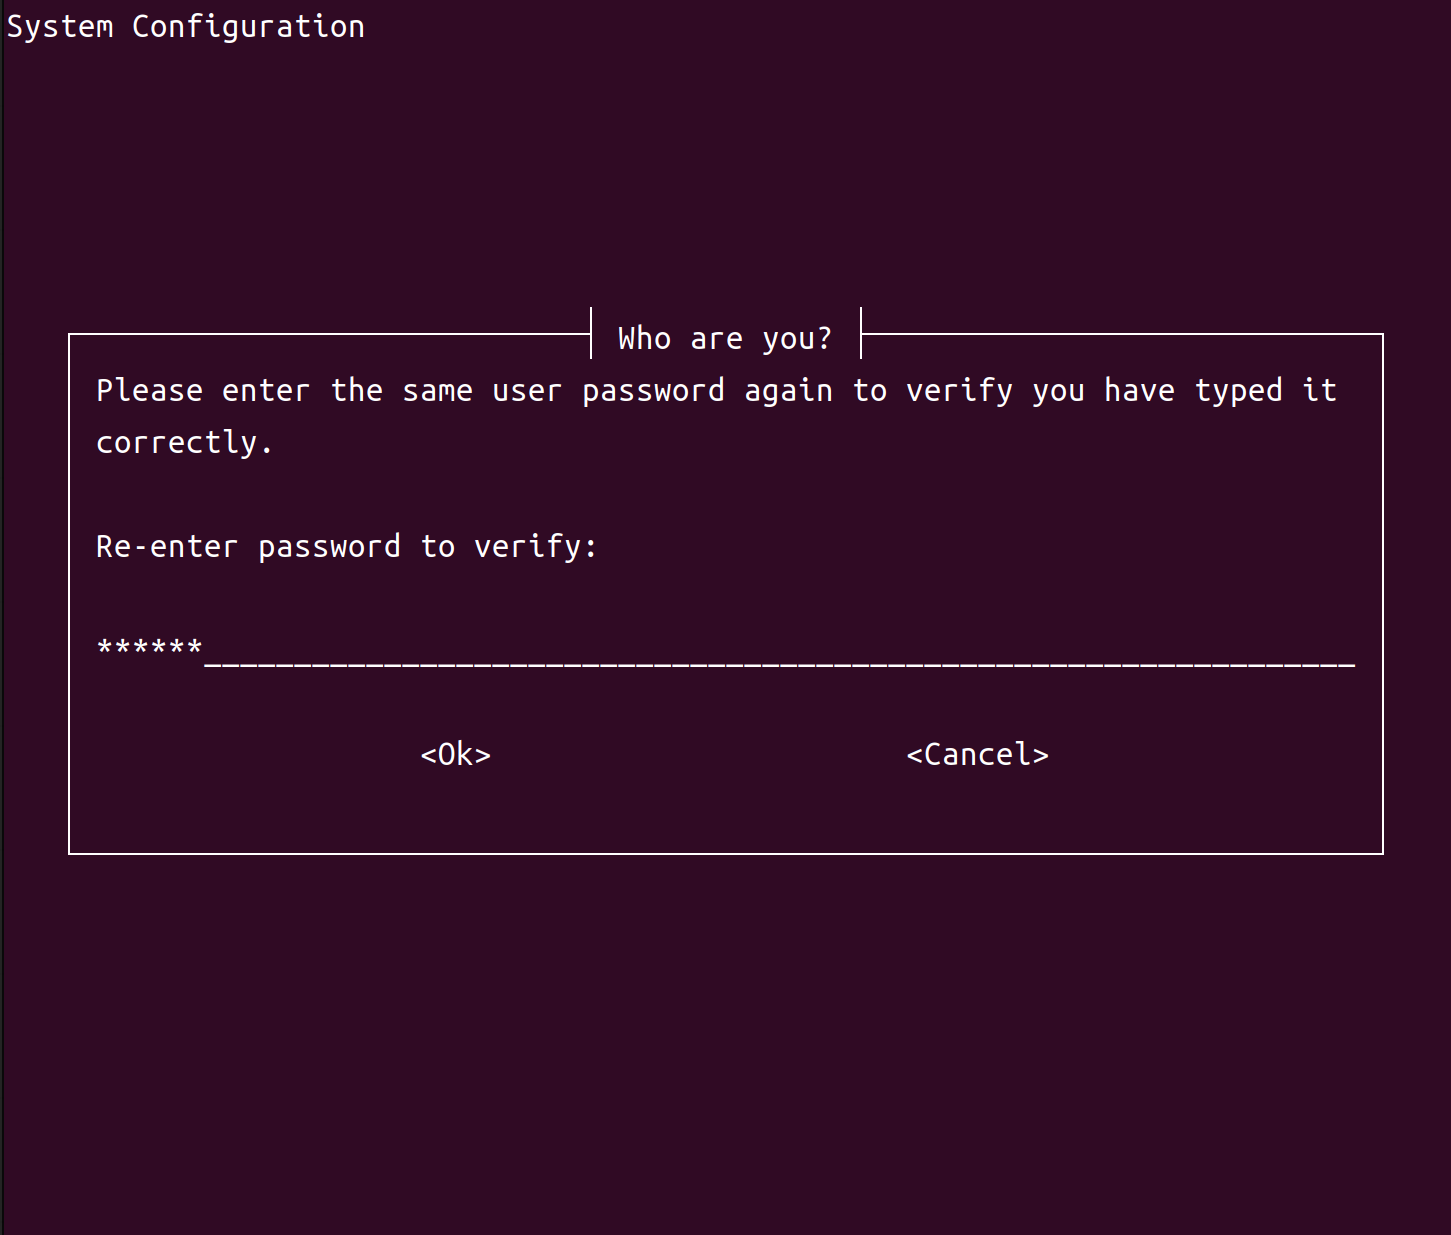
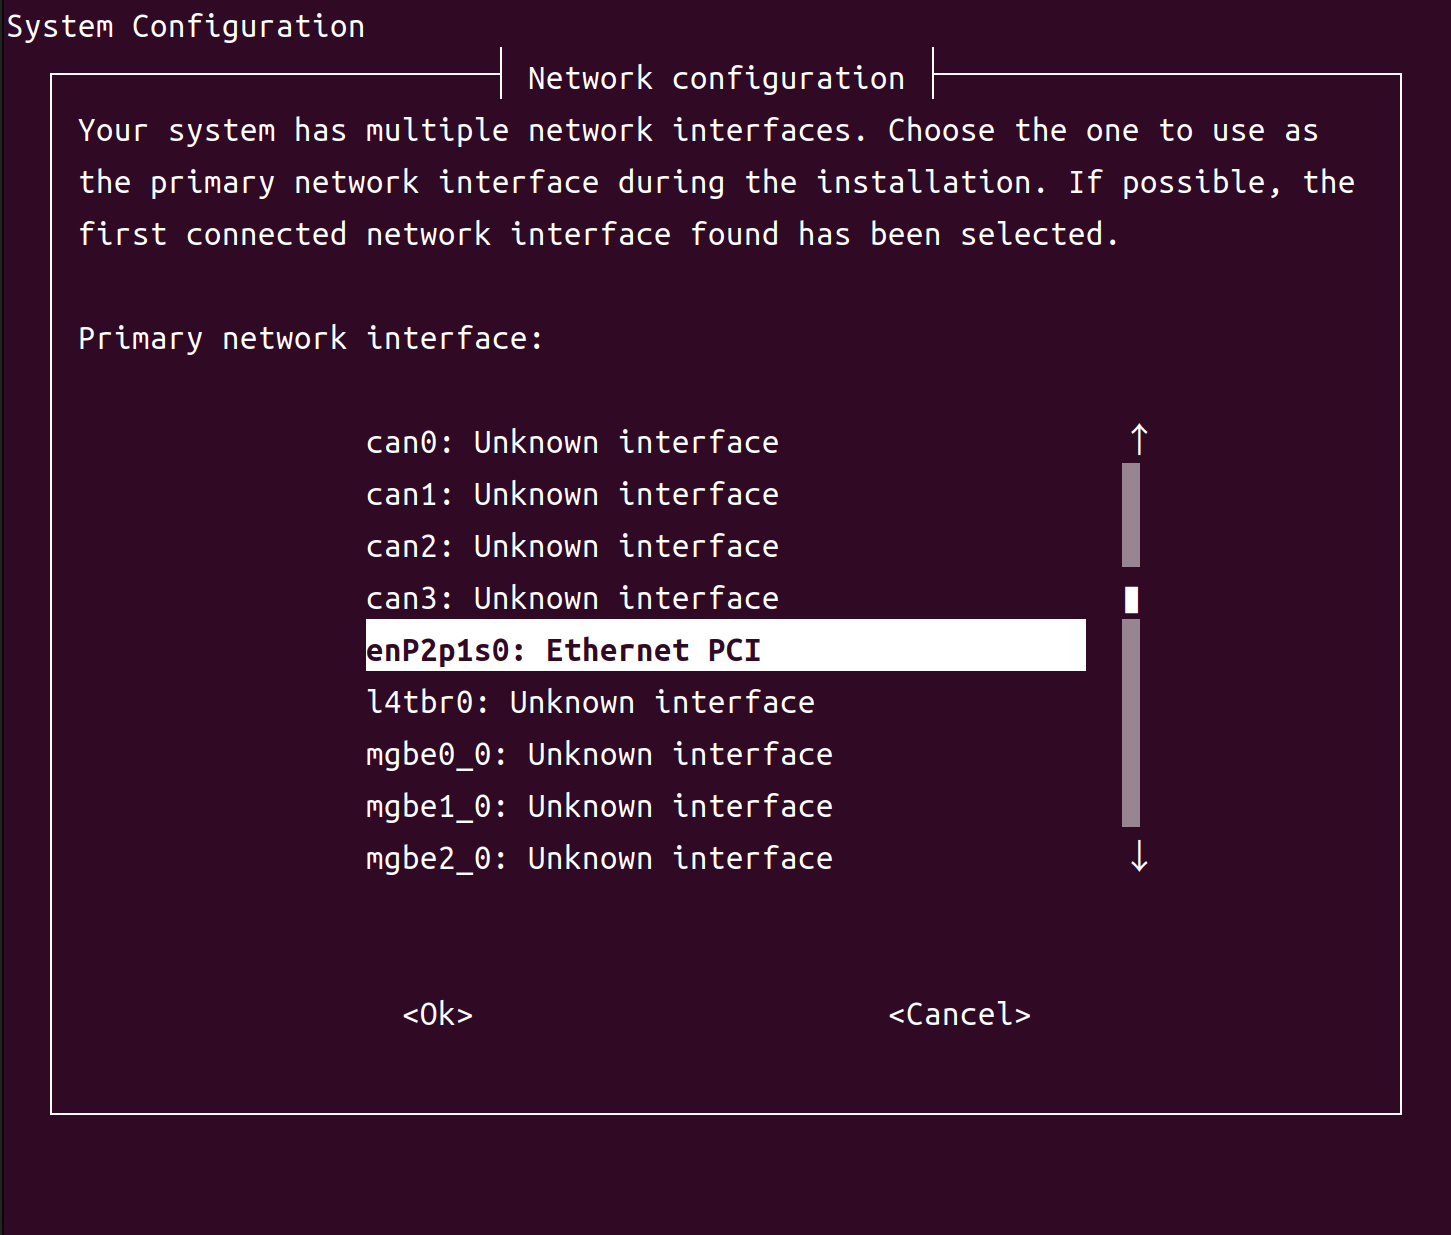
oem-configlists the interfaces that it can use as the primary network interface during installation.If you are using Ethernet as the primary network interface, make sure that the Ethernet cable is connected. Then select the eth0: Ethernet option, select OK, and press Enter.
Note
Because of a known wireless network configuration bug in
oem-config, you must either enter the SSID manually instead of selecting it from the list or wait until after initial setup is complete and then use thenmclicommand to configure wireless networking. For more details, see the ubuntu.com documentation page Configure WiFi Connections.oem-configprompts you to enter your host computer’s hostname. If you don’t know the hostname, ask your network administrator. If you are setting up a dedicated network, you can select any name. Enter the hostname, select OK, and press Enter.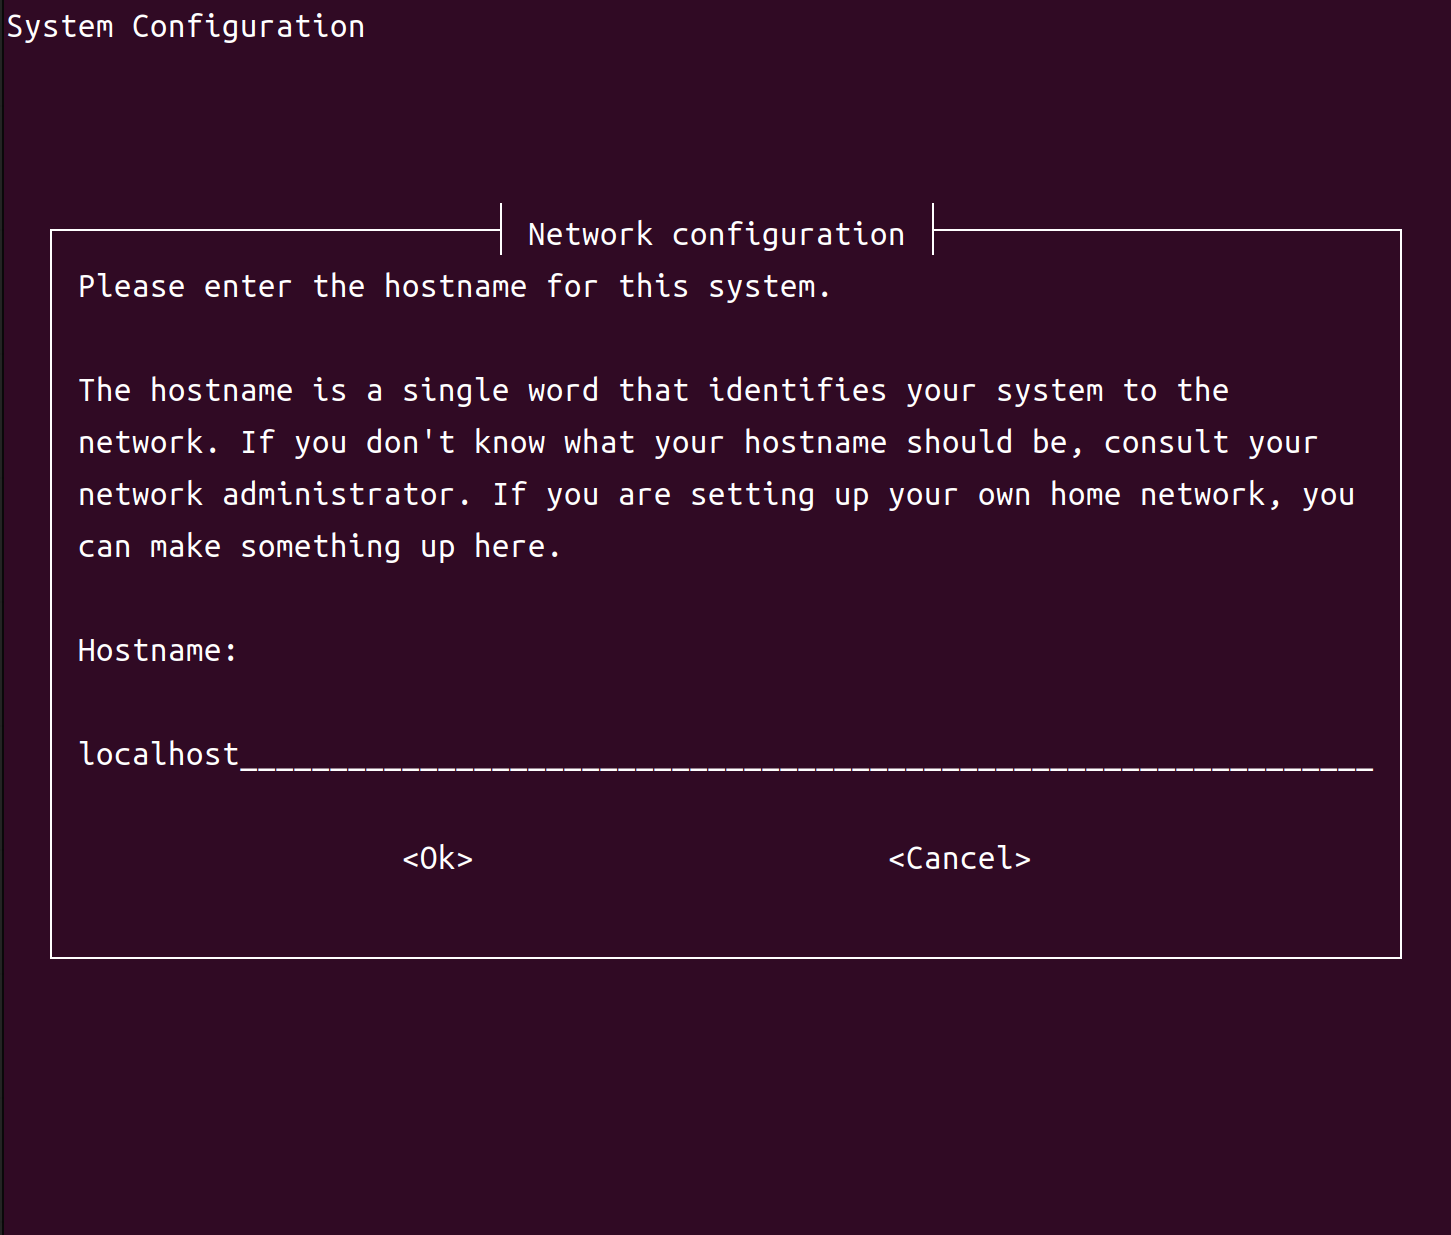
oem-configconfigures the system with the selections you have made and then proceeds to the system’s log-in prompt.
Skipping NVIDIA OOBE#
If you don’t want to run NVIDIA OOBE to set up your system, you can make the first-time boot process skip it by running the host script l4t_create_default_user.sh before you flash. The boot process runs NVIDIA OOBE if no default user is defined; l4t_create_default_user.sh creates a default user, and thus prevents NVIDIA OOBE from running.
The script’s usage is as follows:
$ l4t_create_default_user.sh [-u <user>] [-p <pswd>] [-n <host>] [-a] [-h]
This table describes the command-line options:
Command-Line Option |
Description |
|---|---|
-u <user> --username <user> |
Creates a default user with the specified
username. If omitted, the script creates
a default user named |
-p <pswd> --password <pswd> |
Creates the default user with the specified password. If omitted, the script generates a random password. |
-n <host> --hostname <host> |
Creates the default user with the
specified host name. If omitted, the
script uses the host name
|
-a --autologin |
Configures Jetson Linux to log in to the default user automatically when booted. If omitted, the user must log in manually. |
--accept-license |
Accepts the EULA for NVIDIA software. If omitted, the script prompts you to accept the EULA. |
-h --help |
Prints a description of the script’s usage. |
Examples#
Create a user named
nvidiawith the passwordNDZjMWM4and the host nametegra-ubuntu:$ l4t_create_default_user.sh -u nvidia -p NDZjMWM4
Create a user named
ubuntuwith a randomly generated password and the host nametegra-ubuntu, and configures Jetson Linux to log in to it automatically at boot:$ l4t_create_default_user.sh -u ubuntu -a
Create a user named
nvidiawith a randomly generated password and the host nametegra:$ l4t_create_default_user.sh -n tegra