Creating Your First NVIDIA AI Enterprise System#
Added in version 2.0.
Installing an Operation System#
Installing Ubuntu Server 20.04 LTS or 22.04 LTS#
NVIDIA AI Enterprise is supported on Ubuntu 20.04 LTS or 22.04 LTS operating systems. It is important to note there are two Ubuntu ISO types: Desktop and Live Server. The Desktop version includes a graphical user interface (GUI), while the Live Server version only operates via a command line. This document uses the Live Server version 20.04 (amd64 architecture) of Ubuntu, though it is worth noting a GUI may be installed later if needed.
Attach the Ubuntu ISO to your host server’s virtual media.
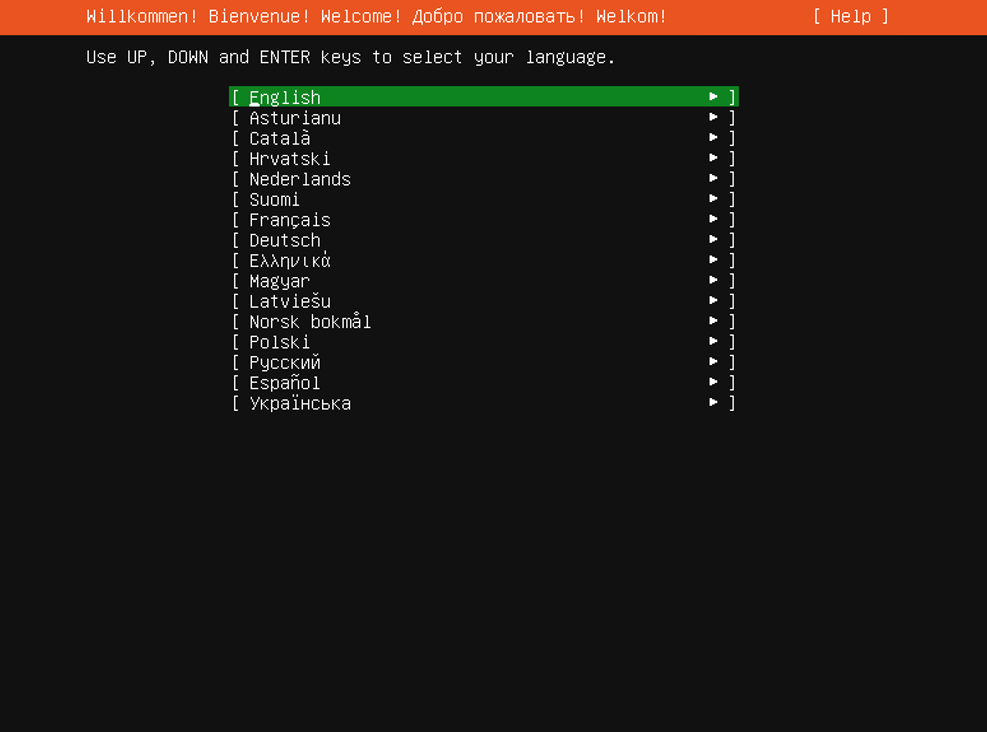
Select your preferred language and press the enter key.
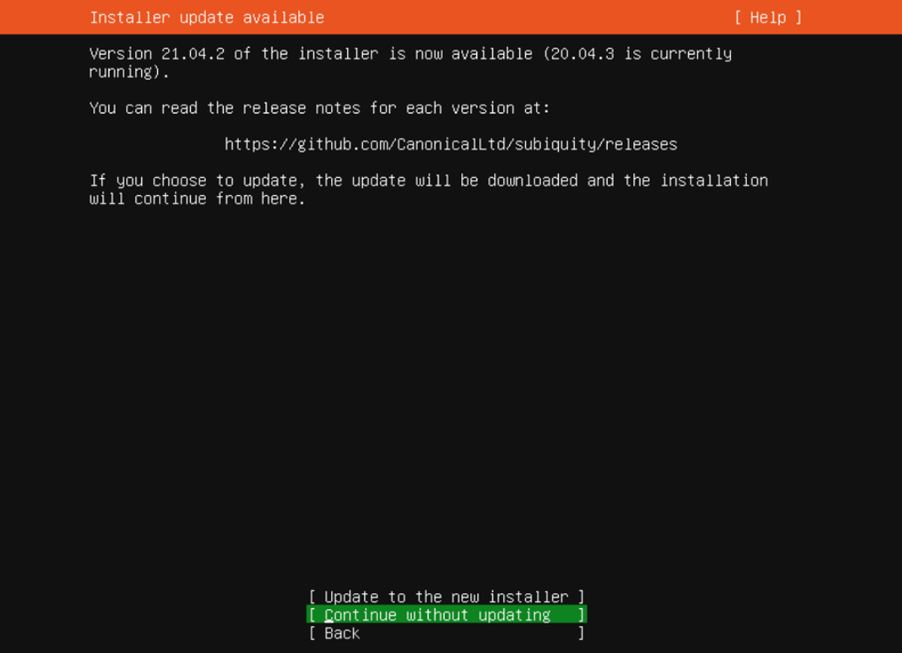
Updating the installer is optional. The guide was created with Ubuntu 20.04.1 LTS, some options may change on newer versions of the installer.
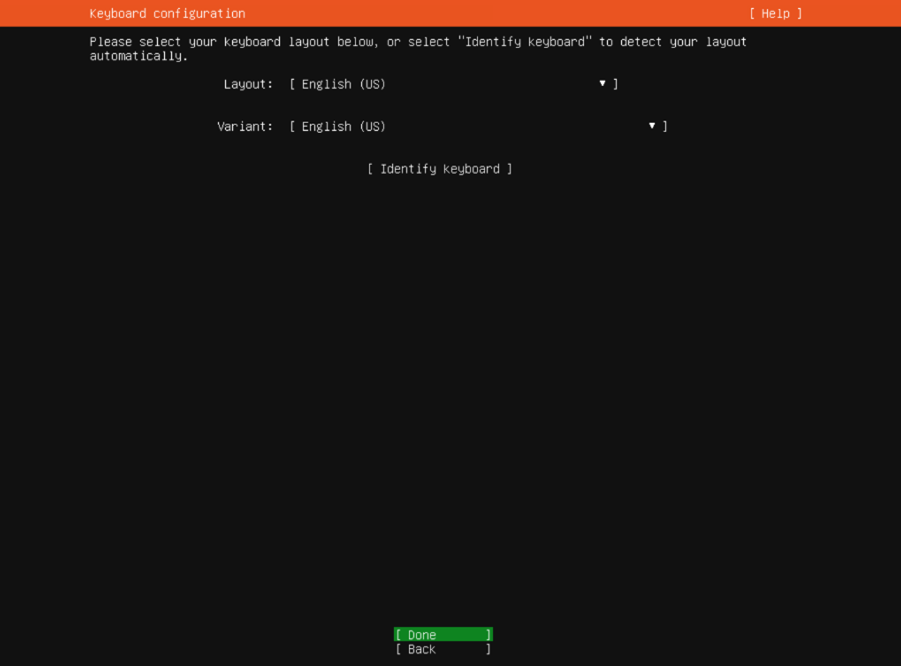
Configure the keyboard layout and press the enter key.
On this screen, select your network connection type and modify it to fit your internal requirements. This guide uses DHCP for the configuration.

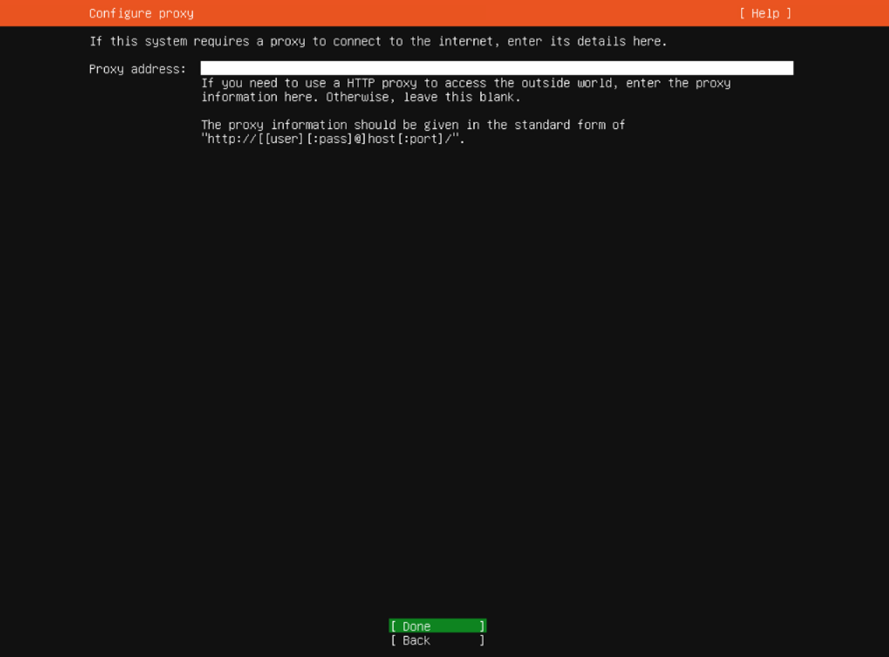
If you have a proxy address, input it in this screen and press Done.
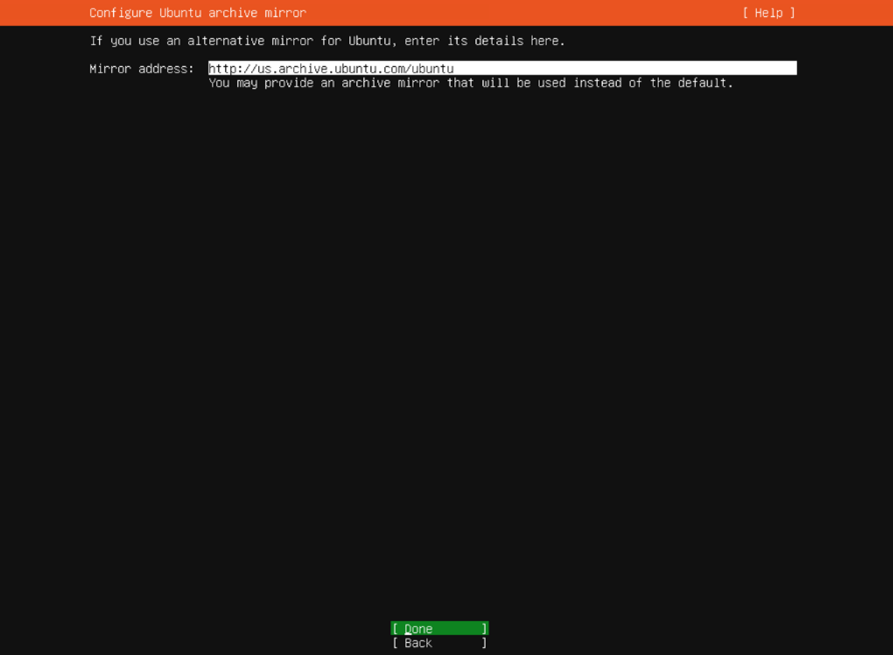
If you have an alternative mirror address for Ubuntu, input it here. Otherwise, if there is a default address, use it and press Done.
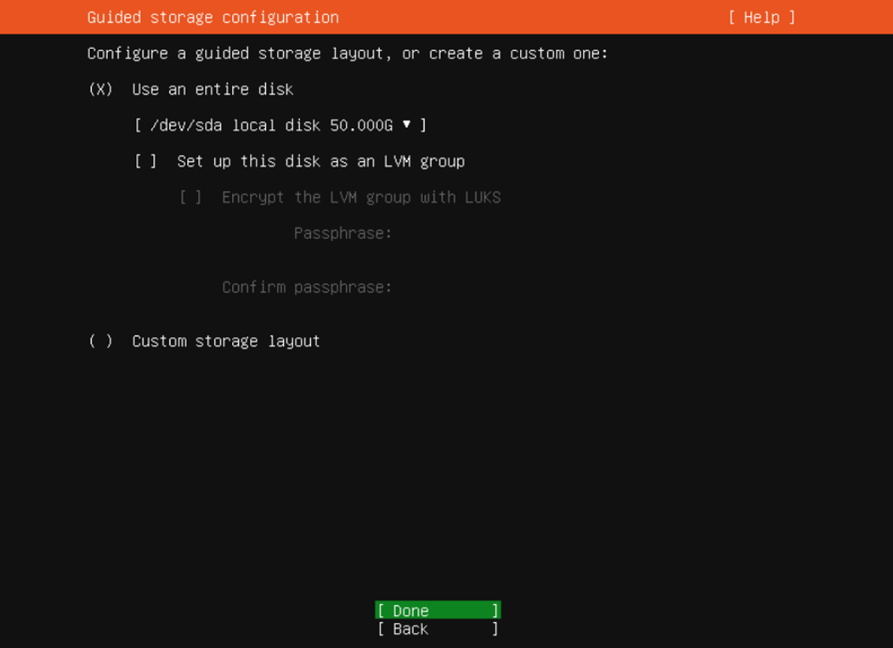
Format the entire disk. Then, select a disk to install.
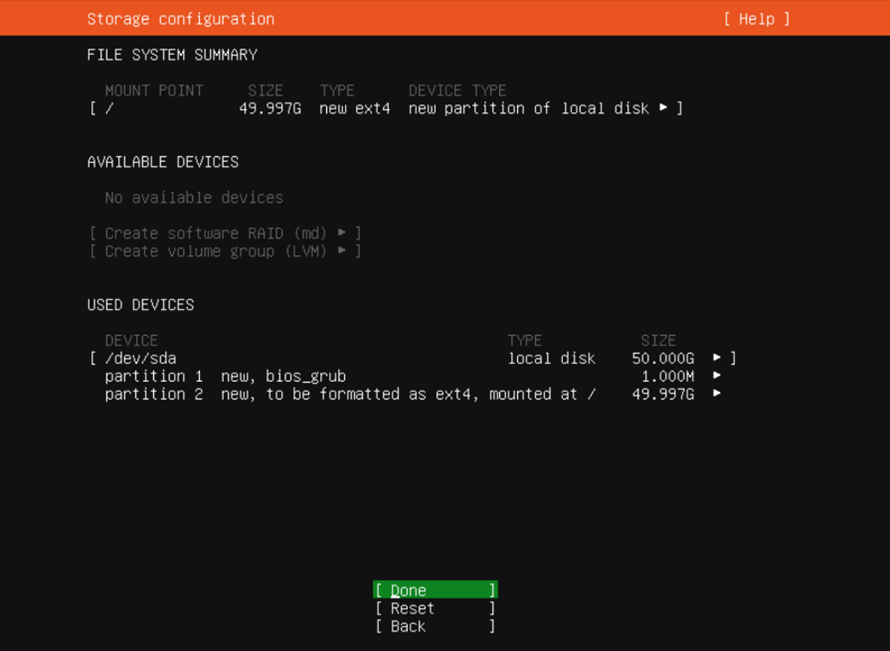
Review the file system summary and select Done if satisfactory. Select Continue in the pop-up window.
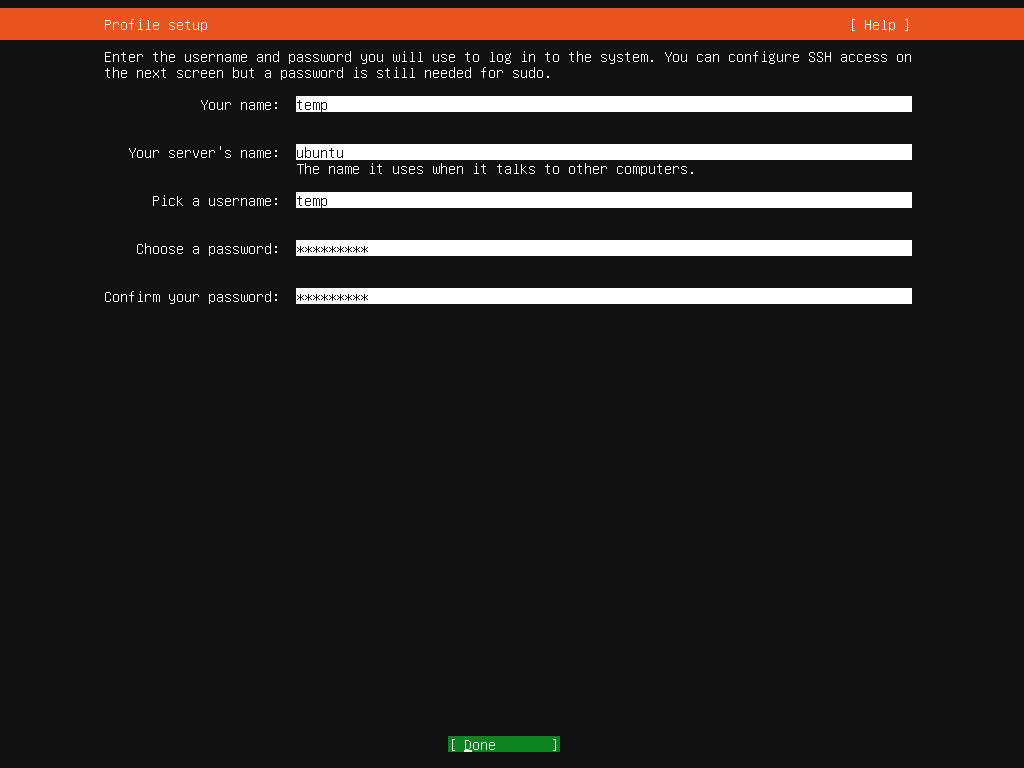
Configure the system with a user account, name, and password.
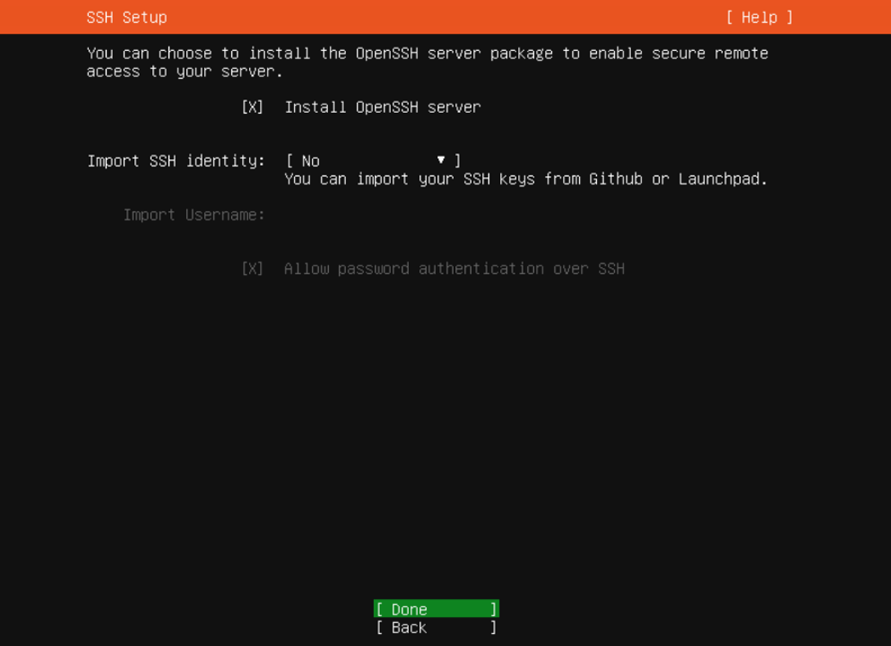
Select Install OpenSSH server and select Done.
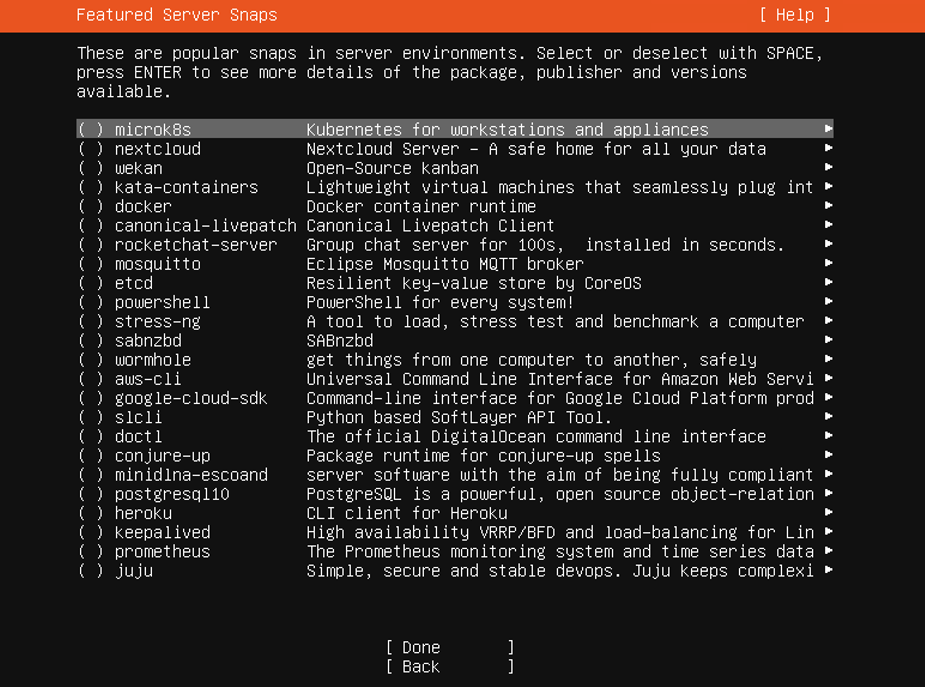
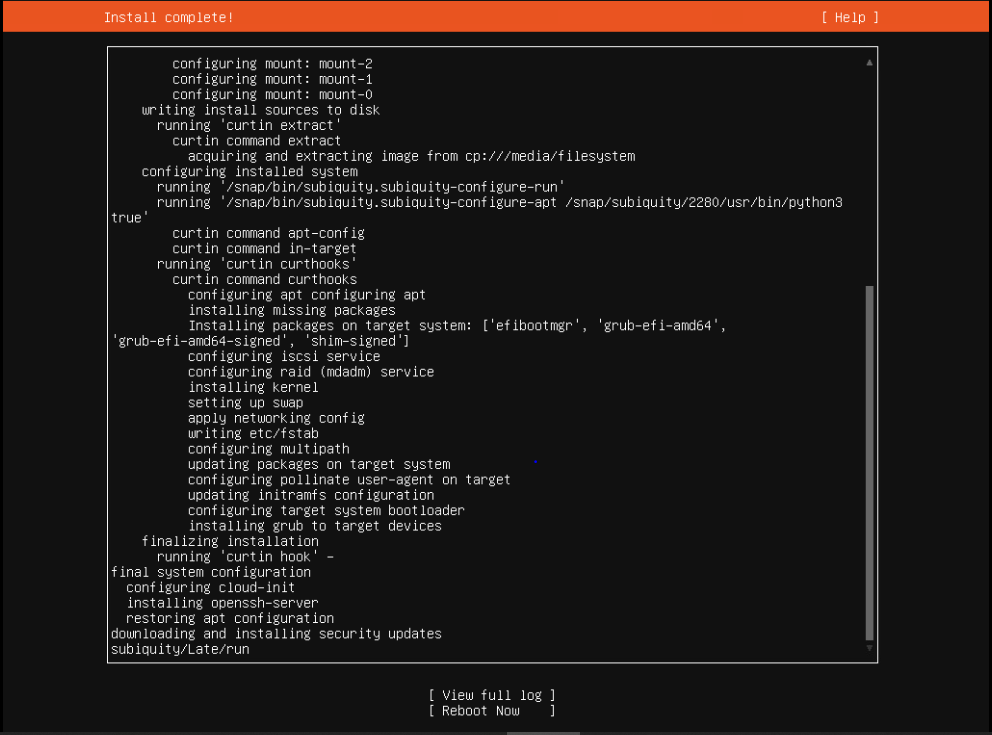
Select any server snaps that may be required for internal use in your environment and select Done. Wait for the system to finish installing.
Select Reboot Now on the Ubuntu OS screen.
Disconnect the Ubuntu ISO to your host server’s virtual media.
Installing Red Hat Enterprise Linux 8.4#
Attach the Red Hat Enterprise Linux (RHEL) ISO to your host server’s virtual media.
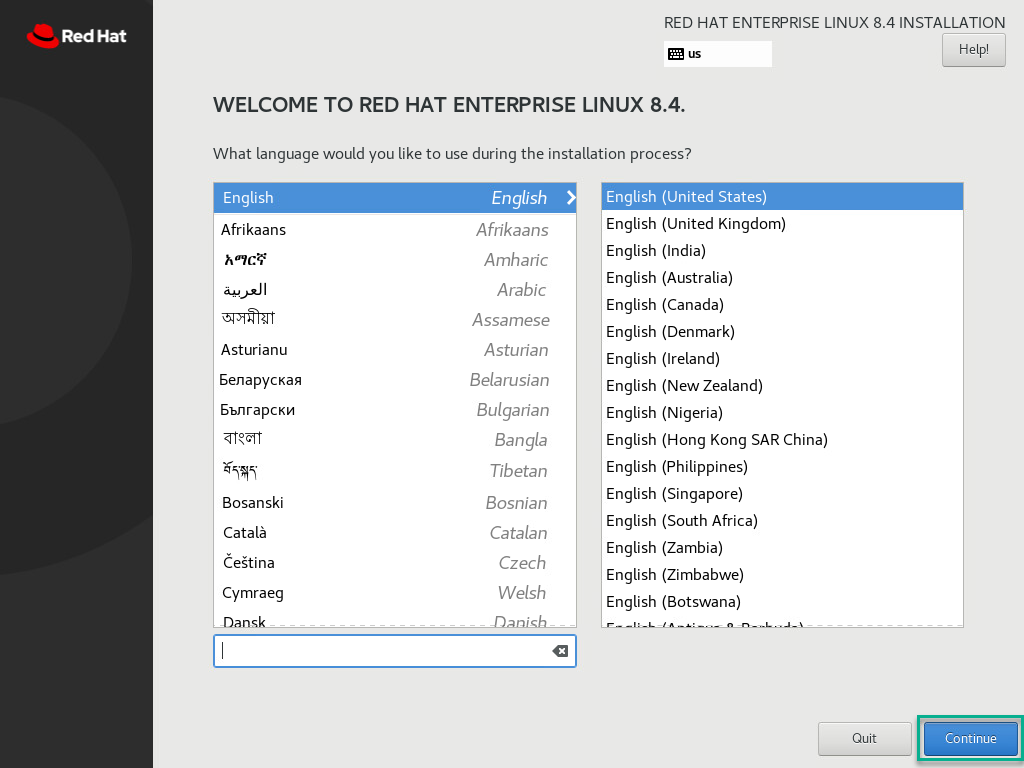
Select your preferred language and Continue.
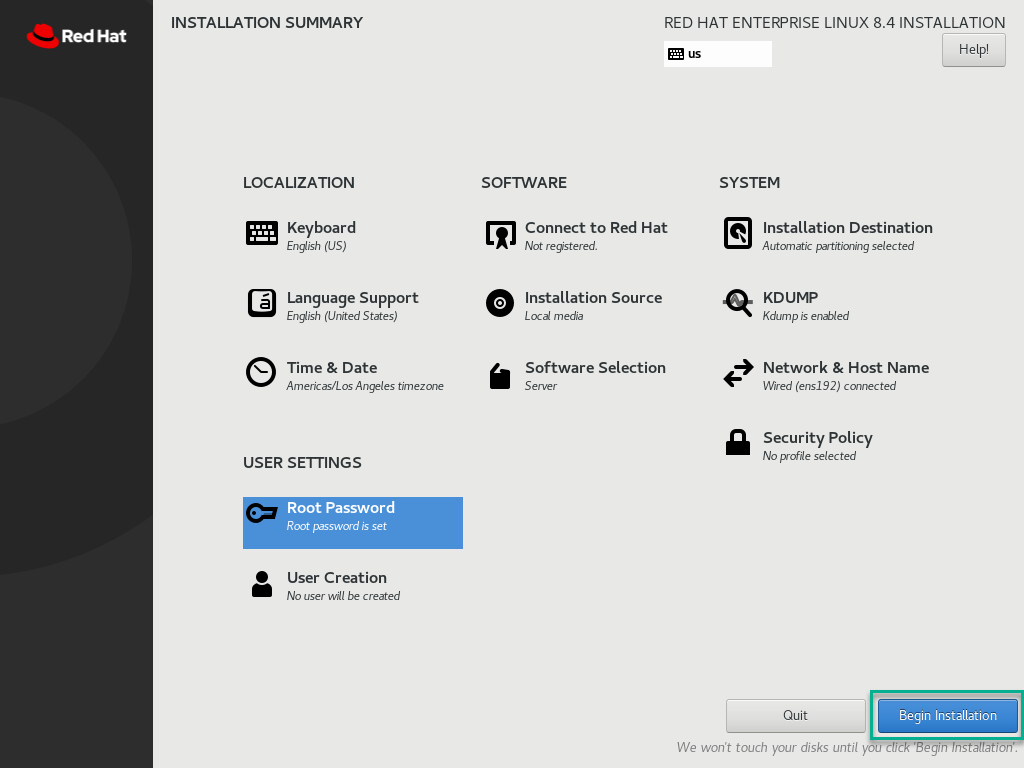
Next, select Time & Date under the Localization column. Set the time and date as required and click Done.

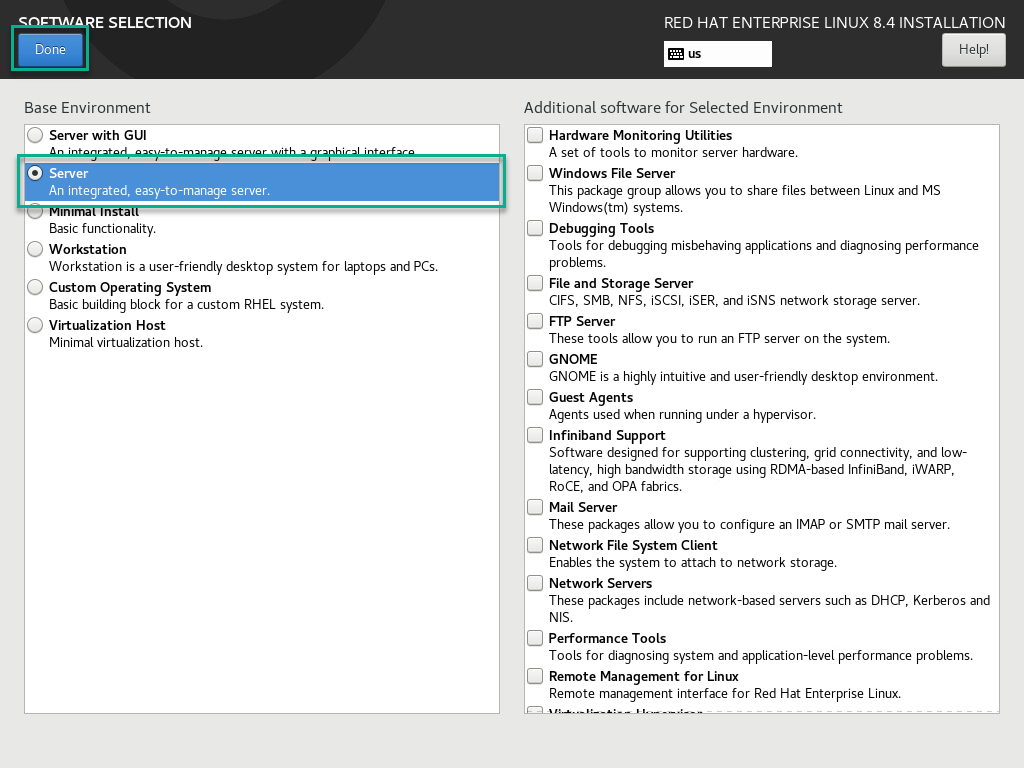
Next, select Software Packages under the Software column. Select Server and click Done.
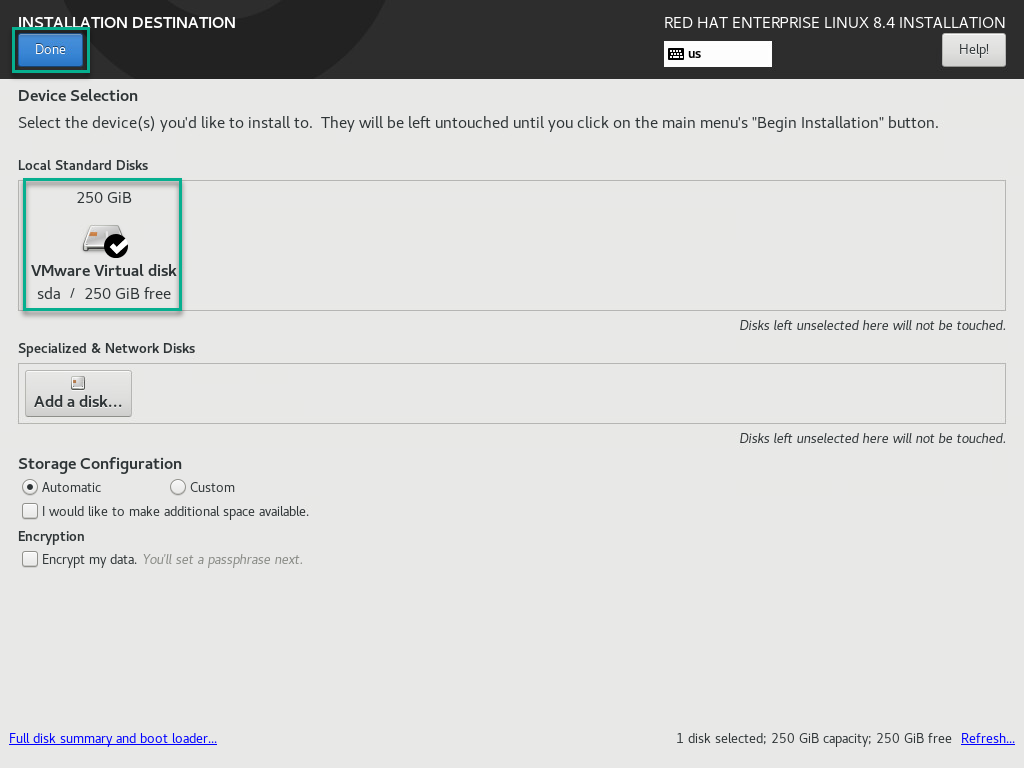
Next, select Installation Destination under the System Menu. Select the VMware Virtual disk and click Done.
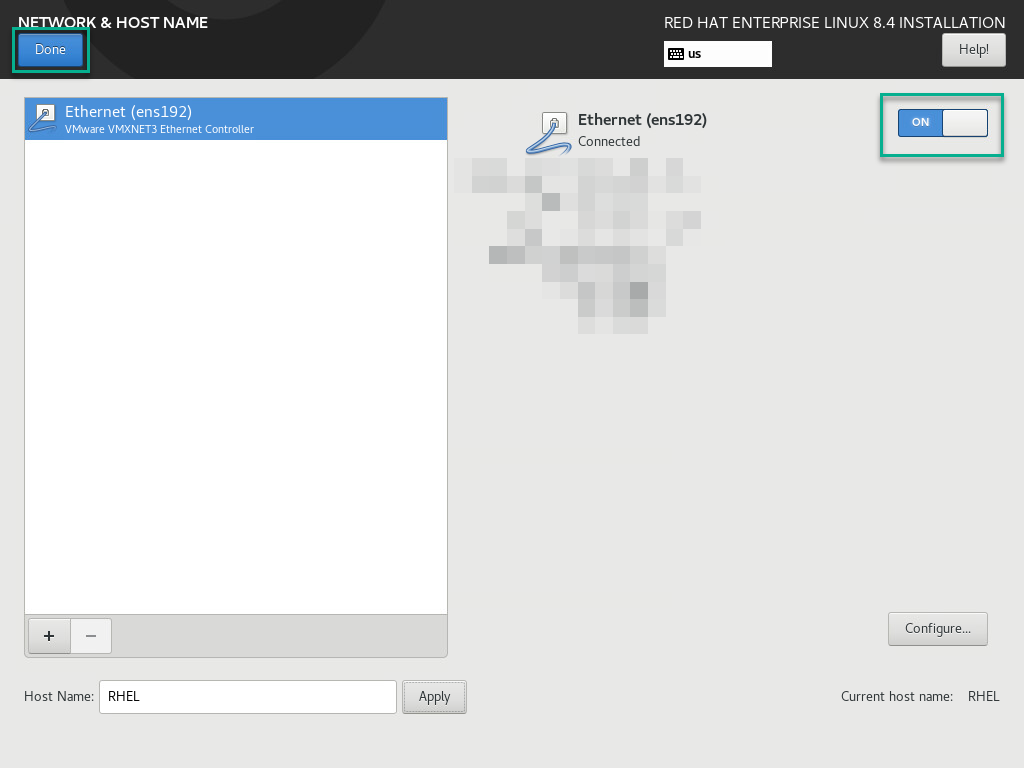
Next, select Network & Host Name under the System column. If your system is connected to a network, then it will try to get IP from DHCP server otherwise it can be configured manually. Click Done when finished.
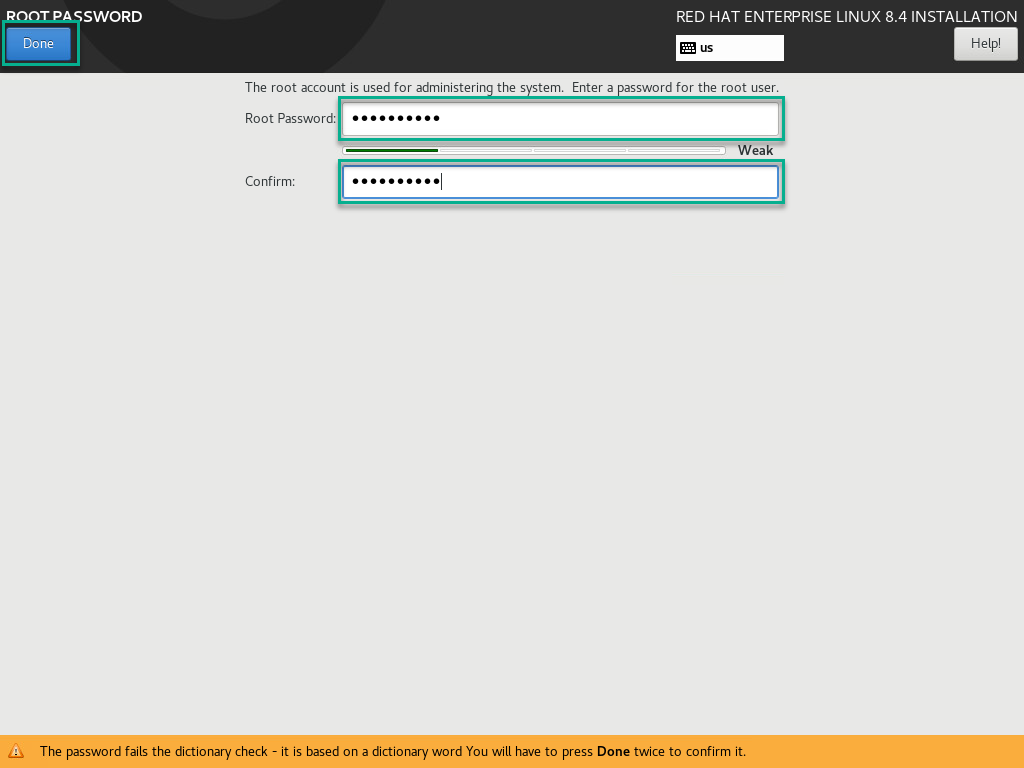
Select Root Password under the User Settings Column. Create a password and click Done.
Click Begin Installation to start the install.
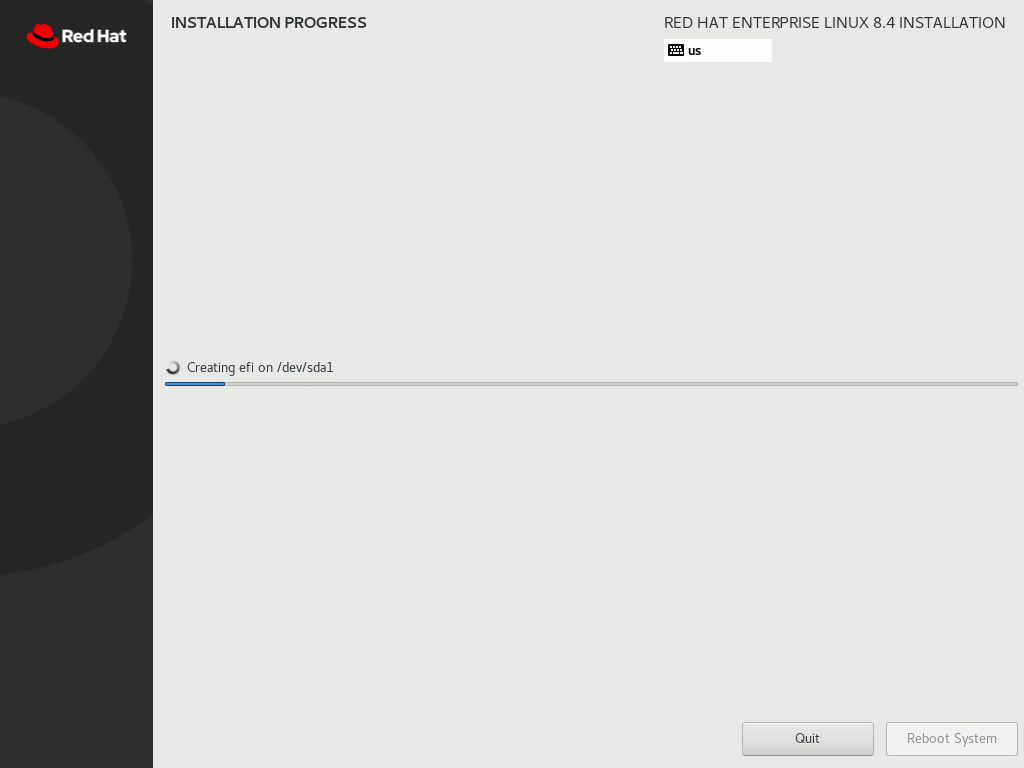
The installation will begin as shown below.
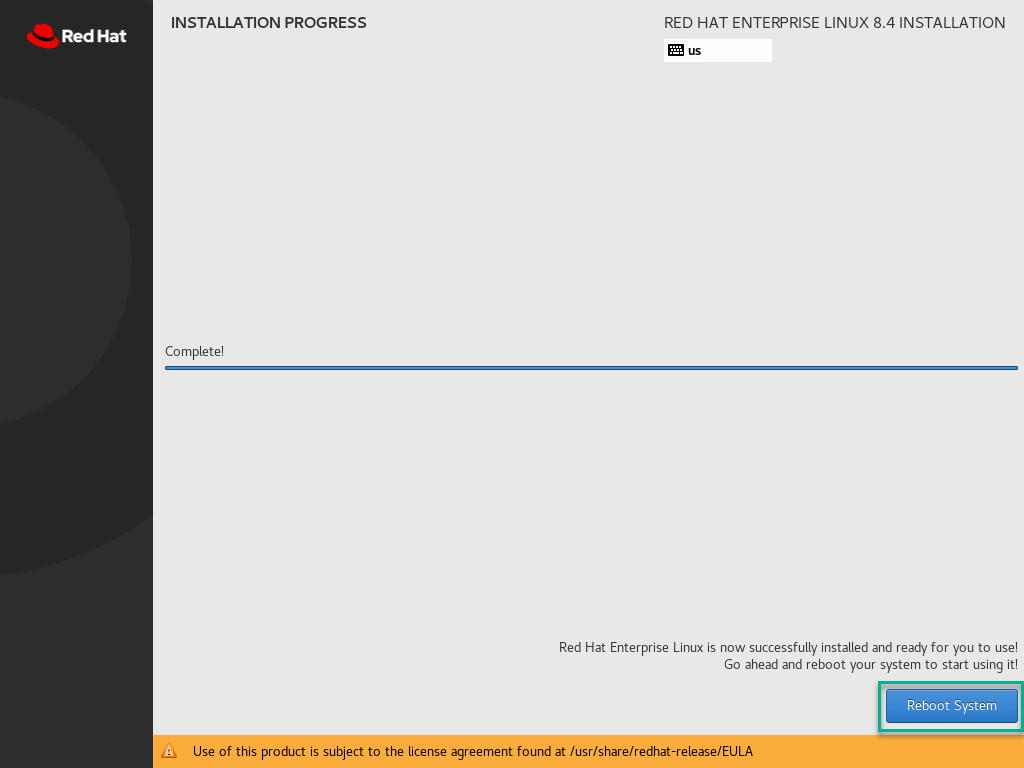
Once the installation is completed reboot by clicking the Reboot System.
Disconnect the Ubuntu ISO to your host server’s virtual media.
Installing the NVIDIA Driver#
The NVIDIA driver is the software driver that is installed on the OS and is responsible for communicating with the NVIDIA GPU to enable accelerated AI or HPC workloads. Now that you have installed Linux, the NVIDIA AI Enterprise Driver will fully enable GPU operation. Before proceeding with the NVIDIA Driver installation, please confirm that Nouveau is disabled. Instructions to confirm this are located in the Ubuntu section and the RHEL section.
Data Center Driver Installation#
This driver is intended for use in Baremetal settings or with the use of GPU Passthrough Mode in a VM for accelerated AI or HPC workloads. This driver is not to be used in vGPU settings.
Installation of the NVIDIA AI Enterprise software driver for Linux requires:
Compiler toolchain
Kernel headers
Note
If you prefer to use a Debian package, refer to the Debian instructions.
To enable NVIDIA GPU acceleration for compute and AI workloads running in data centers:
Download the NVIDIA GPU data center drivers from this location.
Select Data Center/Tesla, GPU series**, and Linux 64-bit to download the
.runfile.Note
To use the
.debdriver file, select Data Center/Tesla, GPU series, and then select Linux 64-bit 22.04.Log into the system and check for updates.
sudo apt-get update
Install the GCC compiler and the make tool in the terminal.
sudo apt-get install build-essential
Copy the NVIDIA AI Enterprise Linux driver package, for example,
NVIDIA-Linux-x86_64-550.90.12.run, to the host machine where you are installing the driver.Navigate to the directory containing the NVIDIA Driver .run file. Then, add the Executable permission to the NVIDIA Driver file using the
chmodcommand.sudo chmod +x NVIDIA-Linux-x86_64-xxx.xx.xx.run
From a console shell, run the driver installer as the root user, and accept the defaults.
sudo sh ./NVIDIA-Linux-x86_64-xxx.xx.xx.run
Reboot the system.
sudo rebootAfter the system has rebooted, confirm that you can see your NVIDIA vGPU device in the output from nvidia-smi.
nvidia-smi