Quickstart#
NVIDIA’s Brev platform simplifies GPU access by offering virtual machine instances with various GPU types. Instead of being limited to one cloud provider, Brev pulls resources from multiple providers, helping you find the right GPU setup for your workload.
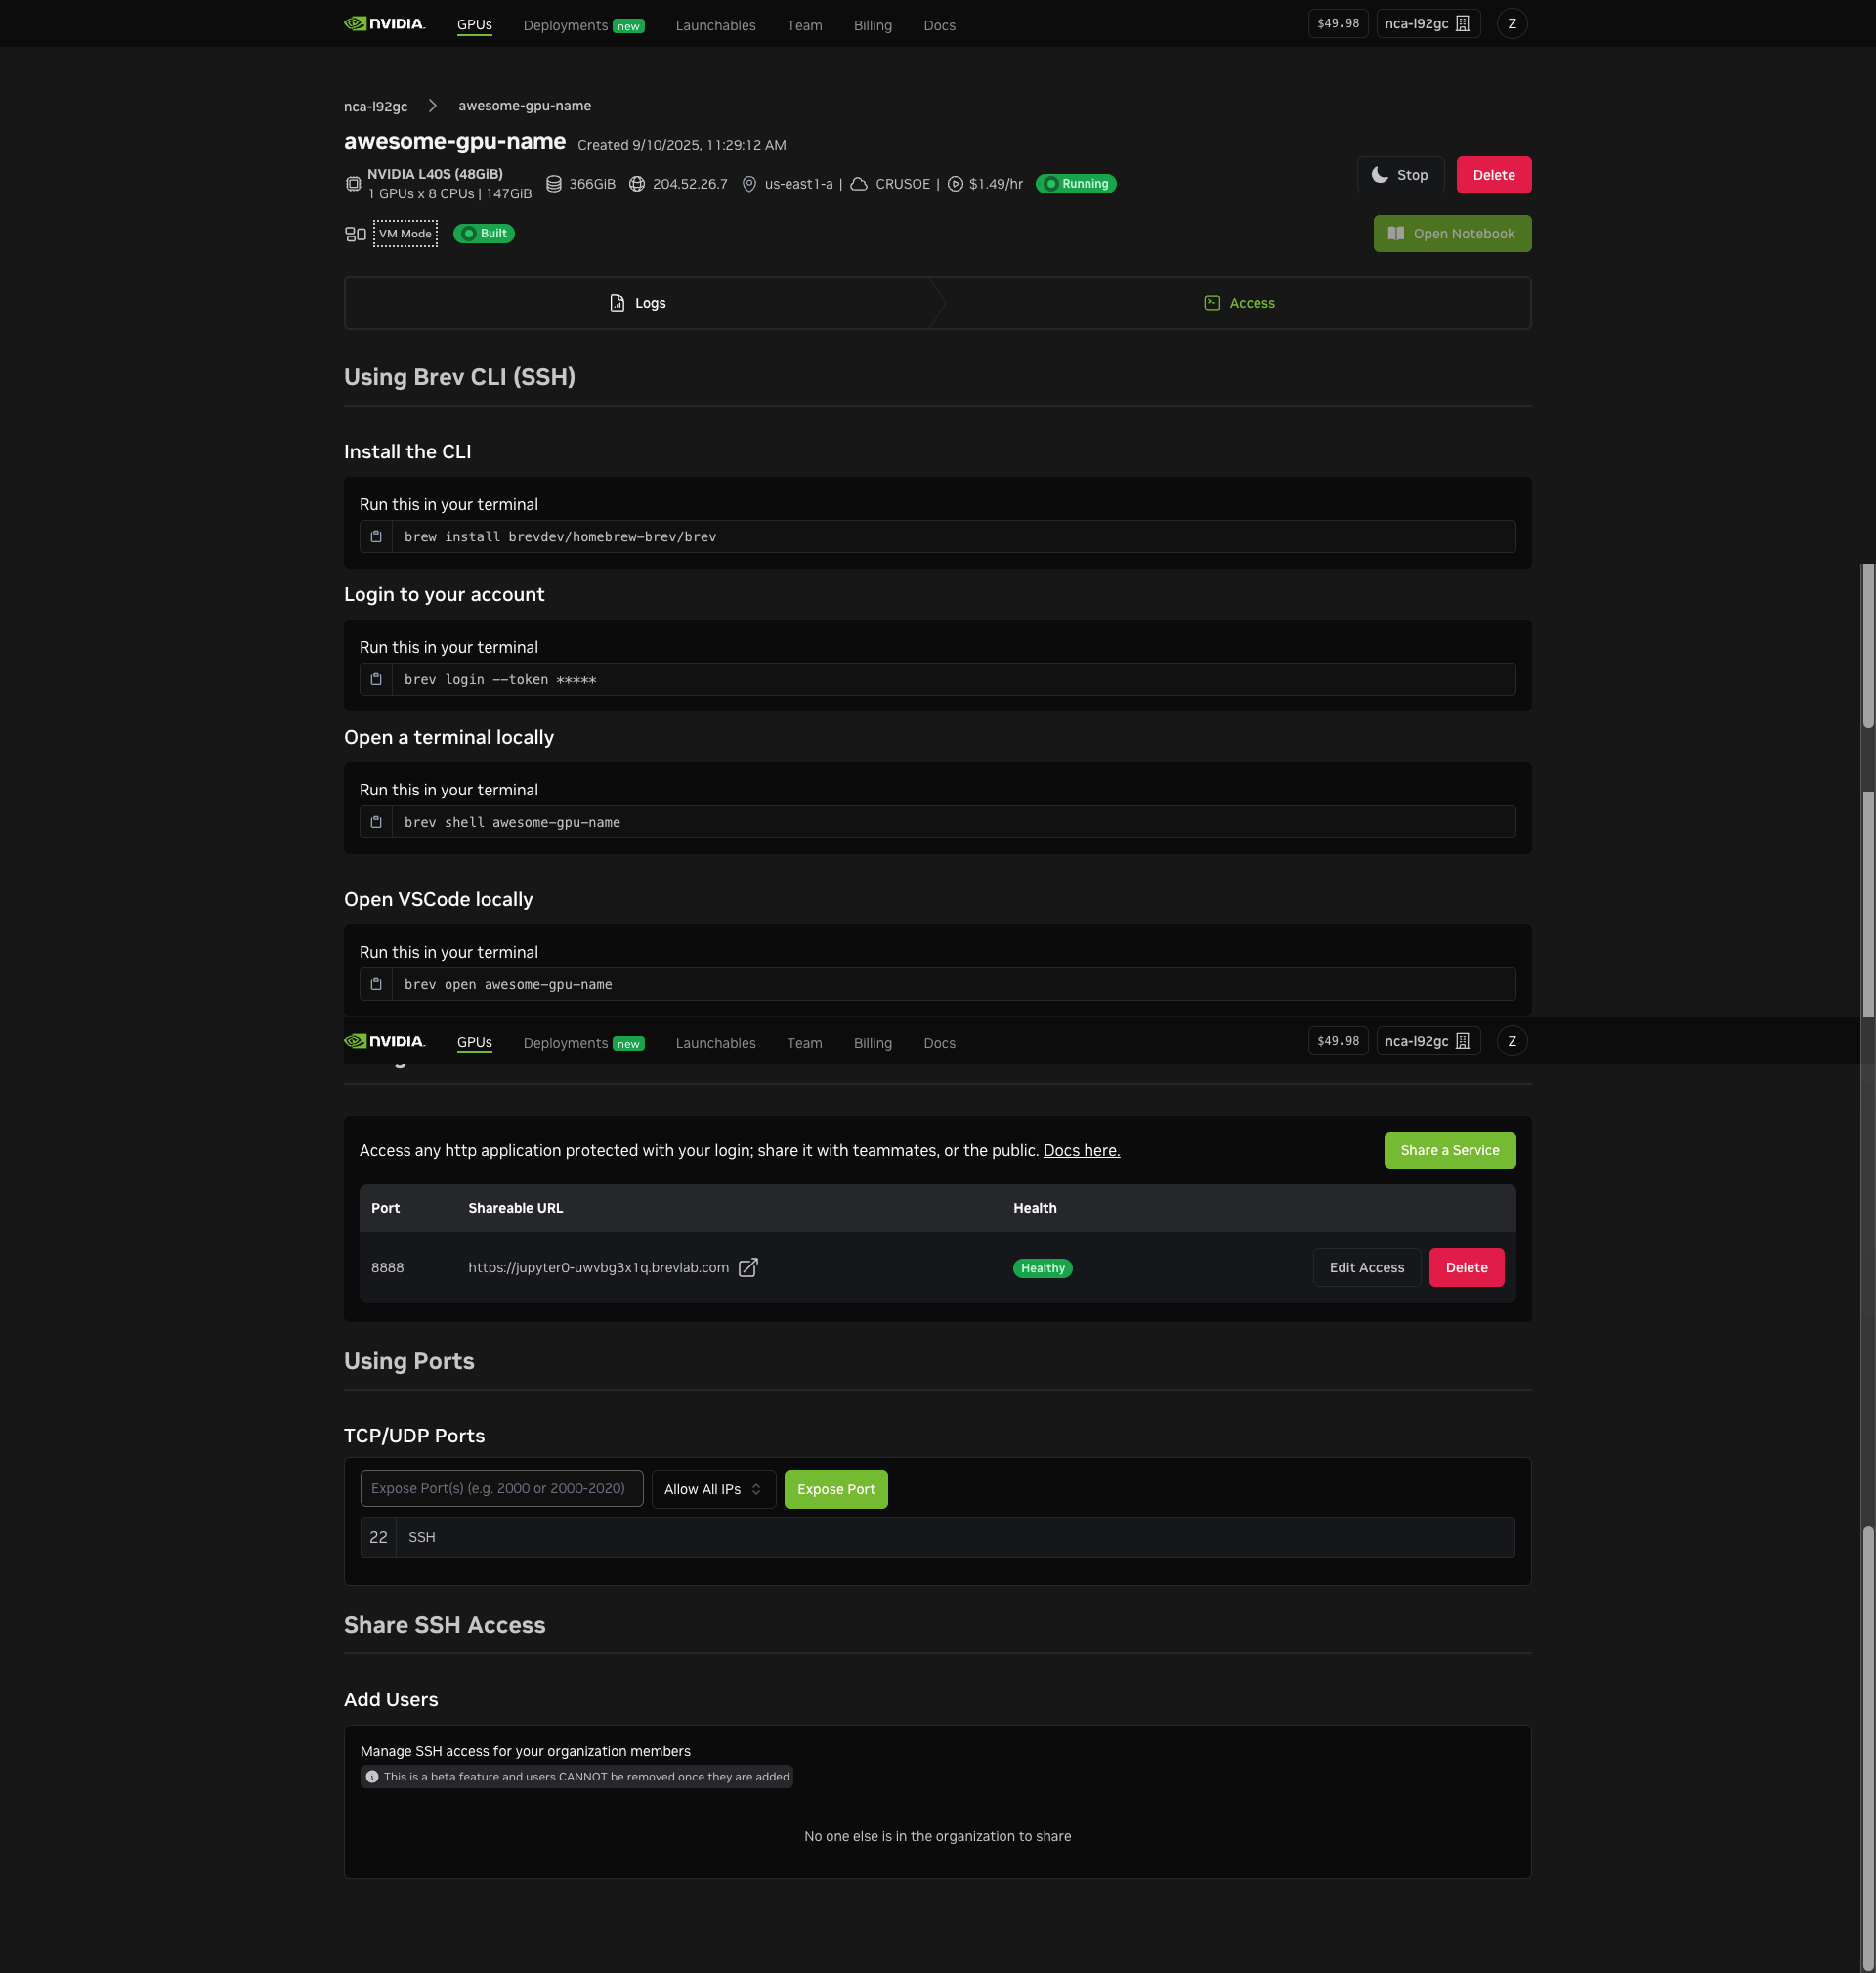
The Brev Console is a web-based interface that allows you to create, manage, and access your GPU instances. For new users, the Console provides the easiest way to get started and create your first instance.
Create Brev Instance#
Creating your first Brev instance is a simple process that requires the following:
Create an account
Create your new instance
Select your compute
Configure and deploy
Connect to your instance and start coding
Create an Account#
Go to the Brev console.
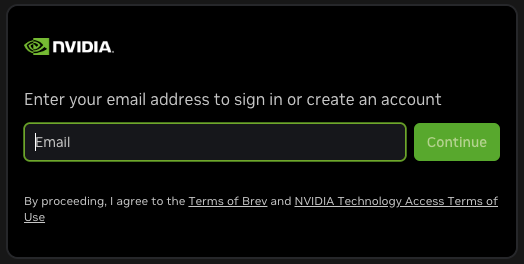
Enter your email address to create an account. After creating your account, the GPU Instances page displays.
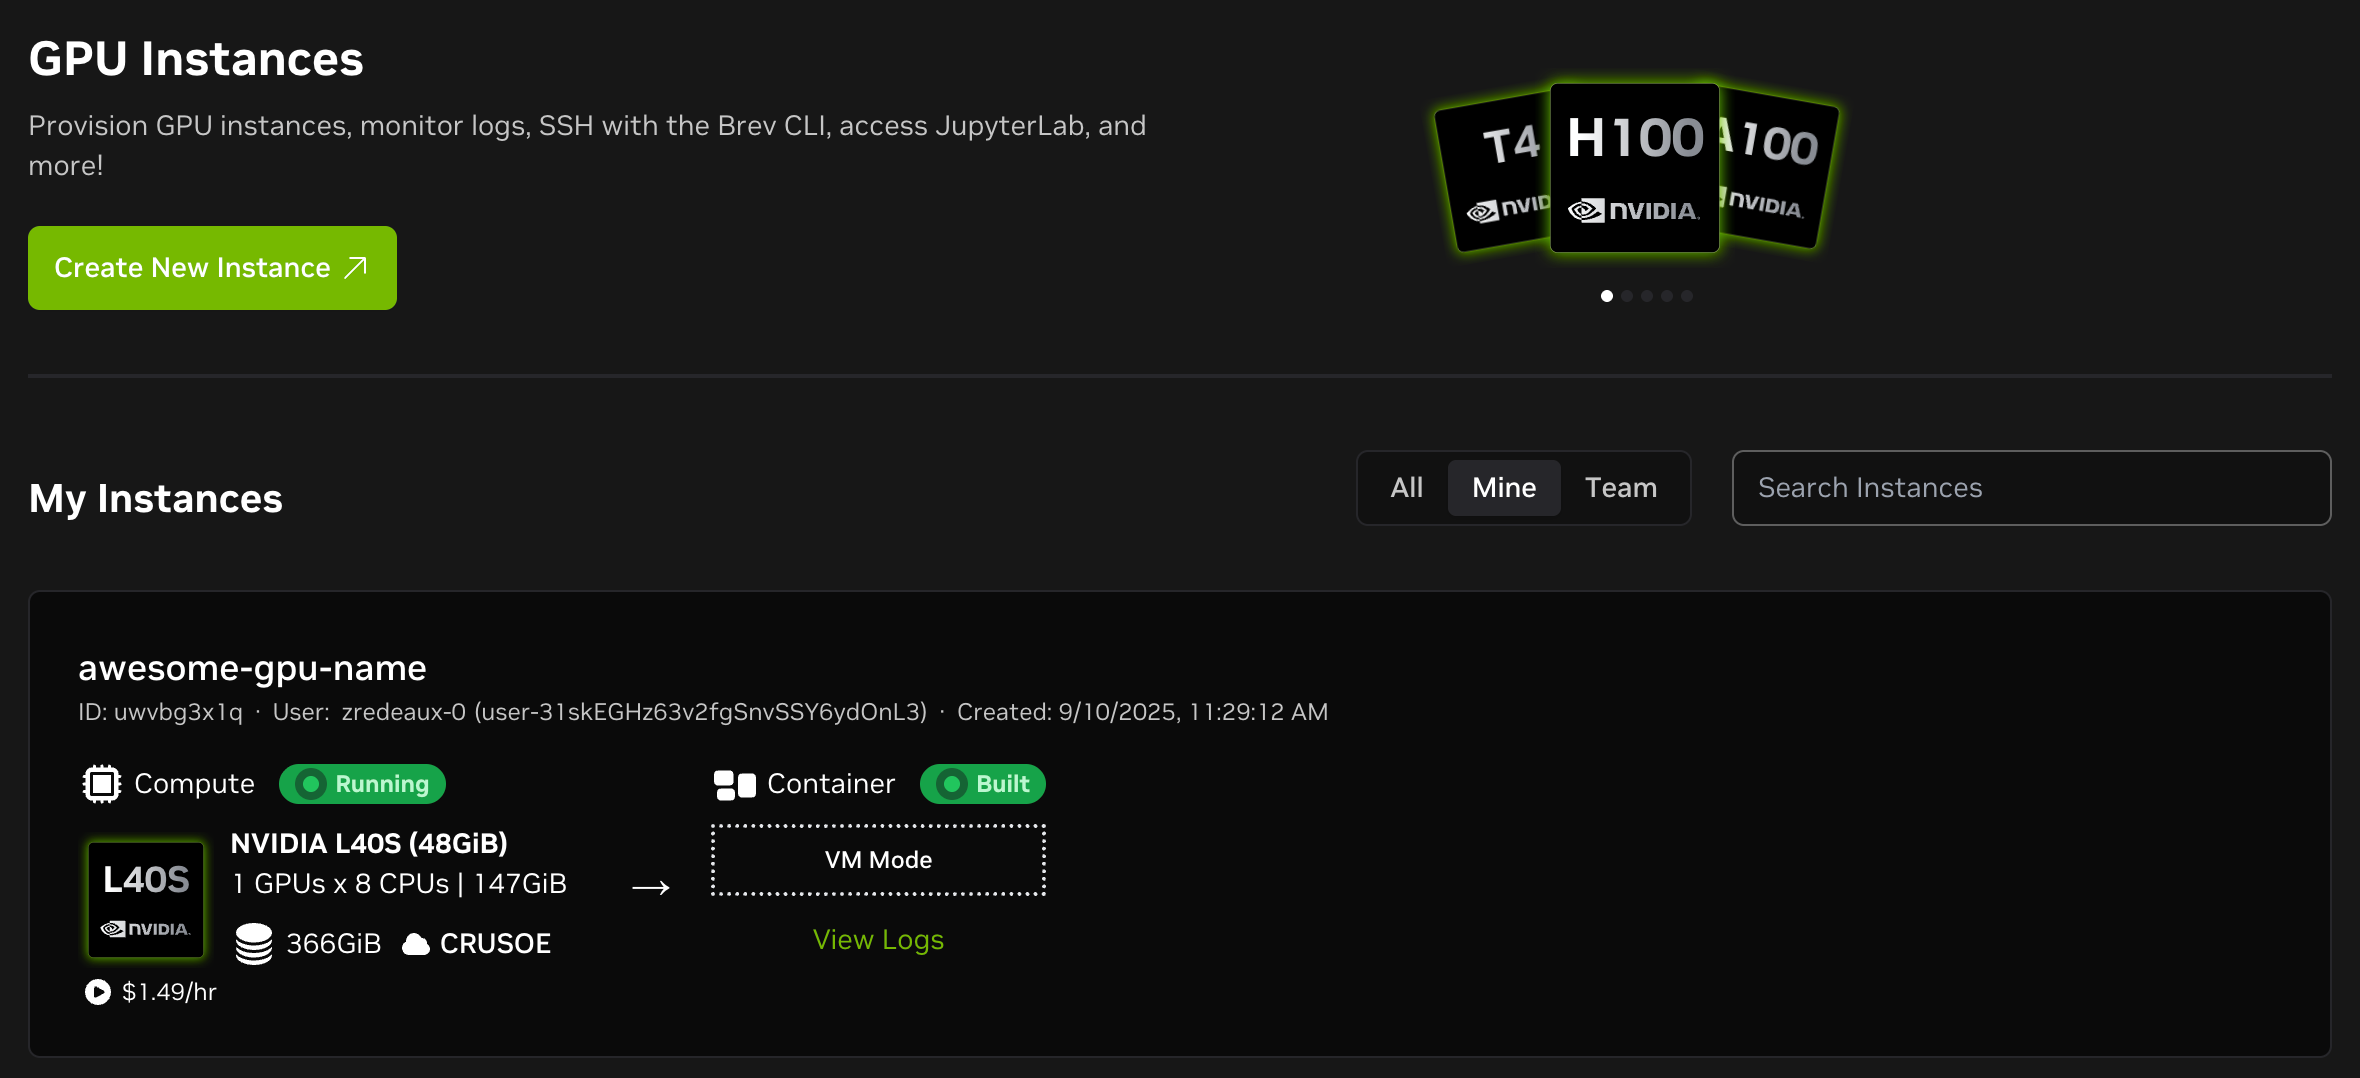
Create New Instance#
On the GPU Instances page, click Create New Instance. The Setup your Compute page displays.
Select Your Compute#
On the Select your Compute page, choose a GPU.
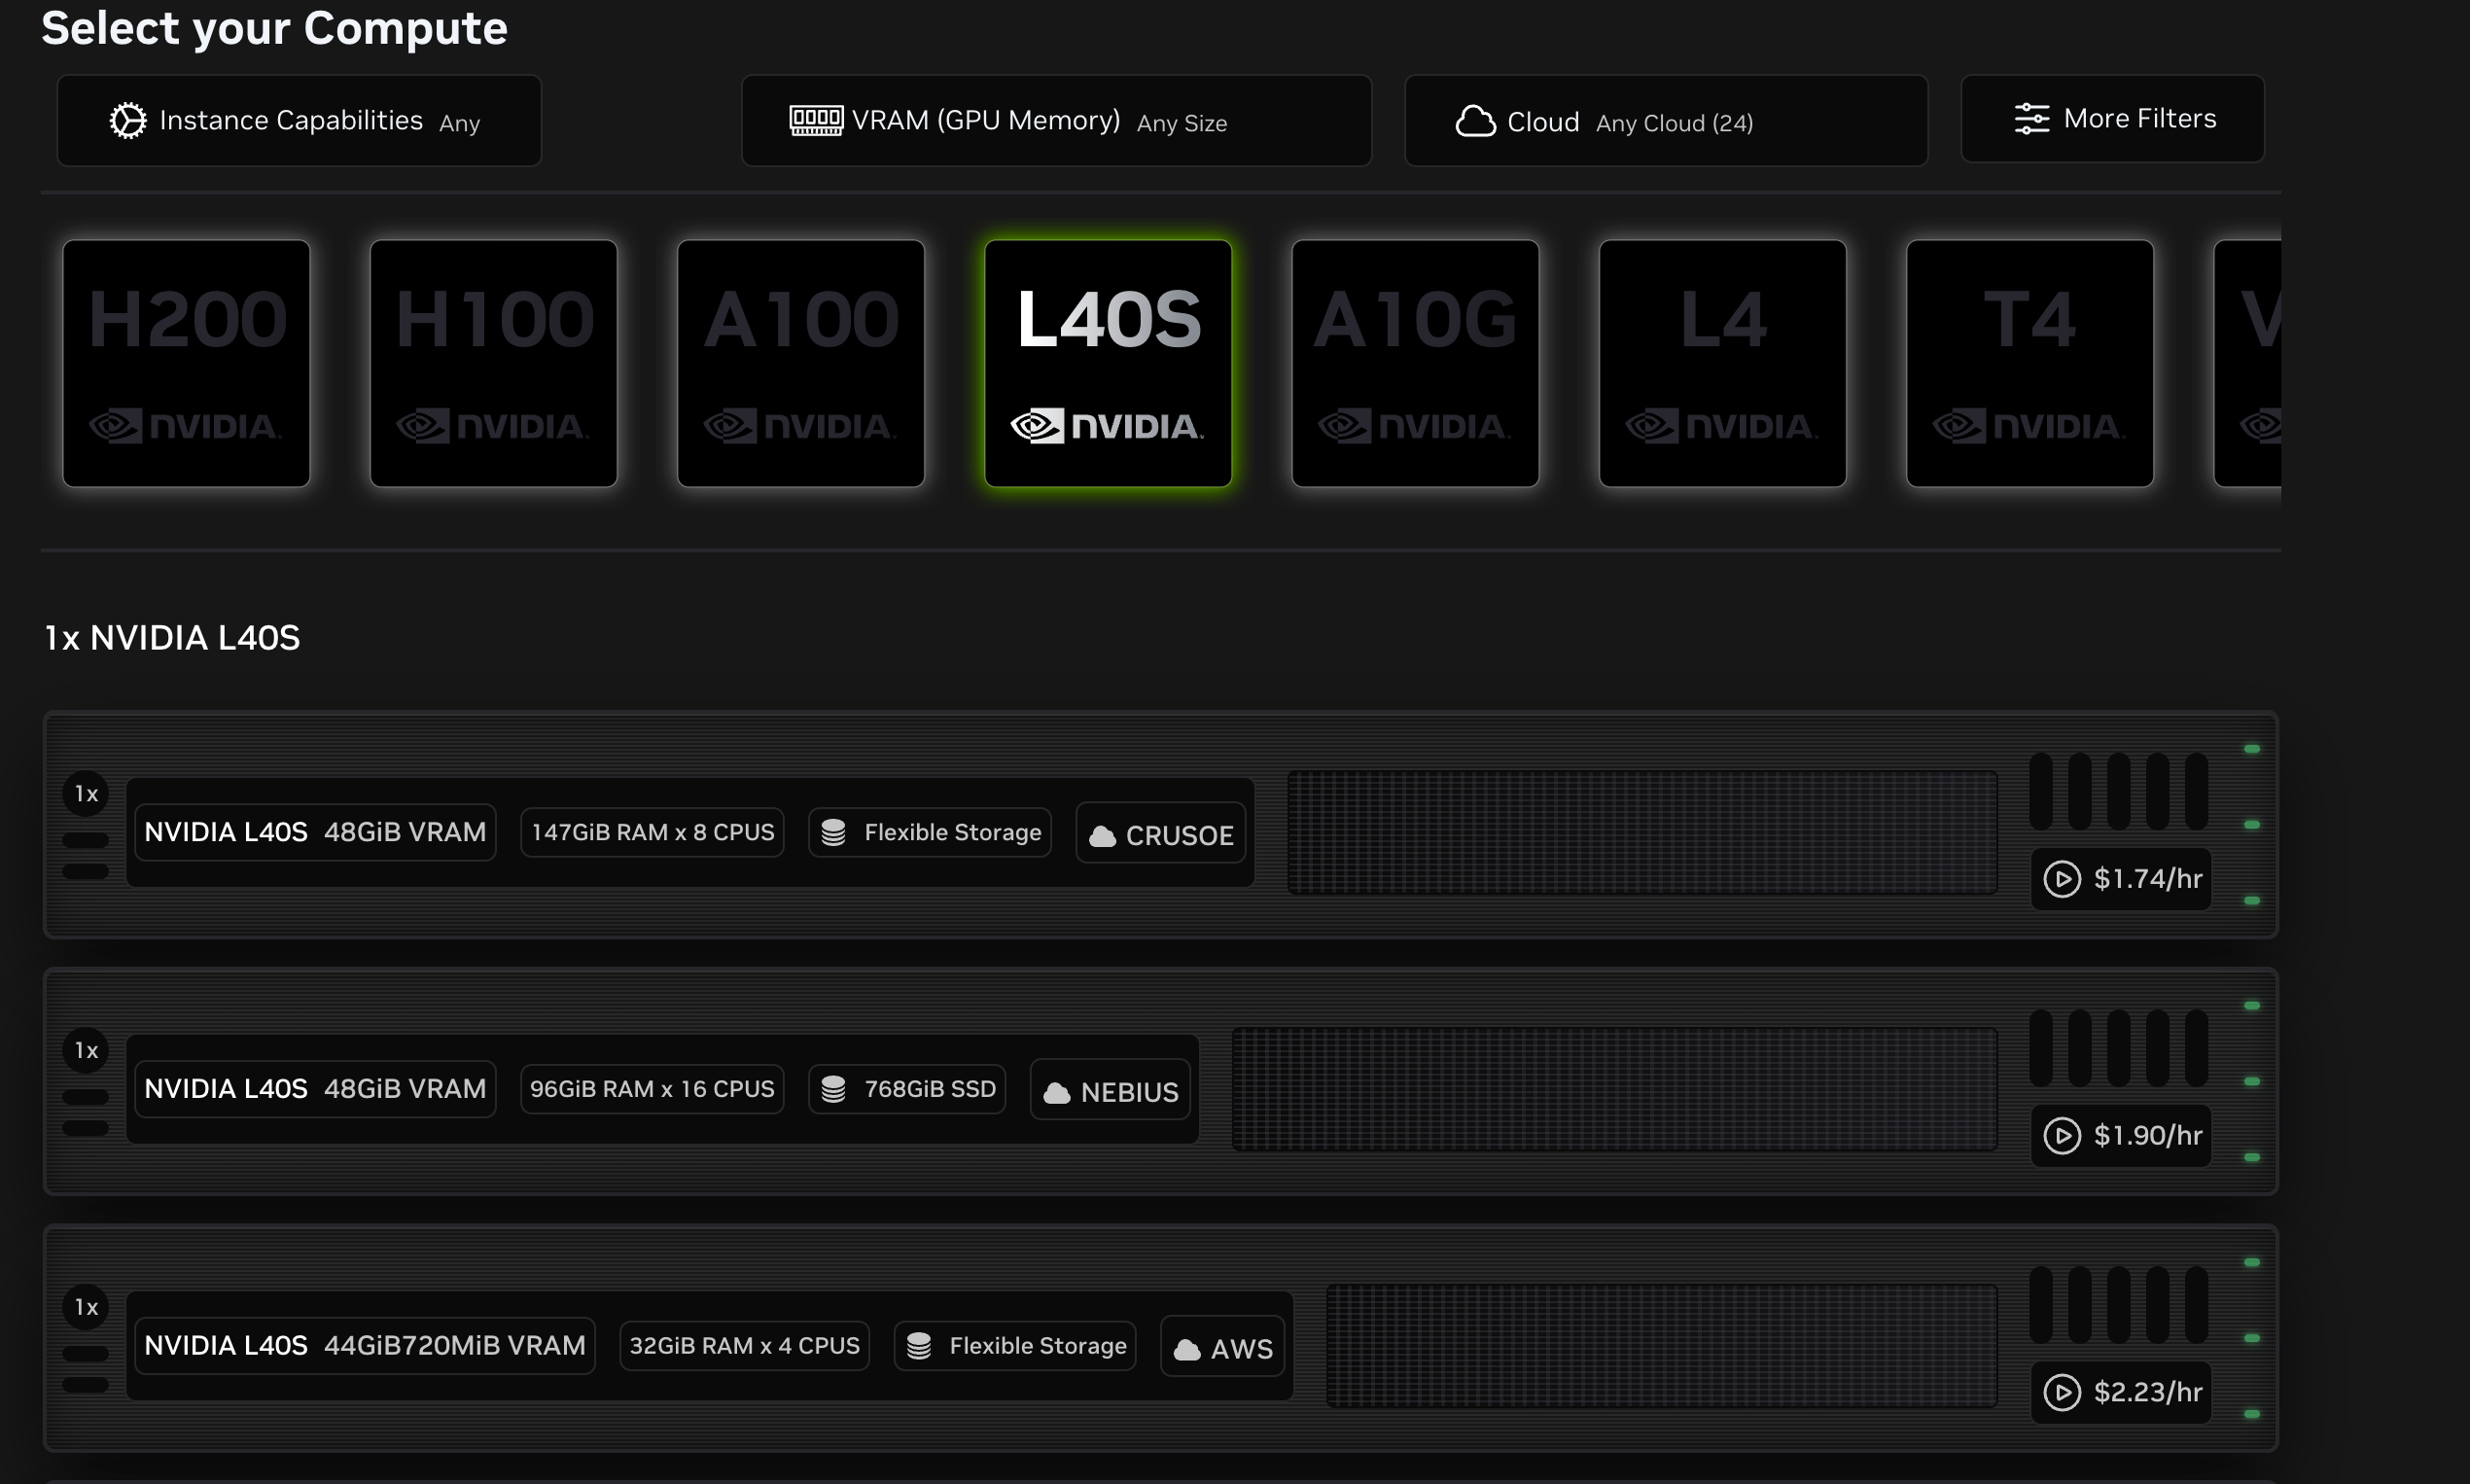
Select and click the configuration your want. The Configure and Deploy page displays.
Configure and Deploy#
In the Name Instance field, enter the name your new instance.
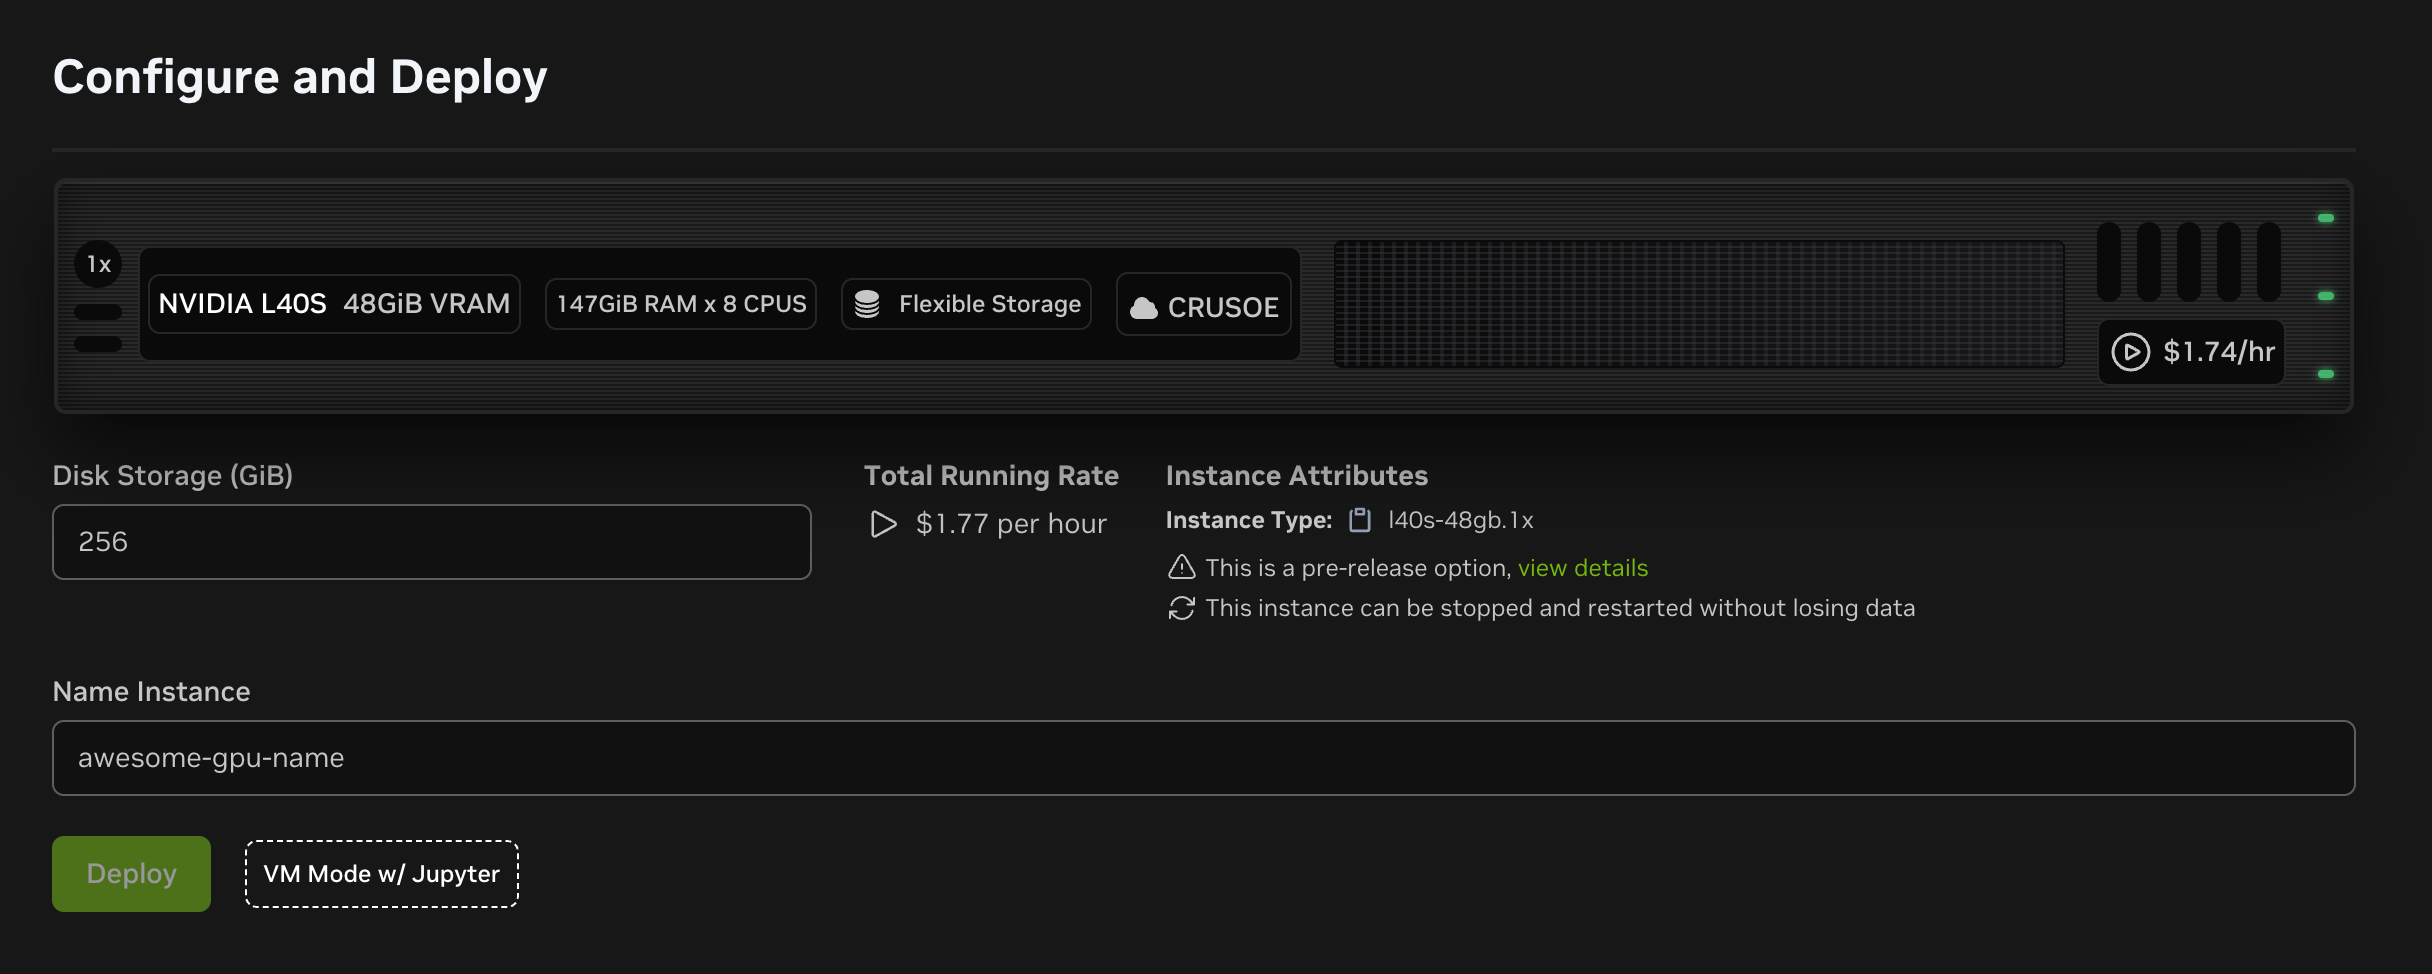
Click Deploy. The following deployment screen displays.
Next Steps#
To SSH directly into your dev instance enter the following:
brev shell stable-diffusion
or use VS Code to access your instance with:
brev open stable-diffusion