Kubernetes#
Update cm-setup to the latest version on the Headnode.
# yum update cm-setup.x86_64Run the cm-kubernetes-setup CLI wizard as the root user on the head node.
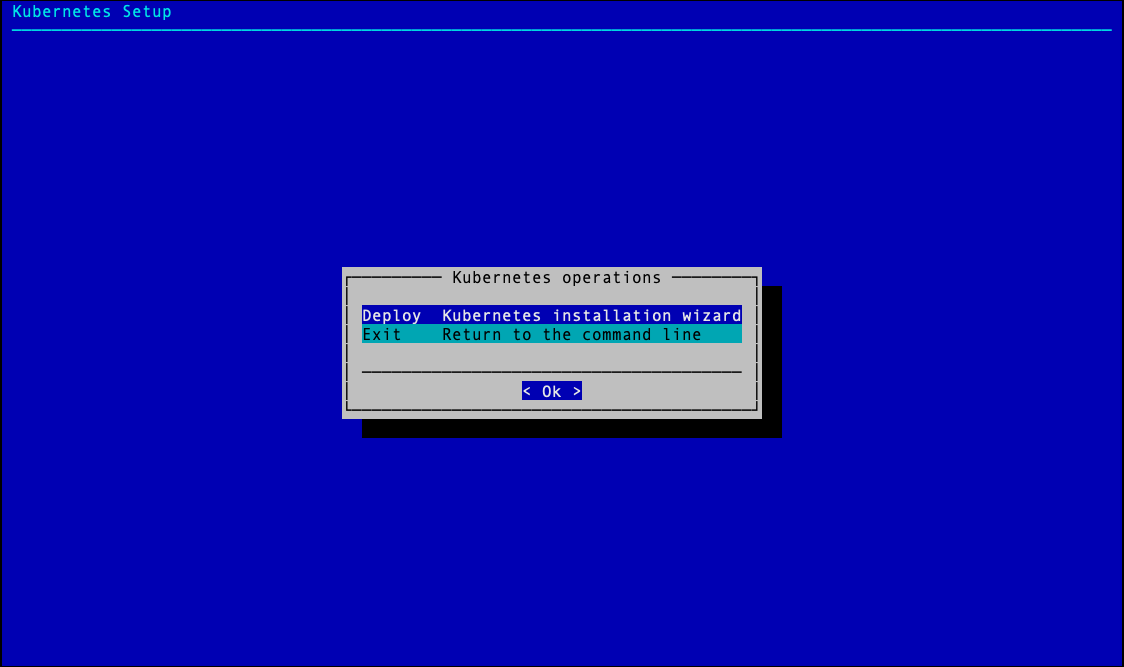
# cm-kubernetes-setupChoose Deploy to start the Kubernetes installation.
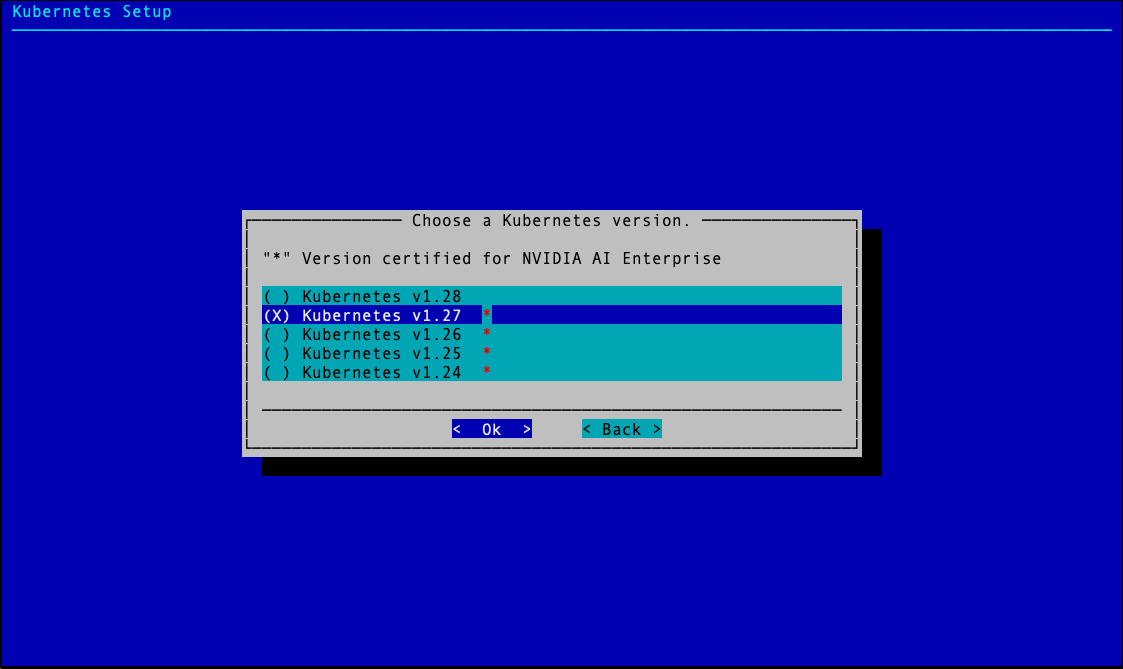
Select K8s version v.1.27 in the dialog that appears next, and select OK to continue.
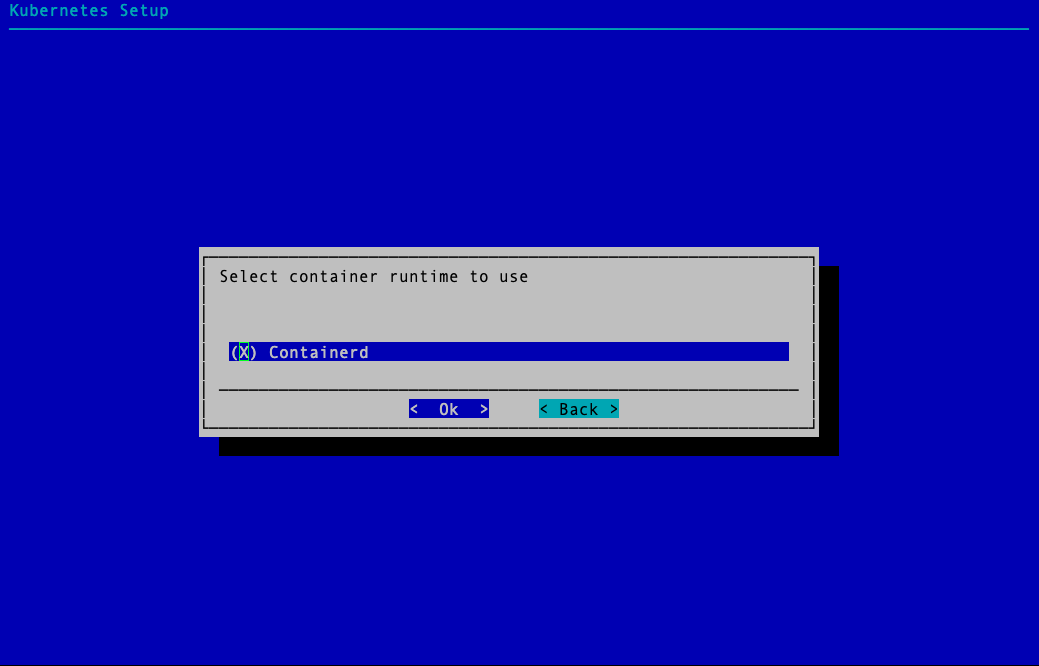
Select OK to confirm the Containerd container runtime.
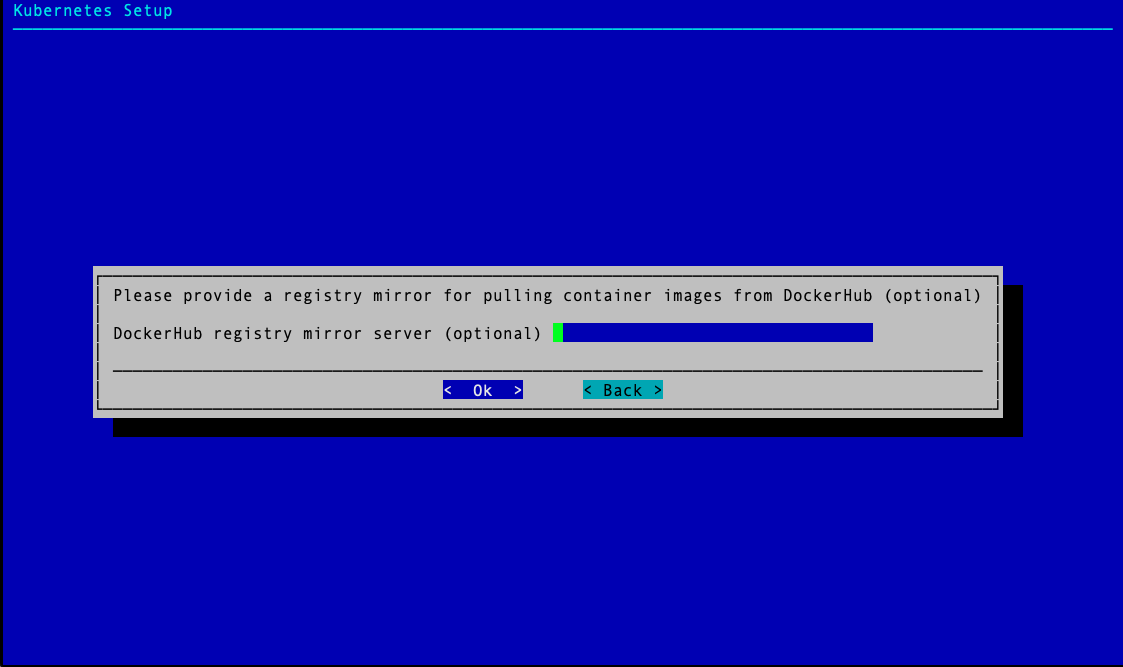
Fill in the optional DockerHub registry mirror endpoint if necessary – otherwise, select OK to continue.
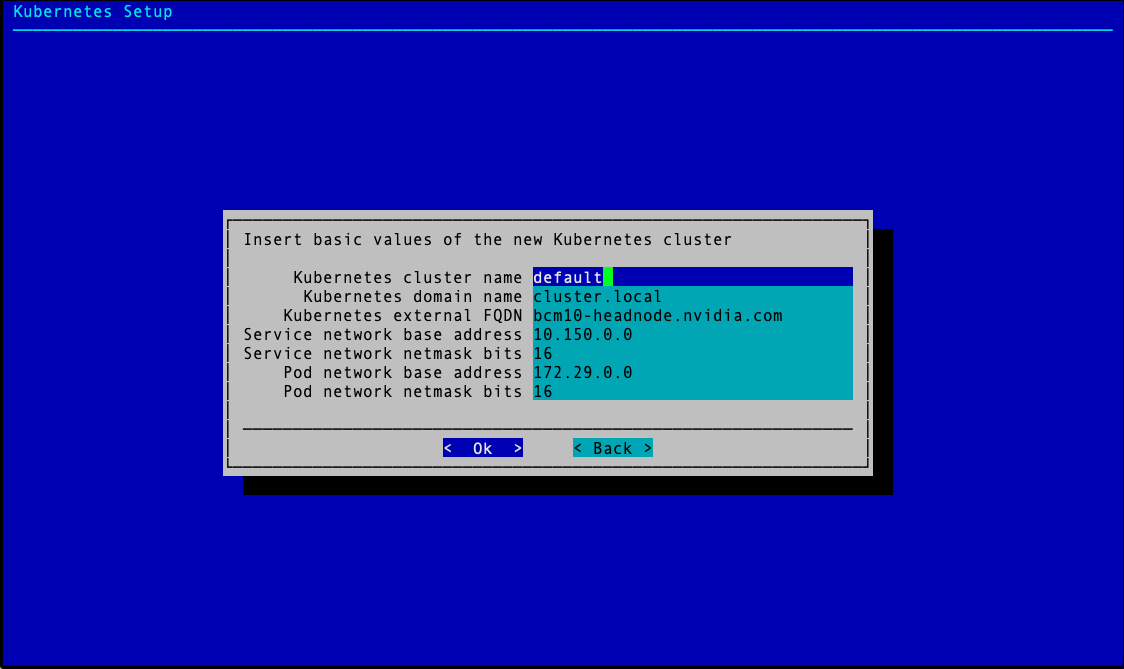
Accept the default settings for this K8s cluster – to match the naming chosen for this guide, change the Kubernetes cluster name to onprem.
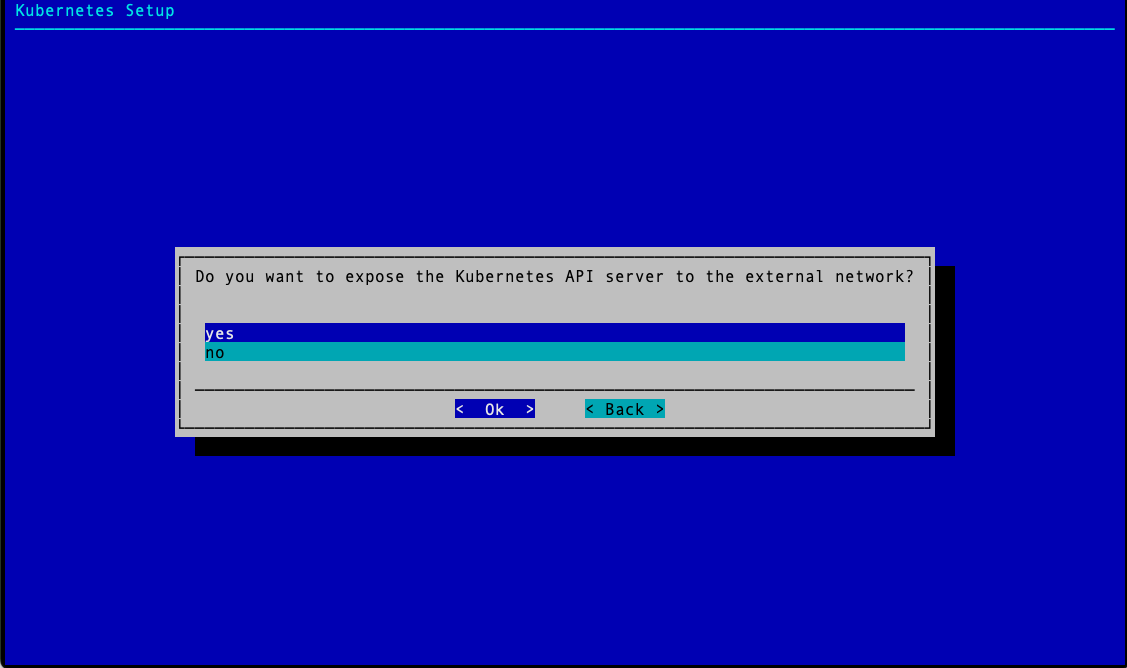
- Select yes to expose the K8s API server on the head node.
This allows users to use the K8s cluster from the head node.
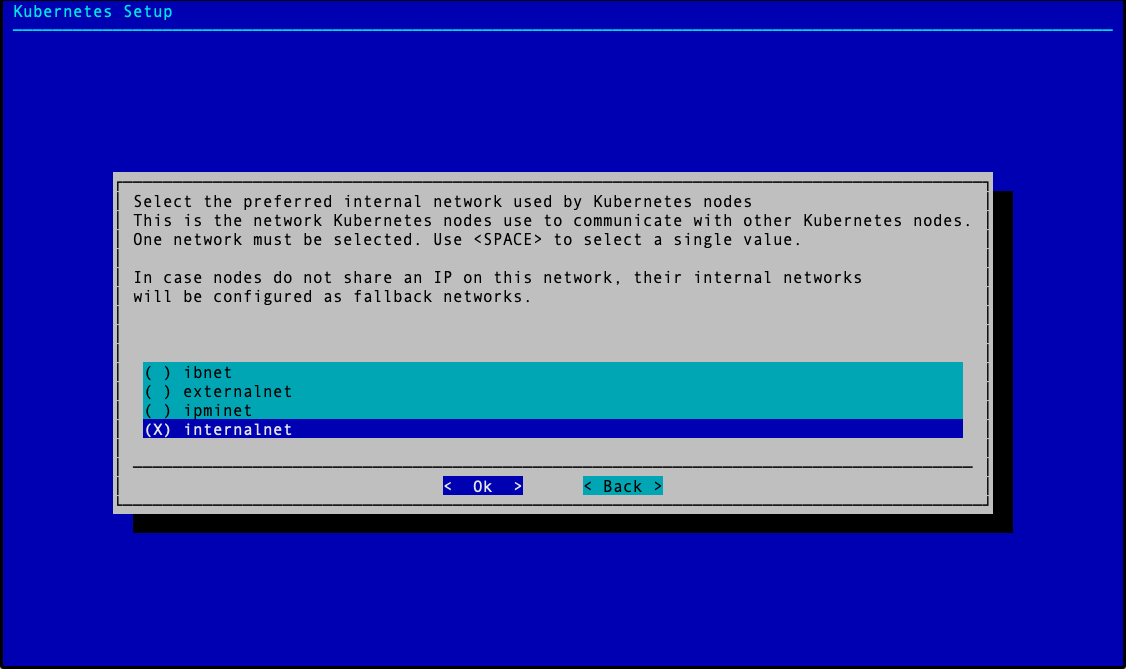
Select internalnet since the K8s master nodes and the DGX nodes, which are the K8s worker nodes, are all connected on internalnet.
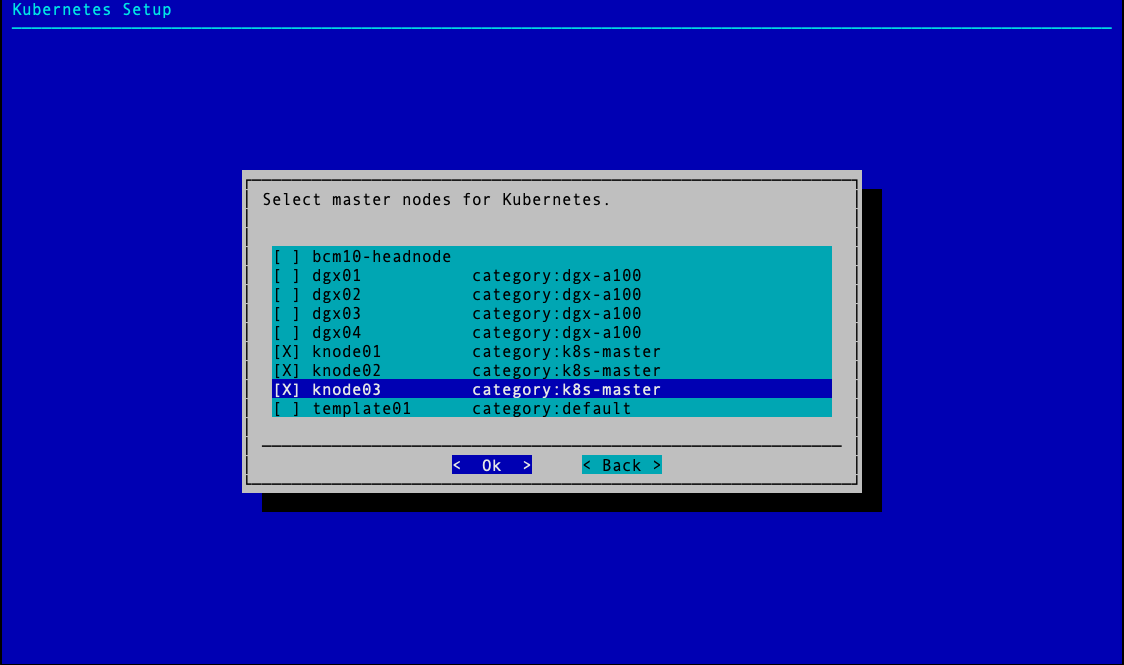
Select all three K8s control plane nodes: knode01, knode02, and knode03.
Select dgx-a100 for the worker node category.

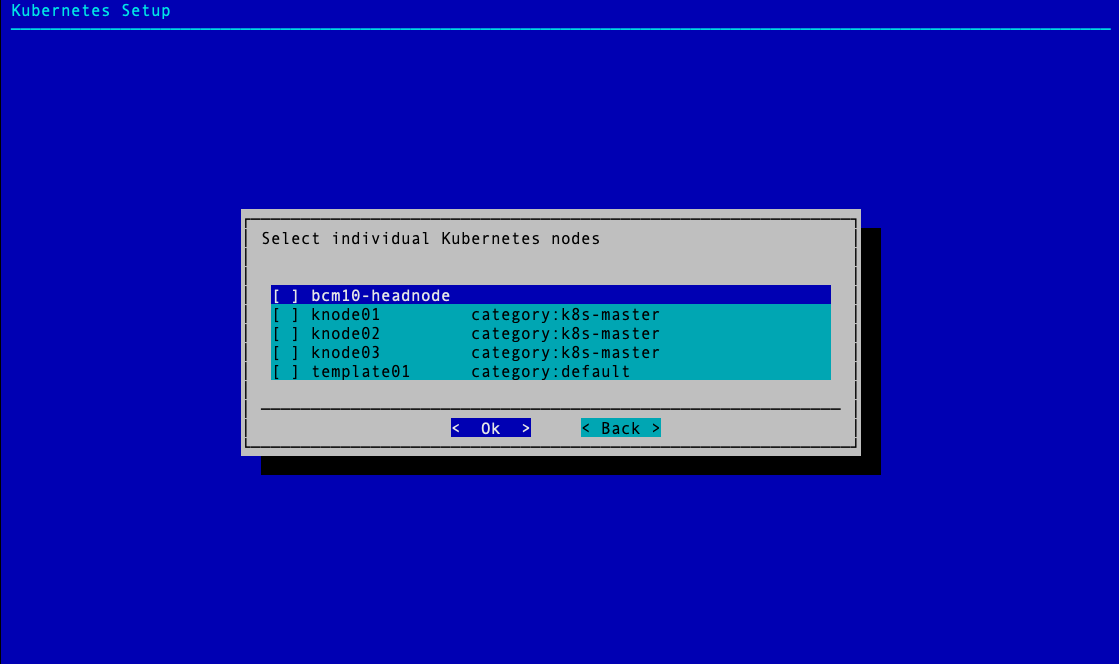
Do not select any individual Kubernetes nodes, and select OK to continue.
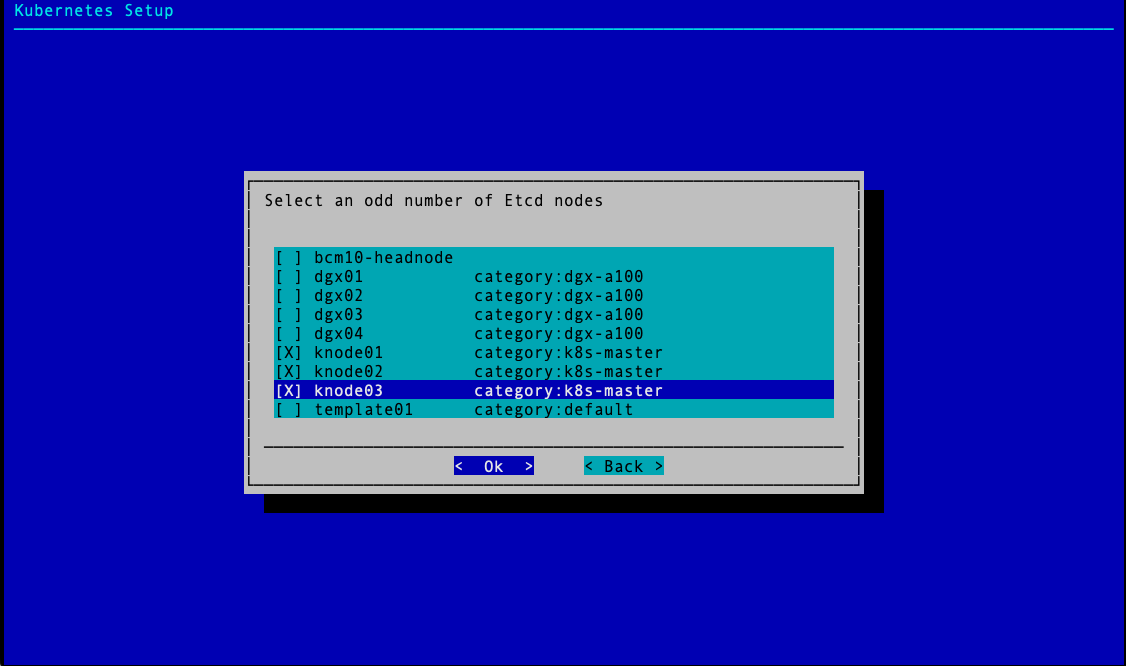
Select all three K8s control plane nodes: knode01, knode02, and knode03 for the Etcd nodes.
Accept the default values for the main Kubernetes components unless the organization requires specific ports.

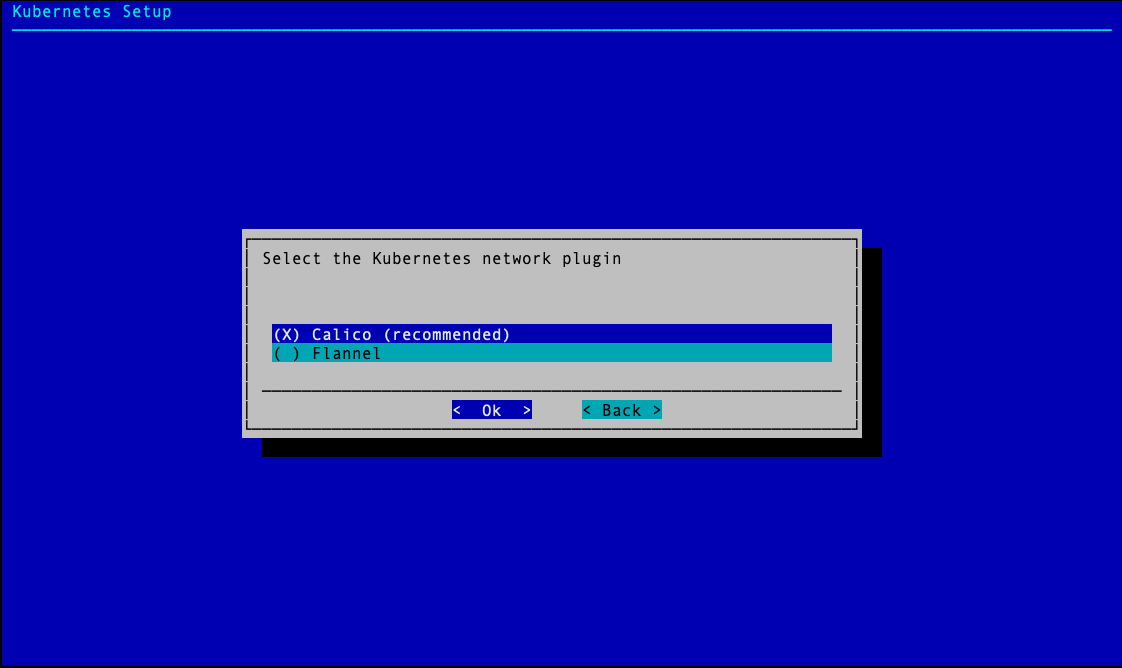
Select the Calico network plugin when prompted.
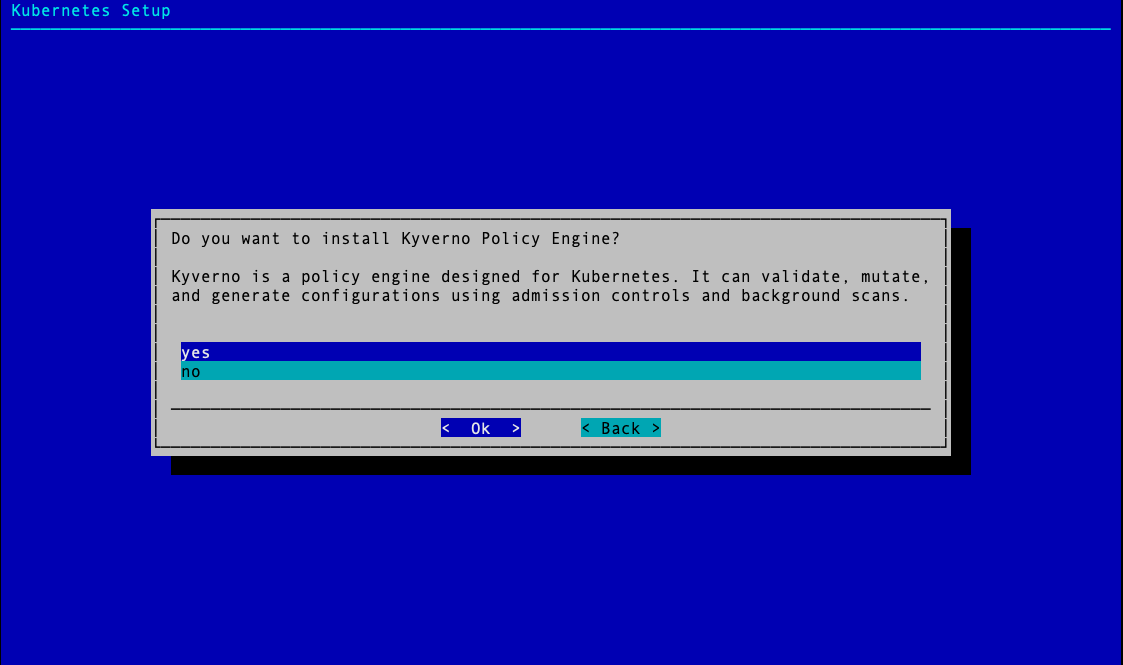
Choose yes to install the Kyverno policy engine and then select OK.
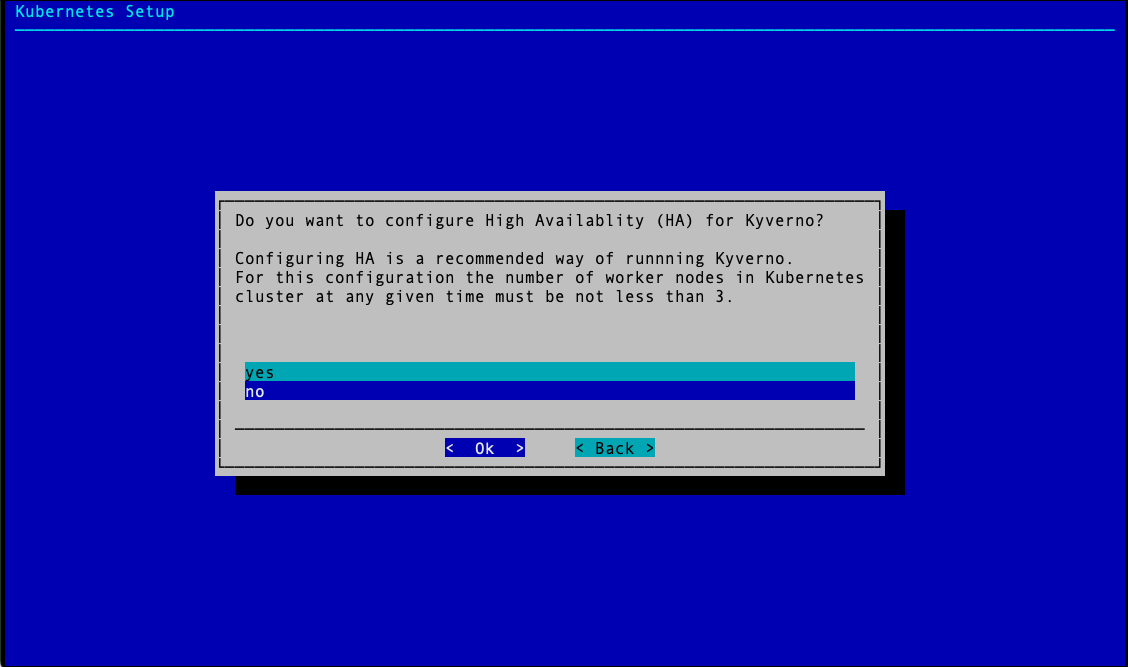
Choose no to decline to configure HA for Kyverno and then select OK.
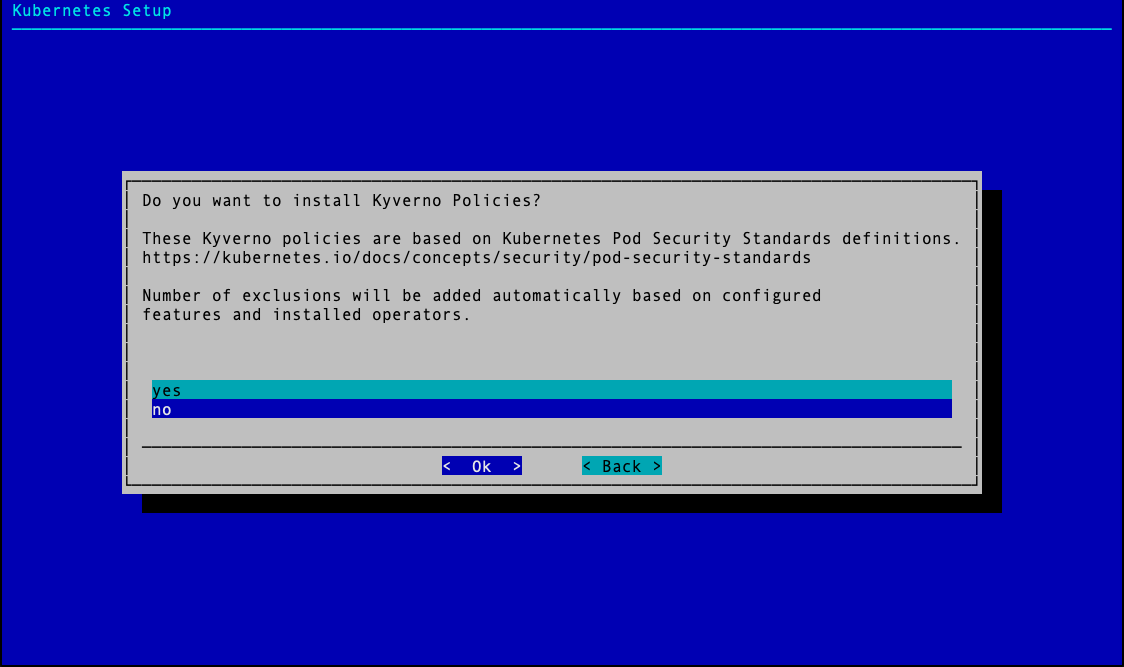
Choose whether to install Kyverno Policies and then select OK.
Unless required for the configuration, choose no.
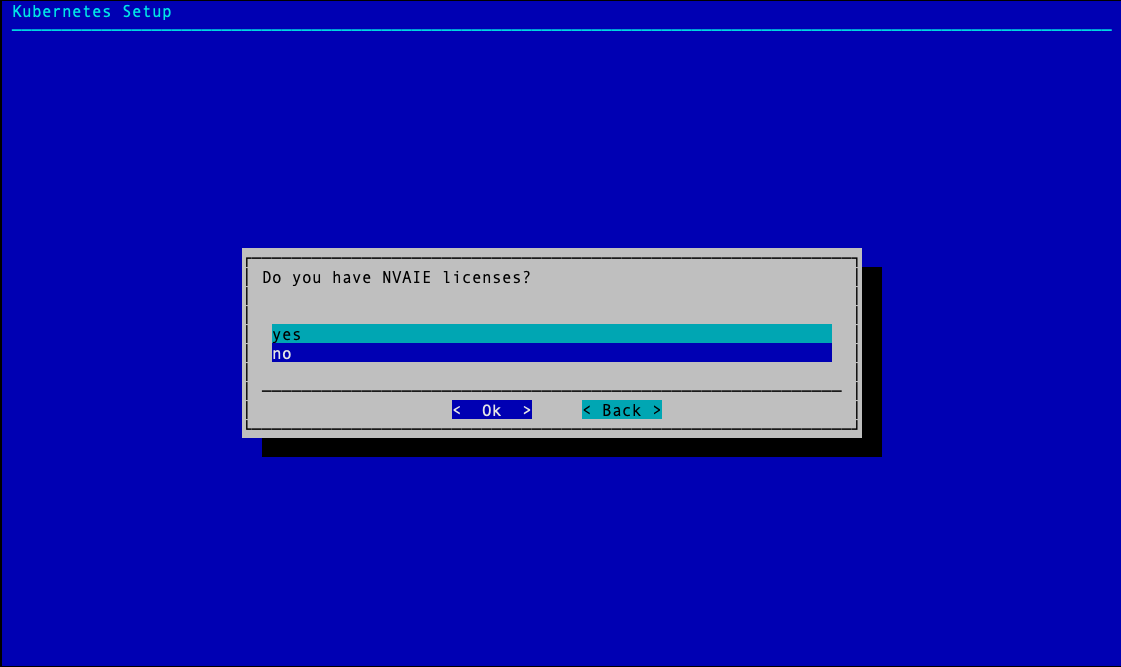
Select no when prompted about an NVAIE License.
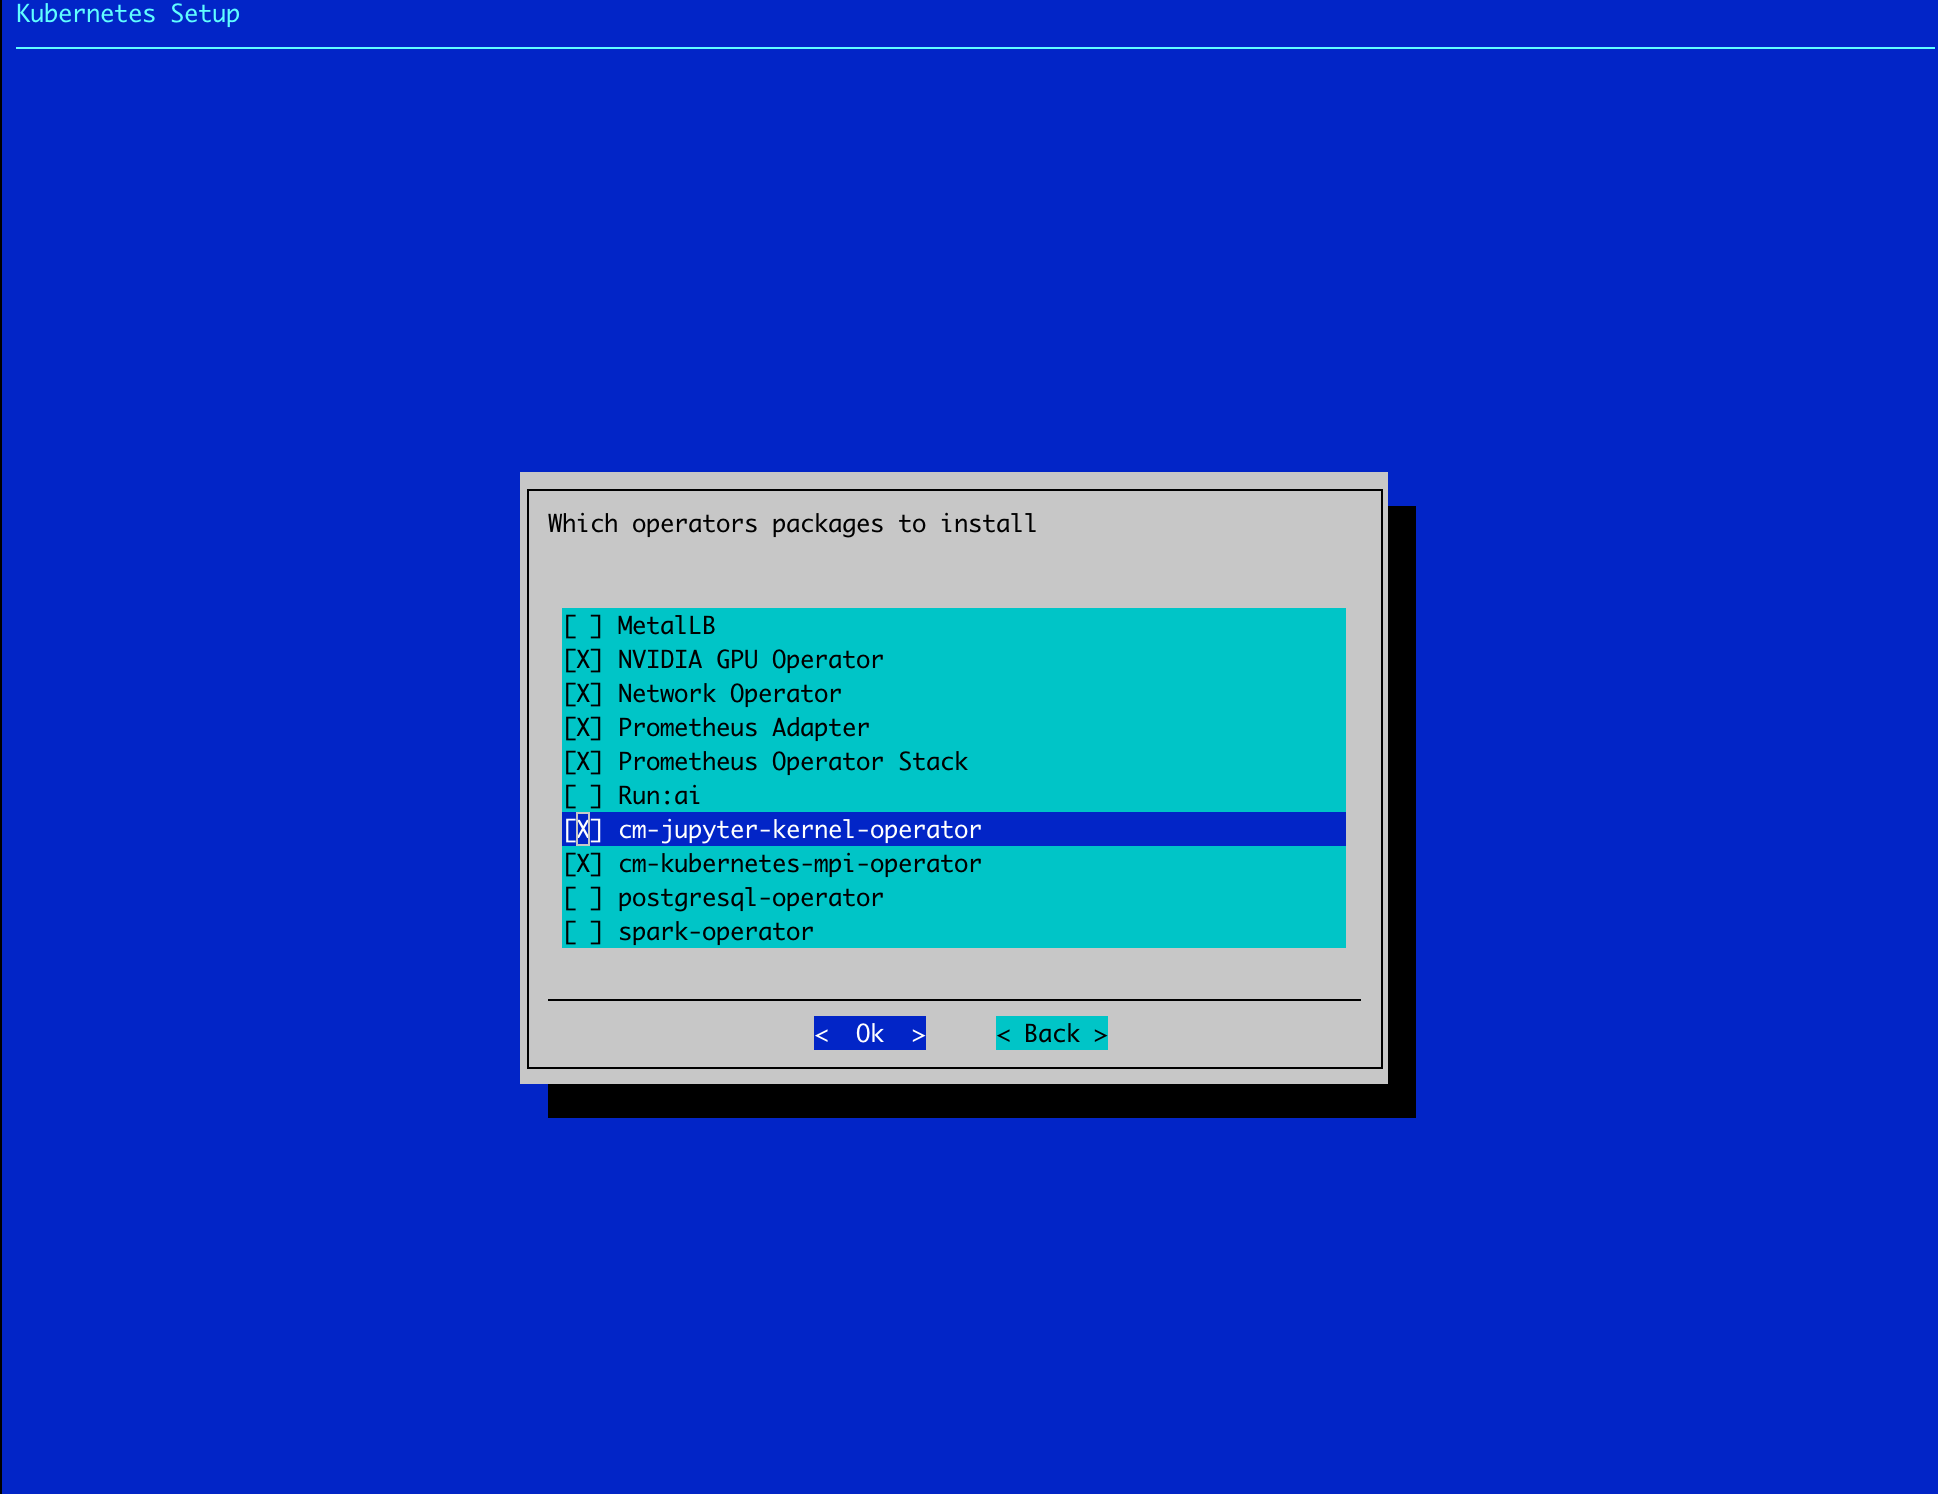
Select the following operators: NVIDIA GPU Operator, Network Operator, Prometheus Adapter, Prometheus Operator Stack, cm-jupyter-kernel-operator, and the cm-kubernetes-mpi-operator to install.
Choose the GPU Operator version.
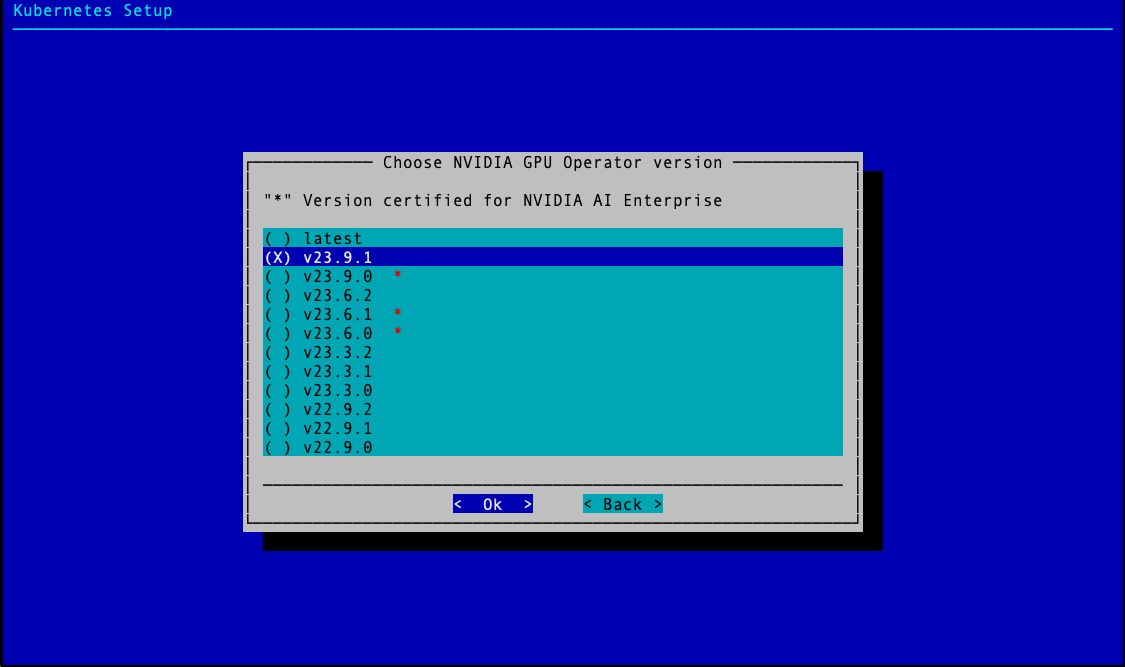
Choose the GPU Operator version.
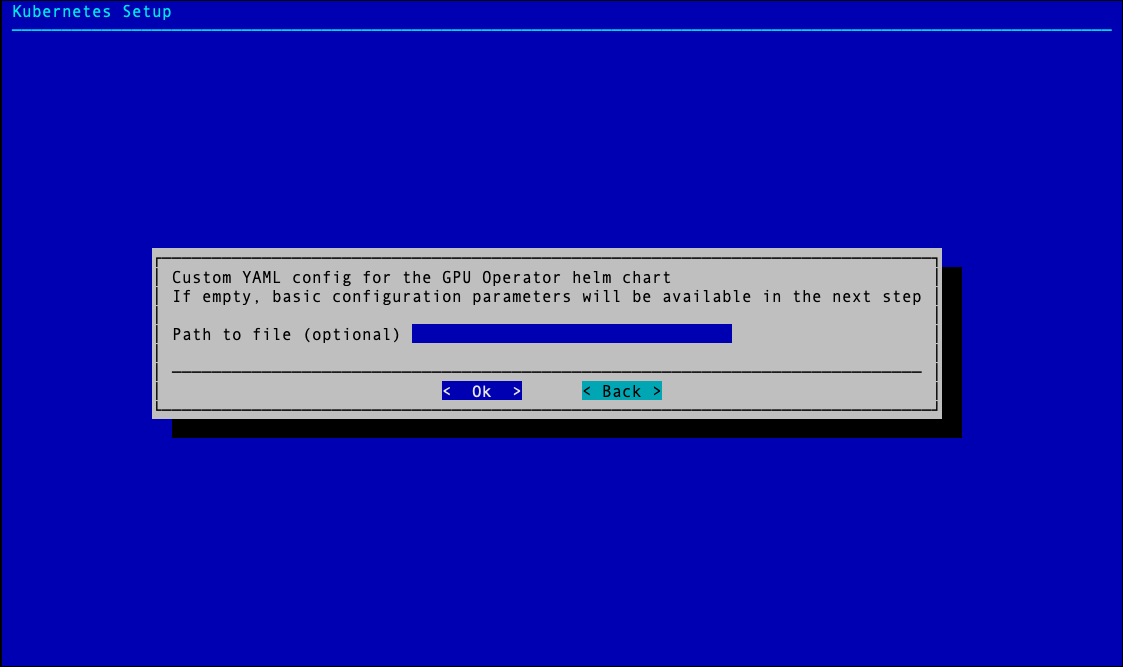
Skip the optional YAML config for the GPU Operator helm chart.
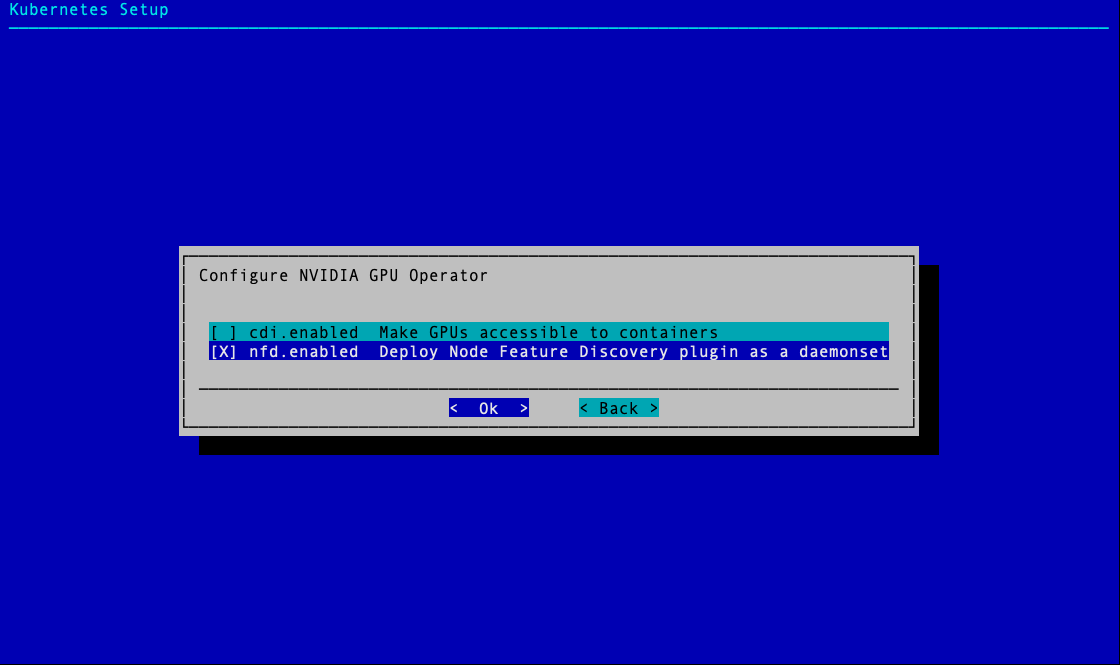
Choose nfd.enable for the NVIDIA GPU Operator.
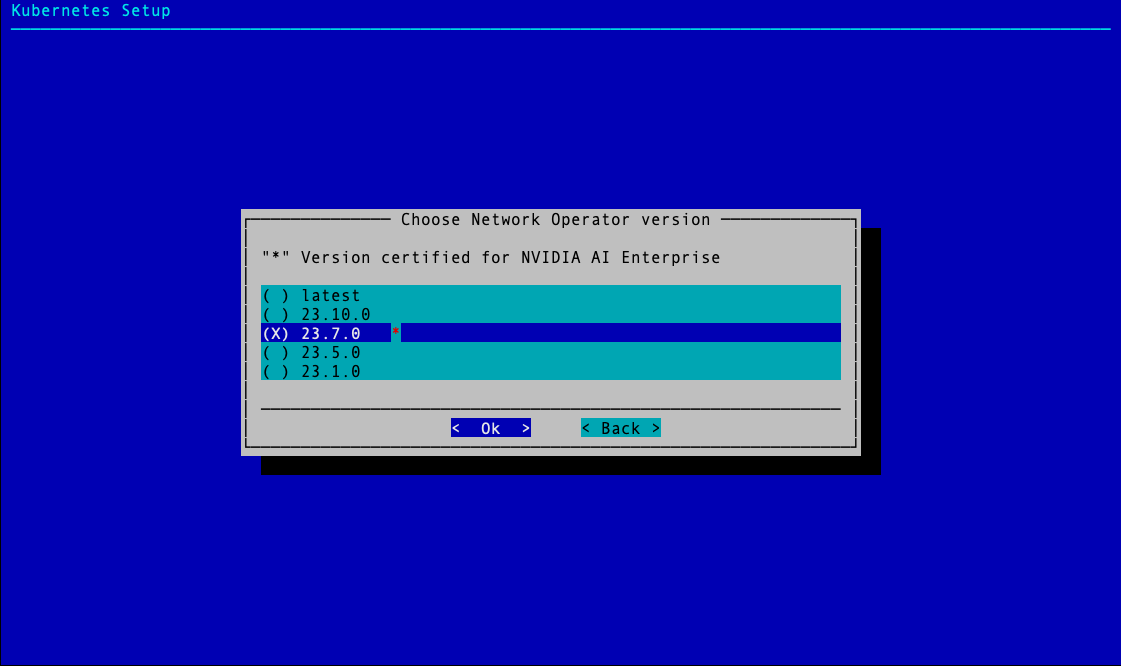
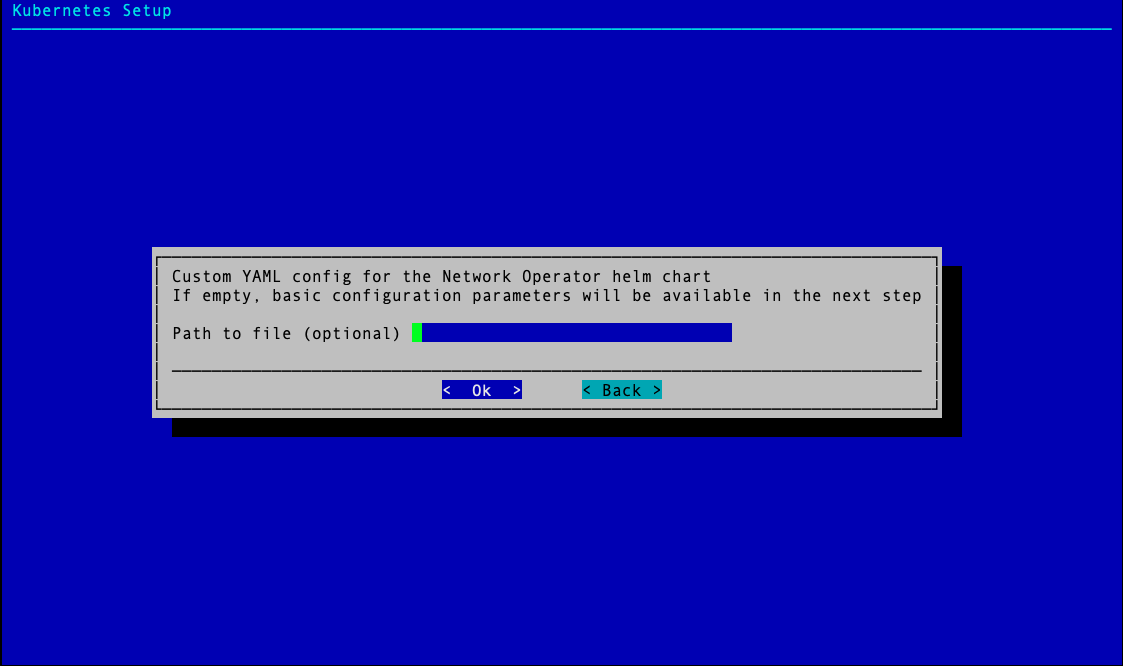
Do not include a YAML file for the Network Operator.
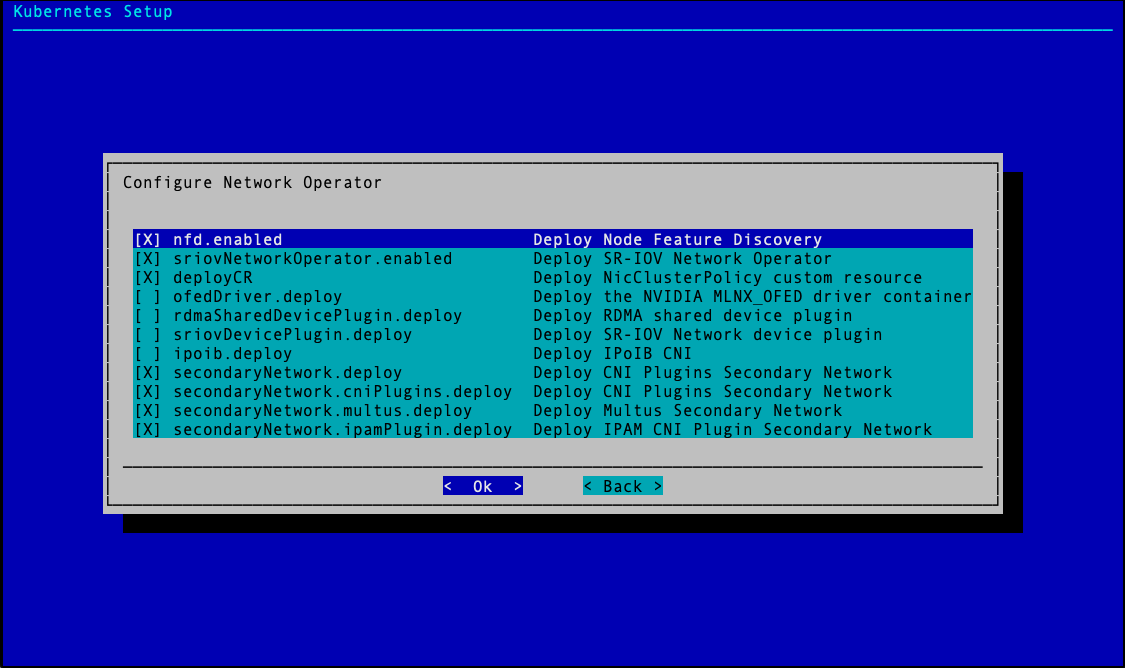
Configure the Network Operator by selecting nfs.enabled, sriovNetworkOperator.enabled, deployCR, secondaryNetwork.deploy, secondaryNetwork.cniPlugins.deploy, secondaryNetwork.multus.deploy, and secondaryNetwork.ipamPlugin.deploy.
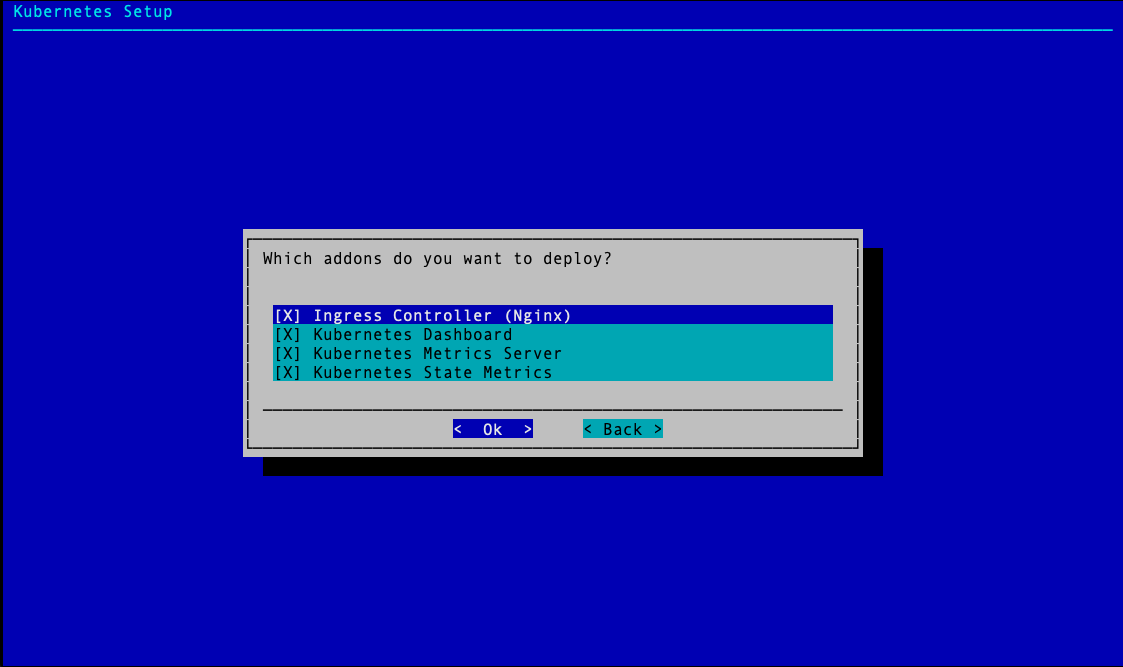
Select the Ingress Controller (Nginx), Kubernetes Dashboard, Kubernetes Metrics Server, and Kubernetes State Metrics to deploy.
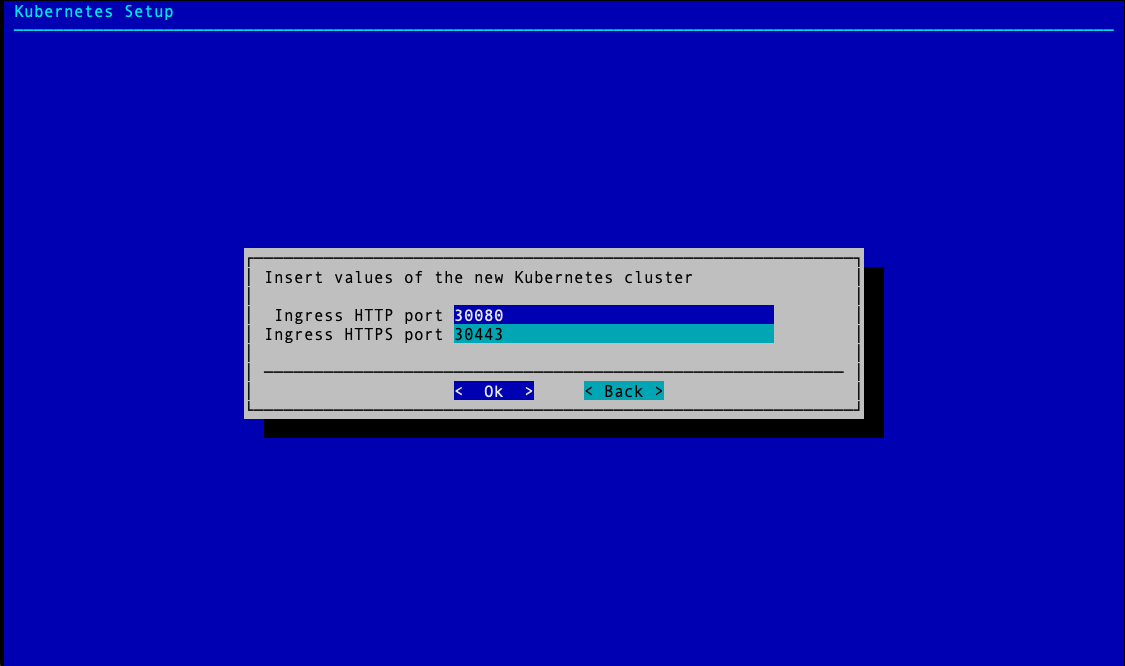
Select the defaults unless specific ingress ports are to be used.
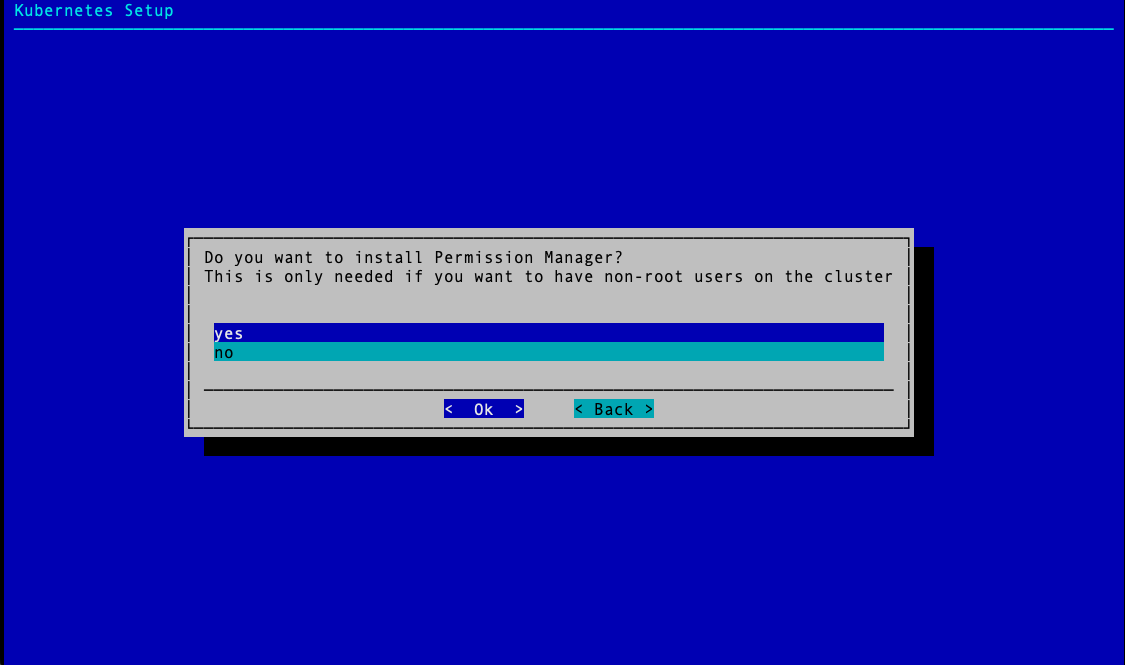
Select yes to deploy the Permission Manager.
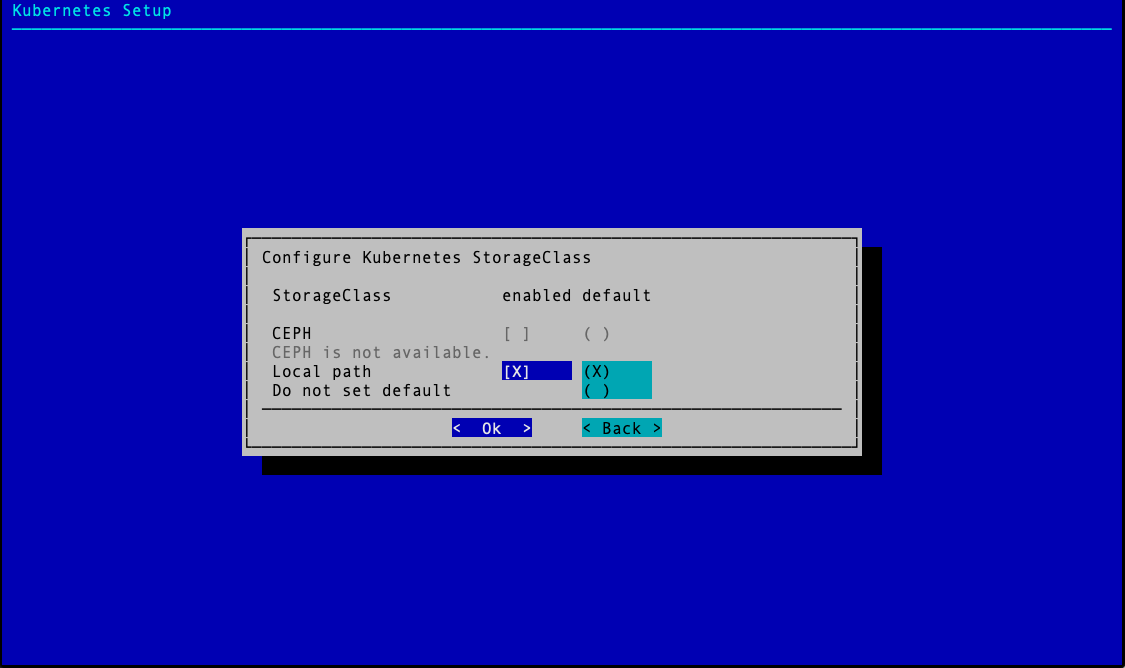
Select both enabled and default for the Local path storage class.
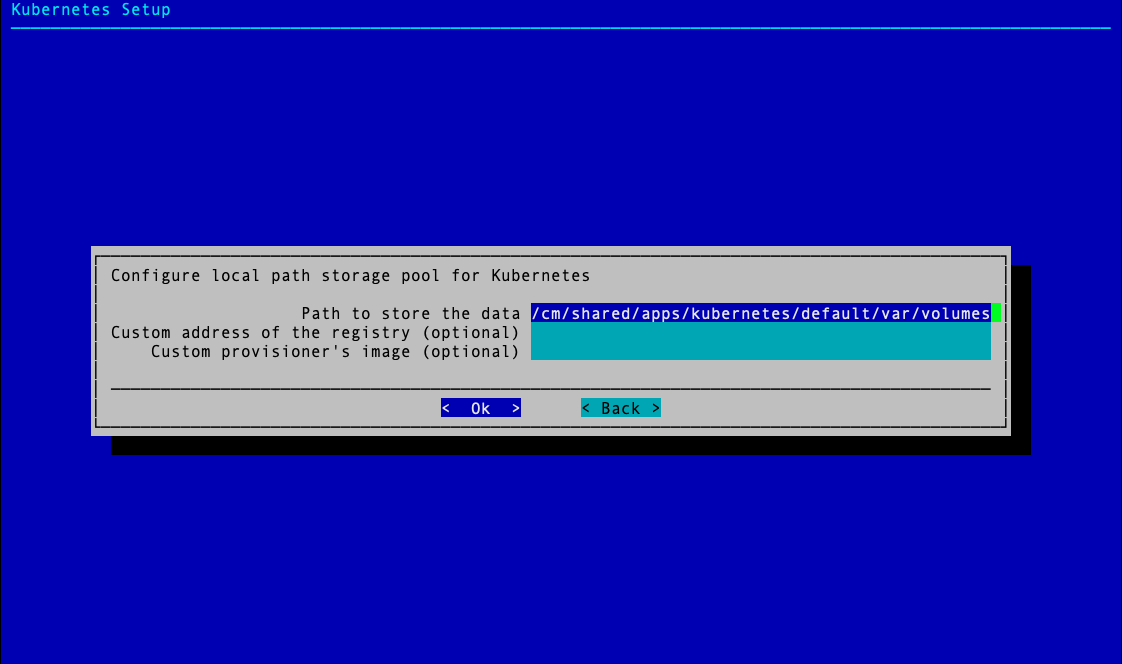
Accept the default data storage path and leave the other two fields blank, which is the default.
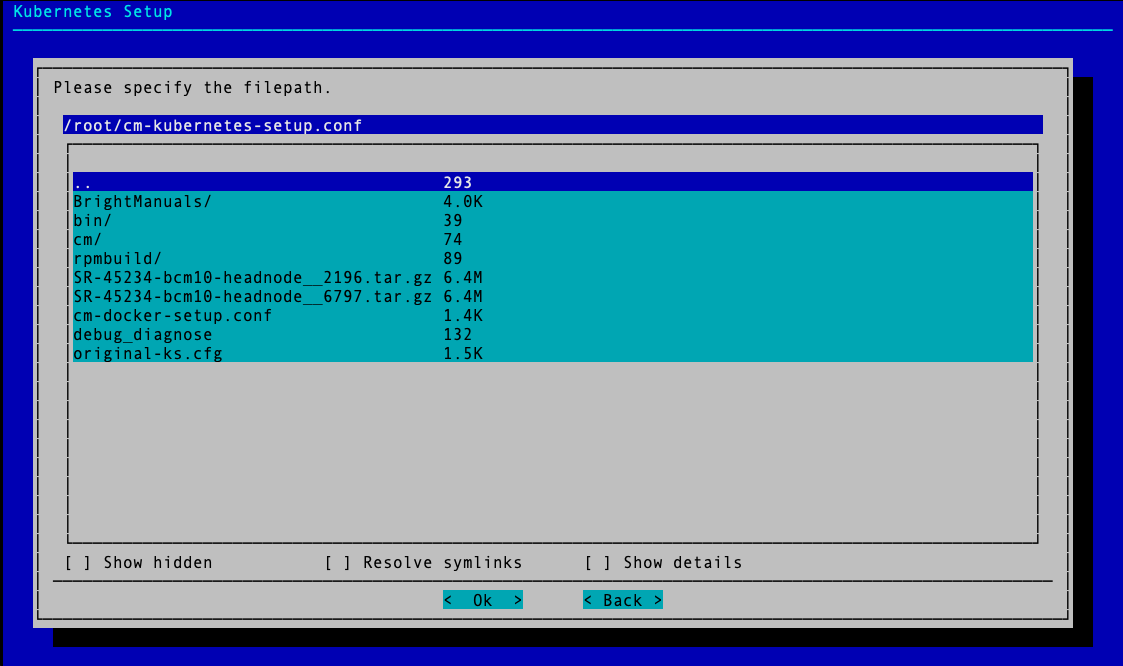
Select Save config & deploy.
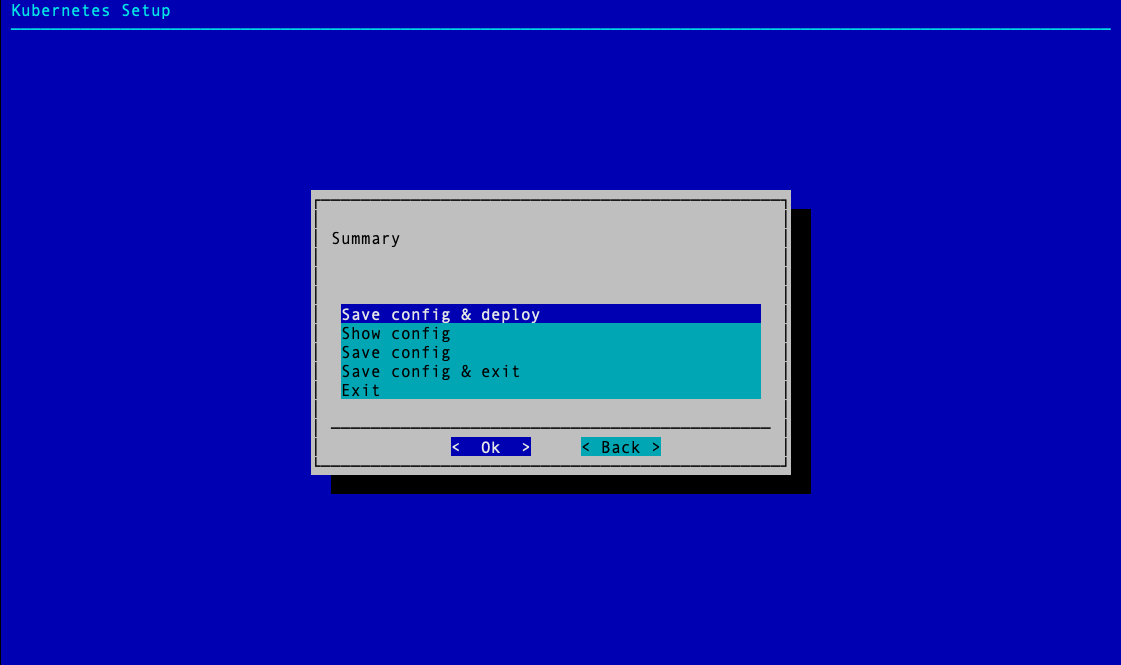
Change the filepath to /root/cm-kubernetes-setup-onprem.conf and select OK.
This file can be used to redeploy K8s or copied and modified to deploy additional K8s clusters. W ait for the installation to finish.
Verify that the K8s cluster is installed properly.
 1# module load kubernetes/default/
 2# kubectl cluster-info
 3Kubernetes control plane is running at https://127.0.0.1:10443
 4CoreDNS is running at https://127.0.0.1:10443/api/v1/namespaces/kube-system/services/kube-dns:dns/proxy
 5
 6To further debug and diagnose cluster problems, use 'kubectl cluster-info dump'.
 7
 8# kubectl get nodes
 9NAME      STATUS   ROLES                  AGE     VERSION
10dgx01     Ready    worker                 7m36s   v1.27.11
11dgx02     Ready    worker                 7m37s   v1.27.11
12dgx03     Ready    worker                 7m36s   v1.27.11
13dgx04     Ready    worker                 7m37s   v1.27.11
14knode01   Ready    control-plane,master   7m59s   v1.27.11
15knode02   Ready    control-plane,master   7m26s   v1.27.11
16knode03   Ready    control-plane,master   7m25s   v1.27.11
Here, you can also verify the NVIDIA software has been successfully installed.
1# ssh dgx01
2# nvidia-smi
3# nvsm show health
4# dcgmi discovery -l