Cluster Extension Configuration#
With images and categories prepared, the environment is now ready for AWS integration and initial configuration. The AWS integration will be accomplished using the cmcluster-extension command.
Create an AWS IAM group with an appropriate policy for a user account to integrate into the BCM on-premises head node.
To create a minimum viable policy set, refer to this Bright Knowledge Base article.
Assign the policy to the target group and provision a new user in that group. Create a new access key and associated secret access key for that user for use with Bright. Securely document the access key and secret access key for use in this section.
Run the cm-cluster-extension command to get started.
cm-cluster-extension
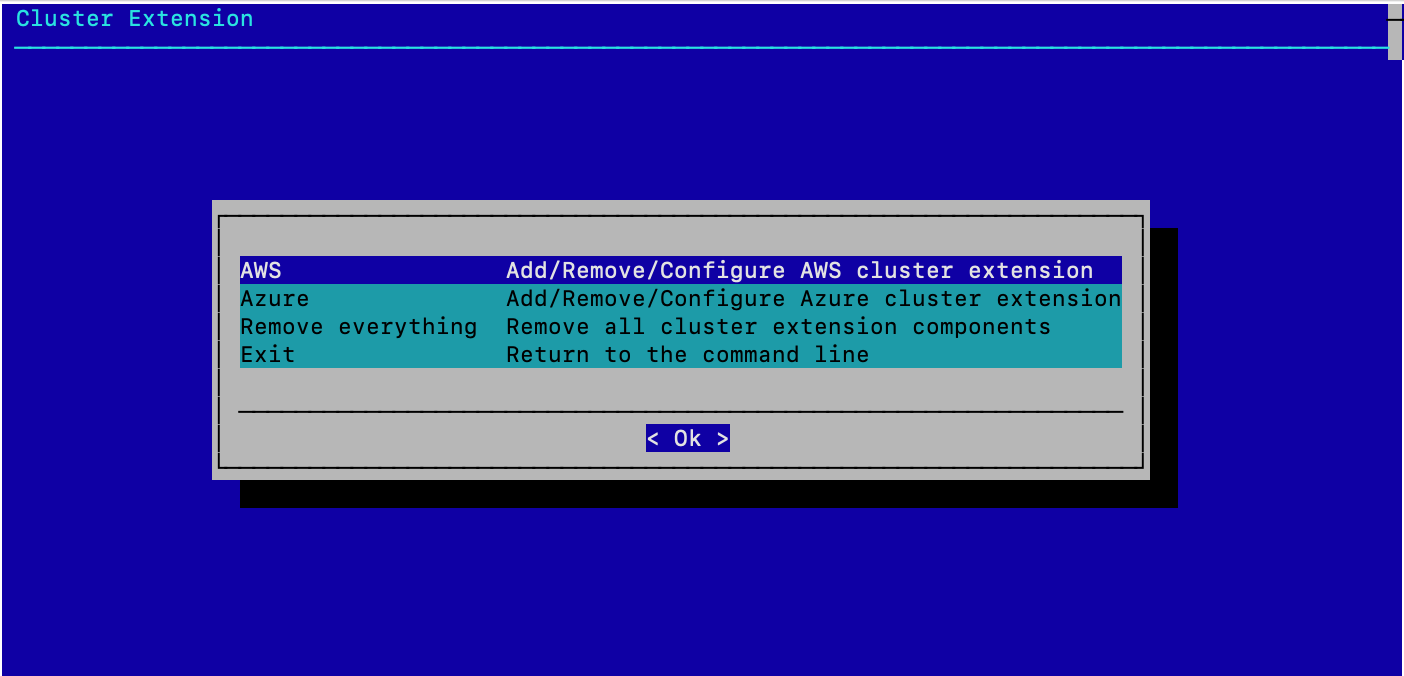
Choose the AWS extension and then select Ok.
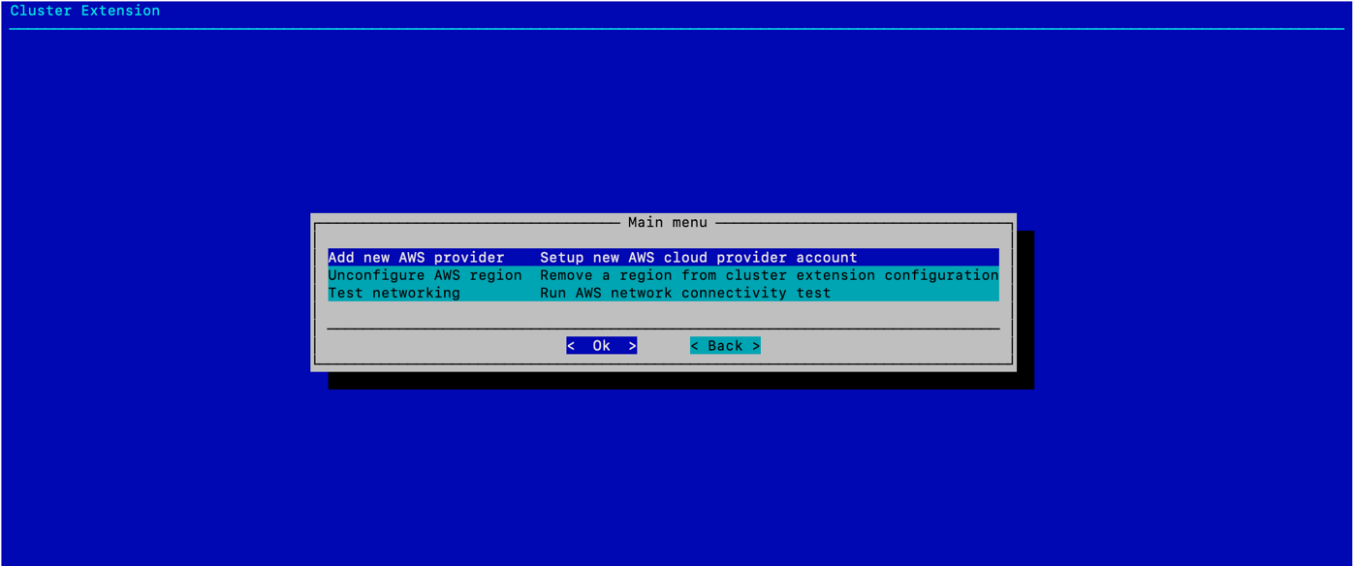
Choose Add new AWS provider and then select Ok.
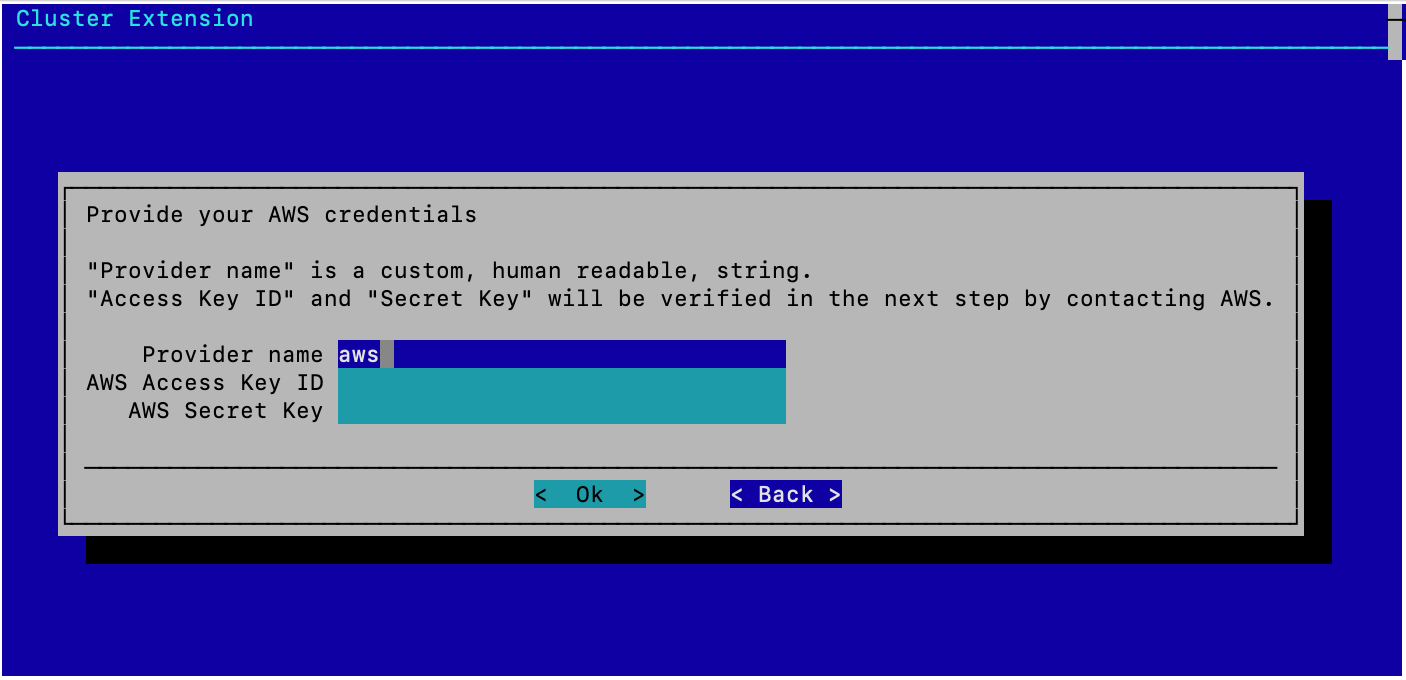
Enter the required AWS credential information and then select Ok.
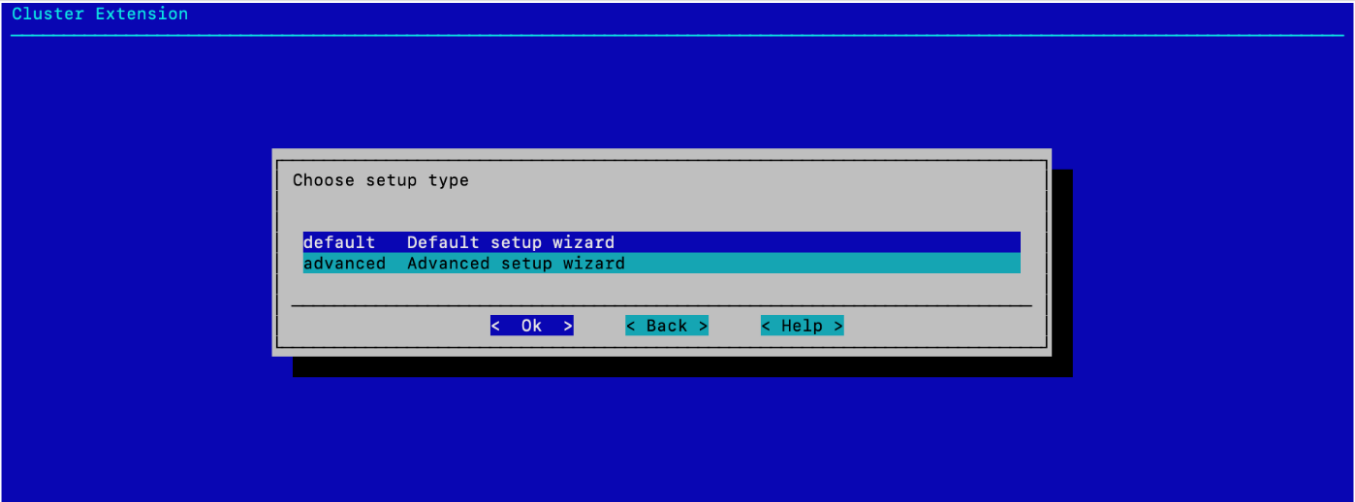
Add the provider to the new region by choosing the default setup type and then select Ok.
Enter 4 for the quantity of cloud nodes and then select Ok.
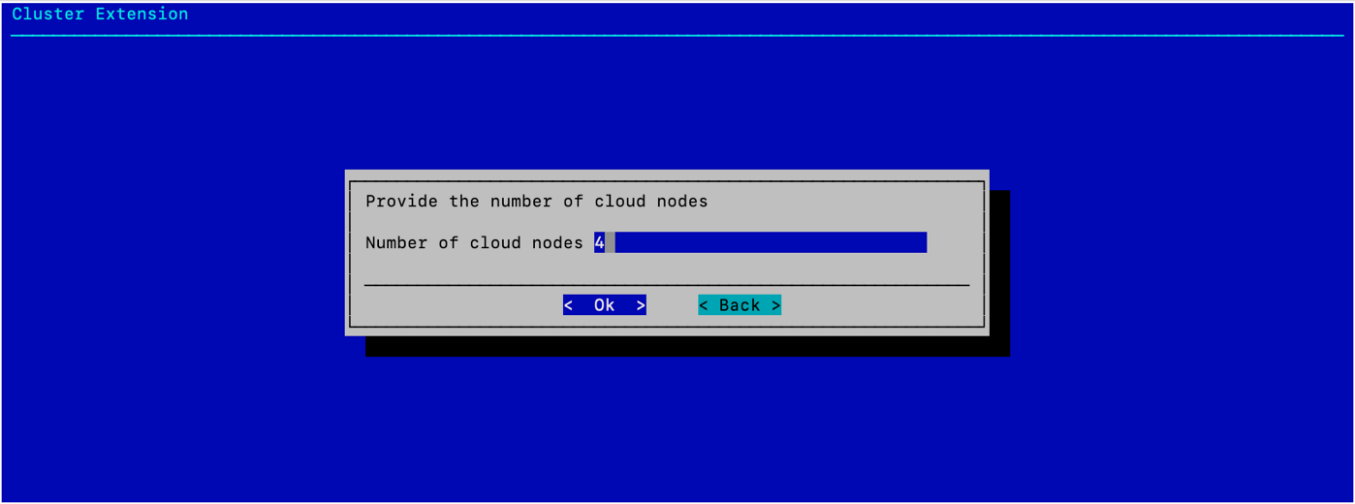
There will be three nodes for the Kubernetes (K8s) control plane and one node as a GPU worker. More nodes can be added later.
Choose the appropriate geographic region and then select Ok.
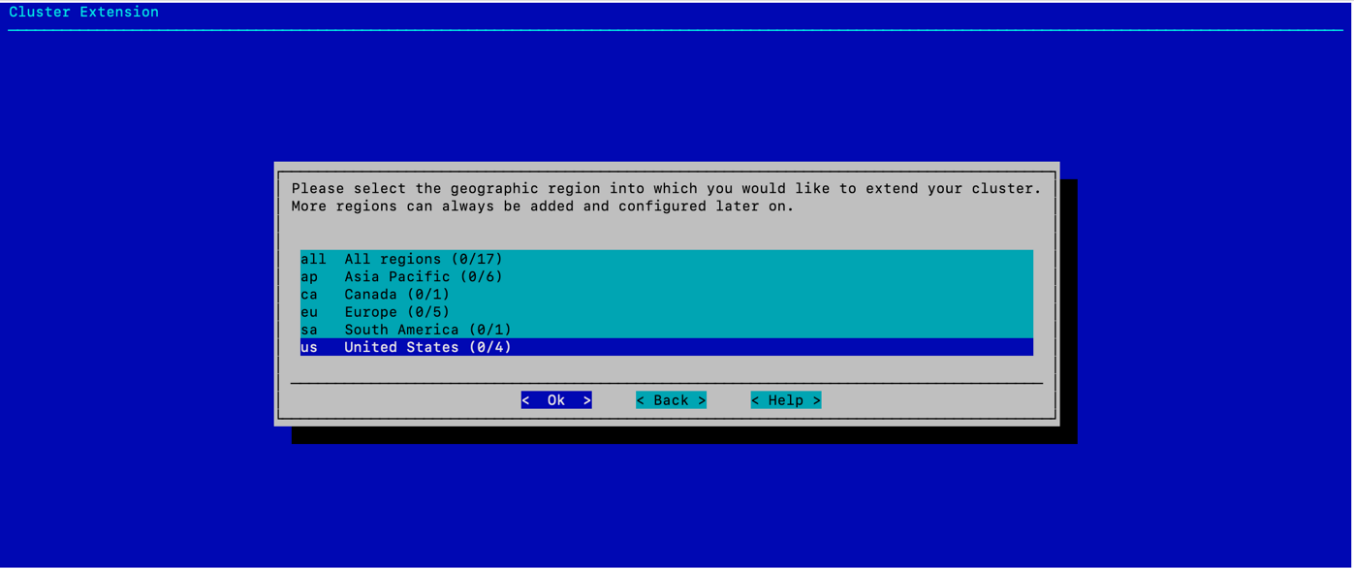
Choosing a region near the on-premises cluster typically increases network performance. If the configuration is designed for regional fault tolerance, choose a more distant region. Because not all instances are available in all regions, the type of instance needed should also be considered.
Choose a region in the subsequent screen and then select Ok.
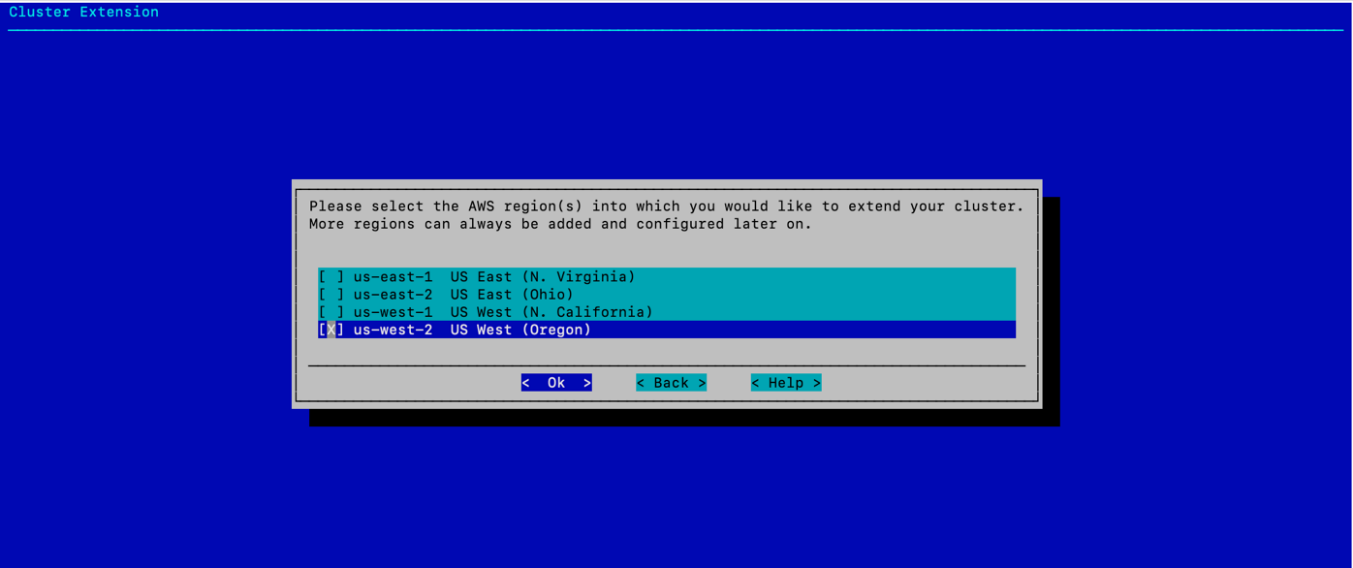
us-west-2 is used in this example.
Choose a default region and then select Ok.
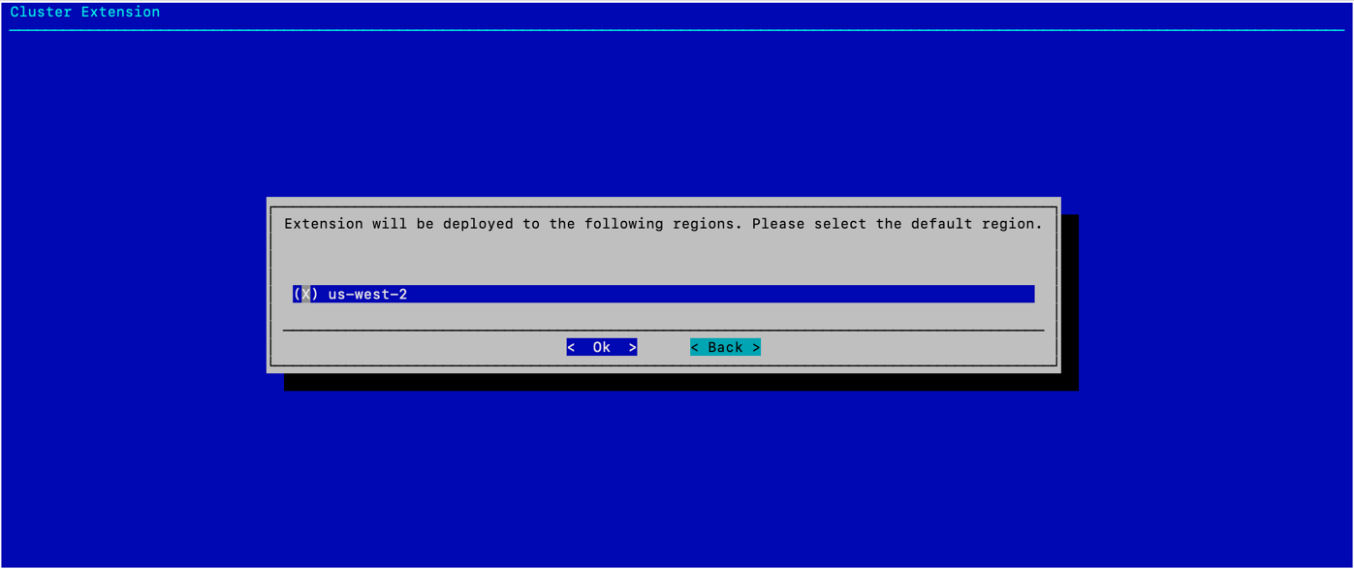
In this example, the only option is us-west-2 because no other regions were configured.
Choose an availability zone for the public subnet that Cluster Extension will create and then select Ok.
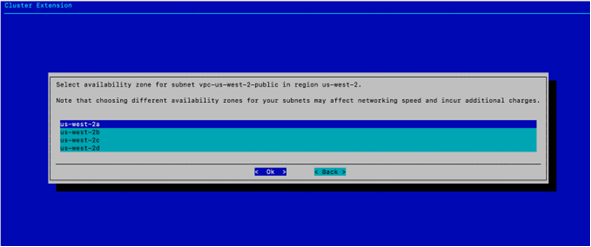
us-west-2a was selected in this example.
Choose an availability zone for the private subnet that Cluster Extension will create and then select Ok.
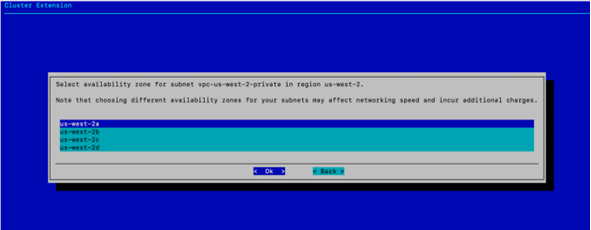
us-west-2a was again selected.
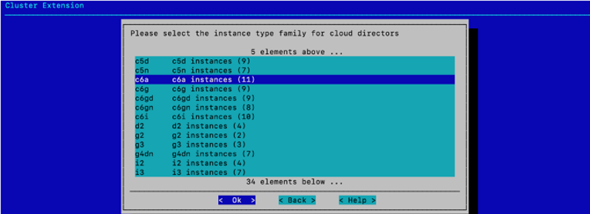
Choose c6a for instance type family for cloud nodes and then select Ok.
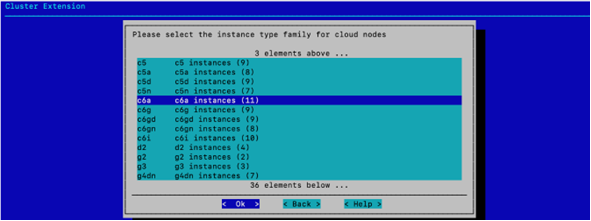
c6a instances are widely available and provide good performance and value for this use case. At a later step, one of the preallocated public cloud nodes will be configured to use an instance type with NVIDIA GPUs.
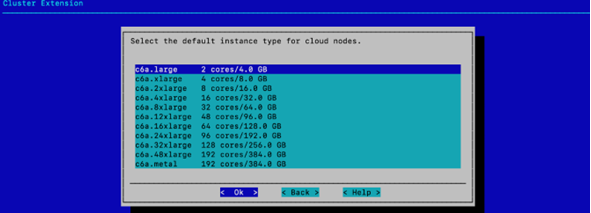
Choose c6a.large instances and then select Ok.
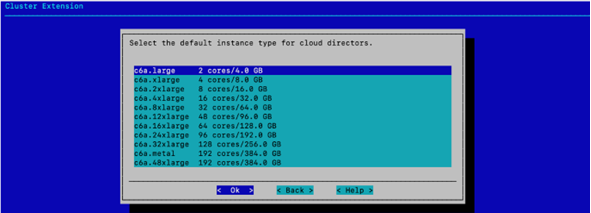
Choose the c6a instance type family for cloud directors and then select Ok.
Choose the c6a.large instance type and then select Ok.
Choose Select images and then select Ok.
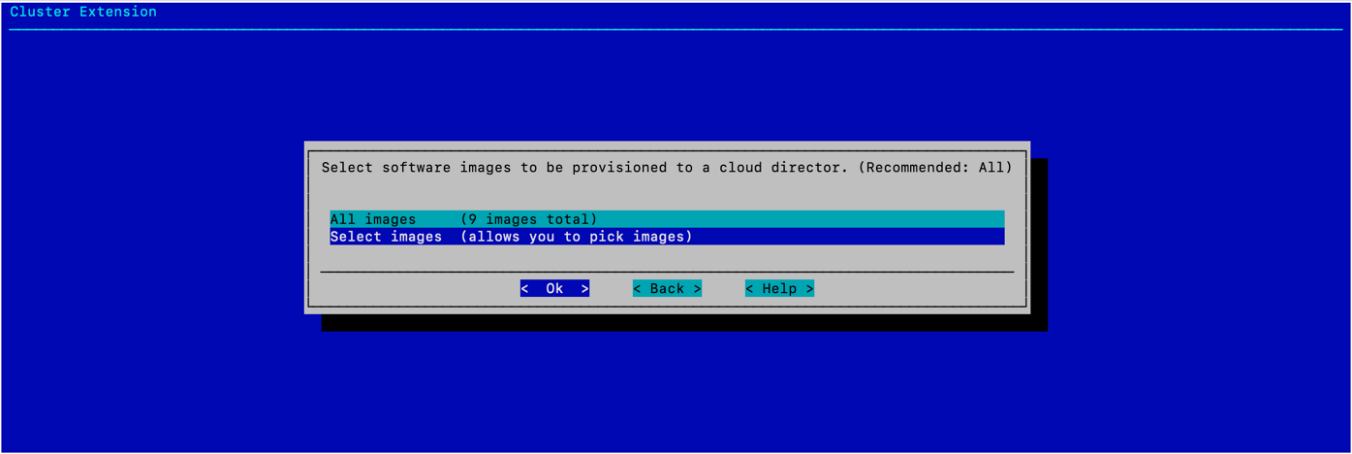
This selects the subset of images that can be used in the public cloud and eliminates those that cannot be used (such as DGX OS).
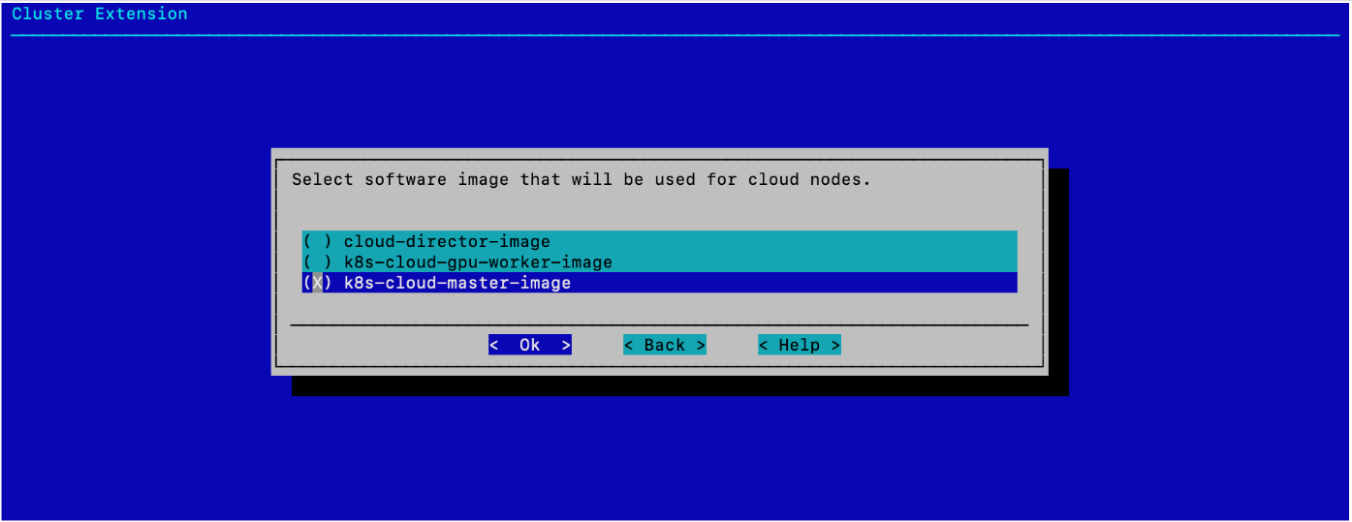
Choose the images that were created for this deployment and then select Ok.
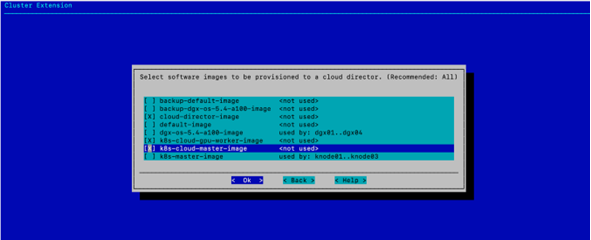
cloud-director-image, k8s-cloud-gpu-worker-image, and k8scloudmasterimage should be checked. Additional images can be added later if necessary.
Choose k8s-cloud-master-image for the default cloud node image and then select Ok.
Choose Save config & deploy on the Summary screen and then select Ok.

Specify the filepath and then select Ok.
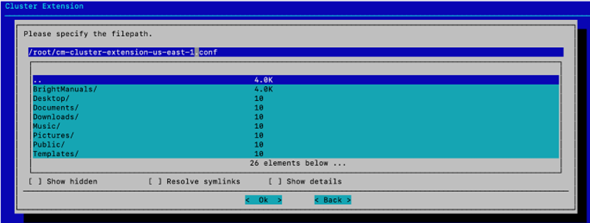
A default filepath is displayed. A region name or other identifying information should be added to the file name to allow multiple configuration files.
The configuration begins executing on the BCM head node.
When completed, output like the following should be displayed.
1## Progress: 100
2
3Took:     04:09 min.
4Progress: 100/100
5################### Finished execution for ‘Cluster Extension’, status: completed
6
7Cluster Extension finished!
Verify that the initial setup was successful.

Run
list -fin cmsh as shown in the screenshot and compare it to the output provided—it should be similar (additional listed systems are redacted, and the exact IP subnet may be slightly different).Augment the OpenVPN port if needed.
The Cluster Extension functionality relies on OpenVPN to run a VPN tunnel between the on-premises head node and the targeted public cloud environment. The default configuration uses UDP port 1194. To configure a different protocol or port, refer to this Bright Knowledge Base article.