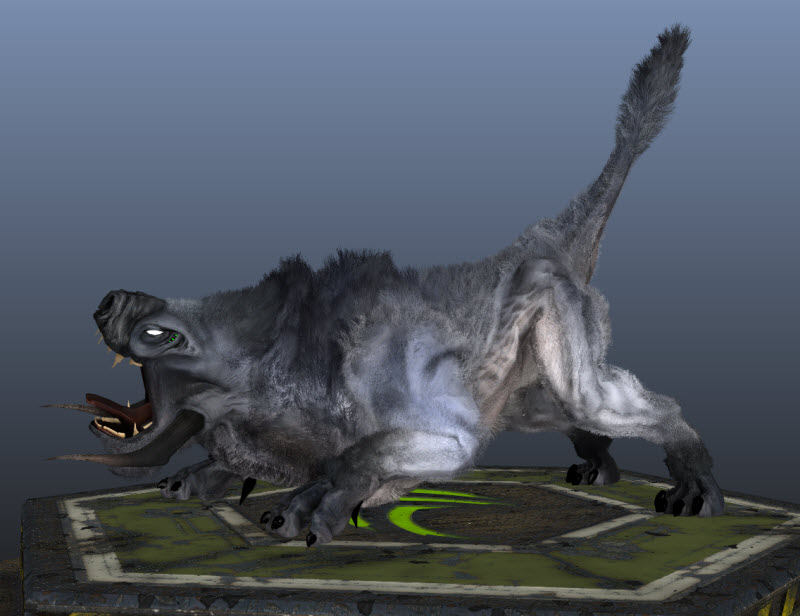
Using NVIDIA HairWorks
Asset Preparation
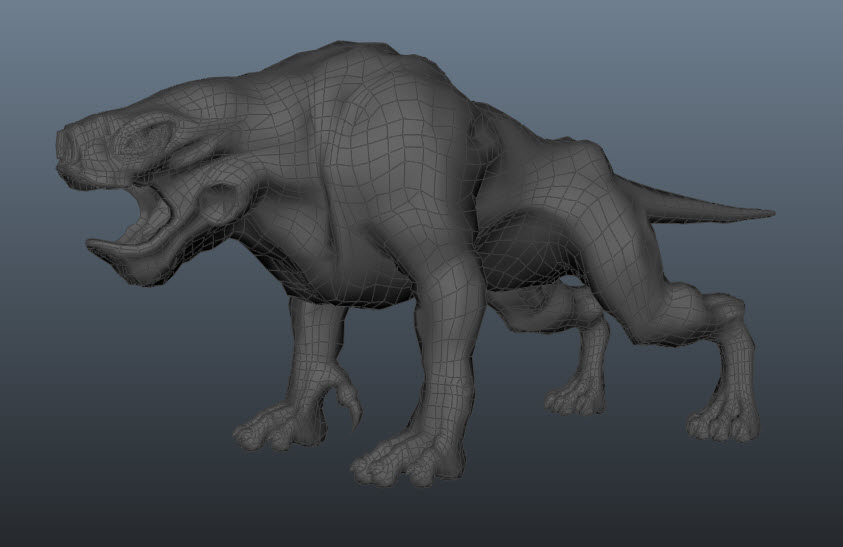
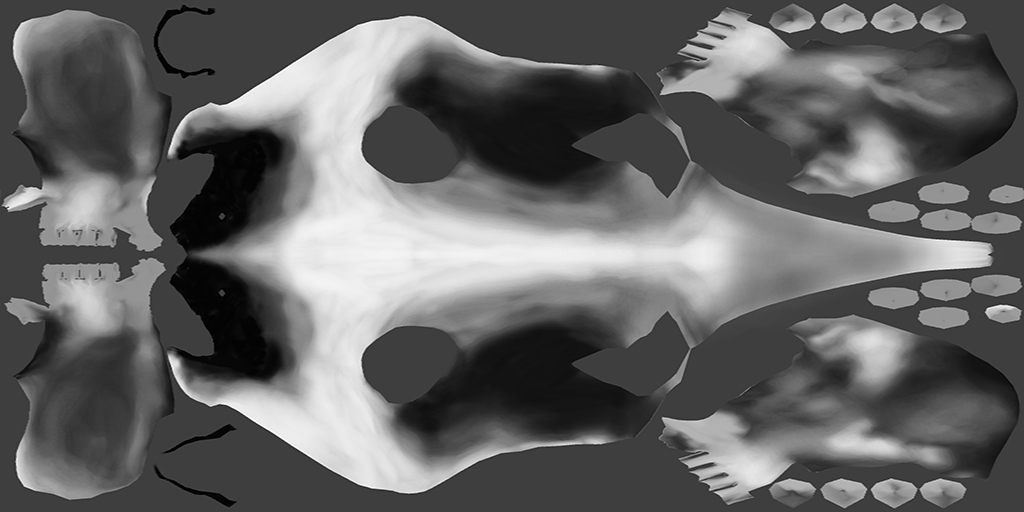
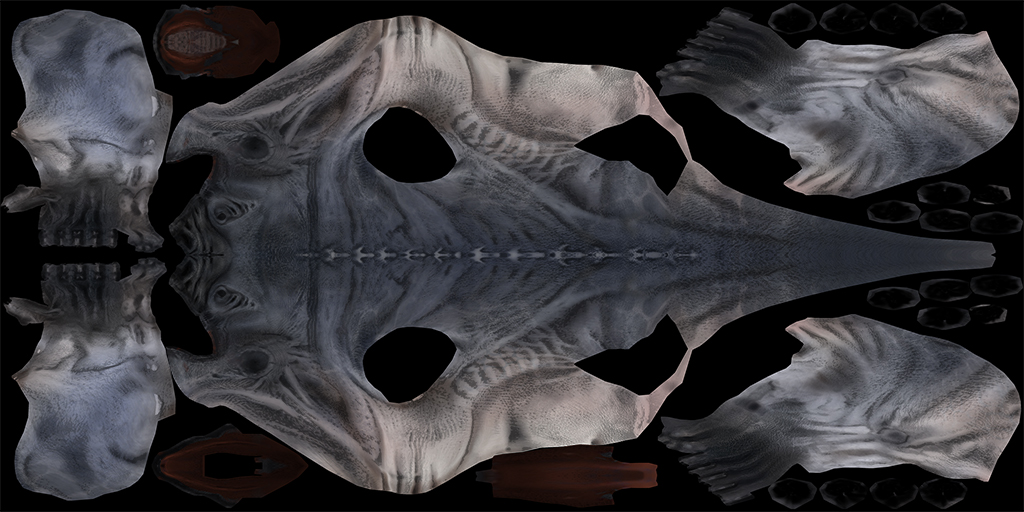
Mesh
- Ideal Character Mesh
- The Character Mesh should be a single surface without any poly strips. Poly strips are common in some productions to create fur. They interfere with simulated fur and can cause artifacts. The base mesh of the character should be treated as if it were a “shaved” animal with no fur poly strips. Some characters are already set up like this, some are not.
- The Fur system uses the concept of a seperate GrowthMesh.
- A GrowthMesh is a copy of the graphics mesh that is used for strand generation and shadow mapping. There is no need to render the growth mesh in the game engine. It is only used as reference for the HairWorks.
- Currently The growth mesh can only have 1 material ID. Multiple materials on a single GrowthMesh are not supported at this time. If multiple texture and meshes are used on the graphics mesh, the uv’s and mesh will have to be consolidated for use on the GrowthMesh.
For more detailed information on the Asset preperation, please see 3dsMax or Maya HairWorks documentation.
Maya and 3dsMax
This workflow is for Maya and 3rd party plug in Shave and a Haircut(www.joealter.com ). This workflow is for 3dsmax and the Hair and Fur modifier. bopth of these tools are very similar to each other.
For more detailed information on the Maya or 3dsMax HairWorks pluginx please see the plug documentation.

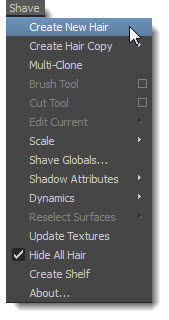
Grooming
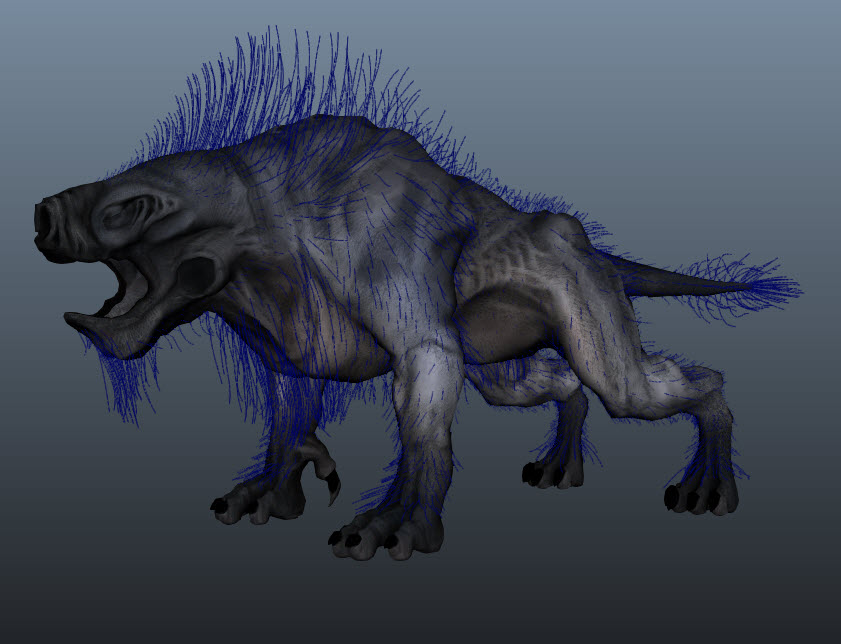
- Use the Shave shelf and menu items to create a Shave node(Maya) or hair and Fur mdifier(3dsmax) on the growth mesh. Use these tools to groom and shape the curves.
- Reduce detail in the growth mesh where it’s not needed. Places like the mouth cavity, eyes, hands, feet, ect... These areas likely wont have fur and will just get in the way while grooming fur. If these areas can be removed it will make iterating better.
- However if holes are created, it is generally best to close large holes in the growth mesh. There does actually need to be some mesh topology where holes may be. This is because the shadow map uses the growth mesh as shadow casting reference.
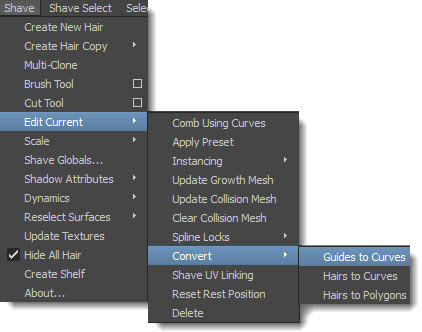
Convert
- Convert the guide curves to splines(Maya) or a line shape(3dsMax).
Naming
This isn’t a requirement but it’s good practice, especially if you have a busy scene file.
- Name guidecurves something like HairGuides.
- Name the growth mesh something like GrowthMesh.
Add HairWorks On the growth mesh that represents your asset, add HairWorks from the main menu. Link the guide curve group node under the General rollout.
Export
- Export the asset FBX. Export your FBX file with any animation you would like to preview. Only export the objects that you intend to preview to keep the weight of the FBX file down. Export with the same up axis as you source scene.
- Export the hair file to apb or apx. The export option is located with via the Export Menu -HairWorks (*.APB, *.APX)
Import
- Import hair file into a game engine with HairWorks or the HairWorks Viewer(with fbx) for further iterations.
Control Textures
Textures can be used to control the the graphical look of the fur as well as physical behavior. Use textures based on the uv’s of the growth mesh to use as control textures for the various attributes. Texture inputs can influence the fur per pixel in uv space or per vertex in uv space depending on the control. In per pixel sampling, every interpolated hair will have proper texture samples from interpolated uvs. In per vertex sampling, values are sampled only at the guide hair (growth mesh vertex) location and interpolated. Color textures should be used where color is used such as root and tip color. Black and white textures should be used for control of physical attributes such as density. A black and white texture is treated the same as in DCC tools, black = 0.0, white =1.0, and acts as a multiplier against that attributes constant value.
For example, if a density map is provided then setting the Density constant to 1.0 will provide the exact value of the texture. If using a value of .5, then it essentially scales the density down by half.
The same control texture can be used to control multiple attributes.
Attributes that accept control textures are currently:
Physcial Material Attributes
- Density (per vertex or per pixel)
- Length Scale (per pixel)
- Root Width (per pixel)
- Tip Witdh (per pixel)
- Stiffness (per vertex only)
- Root Stiffness (per vertex only)
Clump Scale (per pixel)
Graphics Material Attributes
- Root Color (per pixel)
- Tip Color (per pixel)
Examples
Density Map

** Root Color **
The base color for the skinned graphics mesh can somtimes also be used as the Root Color control texture. This technique helps the fur match the skin if this is important to teh Aesthetic of the character.
Using HairWorks Viewer
Projects
The HairWorks Viewer allows an artist to save and load the entire scene with associated file references as a project file (.furproj). This makes the iteration process faster and more convenient. Numerous project files can reference the same set of external files.
It is best practice to organize external file references such as textures, hair files, and fbx files in the same directory as the fur project file, however this is not necessary.
Fast Iterations
The HairWorks viewer operates as place for a wide range of team members to iterate HairWorks assets.
Once the initial groom and growth mesh has been created in 3dsMax or Maya and exported to a hair file and fbx, HairWorks takes over as the go to iteration tool. This allows more team members than just the ones who have DCC seats to iterate on the assets. For example a character artist could build the growth mesh and groom the hair and then send the results to HairWorks where the VFX team can tune and iterate on the look and performance of the fur. All the attributes are editble in real time allowing for lighting fast iterations.
Using the import options allows artists to selectively import parts of different hair files helping to fascilate more non-destructive and therefore freely creative workflow.
After an asset has been tuned, it can be resaved as the same or new hair file and set to the game engine for use.
Team Reviews HairWorks also operates as great team review tool. A review session with many team members can happen more frequently without the heavy weight of a game engine or the need to wait for integrations. Using HairWorks presentaion mode removes all the UI elements so that the team can strictly focus on theasset to be reviewed. And because there can many combinations of project and hair files, teams can make better comparisons on the aesthetics of their assets, again without the weight and burden of a large engine.