Step #1: Getting Started
Workspaces are shareable, persistent, mountable read-write file systems. They provide an easy way for users in a team to work together in a shared storage space. Workspaces are a good place to store code, can easily be synced with git, or even updated while a job is running, especially an interactive job. This means you can experiment rapidly in interactive mode without uploading new containers or datasets for each code change.
To create a workspace with the ngc cli and share it with your team, enter the commands below and give it a unique name. Your team can be found in the top right of the web UI.
Use the --help flag to learn more about ngc specific commands
            ngc workspace create --team nvbc-labs --name <unique_workspace_name>
ngc workspace share --team nvbc-labs <workspace_name>
ngc workspace list --team nvbc-labs
This part of the lab will need to be completed using the desktop that is accessible from the left-hand navigation pane.
Log into NVIDIA NGC by visiting https://ngc.nvidia.com/signin.
Expand the Base Command section by clicking the downward facing chevron and select Dashboard.

Click Create Job.

Select your Accelerated Computing Environment (ACE).

Set the instance size to dgxa100.80g.1.norm.

Select the bert-pytorch-hdf5-wiki-data dataset and set the mount point to
/data.
Select the Workspaces tab, select your workspace bert-smaple, and set the mount point to
/workspace/mount.
Set the result mountpoint to
/results.
Select the nv-launchpad-bc:dle-bert-pytorch container from the dropdown and the 21.11-py3 tag.

Enter the command below in Run Command to start up JupyterLab.
jupyter lab --notebook-dir=/workspace/bert --ip=0.0.0.0 --no-browser --allow-root --NotebookApp.token='' --NotebookApp.allow_origin='*'

Adding ports here exposes them and automatically maps them to a URL provided once the container starts running. To access the JupyerLab enter
8888and click Add.
Rename the job to
bert-pretrain-single-gpu. Note
NoteOnce you have filled in all the required fields, you can copy the command at the bottom of the Create Job page and paste it into your terminal to run the job via the NGC CLI tool.
Click the down arrow next to Launch Job and select Launch and Template.

Name the template
single-node-bert-testand click Submit.
You can find your job in the jobs list by clicking on Jobs under the Base Command section in the sidebar.

Click on your job in the list to open it.

Once your job has entered the Running state, you should see a green link in the overview section.

Click the link to open the JupyterLab.

Open the terminal on the Jupyter Notebook.

Begin the pretraining benchmark by running the command below.
scripts/run_pretraining.sh

By default, the logs for the script are located in
/workspace/mount/<timestamp>. Where timestamp is the utc timestamp of when you started the pretraining script.When ready, gracefully finish the job by selecting File > Shut Down at the top left in the JupyterLab window.
Navigate back to the Create Job page and choose the Templates tab. Select your template and set the instance size to 8 GPUs.

Add port
6006so that tensorboard will be accessible.
Scroll to the bottom of the page and change the name to something more accurate like bert-pretrain-8-gpu.

Copy the cli command and run it in the console.
Wait until the job is running. You can check the job’s status with the following command. The job ID is given when first creating the job
ngc batch info <job_id>.Copy and paste the link into your browser to open JupyterLab.

As before, run the pre training script inside the terminal in JupyterLab.
scripts/run_pretraining.sh
From the job’s detail page, you can switch to the telemetry pane of the jobs page to view the resources being used by your job. Job telemetry is automatically generated by Base Command and provides GPU, Tensor Core, CPU, GPU Memory, and IO usage information for the job. Mousing over the graphs will give more detailed information. More information about telemetry can be found here. And the general user and quickstart guides can be found here.
Within the eight GPU job, you can pass different parameters to change how the scripts run. You can change parameters such as:
Batch Size
Precision
Max Sequence Length
Seed
Learning Rate
This can be done by either changing the environment variables such as when setting num_gpus or by editing the pretraining script directly.
num_gpus=1 scripts/run_pretraining.sh
You can also use your own custom profilers to get even more detailed information as to how your model is performing. Below we are profiling our pretraining script with the Pytorch Profiler for one iteration.
Open the
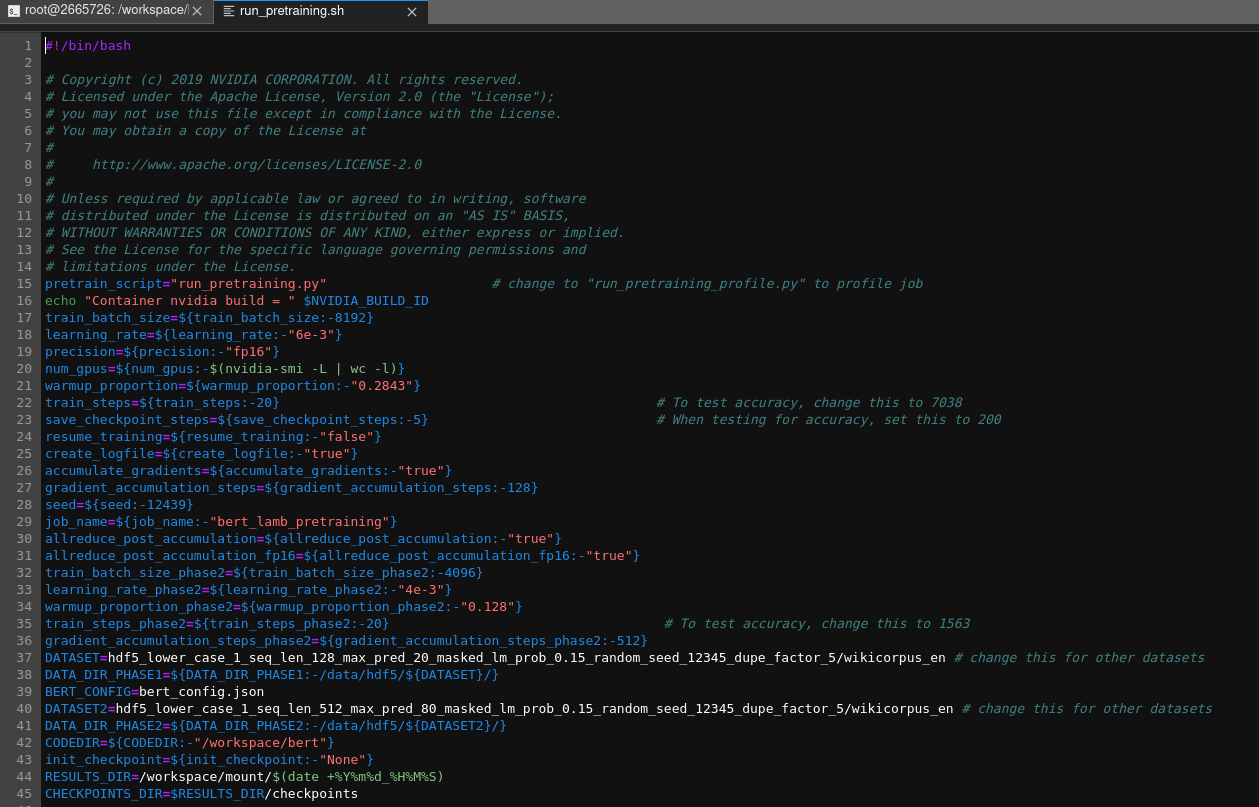
scripts/run_pretraining.shfile in the text editor by clicking on it in the left side bar.Change line 15 as shown below.
pretrain_script="run_pretraining_profile.py"
Open a second terminal in JupyterLab by clicking the blue + sign in the top left.
In that second terminal start tensorboard and point it at the profilers log directory using the command below.
tensorboard --logdir /workspace/mount/profile_log/
Open the url mapped to port 6006. This can be found on the job’s overview page or with the cli command shown below.
ngc batch info <job_id>
After pretraining the model you can fine tune the model to run better for specific tasks, such as Q&A on SQuAD.
Download the SQuAD dataset into your workspace using the command below.
data/create_datasets_from_start.sh
Download a pretrained checkpoint that has trained for 7000+ iterations into your workspace using the command below.
data/download_checkpoints.sh
Run the SQuAD fine-tuning script. If no argument is given, the script will fine tune and evaluate the pretrained checkpoint. The evaluation will include how many inferences per second can be run.
scripts/run_squad.sh /workspace/mount/<timestamp>/checkpoints/<largest_checkpoint_iteration>

Once that is complete, you can test the resulting model interactively. You can use the file
/workspace/mount/SQuAD/<timestamp>/pytorch_model.bin, but in this example we are using the checkpoint that has already been fine-tuned.python inference.py --bert_model "bert-large-uncased" \ --init_checkpoint=/workspace/mount/checkpoints/bert_large_qa.pt \ --config_file="bert_config.json" \ --vocab_file=/workspace/bert/vocab/vocab \ --question="What food does Harry like?" \ --context="My name is Harry and I grew up in Canada. I love apples."

Go to create a new job as you did for a single node job. Only this time, select the Multi-node tab at the top.

Select your ACE and instance size again.

Set the Multi-node Type to
PyTorchand the Replica Count to 3.
Set all other options the same as when creating the single node job and put
86400in the Total Runtime field. It is the total runtime in seconds and is required for multi-node jobs.
Once logged into JupyterLab, run the command below.
scripts/run_pretraining_multinode.sh
Optional - If you would like to create a checkpoint with high accuracy comparable to the downloaded checkpoints, open the scripts/run_pretraining.sh file in the text editor.
ImportantThis is optional and will take days to complete.
Change the steps on lines 22, 23 and 35 to match the recommended number in the comments.
Change line 22 to:
train_steps=${train_steps:-7038}
Change line 23 to:
save_checkpoint_steps=${save_checkpoint_steps:-200}
Change line 35 to:
train_steps_phase2=${train_steps_phase2:-1563}
Run the pretraining script with the command below.
scripts/run_pretraining.sh
The results of the runs will be found in the /workspace/mount folder by default, which is inside your workspace and is persistent and can be mounted to both containers and local systems via the ngc cli. Workspaces can also be mounted by multiple replicas and jobs and can be used to sync operations.
You can download your model to your machine using the NGC CLI command below.:abbreviation:
ngc workspace download --file /SQuAD/<timestamp>/pytorch_model.bin <workspace_name>
Or you can mount the Workspace locally to browse the files using the command below.
ngc workspace mount –mode RW <workspace_name> /tmp/workspace
Additional information for all commands can always be found with the --help flag.
You can also upload the model for others to easily download using NGC CLI.
Create an empty model entry in the registry using the command below.
            ngc registry model create --ace nv-launchpad-bc-iad1 \
--application "BERT" --format pt --framework pytorch \
--org nv-launchpad-bc --precision fp16 \
--short-desc "Example BERT Model" \
nv-launchpad-bc/nvbc-labs/bert_pytorch_example
Upload the first version of the model to its model entry using the command below.
ngc registry model upload-version --source <path to the model file> nv-launchpad-bc/nvbc-labs/bert_pytorch_example:1