

Staging and Installing Artifacts#
Complete Initial Host Preparations before starting these steps.
Perform all steps in this topic on the active BCM head node of the air-gapped BCM cluster.
Reference environment#
Air-gapped (no internet) BCM cluster
Kubernetes version 1.34 (use
1.34in wizard and configuration)BCM version 11.33.1
Ubuntu 24.04
Prerequisites#
airgapped.tgzis present on the active BCM head node (transferred via USB or other removable media).The cluster has no internet access.
You have root access on the active BCM head node.
Step 1: BCM Setup Assistant#
The cm-kubernetes-setup tool, included with BCM 11, handles Kubernetes installation. Running the wizard generates /root/cm-kubernetes-setup.conf, which later deploys the k8s-admin administrative cluster.
From the active BCM head node, run the setup wizard in air-gap mode:
cm-kubernetes-setup --airgap-registry master.cm.cluster:5000 --airgap-registry-as-helm
Replace master.cm.cluster:5000 if your container registry uses a different address.
Important
For an air-gapped deployment, select Save config & exit at the end of the wizard (step 33). Do not deploy yet — complete Steps 2–7 in this topic before running cm-kubernetes-setup -c /root/cm-kubernetes-setup.conf.
Setup steps#
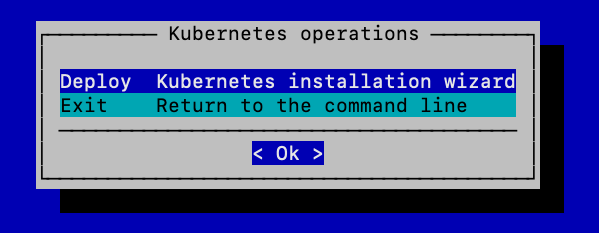
Choose Deploy and then select Ok.
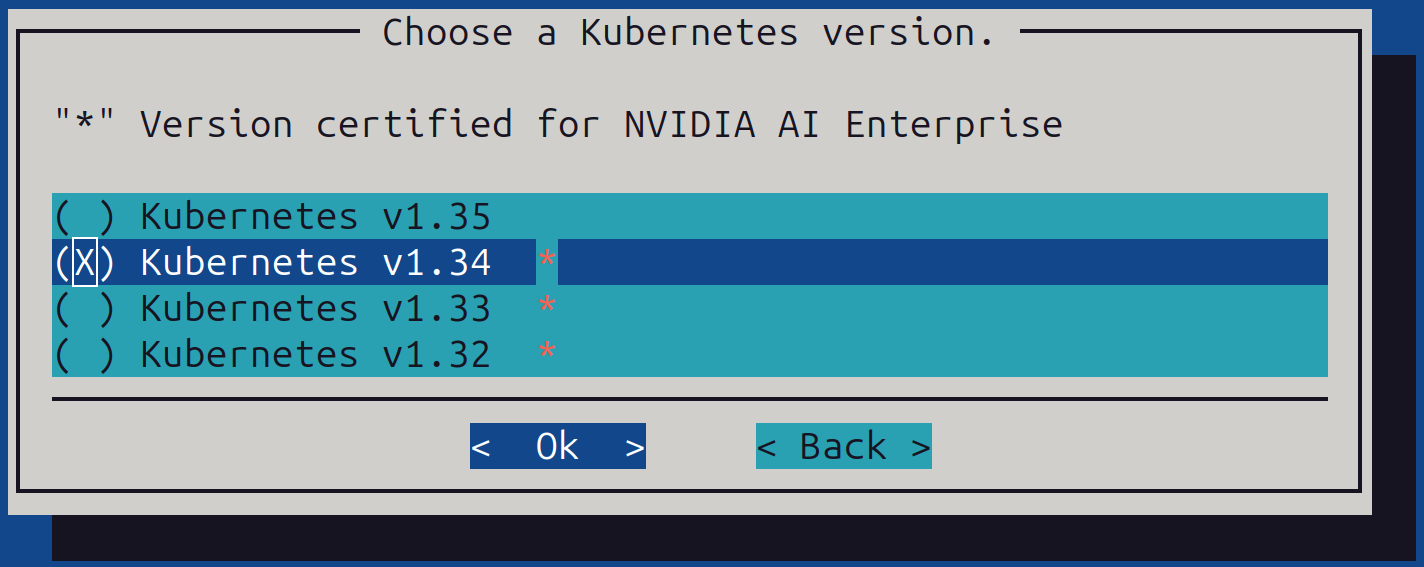
Choose Kubernetes version v1.34 and then select Ok.
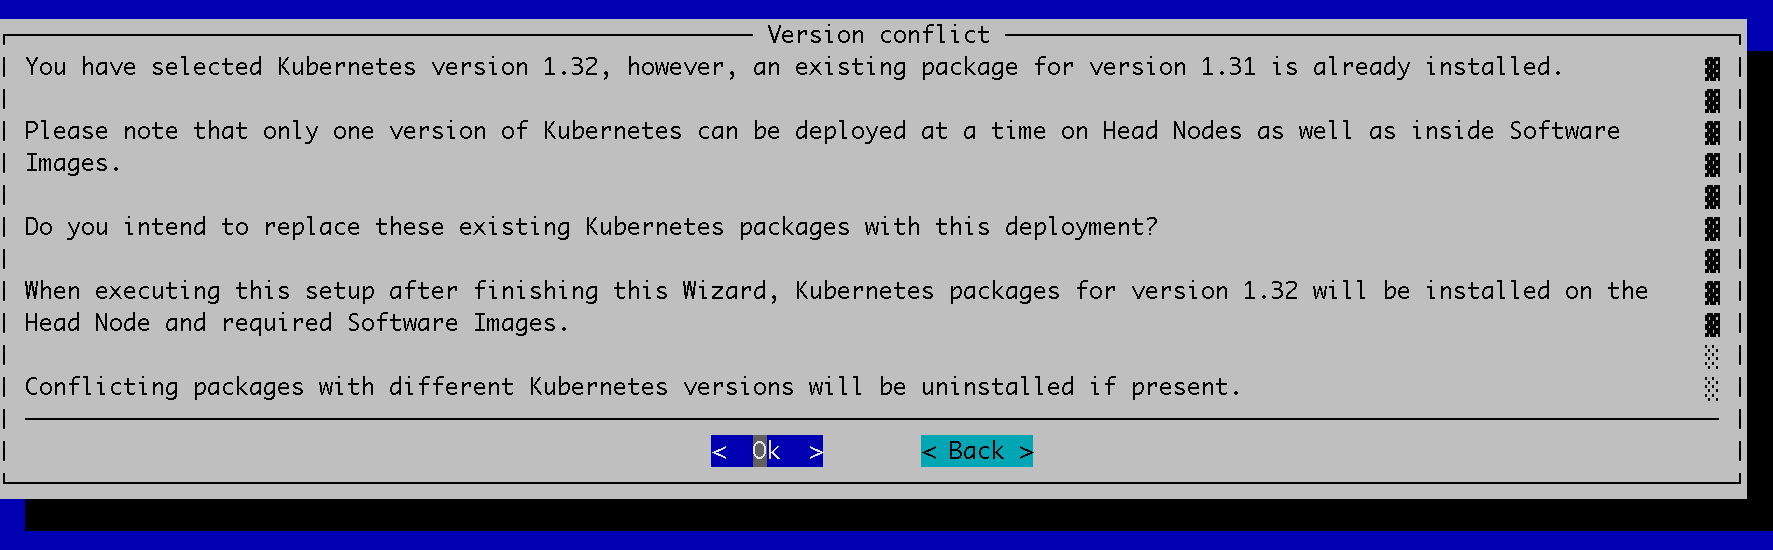
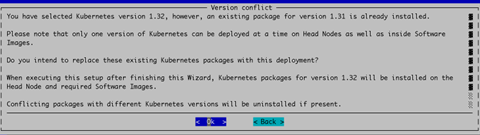
If this is a reinstall, a version conflict error may appear from a previous failed deployment. If the following screen appears, select Ok to proceed.
Provide a container registry mirror, if available; otherwise leave blank.

Kubernetes cluster and networking. This screen defines the cluster name (
k8s-admin) and creates amoduleconfig file with the same name.a. Subnets must be in private address space (per RFC 1918). Use the defaults unless there is a conflict with existing internal subnets.
b. Configure the domain names to match the Kubernetes External FQDN, using the same domain as in your DNS records.
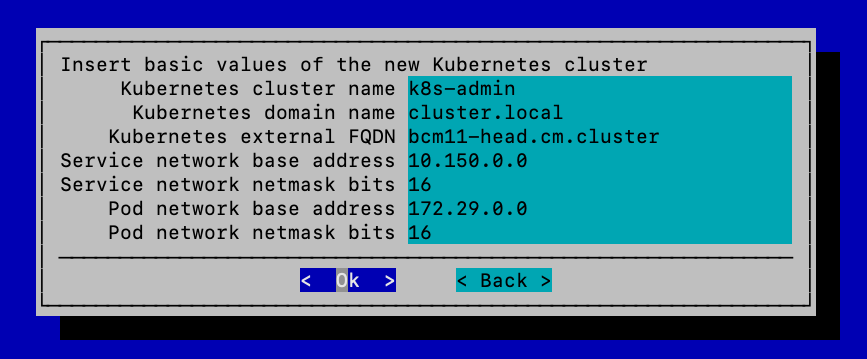
c. Verify that the subnets do not overlap with your existing private IP ranges. The Pod Network subnet cannot be changed without reinstalling the cluster.
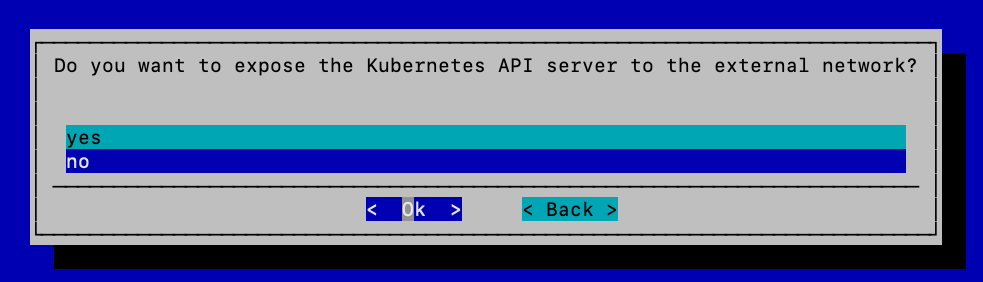
When asked to expose the Kubernetes API servers to the external network, choose no and then select Ok.
The external network is defined in the BCM base partition:
cmsh -c "partition get base externalnetwork"
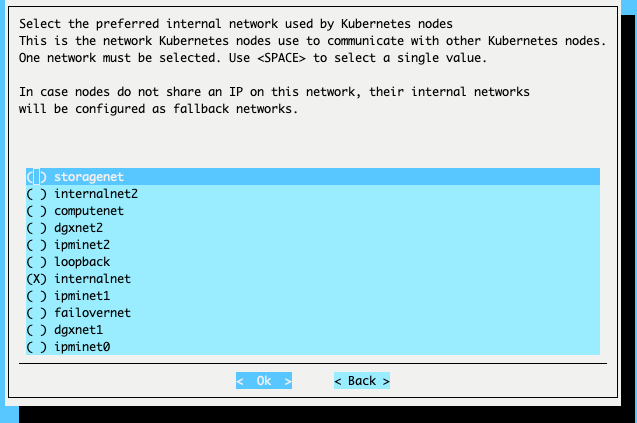
Choose the internal network that the Kubernetes nodes will use.
In a DGX SuperPOD deployment, management and compute nodes may be on different BCM networks. Select the network configured for the Kubernetes nodes you select in the following steps.
Select at least three Kubernetes control plane nodes for the
k8s-admincluster.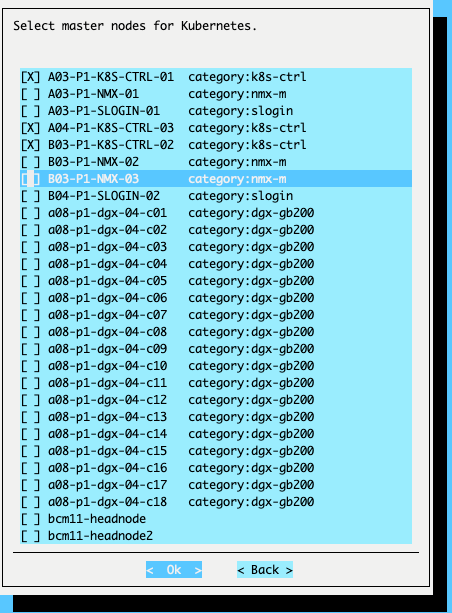
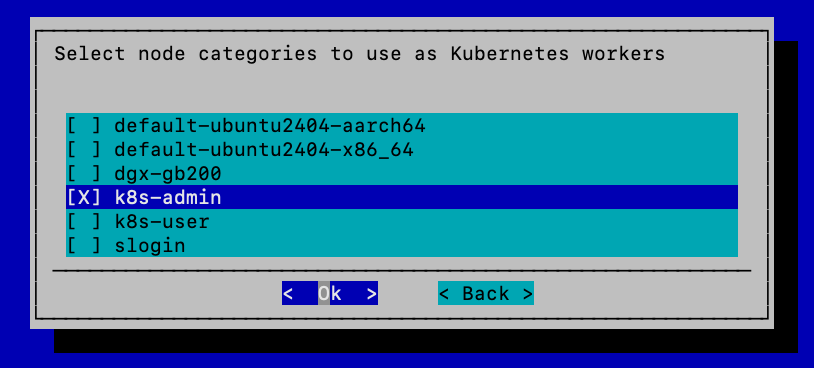
Choose the BCM node categories for the Kubernetes worker node pool.
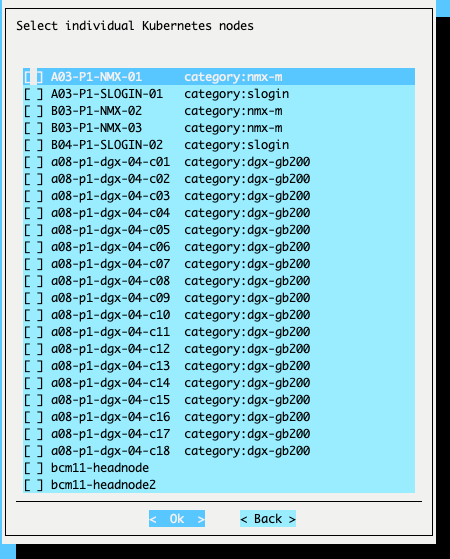
Optional — On the Choose individual Kubernetes worker nodes screen, do not make any selections. Press Ok to continue.
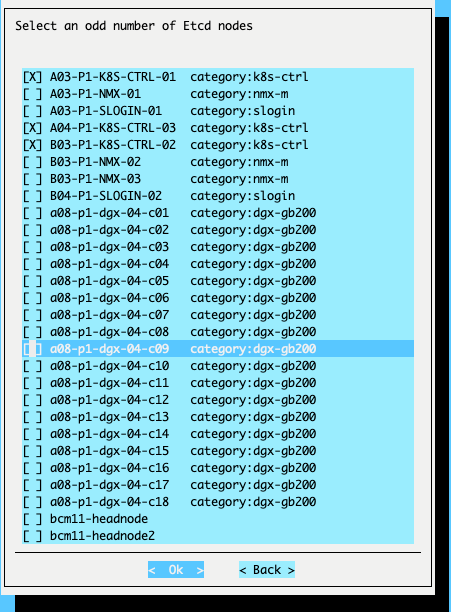
Choose the etcd nodes and then select Ok.
Choose the same three nodes as the Kubernetes control plane nodes.
Note
etcd is a distributed key-value store used as the default storage backend for Kubernetes. For more information, refer to the etcd documentation.
Ignore the following message if it appears.
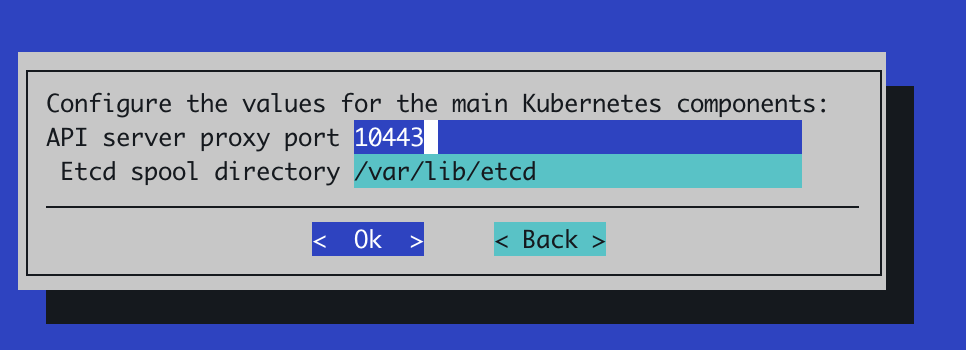
Set the ports as shown in the following example and do not modify the etcd spool directory.
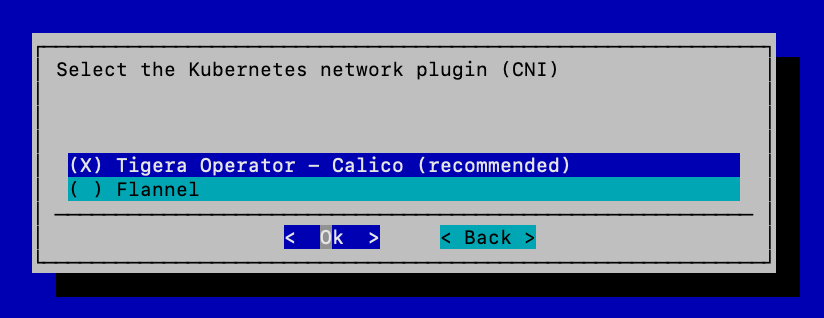
Choose Calico as the network plugin and then select Ok.
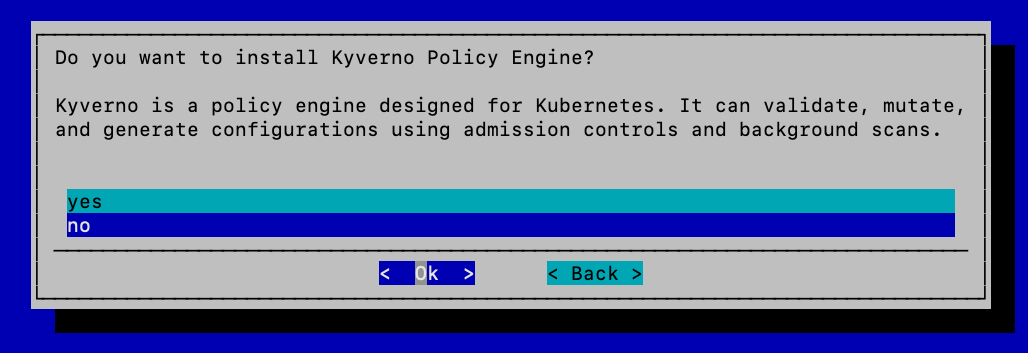
When asked to install the Kyverno Policy Engine, choose no and then select Ok. Kyverno can be enabled at a later stage.
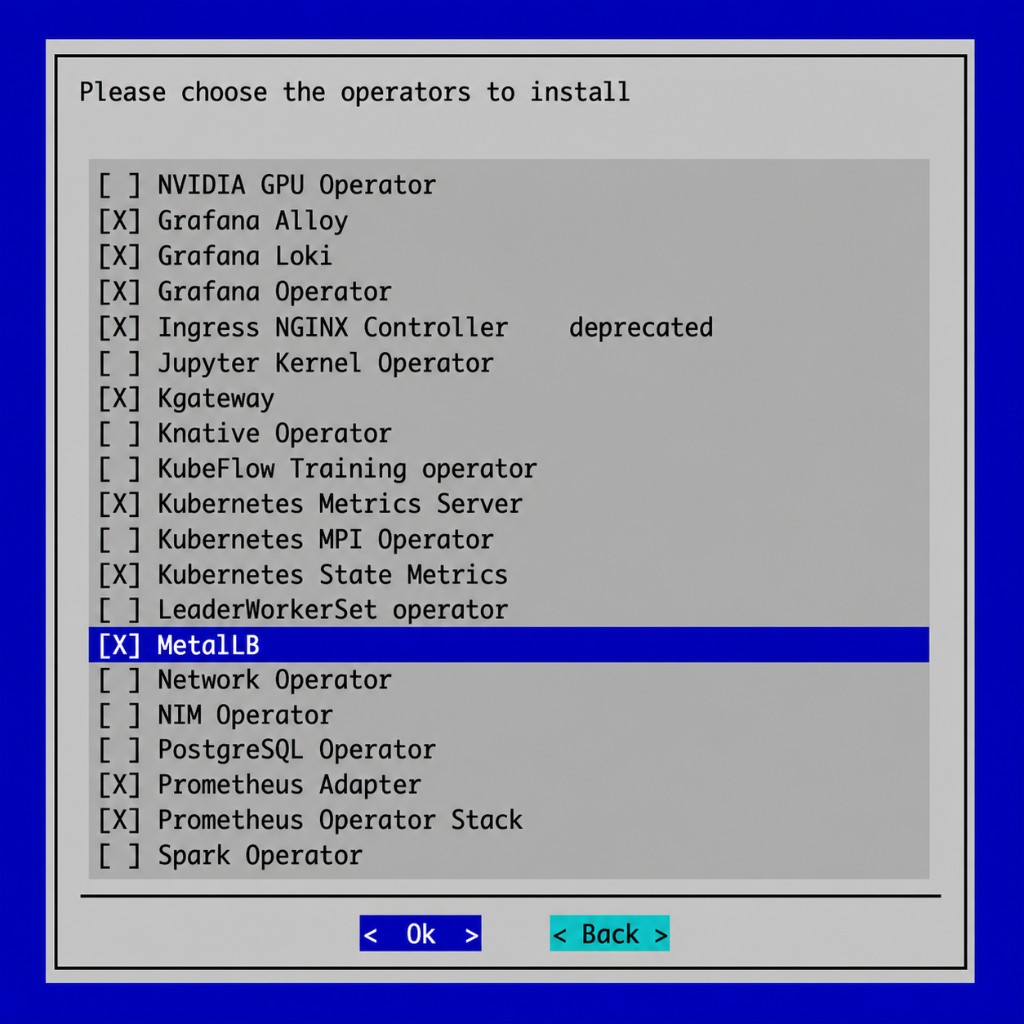
Choose the following operators to be installed and then select Ok:
Grafana Loki
Grafana Operator
Grafana Alloy
Ingress NGINX Controller
Kubernetes Metrics Server
Kubernetes State Metrics
MetalLB
Prometheus Adapter
Prometheus Operator Stack
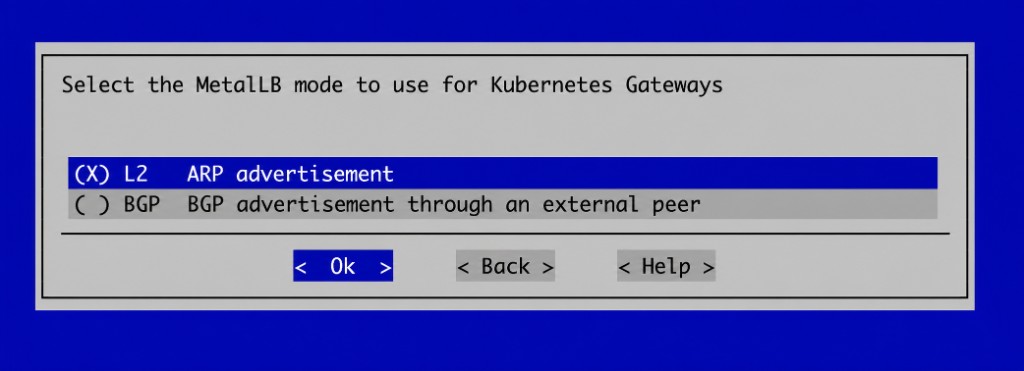
Select the MetalLB mode for Kubernetes Gateways. Choose L2 (ARP advertisement) unless your environment requires BGP, then select Ok.
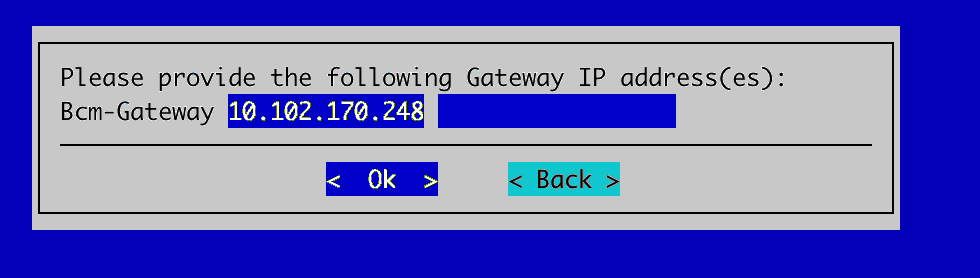
Provide the BCM gateway IP address when prompted. Select the default prefilled value unless your environment requires a different gateway, then select Ok.
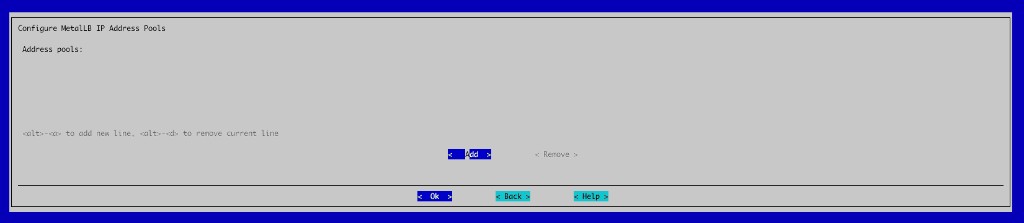
Leave the MetalLB IP address pools blank unless your environment requires them, then select Ok.
Choose yes when asked to expose the Ingress service over port
443and then select Ok.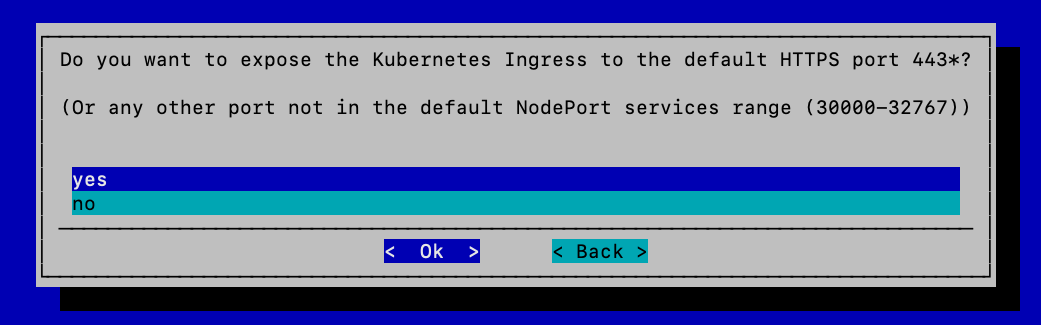
Keep the default value in the next screen and then select Ok.
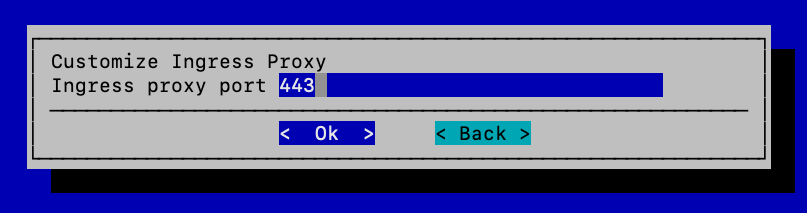
Keep the Ingress HTTPS port as 30443 (default value) and then select Ok.

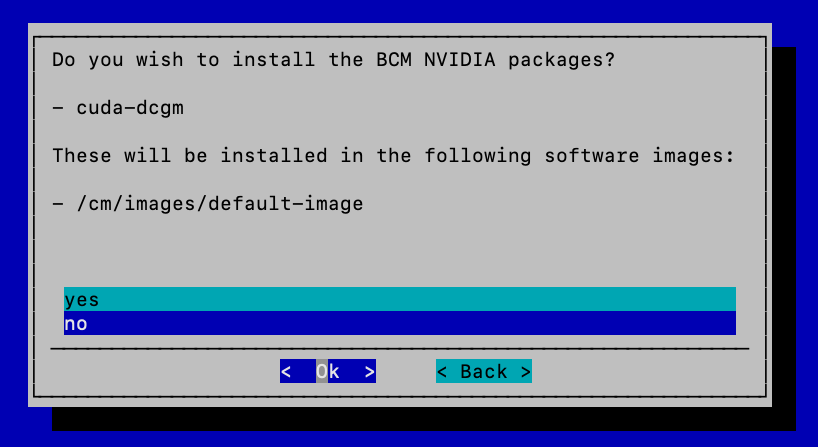
When asked to install BCM NVIDIA packages, choose no and then select Ok.
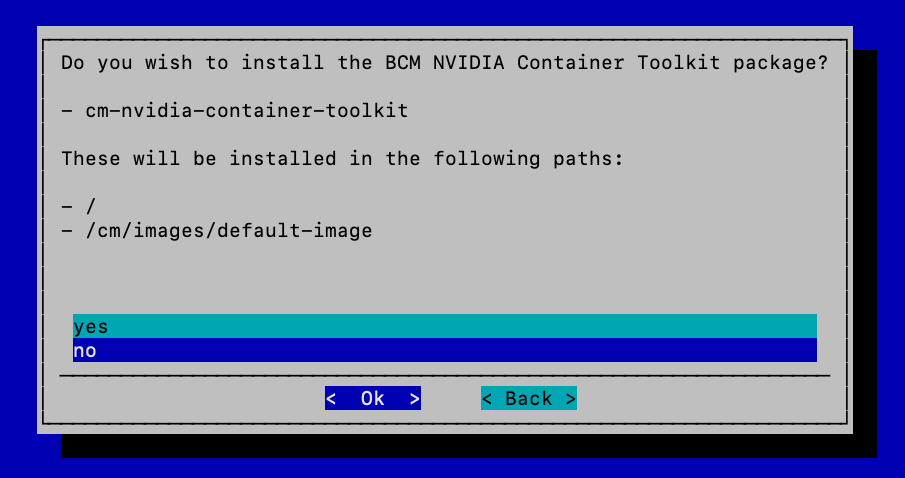
When asked to install the BCM NVIDIA Container Toolkit, choose no and then select Ok.
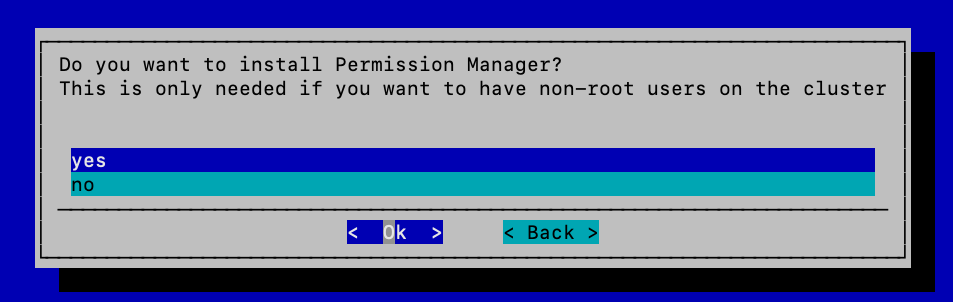
When asked to install the Permissions Manager, choose yes and then select Ok.
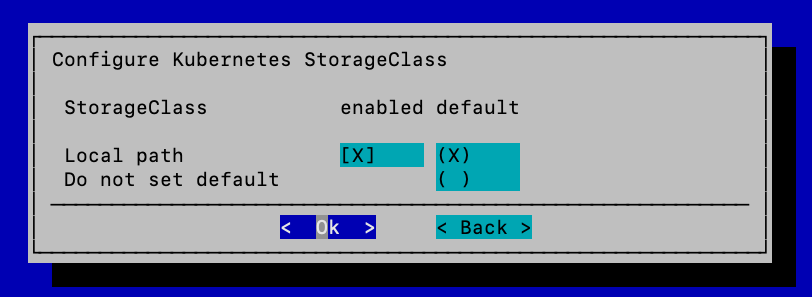
Choose Local path as a StorageClass (press Enter, not Tab — this is a known bug).
If Tab is pressed by mistake, press r for retry to return to this screen.
Keep the default path for the Kubernetes storage pool and then select Ok.
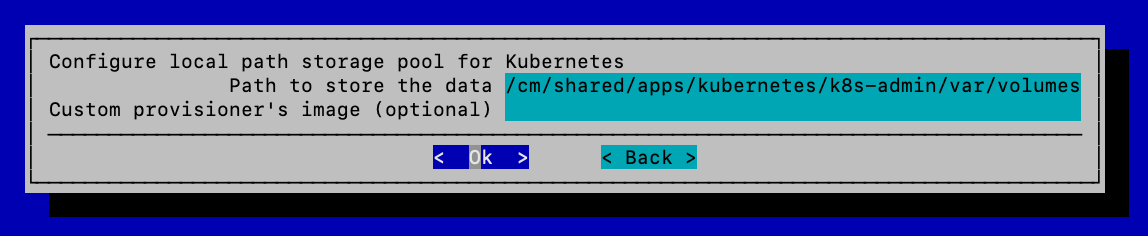
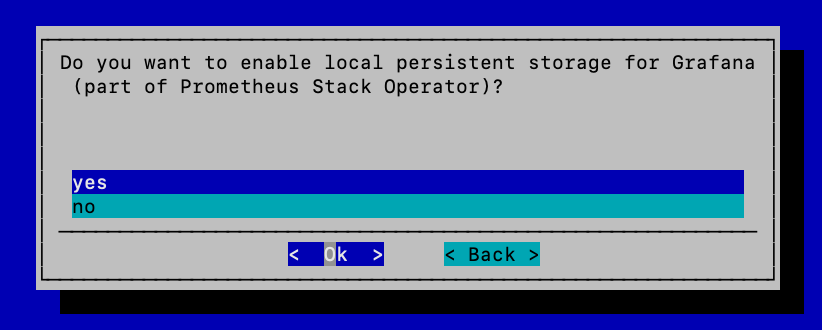
Choose yes to enable local persistent storage for Grafana and then select Ok.
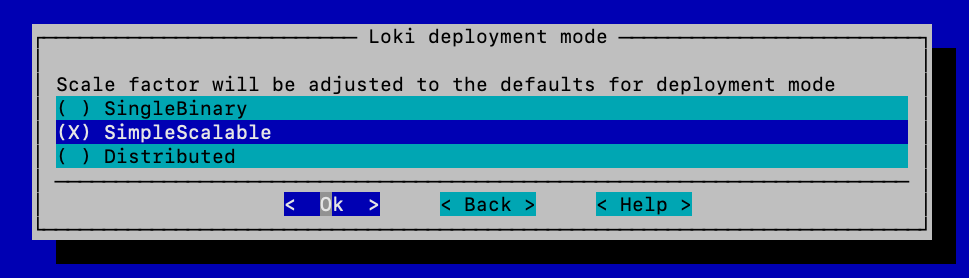
Choose SimpleScalable for the Loki deployment mode and then select Ok.
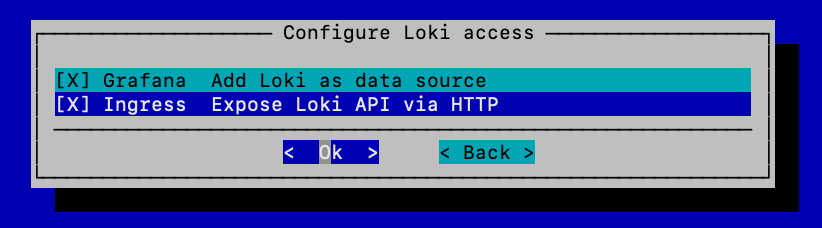
Select both options for Loki access and then select Ok.
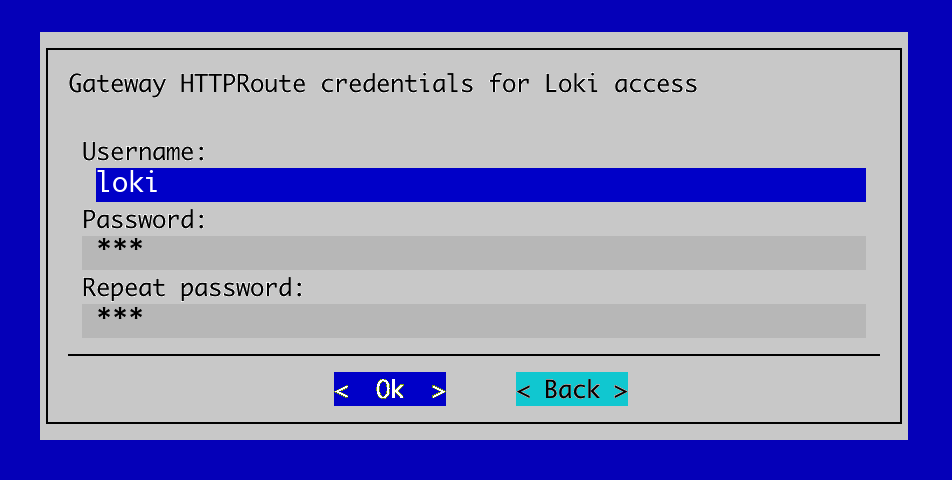
Configure the Username and Password for Loki (basic authentication using ingress-nginx).
Set both to loki; they can be changed later.
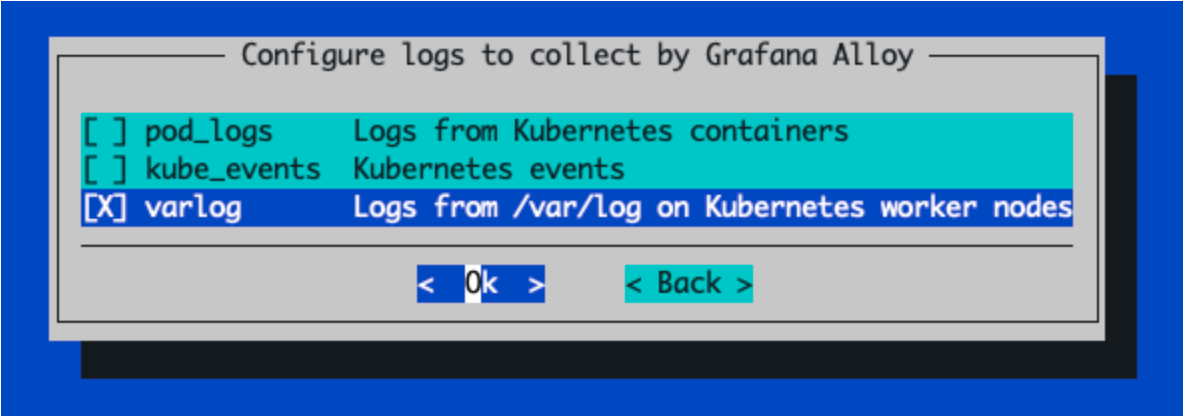
Select the varlog option for Grafana Alloy and then select Ok.
Choose save config & exit and then select Ok.
The wizard saves the configuration to
/root/cm-kubernetes-setup.conf. Kubernetes is not deployed at this stage.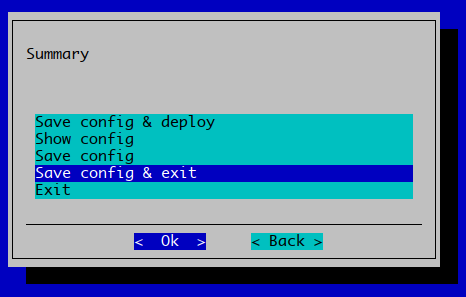
Step 2: Extract the air-gapped archive#
Extract the tarball on the active BCM head node:
tar -xvf airgapped.tgz
The tarball extracts to an airgapped directory.
Ubuntu-specific requirement#
On Ubuntu systems, move the extracted directory to /tmp/airgapped. The apt user (_apt) cannot access packages under /root, which causes File not found errors during package installation.
mv airgapped /tmp/airgapped
cd /tmp/airgapped
On Rocky Linux or RHEL BCM head nodes:
cd airgapped
Note
A future BCM update is expected to remove the Ubuntu /tmp requirement.
Add the air-gap helper scripts to PATH if they are not already available:
export PATH=$PATH:$K8S_AG_SCRIPTS
Step 3: Install Packages on the BCM Head Node#
Install packages from the air-gapped tarball onto the BCM head node. BCM determines the required software images from /root/cm-kubernetes-setup.conf.
cm-kubernetes-setup --airgap-install-system-packages -c /root/cm-kubernetes-setup.conf
For BCM high-availability (HA) clusters, copy the airgapped directory to the secondary BCM head node and repeat this step with the additional flag:
cm-kubernetes-setup --airgap-install-system-packages --skip-headnode-check -c /root/cm-kubernetes-setup.conf
Note
For BCM versions 11.33.* and earlier, it’s normal to see the error message:
This node is not the active head node (PASSIVE)...
If you encounter this, select Skip for this installation stage.
Multi-architecture clusters#
The package source must include every CPU architecture referenced by software images in the Kubernetes cluster. Package installation targets each architecture automatically.
Step 4: Set up the container registry#
Configure the local container registry:
cm-container-registry-setup --skip-packages
Deploy container registry#
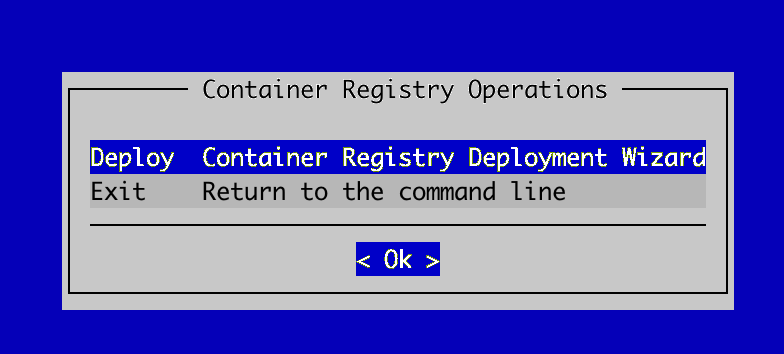
Select Deploy Container Registry Deployment Wizard and click Ok.
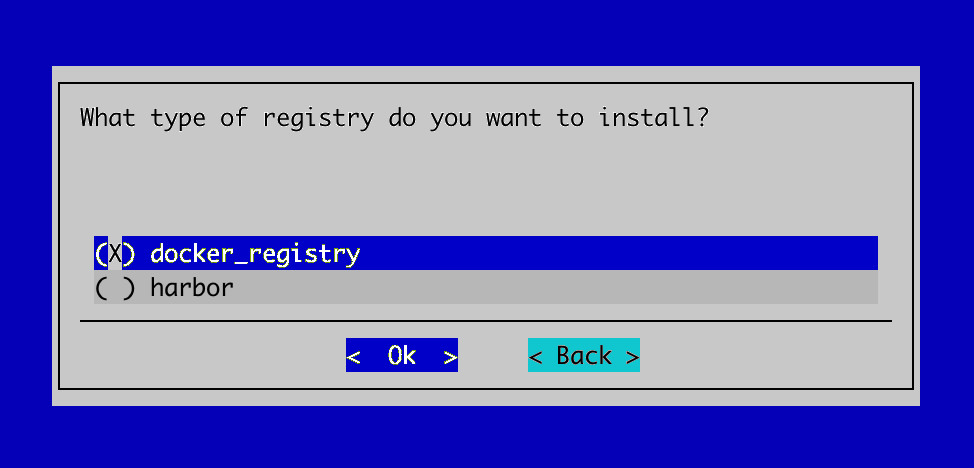
Registry type#
Select docker_registry and click Ok.
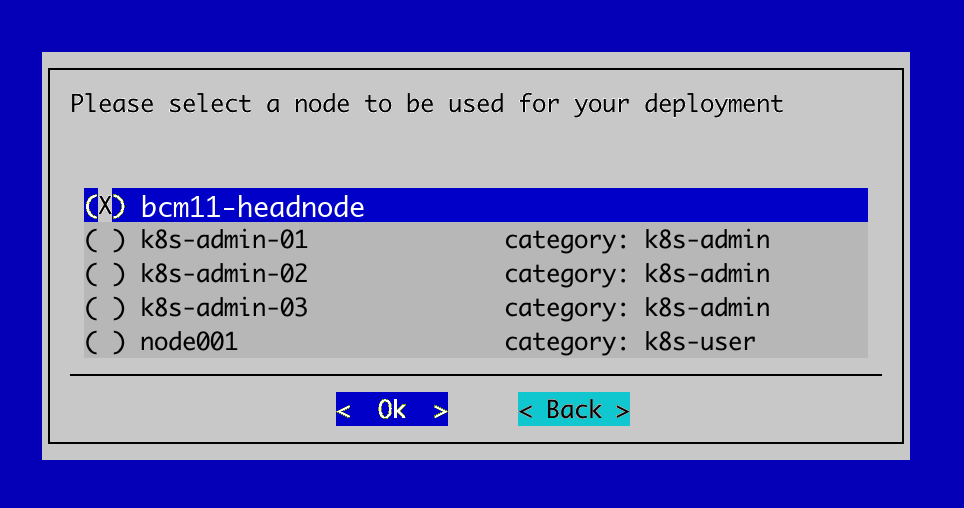
Node for deployment#
Select the active BCM head node and click Ok.
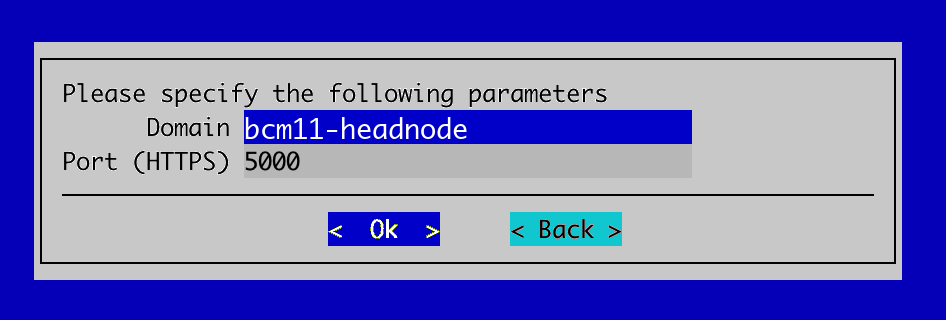
Domain and port#
Set the domain and HTTPS port (5000). Use master.cm.cluster as the domain unless your environment requires a different name.
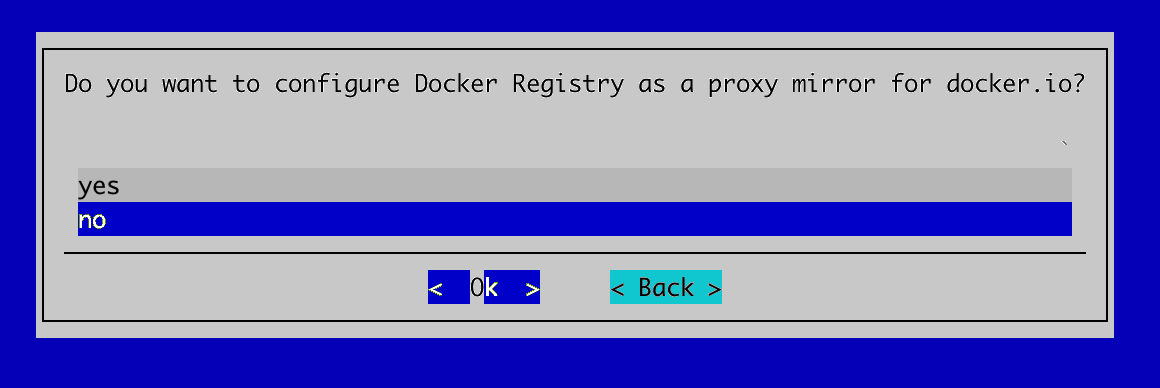
Proxy mirror configuration#
Select no and click Ok.
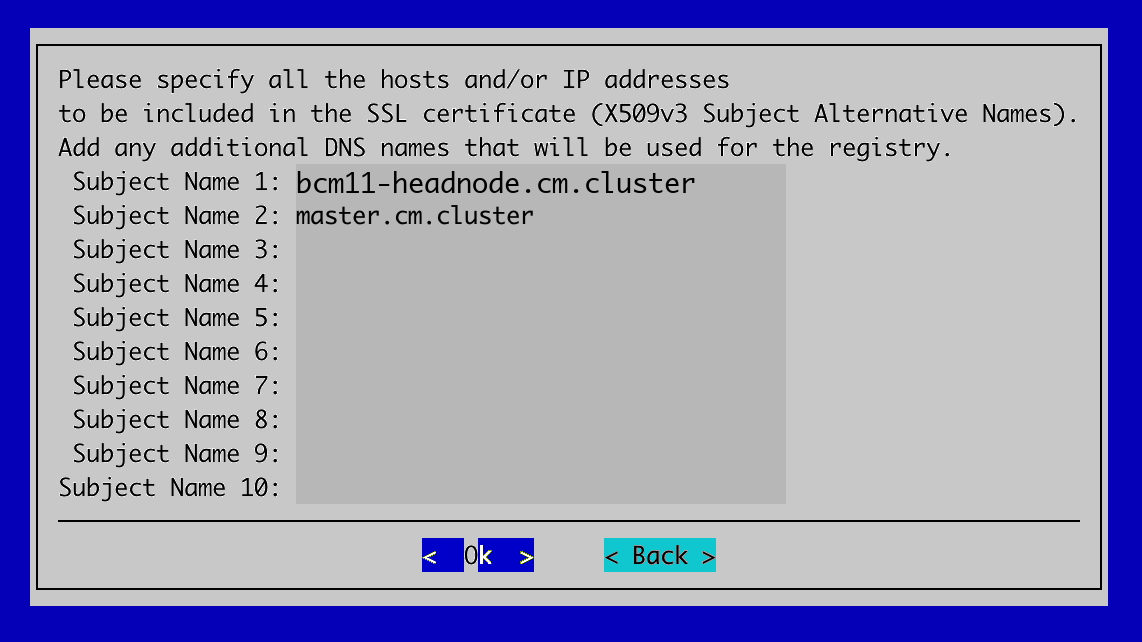
SSL certificate Subject Alternative Names#
Ensure the container registry hostname is included in the SSL certificate Subject Alternative Names. Set a custom domain name or additional SAN: master.cm.cluster.
Save and deploy#
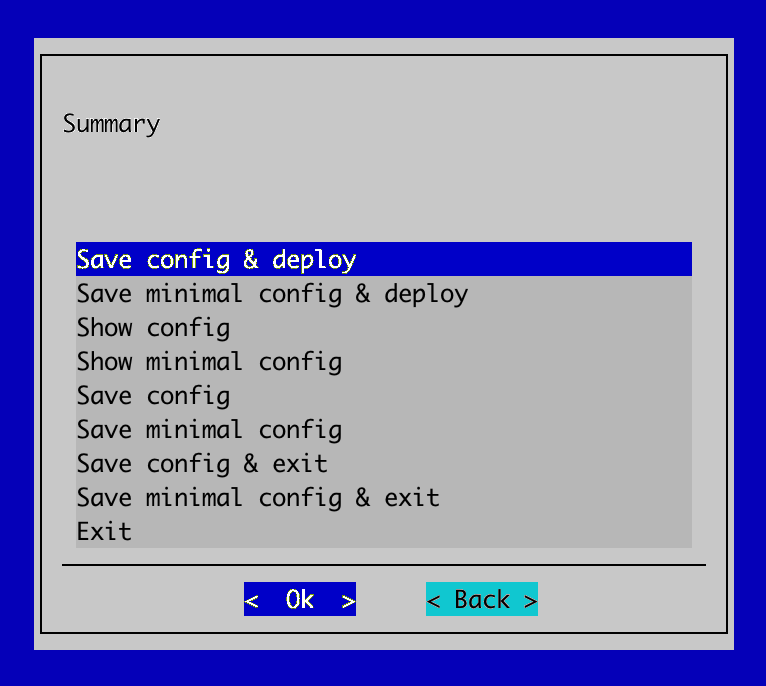
Select Save config & deploy and click Ok.
The domain master.cm.cluster is referenced throughout the remainder of this guide and in /root/cm-kubernetes-setup.conf.
Step 5: Install Docker#
Install and configure Docker on the active BCM head node:
cm-docker-setup --skip-packages
Docker installation wizard#
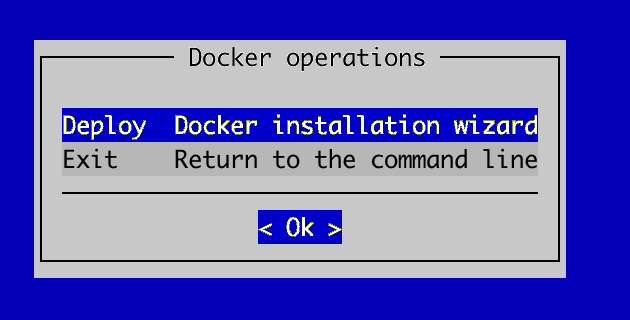
Select Deploy Docker installation wizard and click Ok.
Configuration overlay#
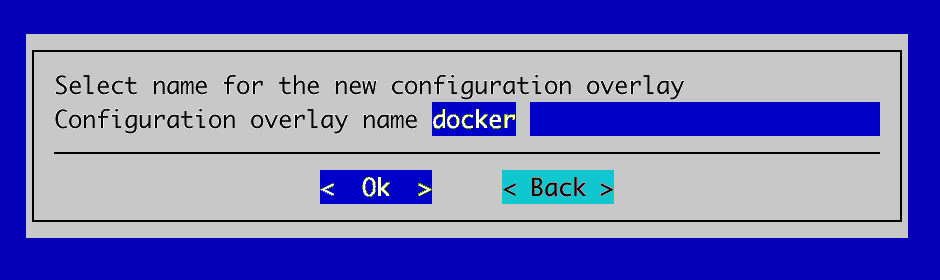
Keep the default configuration overlay name docker and click Ok.
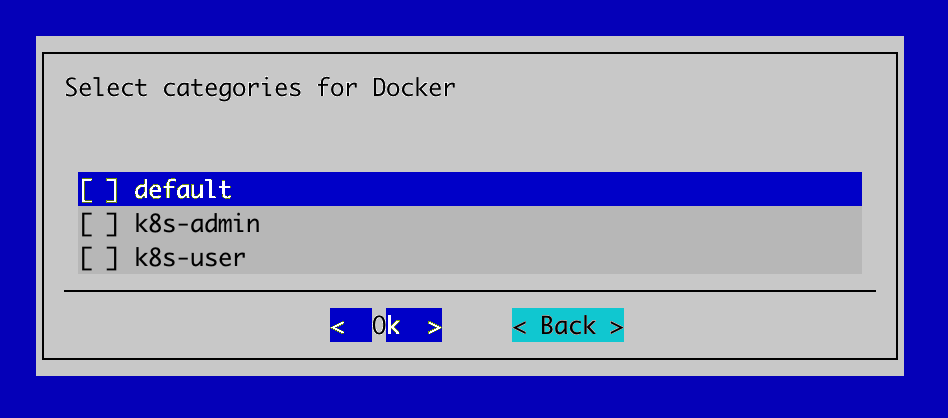
Categories for Docker#
Leave all categories unselected and click Ok.
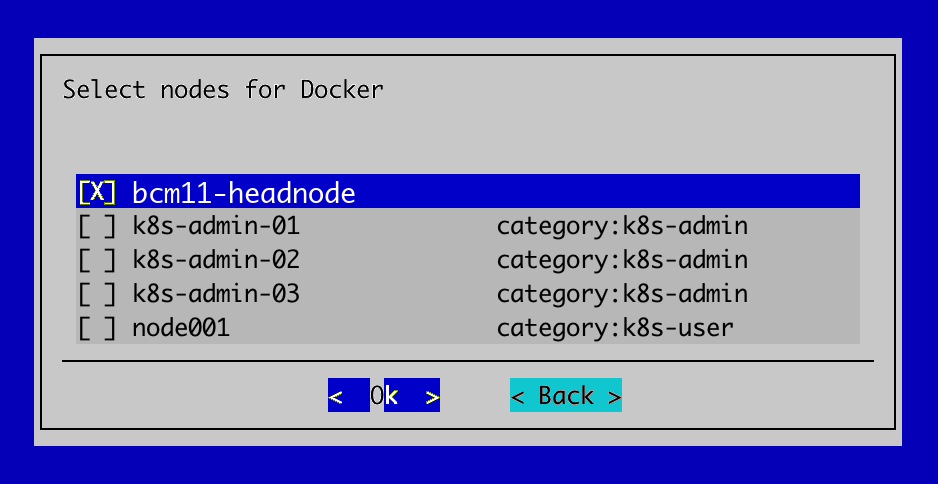
Nodes for Docker#
Select the active BCM head node and click Ok.
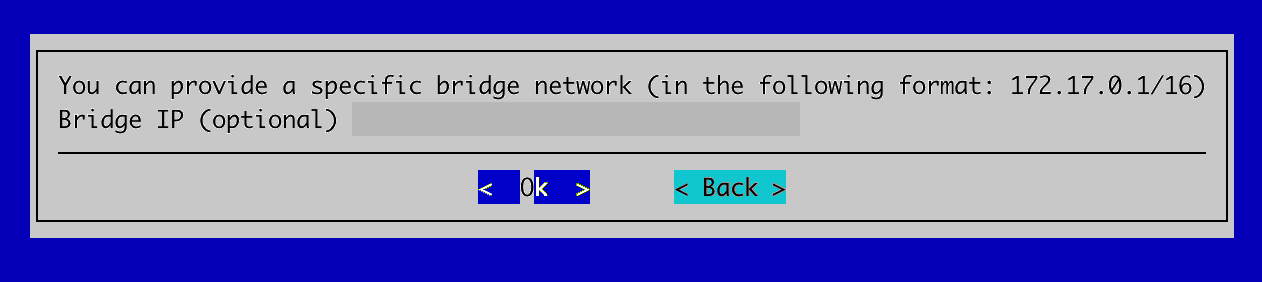
Bridge network#
Leave the bridge IP blank and click Ok.
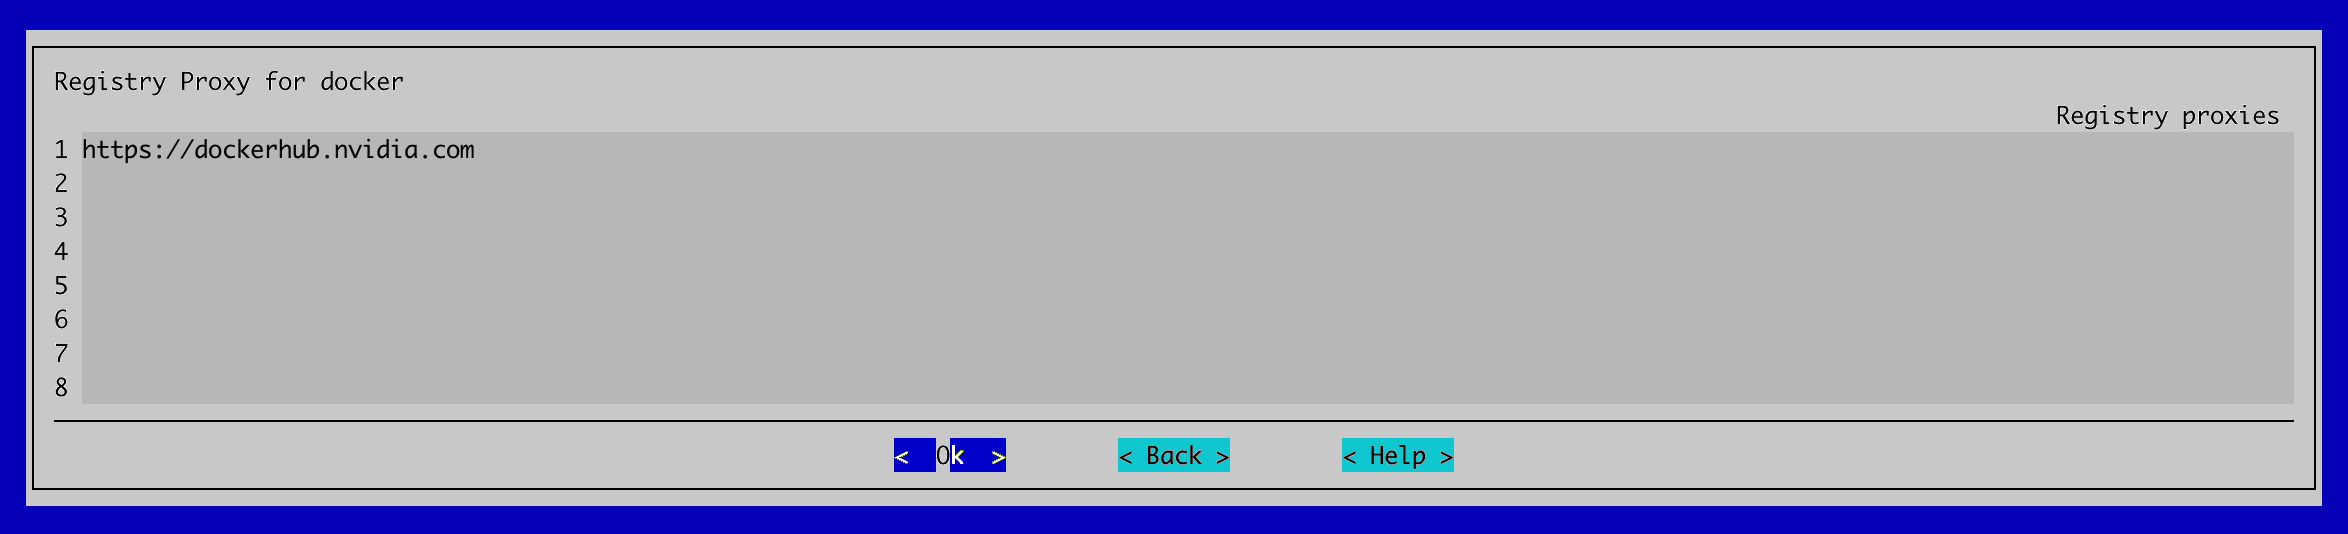
Registry proxy#
Configure registry proxies as shown and click Ok.
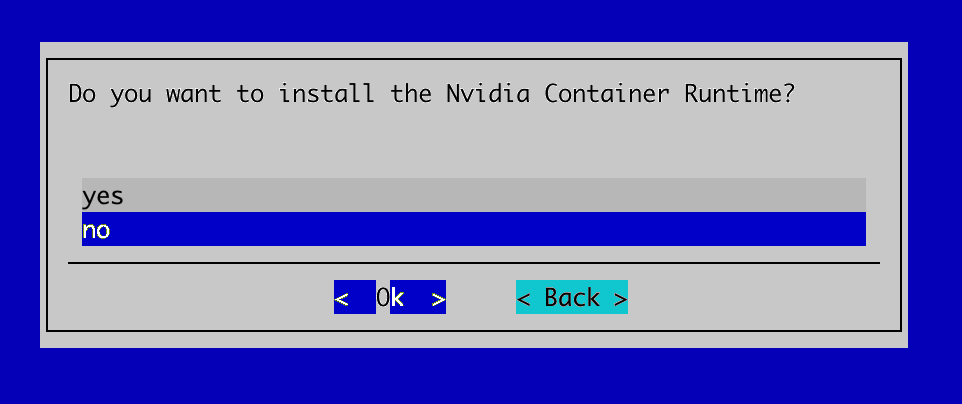
NVIDIA Container Runtime#
Select no and click Ok.
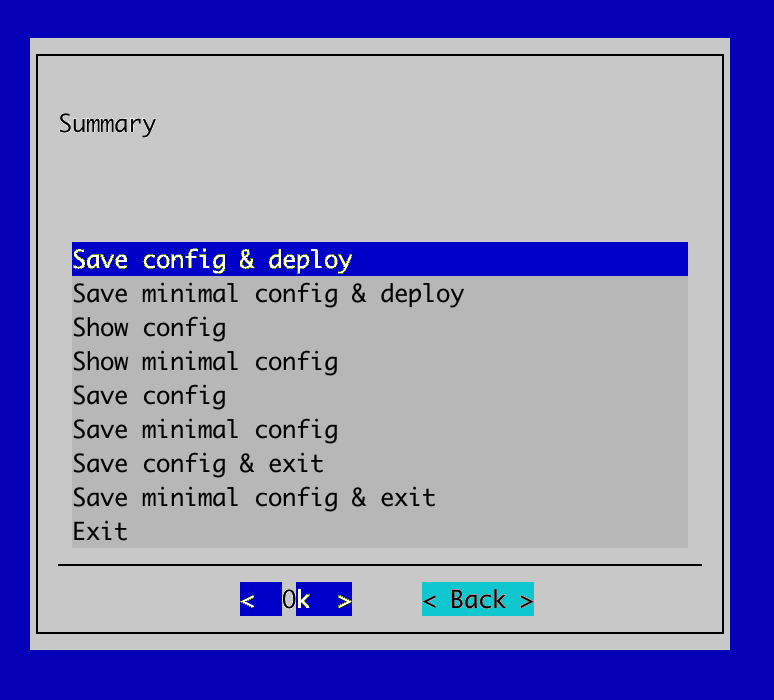
Save and deploy#
Select Save config & deploy and click Ok.
Verify Docker is running:
module load docker
docker ps
Expected output:
CONTAINER ID IMAGE COMMAND CREATED STATUS PORTS NAMES
Docker service initialization may take a few seconds. docker login is not required — images are not pulled from Docker Hub in the air-gapped environment.
Step 6: Push container images and Helm charts#
From the airgapped directory, push all container images and Helm charts to the local registry:
cm-kubernetes-setup --airgap-push-container-images -c /root/cm-kubernetes-setup.conf
cm-kubernetes-setup --airgap-push-helm-charts -c /root/cm-kubernetes-setup.conf
Extract the downloaded CRD files:
$K8S_AG_SCRIPTS/extract_crds.sh
Multi-architecture clusters#
Download container images for every CPU architecture your Kubernetes workloads require on the preparation host. All images for the architectures you downloaded are pushed to the registry, regardless of the BCM head node’s own architecture.
Step 7: Prepare the air-gapped configuration#
Edit /root/cm-kubernetes-setup.conf and verify that the airgap section matches the following. Update any values that differ before proceeding:
modules:
  kubernetes:
    airgap:
      helm:
        ca: '/cm/local/apps/containerd/var/etc/certs.d/master.cm.cluster:5000/ca.crt'
        repo: 'oci://master.cm.cluster:5000/helm-charts'
      registry: 'master.cm.cluster:5000'
      registry_username: ''
      registry_password: ''
Important
Verify each field matches your configuration file exactly. Pay particular attention to helm.ca, helm.repo, and registry — incorrect values will cause deployment failures in the air-gapped environment.
Adjust hostnames and paths only if your container registry uses a different address than master.cm.cluster:5000.
Step 8: Deploy Kubernetes#
Deploy the air-gapped Kubernetes cluster:
cm-kubernetes-setup -c /root/cm-kubernetes-setup.conf
This completes the air-gapped Kubernetes cluster deployment.
Post-installation notes#
Software images#
Step 3 installs packages from the air-gapped tarball into software images referenced by the configuration. When deploying new software images for worker nodes in an air-gapped cluster, BCM cannot automatically provision them as it does in connected clusters.
Run the installation commands manually for air-gapped clusters, adjusting the configuration file to target the appropriate nodes and node categories.