Deploying Multiple Bots
NVIDIA ACE Agent allows developers to deploy and interact with multiple bots together using text based API’s. The name of the bot (mandatory) along with the optional version field provided in the bot config yaml file acts as an unique identifier for your bot.
bot: lisa
version: 1
There are two ways to deploy multiple bots together. Assume you have the following directory structure. There must be a valid bot config yaml file in each of the bot directories.
├── my_bots
│   └── stock_bot
│       └── bot_config.yaml
│       └── …
│   └── langchain
│       └── bot_config.yaml
│       └── …
Attention
If any of your bots use plugin modules and NLP servers, and you are using Docker or Kubernetes to deploy your bots, then the
plugin_config.yamlandmodel_config.yamlfiles must be placed at the top level outside the individual bot directories.
Option 1
Provide the path to a directory which has multiple bots. Each bot must have its own distinct directory.
aceagent chat server --config my_bots/
Option 2
Provide multiple single bot directory paths separately using the --config argument. Here, all the bot directories may not reside under a single directory.
aceagent chat server --config my_bots/stock_bot --config my_bots/langchain
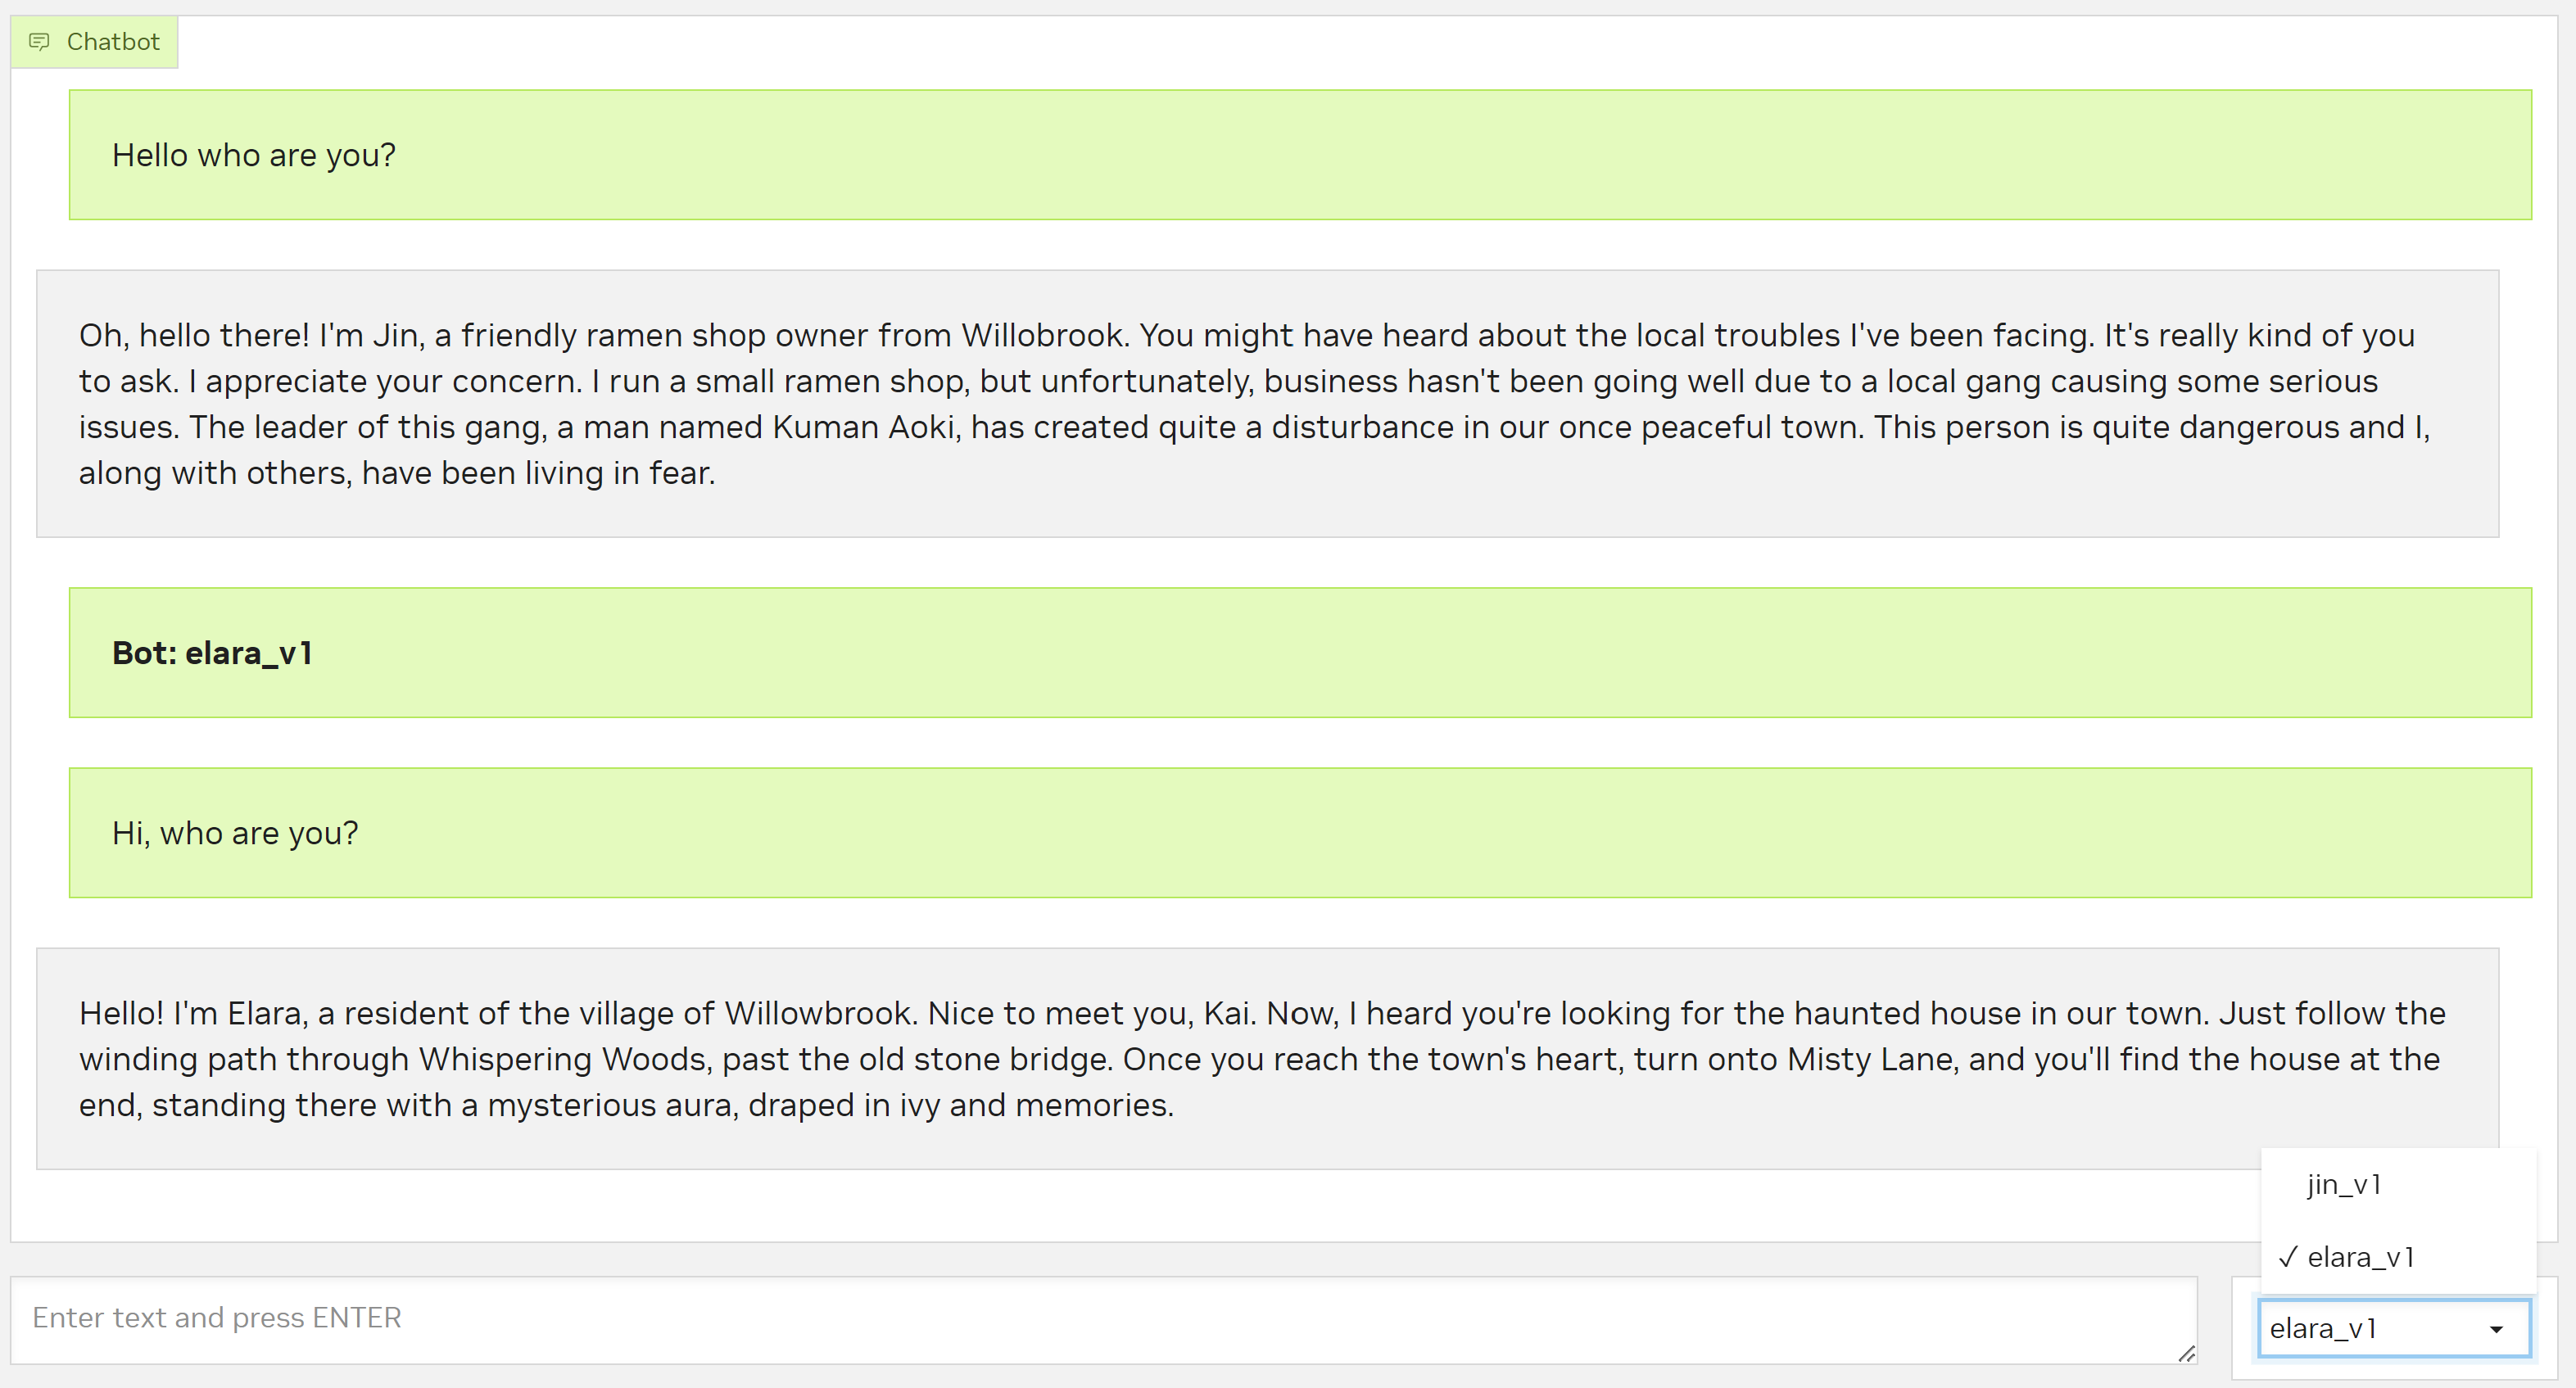
You will find the instructions to select a bot, before making a request with the provided interface. For example, if the bot is launched with cli mode using the aceagent tool, select the bot you want to chat with by choosing the bot name from the drop-down list on the terminal. If you are using the text-mode of the web-frontend app, you can select the bot you want to chat with from the drop-down button on the right side of the text bar.
Note
Checkout the sample bots provided to represent non-playable characters in a game. It demonstrates a practical scenario and use case of multi-bot deployment. The above image uses the non-playable characters sample bot.
Since we have used the Python Environment for deploying the bots above, you should be able to run the same with Docker Environment by updating the commands in the docker-compose.yml file.