Initial DGX OS Setup
This section describes the set up process when the DGX system is powered on for the first time after delivery or after the system is reimaged.
To start the process, you need to accept the End User License Agreements (EULA) and to set up your username and password. To preview the EULA, visit NVIDIA DGX Systems Enterprise Support and click the DGX EULA link (under Details).
During the installation and initial configuration steps, you need to connect to the console of the DGX system. There are several ways to connect to the DGX system, including the following:
Through a virtual keyboard, video, and mouse (KVM) in the BMC.
A direct connection with a local monitor and keyboard.
Refer to the appropriate DGX product user guide for a list of supported connection methods and specific product instructions:
Here are the steps to complete the first boot process. It differs between the DGX systems:
First Boot Process for DGX Servers
Here are the steps to complete the first boot process for DGX servers.
If the DGX OS was installed with an encrypted root filesystem, you will be prompted to unlock the drive. See Advanced Installation Options (Encrypted Root) When you select this menu item, you have the ability to encrypt the root filesystem of the DGX system for more information.
Enter
nvidia3dat the crypt prompt.
Accept the EULA to proceed with the DGX system set up.
Complete the following steps:
Select your language and locale preferences.
Select the country for your keyboard.
Select your time zone.
Confirm the UTC clock setting.
Create an administrative user account with your name, username, and password.
This username is also used as the BMC and GRUB username.
The BMC software will not accept
sysadminfor a username, and you will not be able to log in to the BMC with that username.WarningDuring this step in the procedure, the default BMC Admin User will be disabled and a new BMC Admin user will be created.
The username must be composed of lower-case letters.
The username will be used for administrative activities instead of the root account.
Ensure you enter a strong password.
If the password that you entered is weak, a warning appears.
Create a BMC admin password. The allowed character length for the BMC password depends on the specific DGX product:
DGX-1: 1 - 20 characters
DGX-2: 1 - 20 characters
DGX A100: 13 - 20 characters
DGX Station A100: 13 - 20 characters After you create your login credentials, the default credentials will no longer work.
Create a GRUB password.
Your GRUB password must have at least 8 characters. If it has less than 8 characters, you cannot click Continue.
If you continue without entering a password, the GRUB protection will be disabled. For added security, NVIDIA recommends that you set the GRUB password.
Create a root filesystem passphrase. This dialog only appears if root filesystem encryption was selected at the time of the DGX OS installation. See Advanced Installation Options (Encrypted Root) for more information. When you select this menu item, you have the ability to encrypt the root filesystem of the DGX system.
Select a primary network interface for the DGX system. This should typically be the interface that you will use for subsequent system configuration or in-band management. For example:
DGX-1:
enp1s0f0DGX-2:
enp6s0DGX A100:
enp226s0
Do not select
enp37s0f3u1u3c2,bmc_redfish0, or similar name, as this interface is intended only for out-of-band management or future support of in-band tools that will access the Redfish APIs.After you select the primary network interface, the system attempts to configure the interface for DHCP and prompts you to enter the name server addresses.
If no DHCP is available, click OK at the Network autoconfiguration failed dialog and manually configure the network.
To configure a static address, then click Cancel at the dialog after the DHCP configuration completes to restart the network configuration steps.
To select a different network interface, after the DHCP configuration completes, click Cancel at the dialog to restart the network configuration steps.
If prompted, enter the requested networking information, such as the name server or the domain name.
Select a host name for the DGX system.
After you complete the first boot process, the DGX system configures the operating system, starts the system services, and displays a login prompt on the console. If the IP of the configured network interface is known, you can log in by using the console or secure shell (SSH).
Before issuing a reboot, make sure that the NVIDIA RAID configuration service
has completed by issuing sudo systemctl status nvidia-raid-config until
the Finished NVIDIA RAID Configuration message appears. It typically
takes about 10 minutes for the service to complete.
First Boot Process for DGX Station
When you power on your DGX Station for the first time, you are prompted to accept end user license agreements for NVIDIA software. You are then guided through the process to complete the initial Ubuntu OS configuration.
During the configuration process, to prevent unauthorized users from using non-default boot entries and modifying boot parameters, you need to enter a GRUB password.
Accept the EULA and click Continue.
Select your language, for example, English – English, and click Continue.
Select your keyboard, for example, English (US) and click Continue.
Select your location, for example, Los Angeles, and click Continue.
Enter your username and password, enter the password again to confirm it, and click Continue.
Here are some requirements to remember:
The username must be composed of lower-case letters.
The username will be used instead of the root account for administrative activities.
It is also used as the GRUB username.
Ensure you enter a strong password.
If the password that you entered is weak, a warning appears.
Enter the GRUB password and click OK.
Your GRUB password must have at least 8 characters.
If it has less than 8 characters, you cannot click Continue.
If you do not enter a password, GRUB password protection will be disabled.
If you performed the automated encryption install, you will also be prompted to create a new passphrase for your root filesystem.
The default password was seeded with
nvidia3dwhich will be disabled after you complete this step.This new passphrase will be used to unlock your root filesystem when the system boots.
ImportantFollowing a reboot, make sure that the NVIDIA RAID configuration service has completed by issuing
$ sudo systemctl status nvidia-raid-config
until the “Finished NVIDIA RAID Configuration” message appears. It typically takes about 10 minutes for the service to complete.
You can complete the following tasks after you install your DGX system.
Adding Support for Additional Languages to the DGX Station
During the initial Ubuntu OS configuration, you are prompted to select the default language on the DGX Station. If the language that you select is in the DGX OS 5 software image, it is installed in addition to English, and you will see that language after you log in to access your desktop. If the language that you select is not included, you will still see English after logging in, and you will need to install the language separately.
The following languages are included in the DGX OS 5 software image:
English
Chinese (Simplified)
French
German
Italian
Portuguese
Russian
Spanish
For information about how to install languages, see Install languages
Configuring your DGX Station
The DGX Display Adaptor card provides DGX OS with multiple display outputs, which allow you to connect multiple monitors to the [DGX Station A100]. If you plan to use more than one display, configure the DGX Station A100 to use multiple displays after you complete the initial DGX OS configuration. See First Boot Process for DGX Station(#station-first-boot “When you power on your DGX Station for the first time, you are prompted to accept end user license agreements for NVIDIA software. You are then guided through the process to complete the initial Ubuntu OS configuration.
Connect the displays that you want to use to the mini DisplayPort (DP) connectors (or the DisplayPort connectors DGX Station V100) at the back of the unit.
NoteDGX Station A100 also supplies two mini DP to DP adapters if your monitors do not natively support mini DP input.
Each display is automatically detected as you connect it.
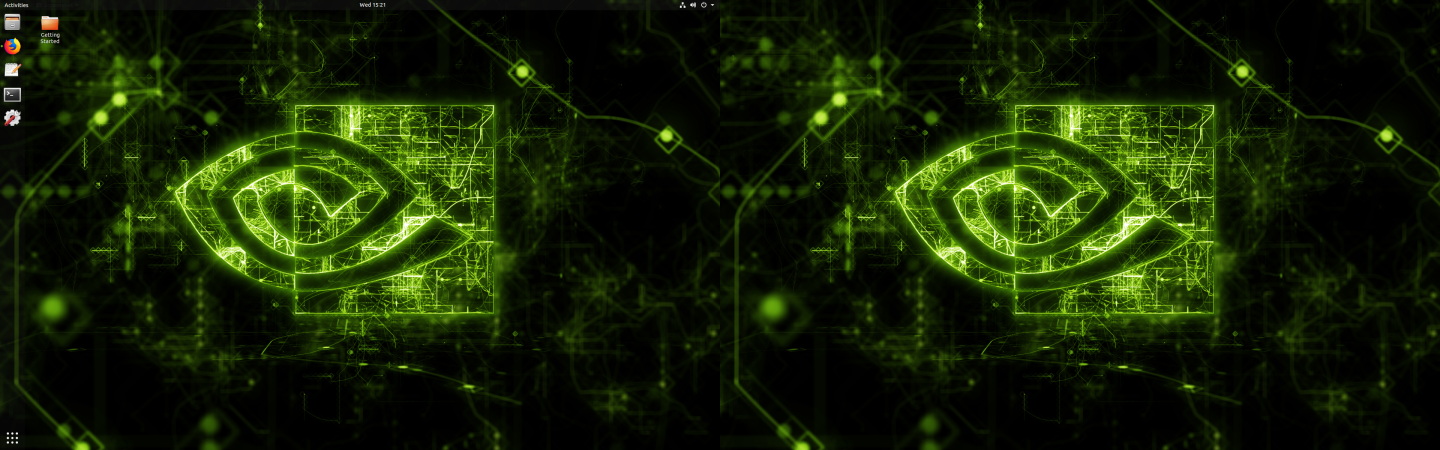
two displays connected to the DGX Station.
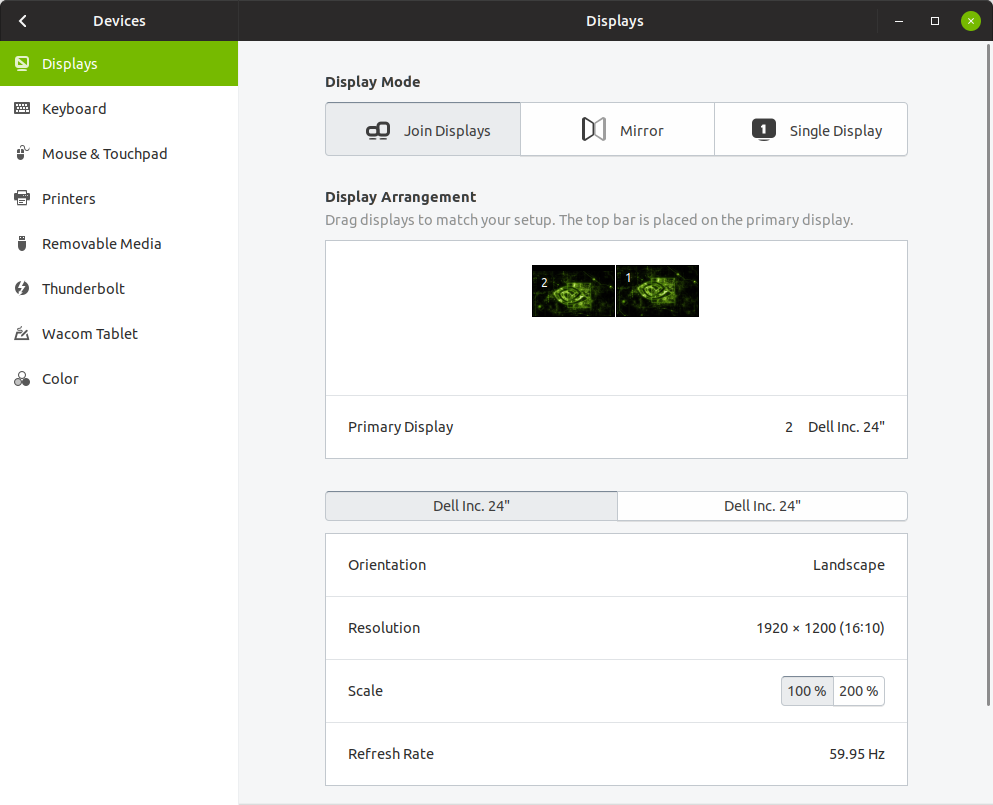
Optional: If necessary, adjust the display configuration, such as switching the primary display, or changing monitor positions or orientation.
Open the Displays window.
In the Displays window, update the necessary display settings and click Apply
Configuring your DGX Station V100
This information only applies to DGX Station V100.
High-resolution displays consume a large quantity of GPU memory. If you connected three 4K displays to the DGX Station V100, the displays might consume most of the GPU memory on the NVIDIA Tesla V100 GPU card to which these displays are connected, especially if you are running graphics-intensive applications.
If you are running memory-intensive compute workloads on the DGX Station V100, and are experiencing performance issues, consider conserving GPU memory by reducing or minimizing the graphics workload.
To reduce the graphics workload, disconnect any additional displays you connected and use only one display with the DGX Station V100.
If you disconnect a display from the DGX Station V100, the disconnection is automatically detected, and the display settings are automatically adjusted for the remaining displays.
To minimize the graphics workload, shut down the display manager and use secure shell (SSH) to remotely log in to the DGX Station.
In DGX OS 5.x, log in to the DGX Station remotely, run the following commands:
To start the GNOME Display Manager (GDM3):
$ sudo systemctl start gdm3
To stop the GDM3, run the following command:
$ sudo systemctl stop gdm3
Enabling Multiple Users to Remotely Access the DGX System
To enable multiple users to remotely access the DGX system, an SSH server is installed and enabled on the DGX system.
Add other Ubuntu OS users to the DGX system to allow them to remotely log in to the DGX system through SSH. Refer to Add a new user account for more information.
For information about how to log in remotely through SSH, see Connecting to an OpenSSH Server on the Ubuntu Community Help Wiki.
The DGX system does not provide any additional isolation guarantees between users beyond the guarantees that the Ubuntu OS offers. For guidelines about how to secure access to the DGX system over SSH, see Configuring an OpenSSH Server on the Ubuntu Community Help Wiki.