Kubernetes Deployment
This section addresses configuration steps to be performed on the BCM head node.
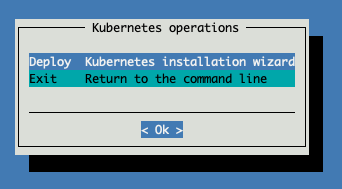
In the root shell, run the Kubernetes setup script.
cm-kubernetes-setup
Select Deploy to continue
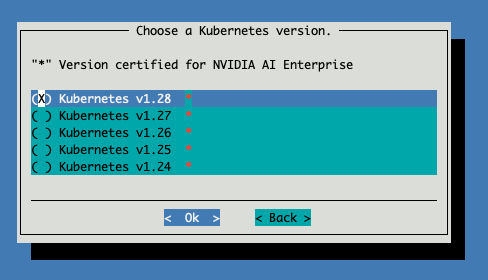
Select the newest version certified for NVIDIA AI Enterprise.
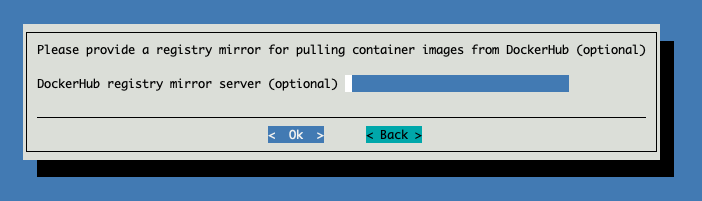
(Optional) Enter a private registry server here if required.
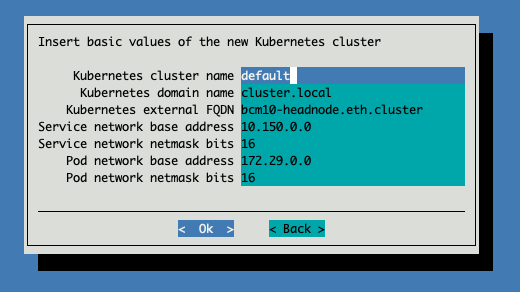
Keep the default settings for the cluster.
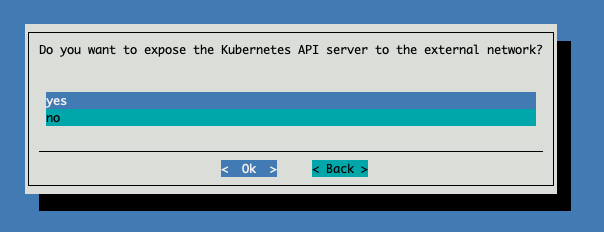
Select yes to allow the cluster to be used from the headnode.
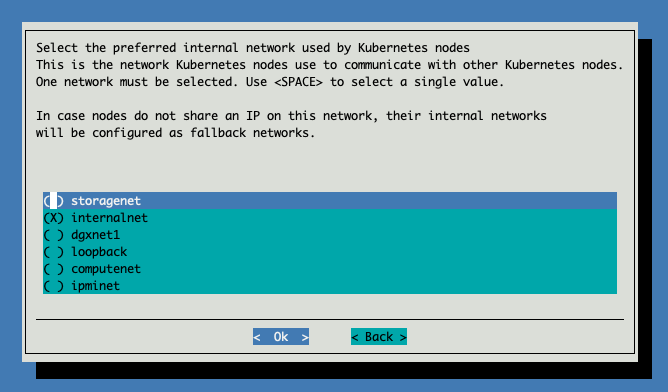
Select internalnet since that is what the Kubernetes control nodes use.
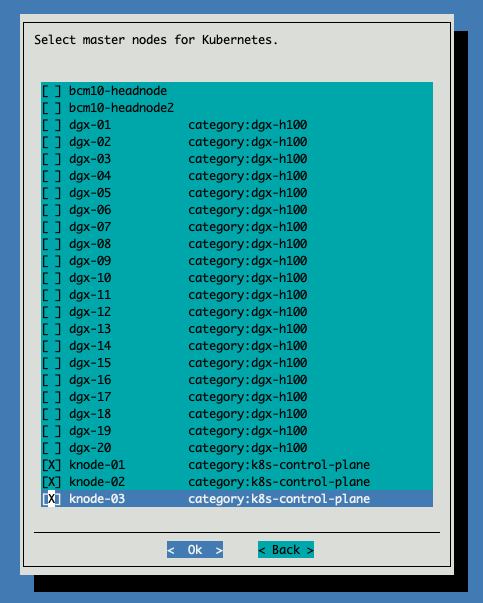
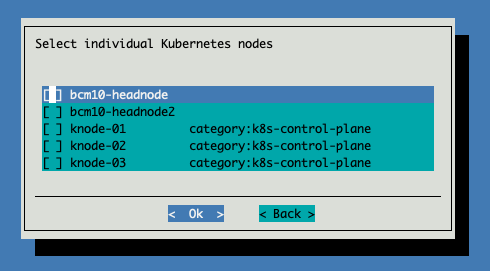
Select the 3 knodes for the control plane.
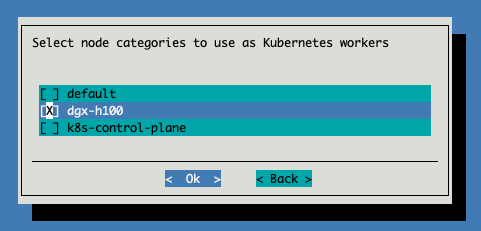
Select the dgx-h100 category for Kubernetes workers.
Skip selecting individual worker nodes.
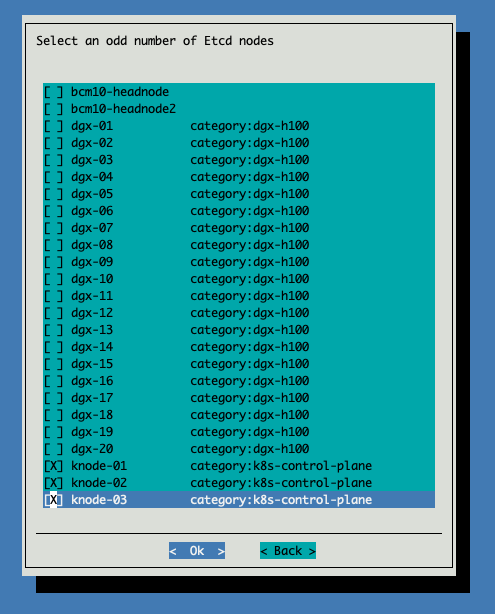
Select the 3 knodes to be Etcd nodes.
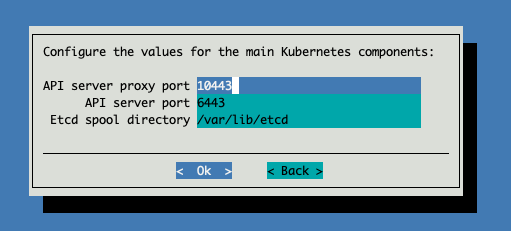
Accept the default values.
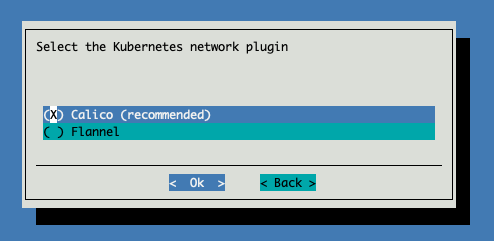
Select the Calico plugin.
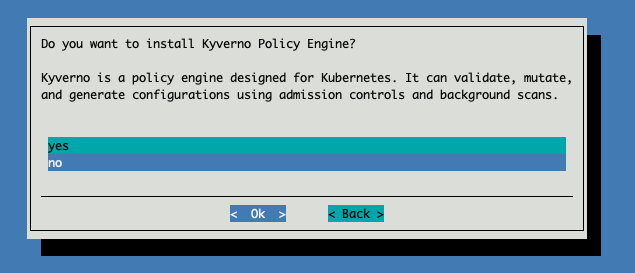
Select no for installing the Kyverno Policy Engine.
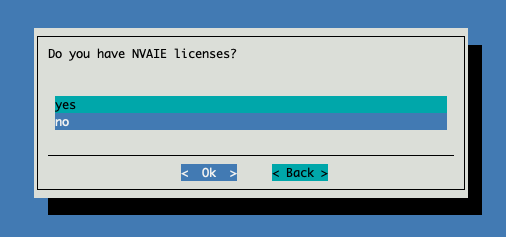
(Optional) If an NVAIE license has been provided, select yes and enter the details on the following page. Otherwise, select no.
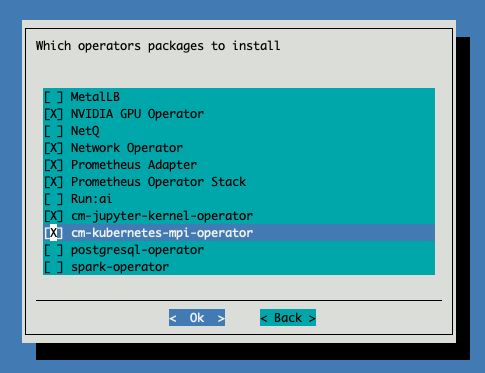
Select the following operators to install:
NVIDIA GPU Operator
Network Operator
Prometheus Adapter
Prometheus Operator Stack
cm-jupyter-kernel-operator
cm-kubernetes-mpi-operator
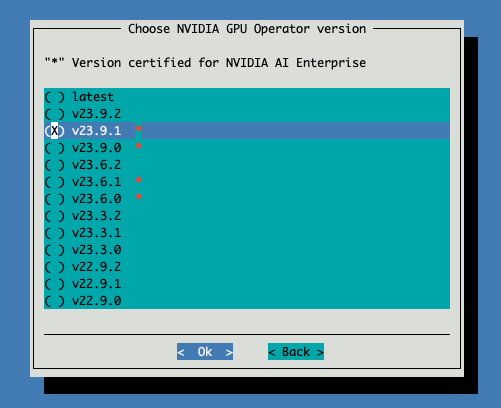
Select the latest version certified for NVIDIA AI Enterprise.
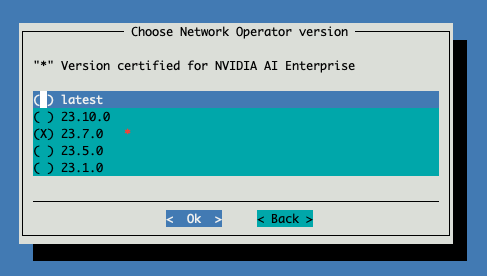
Select the latest version certified for NVIDIA AI Enterprise.
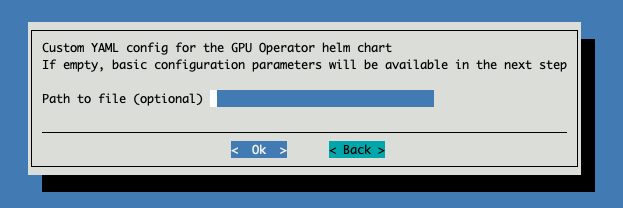
Leave the custom YAML file blank.
Select both cdi.enabled and nfd.enabled.

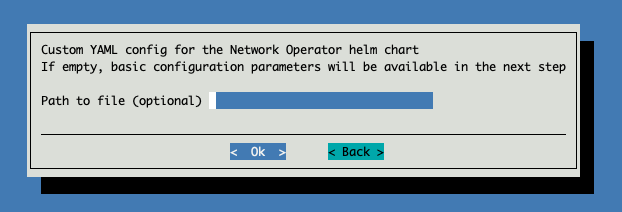
Leave the custom YAML file blank.
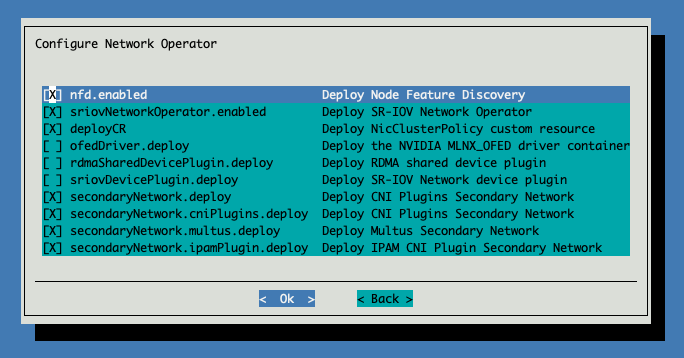
Configure the Network Operator by selecting the following:
nfd.enabled
sriovNetworkOperator.enabled
deployCR
secondaryNetwork.deploy
secondaryNetwork.cniPlugins.deploy
secondaryNetwork.multus.deploy
secondaryNetwork.ipamPlugin.deploy
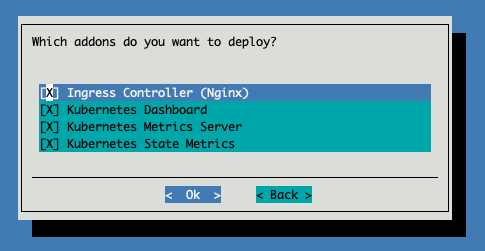
Deploy all the addons.
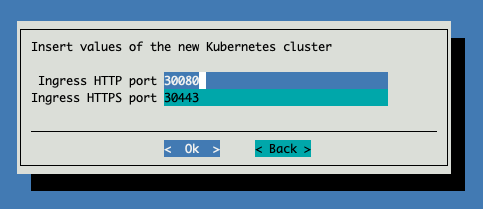
Leave the ports as default.
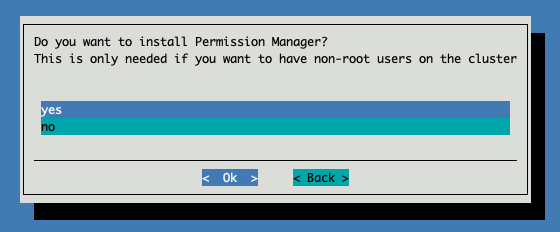
Choose yes to install the Permission Manager.
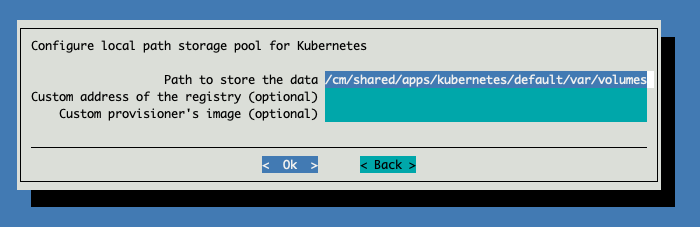
Select both enabled and default for the local storage path.
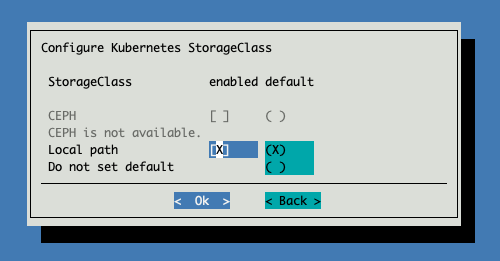
Leave the storage path as default.
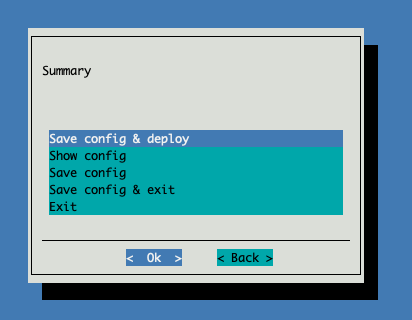
Choose to save config and deploy.
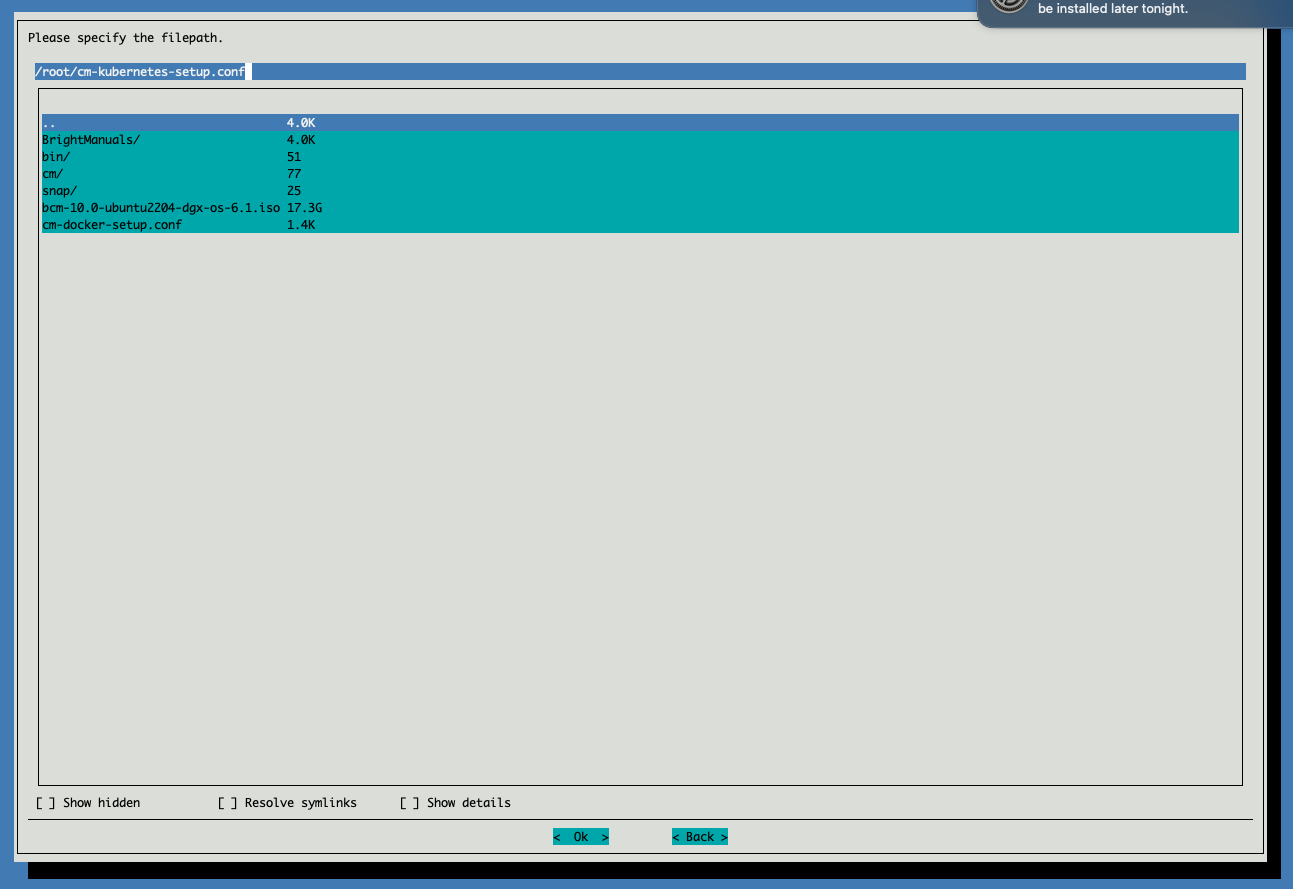
Keep the default file path for the config file and continue.
Once the Kubernetes setup has finished, check that all the nodes are online.
root@bcm10-headnode:~# kubectl get nodes
NAME       STATUS   ROLES                  AGE     VERSION
dgx-01     Ready    worker                 5m56s   v1.28.10
dgx-02     Ready    worker                 5m49s   v1.28.10
...
knode-01   Ready    control-plane,master   6m26s   v1.28.10
knode-02   Ready    control-plane,master   5m47s   v1.28.10
knode-03   Ready    control-plane,master   5m56s   v1.28.10