Create a User and a Project#
Go to the Settings and Users window in the Run:ai UI.
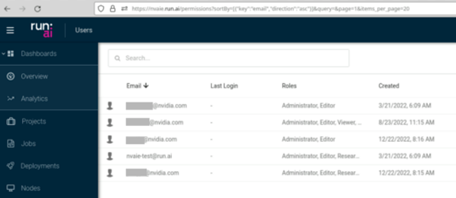
On the top right of the page, select + New User.
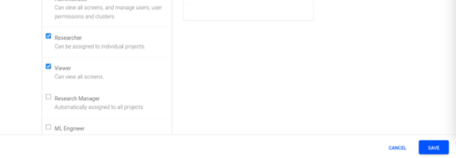
Enter the email address of users and assign them the roles of Researcher and Viewer by selecting the corresponding check boxes.
For this example, the researcher will use the email of researcher1@nvidia.com.
Information about the various roles within Run:ai is available in the Run:ai Administrator documentation.
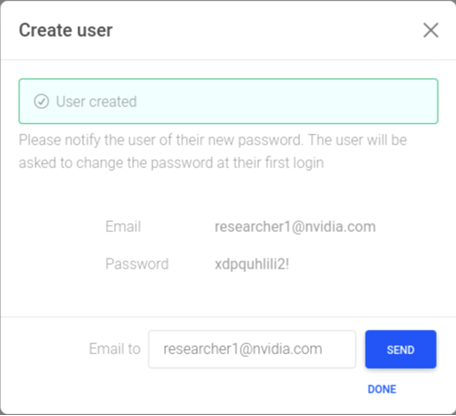
Select the Save button to complete the user creation.
After user created is displayed, make a note of the temporary password and provide it to the reasearcher or leverage the Email to field if an SMTP server is configured.
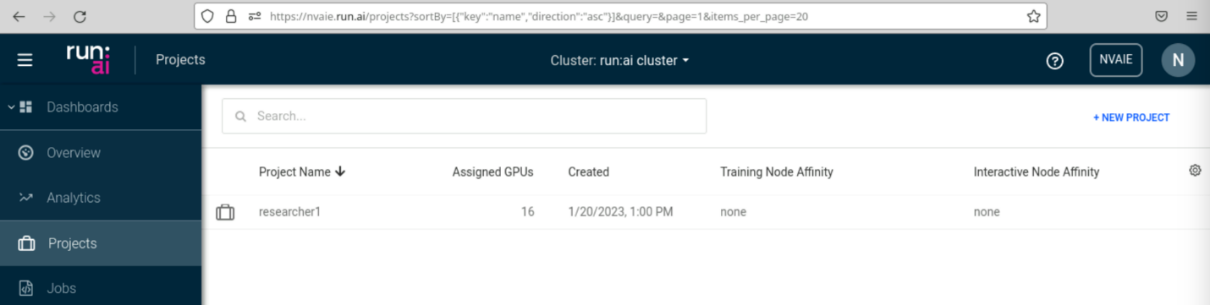
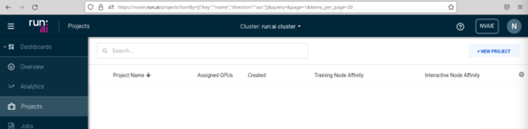
Go to the Dashboard and select the drop-down for Projects.
On the top right of the page, select + New Project.
Enter the Project Name and the number of Assigned GPUs.
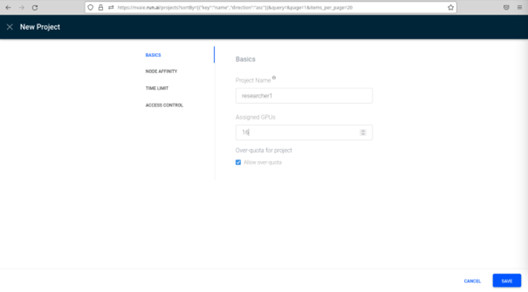
Choose the NODE AFFINITY and TIME LIMIT for the Project.
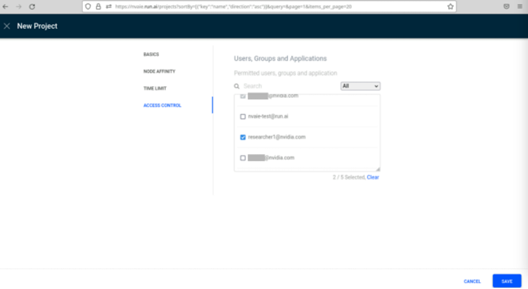
Select who can access the project through the ACCESS CONTROL screen and then Save.
Ensure that the newly created Project is displayed on the Projects screen.