Installing Run:ai#
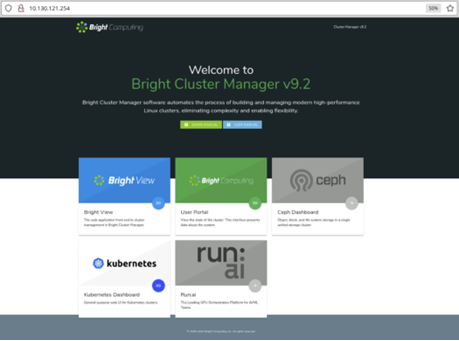
Select the Run:ai tile on the locally installed BCM landing page.
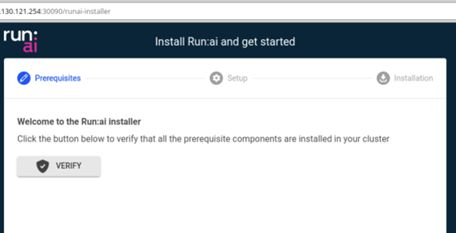
Select Verify on the resulting the Prerequisites window.
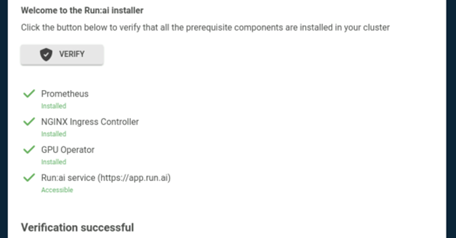
After four green check marks are displayed, select CONTINUE to proceed with the Run:ai installation.
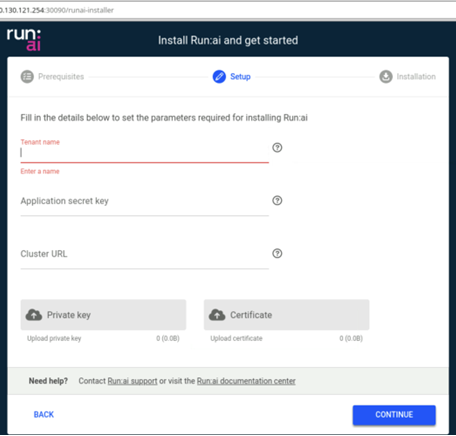
Enter the information collected from the Prerequisites and the selected Continue.
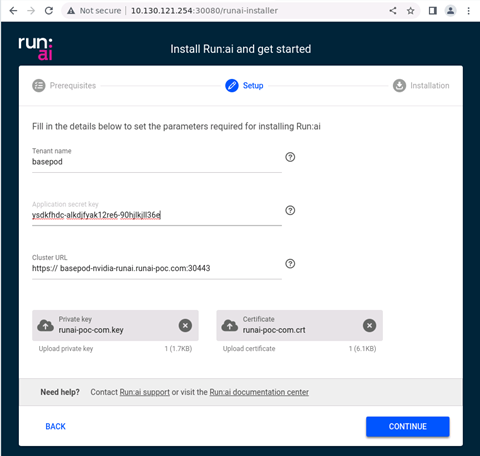
The screen will then be replaced with one like the following.
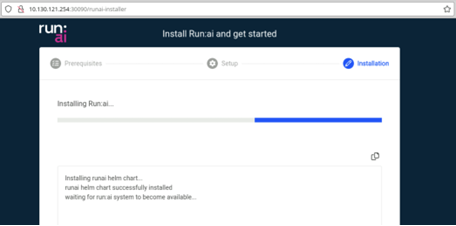
View the progress of the installation as components are deployed to the BCM K8s cluster.
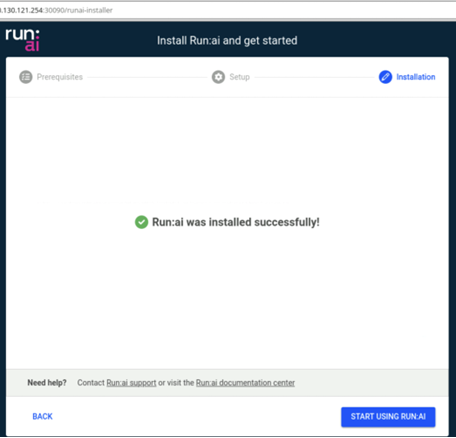
The Run:ai installation should complete within a few minutes, marking the occasion with a message of Run:ai was installed successfully!
Select START USING RUN:AI to launch the login page of the tenant in a new browser tab.
Login to the assigned tenat with th email and password provided by the Run:ai support team.

Note
Upon first login, a password change will be required.
After logging in, the Overview window is displayed.
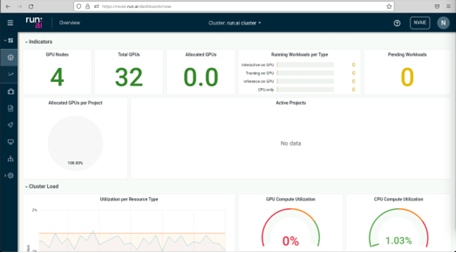
The run.ai installation from BCM landing page is now complete.
The next section covers using the CLI to finalize the configuration