Battery Replacement#
This section provides information about replacing the battery.
Battery Replacement#
This is a high-level overview of the process to replace the TPM.
Identify the failed battery.
Obtain the CR2032 battery.
Power off the system and turn off the power supply switch.
Open the left cover (motherboard side).
Remove the air baffle.
Use a thin tool to remove the old battery.
Replace the battery.
Install the air baffle.
Install the system cover.
Power on the system.
Configure the clock and synchronize the BMC clock.
Test the overall system health.
Identify a Failed Battery#
When the battery fails, some of the following symptoms might occur:
Invalid configurationwill appear on your screen.Setup appears on your screen before booting.
Press F1 to continueappears on the console.A clock error or clock message appears on your screen.
The system clock loses the time and the date.
Contact NVIDIA Enterprise Support and confirm whether the battery is the correct component to replace. The CR2032 battery is not provided by NVIDIA, but it is easy to find at a convenience store. After you purchase the battery, see Replace the Battery.
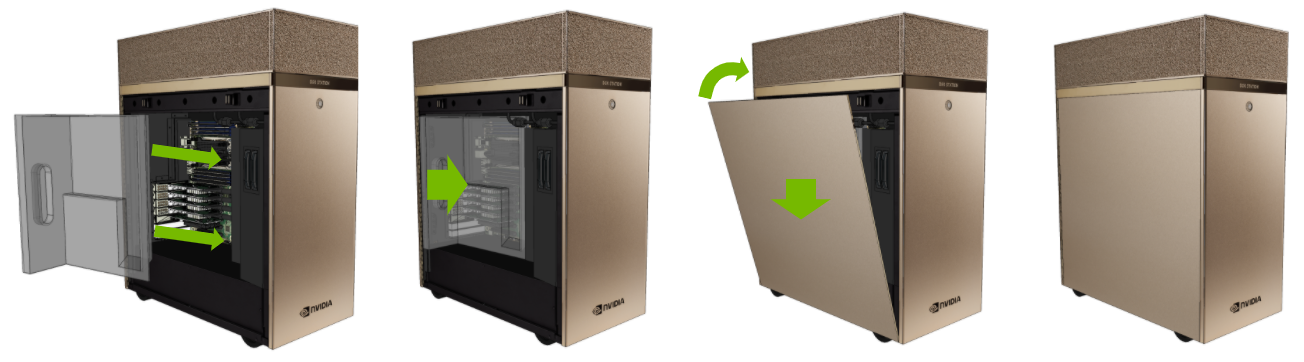
Open the System#
Obtain a replacement CR2032 battery.
Power off the system and turn off the power supply switch.
Remove the left system cover by pressing on the button that releases it.
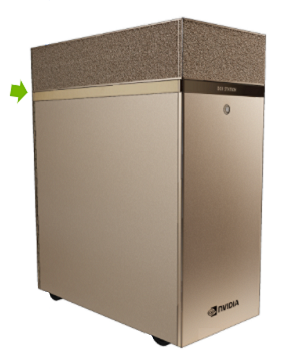
Pull the cover off and set aside.
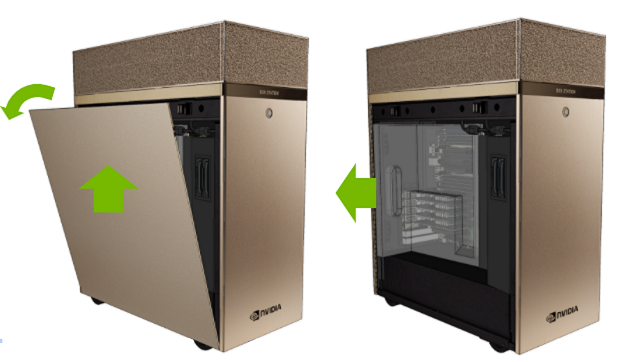
Remove the air baffle.

Replace the Battery#
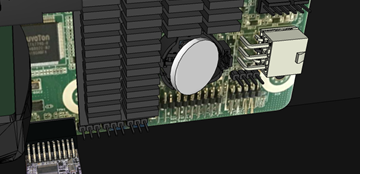
Pull battery out of the socket by rotating it.
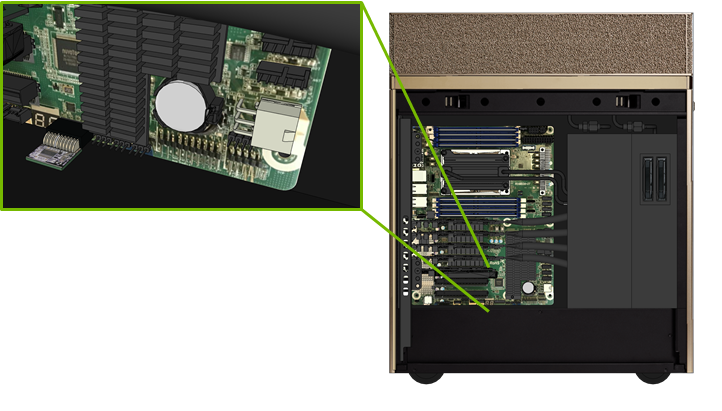
Replace the battery with new CR2032 unit.
Close the System#
Install the air baffle.
Install the system cover.
Power on the system.
Reset the System Clock#
Here are the steps to reset the system clock.
Configure the clock and synchronize the BMC clock.
To set the time and date on the system, complete one of the following tasks:
Use NTP
To set the date manually on the system, run the following command:
$ sudo date [MMDDhhmm[[CC]YY][.ss]]
Sync the date and time to the hardware real time clock.
$ sudo hwclock -w
Reset the BMC.
$ sudo ipmitool mc reset cold
Confirm the time and date on the system are updated.
Reprogram any other BIOS settings that might have been lost.
To test overall system health, run the following command.
$ sudo nvsm show health