TPM Replacement#
This section provides information about how to replace the TPM.
TPM Replacement#
This is a high-level overview of the process to replace the TPM.
Contact NVIDIA Enterprise Support to obtain a replacement TPM.
Power off the system and turn off the power supply switch.
Open the left cover (motherboard side).
Remove the air baffle.
Replace the TPM.
Install the air baffle.
Install the system cover.
Power on the system.
Test the TPM and the overall system health.
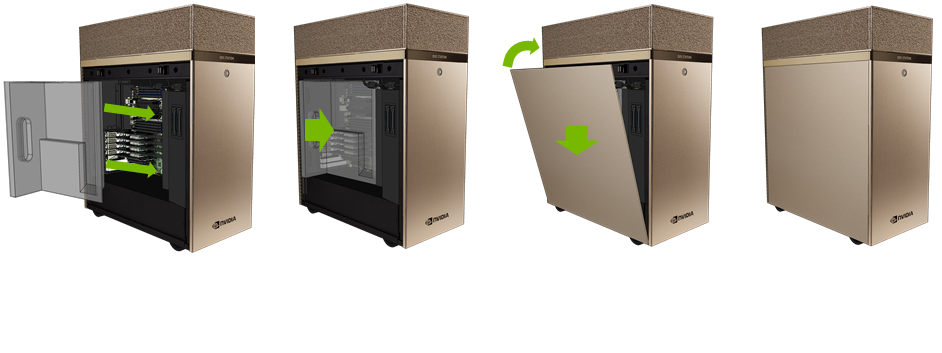
Open the System#
Contact NVIDIA Enterprise Support and obtain a replacement TPM.
Power off the system and turn off the power supply switch.
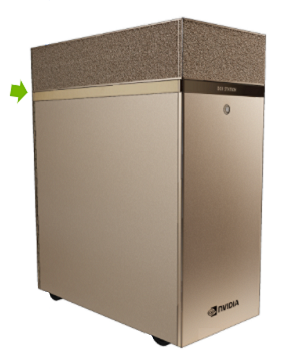
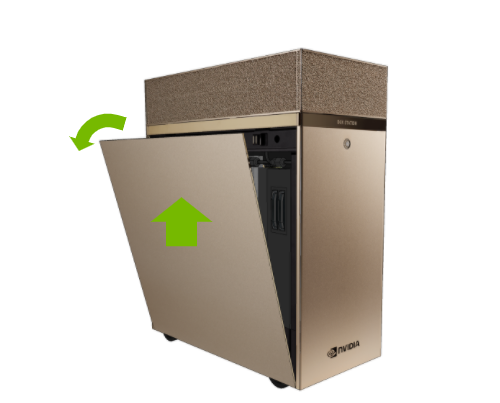
Remove the left system cover by pressing on the button that releases it.
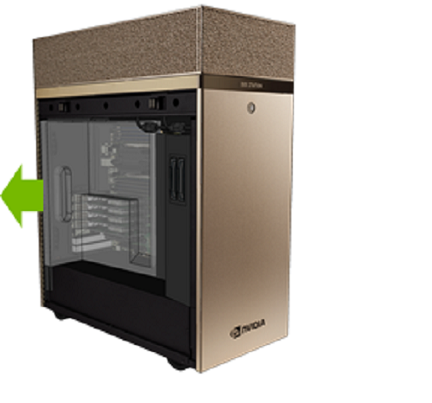
Pull the cover off and set aside.
Remove the air baffle.

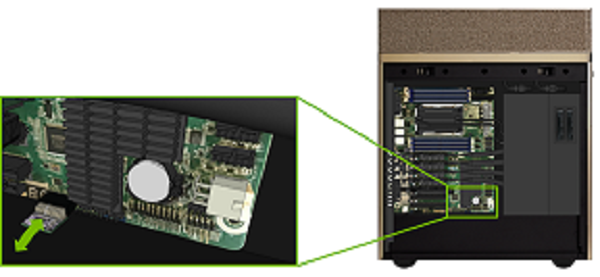
Replace the TPM#
Pull the TPM straight out and install the new one.
Note
The connector is keyed, so the TPM only goes in one way.
Close the System and Test the Replacement#
Here are the steps to close the system and test the replacement.
Install the air baffle.
Install the system cover.
Power on the system.
Follow instructions in the DGX Station A100 User Guide to update the necessary information about the new TPM.
To test overall system health, run the following command:
$ sudo nvsm show health