M.2 Boot Drive Replacement#
This section provides information about how you can replace the M.2 Boot Drive.
M.2 Boot Drive Replacement#
This is a high-level overview of the process to replace the M.2 Boot Drive.
Contact NVIDIA Enterprise Support to obtain a replacement M.2 NVMe.
Power off the system and turn off the power supply switch.
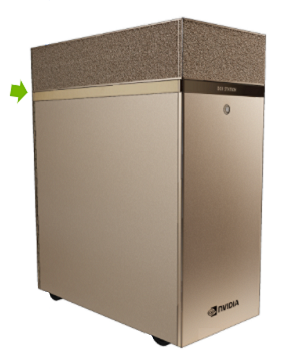
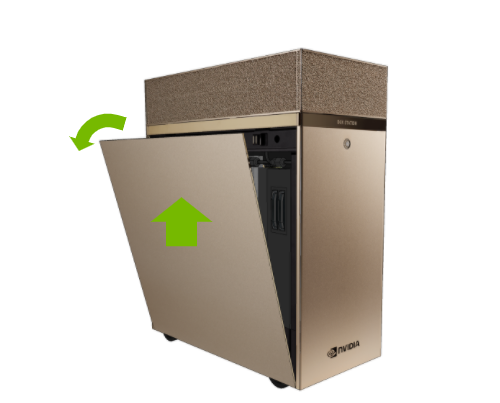
Open the left cover (motherboard side).
Remove the air baffle.
Use a Phillips #1 screwdriver to release the M.2 drive from the slot.
Replace the M.2 drive.
Use a Phillips #1 screwdriver to secure the M.2 drive to the slot.
Install the air baffle.
Install the system cover.
Power on the system.
Reinstall the DGX operating system.
See Installing DGX OS in the NVIDIA DGX OS 5 User Guide for more information.
Test the boot drive and overall system health.
Open the System#
Contact NVIDIA Enterprise Support and obtain a replacement M.2 NVMe.
Power off the system and turn off the power supply switch.
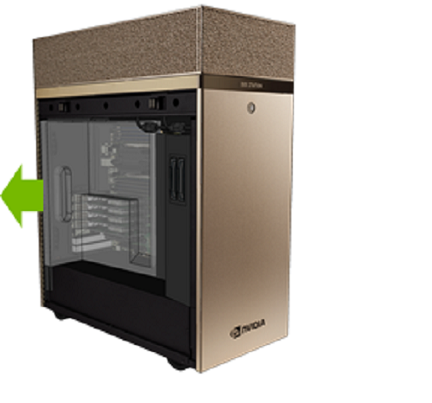
Remove the left system cover by pressing on the button that releases it.

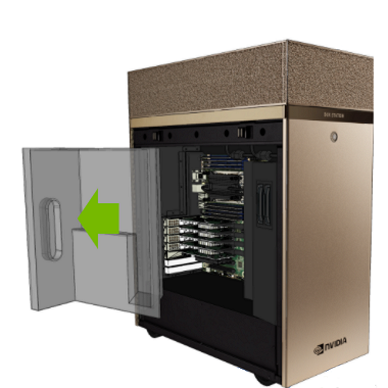
Pull the cover off and set aside.


Remove the air baffle.

Replace the M.2 Boot Drive#
Carefully lift the M.2 drive at a slight angle, enough to be able to pull it out of the slot, which is about 10˚.
Remove the M.2 drive.
To insert the new drive, make sure the M.2 connector engages with the left M.2 slot on the motherboard.
As you can see in the graphic, this is more visible from above the PCI cables.
Rest the M.2 drive on the motherboard and align the heatsink with the screw holes

Close the System and Reinstall the DGX OS#
Install the air baffle.
Install the system cover.

Power on the system.
To reinstall the DGX OS, refer to Install DGX OS in the NVIDIA DGX OS 5 User Guide.
To test boot drive and overall system health, run the following command:
$ sudo nvsm show health