U.2 Cache Drive Replacement#
This section provides information about how to replace the U.2 cache drive.
U.2 Cache Drive Replacement#
This is a high-level overview of the process to replace the system memory (DIMM).
Contact NVIDIA Enterprise Support to obtain a replacement.
Power off the system and turn off the power supply switch.
Open the left cover (motherboard side).
Replace U.2 cache drive.
Install the system cover.
Power on the system.
Initialize the new cache drive and test the overall system health.
After you reveiew these steps, see Open the System.
Open the System#
Contact NVIDIA Enterprise Support and obtain a replacement NVMe.
Once the new NVMe arrives, power off the system and switch off the power supply.
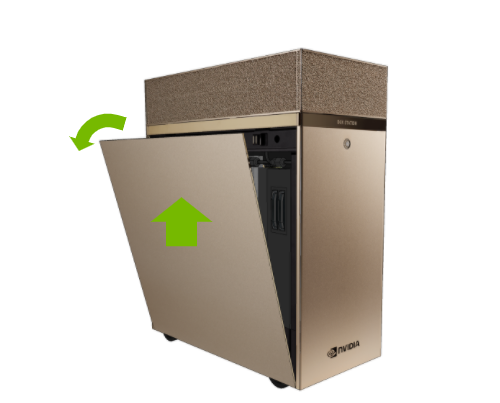
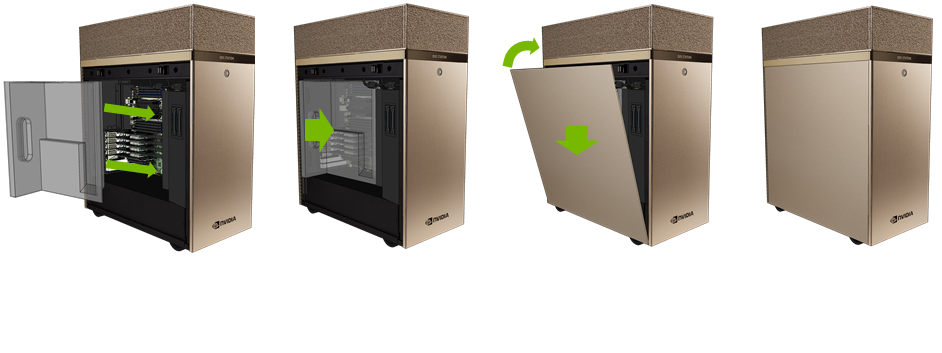
Remove the left system cover by pressing on the button that releases it as shown in the diagram below
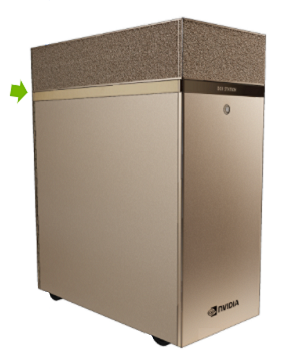
Pull the cover off and set aside.
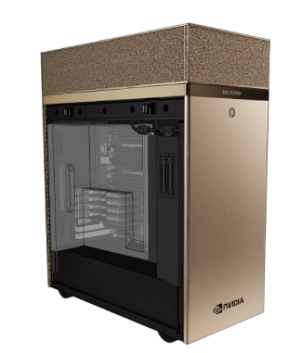
Here is an example of an opened system:
Replace the NVMe Drive#
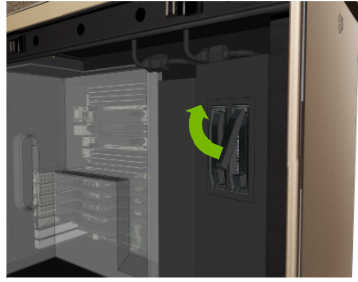
Press the button to release the lever.
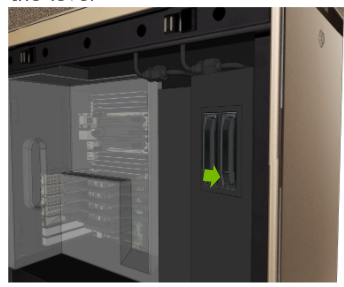
Pull the lever out to release the NVMe.
Replace old NVMe with the new NVMe.

Insert the drive with the lever open until it is completely in the slot and press the lever to lock it in place.
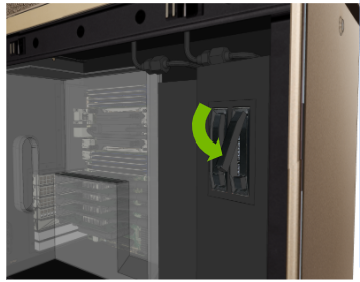
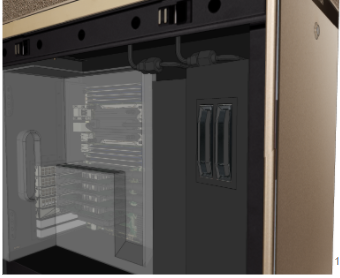
Confirm the drive is flush with the drive cage.
After you replace the NVMe drive, see Close the System and Rebuild the Cache Drive.
Close the System and Rebuild the Cache Drive#
Close the system cover by inserting the bottom of the cover to the chassis and then rotating the cover until it locks.
Power on the system and initialize the cache drive by running the following command:
$ sudo configure_raid_array.py -c -f
To confirm the system is healthy, run the following command:
$ sudo nvsm show health