Step #1: Train the Bert QA Model
Since your LaunchPad VM is based on a template containing the BERT container from NVIDIA NGC, a sample Jupyter Notebook is also provided, which can be quickly leveraged to perform BERT QA model training. Within this Notebook, the AI Practitioner will take the model that has been pre-trained and fine-tune it on the much smaller dataset to get the needed amount of accuracy on the customer-specific use case.
To get started with fine-tuning the model, follow the step below.
Using the Jupyter notebook link on the left-hand navigation pane, open the Jupyer notebook.
Run through the bert fine-tuning to fine-tune a BERT model on the SQuAD dataset.
To run a cell on the Jupyer Notebook, click on the cell you want to run and press Shift + Enter. Linux bash commands can be run inside the Jupyter Notebook by adding a bang symbol (!) before the command inside the Jupyter Notebook cell.
After you have successfully completed the steps from the Bert fine-tuning Jupyter notebook, you should shut down the kernel by selecting Kernel from the notebook menu, then Shut Down Kernel from the drop down menu.

Now we will export the trained model to a format Triton uses. Triton Inference Server can deploy models trained using TensorFlow, Pytorch, ONNX, and TensorRT. We will first save the TensorFlow model for this guide, and then in the upcoming step, we will convert the model to TensorRT for the best performance.
For TensorFlow saved models, the Triton requires the model to be exported to a directory in the following format:
            <model-repository-path>/
  <model-name>/
    config.pbtxt
    1/
     model.savemodel/
       <save-model files>
The steps below show the process of exporting a TensorFlow checkpoint to the directory format shown above.
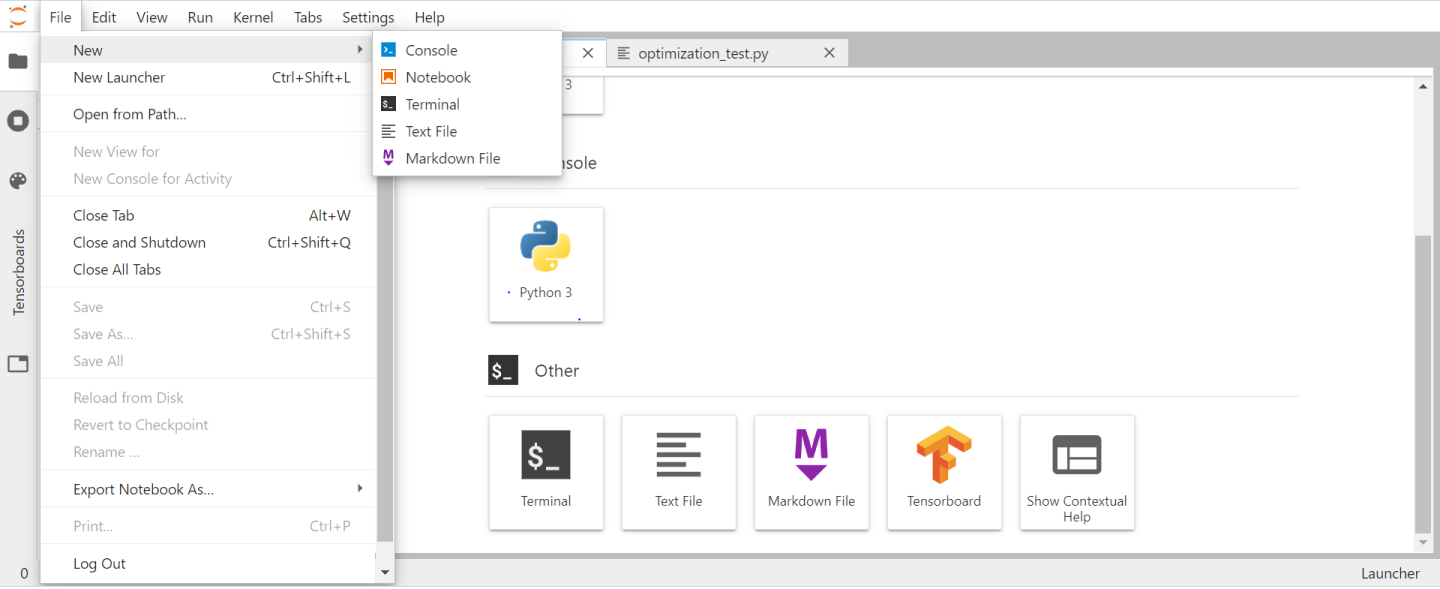
Open the terminal on the Jupyter notebook by clicking the File button in the left hand corner. Click Terminal in the dropdown menu.
Using the Terminal use the command below to create a bert_dllog.json file.
            mkdir /results
touch /results/bert_dllog.json
Export the Triton model.
python run_squad.py --vocab_file=/workspace/bert/data/download/finetuned_large_model_SQUAD1.1/vocab.txt --bert_config_file=/workspace/bert/data/download/finetuned_large_model_SQUAD1.1/bert_config.json --init_checkpoint=/workspace/bert/data/download/finetuned_large_model_SQUAD1.1/model.ckpt --max_seq_length=384 --doc_stride=128 --predict_batch_size=8 --output_dir=/triton --export_triton=True --amp --use_xla
After running the export python script, you should have the following directory structure inside the
tritondirectory, which you can check inside the same Jupyter notebook terminal.
Expanded view of triton_models directory.
            triton_models
└── bert
    ├── 1
    │   └── model.savedmodel
    │       ├── saved_model.pb
    │       └── variables
    │           ├── variables.data-00000-of00001
    │           └── variables.index
    └── config.pbtxt
NoteAs part of the AI Practitioner workflow, ensure the files are inside the VM in the $HOME/triton directory.