Try It Yourself: Build a DeepStream Application in Python
The Jupyter notebook included in this lab will guide you through writing a DeepStream Python application by constructing a Gstreamer pipeline using DeepStream elements and attaching a probe function to access meta data. The application will accept multi-stream input and perform object detection, tracking, and classification. Bounding boxes and text descriptions will be drawn on the image buffer based on the results, and the stream will be written to file output.
The input stream used in this demonstration is footage of a busy street, from which people, vehicles, bikes, and roadsigns may be detected. See below for a snapshot.

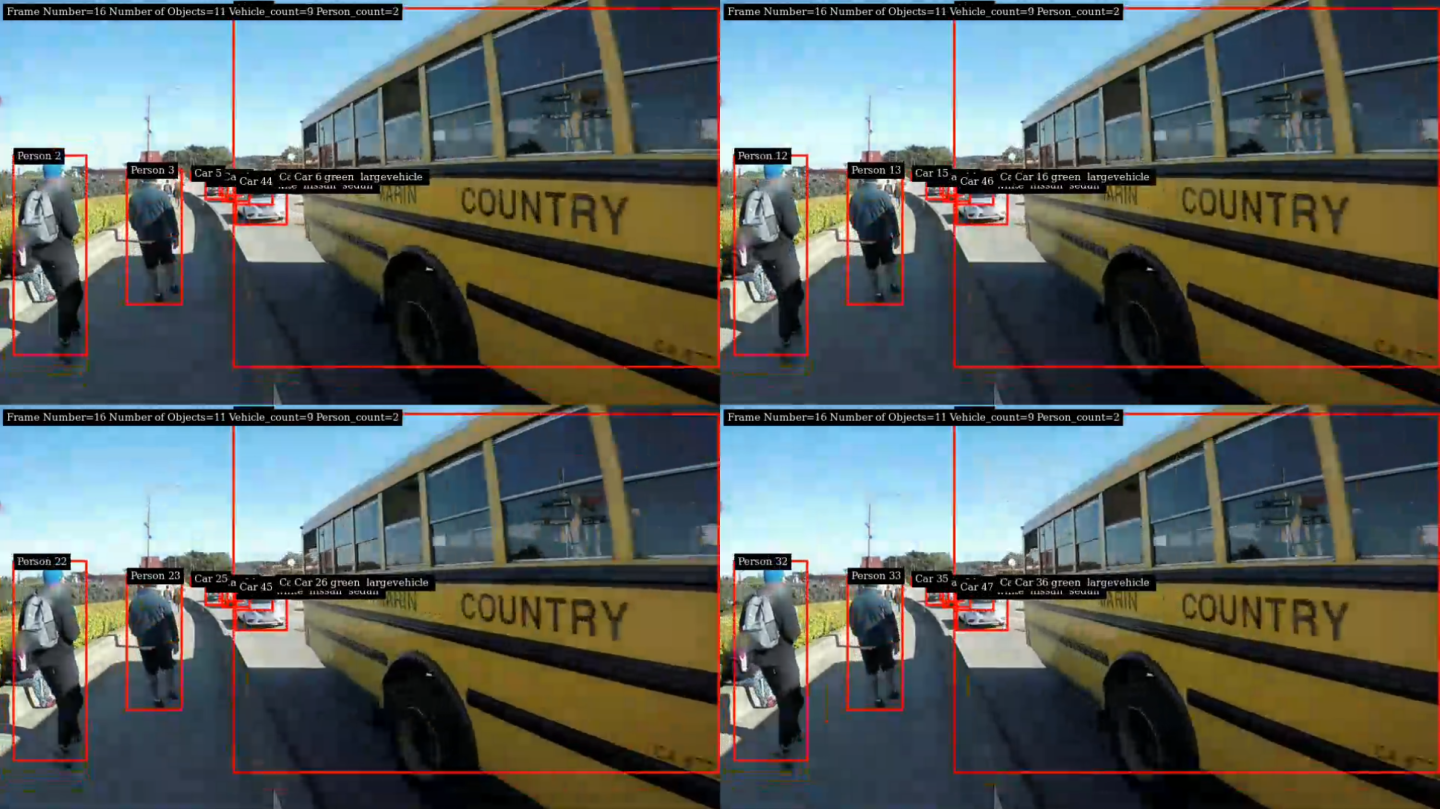
The output will appear as a tile of streams, with boxes drawn around detected objects and labels denoting the type of object detected:
Let’s dive in! By going through this notebook, you will learn about:
Application structure
Writing a probe function to manipulate metadata
Constructing and running a pipeline
Relevant DeepStream/GStreamer elements and their properties
Customization of output
Using the Jupyter notebook link in the left-hand navigation pane, open and run through the DeepStream Launchpad Jupyter Notebook included in this lab. You can expect to complete it in 30-60 minutes. The system console link in the left-hand navigation pane is not required to open or run the lab.

To run a cell in the Jupyter Notebook, click on the cell you want to run and press Shift + Enter.