Installation Guide for Autonomous Job Recovery#
Introduction#
This guide provides installation instructions for the Autonomous Job Recovery (AJR). AJR is included in the NVIDIA Mission Control “On-Prem” software bundle for DGX SuperPod B200 and DGX SuperPod GB200. AJR is a suite of microservices deployed in a Kubernetes (k8s) cluster, designed to improve AI cluster efficiency by integrating all components of the AI training lifecycle into a unified, automated flow that minimizes downtime. It offers core services tailored to automate both manual and automated recovery processes. AJR autonomously handles most failures in the AI workflow, initiating immediate recovery without input from model engineers. This capability increases automation-driven productivity and enables the scaling of successful AI training practices across current and future generations of AI supercomputers.
Note: This project will download and install additional third-party open source software projects. Review the license terms of these open source projects before use.
Prerequisites#
The following prerequisites for the Autonomous Job Recovery (AJR) are installed by NVIDIA Mission Control using the installation wizard. The following prerequisites are required:
BCM license that allows AJR installation
Kubernetes is deployed and configured with the cm-kubernetes-setup wizard. In addition to Kubernetes, the following configuration changes and additional packages must be applied:
Kyverno is disabled during Kubernetes installation
Prometheus Operator Stack is installed
Prometheus Adapter is installed
Grafana Loki is installed
Grafana Promtail is installed
Disable collection of /var/log logs
Kubernetes Metrics Server is installed
Kubernetes State Metrics is installed
Local Path storage class is enabled with the default NFS-based storage path
Ingress NGINX Controller is installed
Slurm is deployed with the cm-wlm-setup wizard
MySQL is installed on the head node
NGC (NVIDIA GPU Cloud) token to pull the images from the registry. Refer to the next section to obtain one if you do not have it already.
An example configuration is shown. Some options or packages might look different.
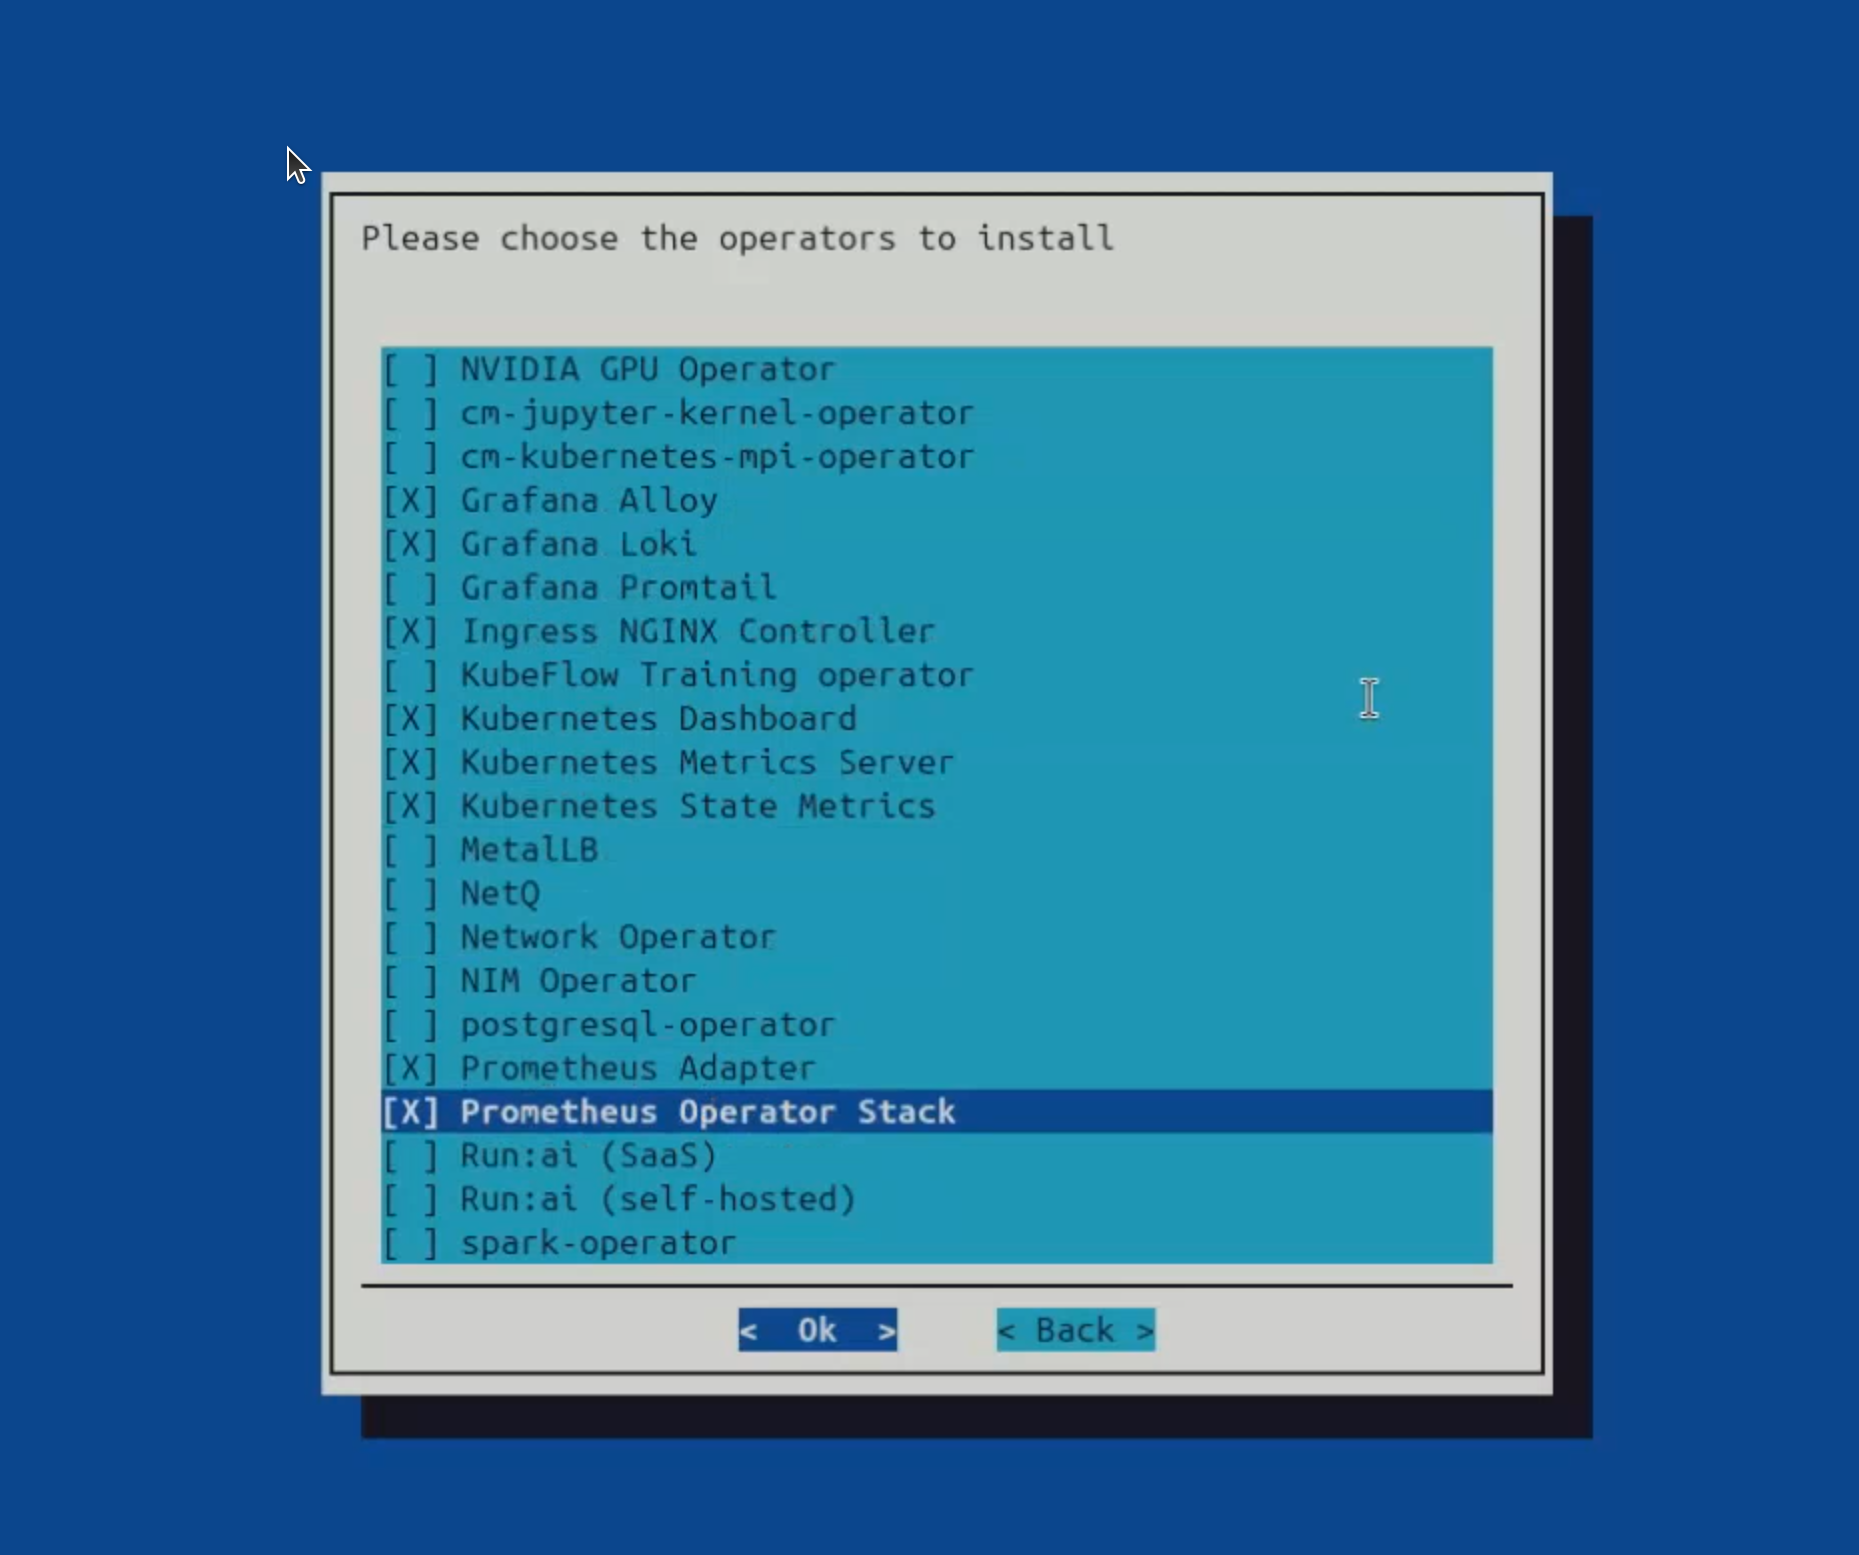
All prerequisites must be installed before you begin the AJR installation.
Before the Autonomous Job Recovery installation#
The following additional steps are required before the AJR installation can begin:
Obtain the NGC token (Skip if already done)
The software artifacts required for the deployment and operation of AJR are stored on NGC (NVIDIA GPU Cloud). For this reason an NGC token is necessary for the installation process to pull the required resources such as the Helm charts and the container images.
To obtain a valid NGC API token from the NGC console, you will need to have a subscription with the appropriate entitlement for artifacts in the NVIDIA Mission Control NGC collection of the NGC Catalog.
If your organization’s subscription hasn’t been activated yet, follow the instructions here to do so (must be organization owner).
Once the organization’s subscription has been activated, sign in as the organization owner: https://docs.nvidia.com/ngc/latest/ngc-user-guide.html#sign-in-account-owner
Once you’ve successfully gained access to the NGC console, generate an NGC API token (choose one):
Service Key: https://org.ngc.nvidia.com/service-keys
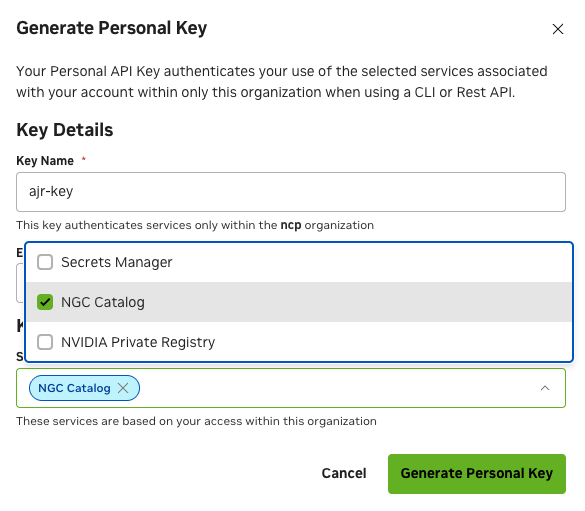
Personal API Key: https://docs.nvidia.com/ngc/latest/ngc-user-guide.html#generating-a-personal-api-key
Make sure to select ‘NGC Catalog’ under ‘Services Included’ when creating your personal key.
Kubernetes namespace for the Heimdall must be created with a particular label.
- Create a file create-are-namespace.yaml on the active headnode
with the following content:
apiVersion: v1
kind: Namespace
metadata:
  name: heimdall
  labels:
    zarf.dev/agent: ignore
Apply this file on the active headnode:
kubectl apply -f create-are-namespace.yaml
namespace/heimdall created
Run this command to update the BCM installation wizard script so it allows longer API token to be entered during installation.
sed -i "s/data=token, buffer_length=128/data=token, buffer_length=512/g" /cm/local/apps/cm-setup/lib/python3.12/site-packages/cmsetup/plugins/autonomous_job_recovery/questions/autonomous_hardware_recovery.py
Export desired version of product and container registry repo
export REGISTRY="nvcr.io/nvidia/nv-mission-control" # official public registry replace with private one in case of air-gapped deployment
export VERSION="1.5.0" # replace with release version if needed
export AJR_FQDN="ajr.customer-domain.com" # replace with the certificate domain name
Run patch command
echo "H4sIAEs/jmkCA81ZbXfTOBb+7l+hTYcpkDjOS1tKdthDaMvQXWg7TWHgsBwfxVYSTWzL2HLbwPLf917J8kvitjBnB7Yf6li6uu+6eq689TdnyiNnStOF5VFJ/kEcGcbO1AttL0ulCLsxld6C/PILOTp9btm2TRwvdALh0cChcZzCm50ymcVOwKdOvJILEQ27/YGTcsnsmHpLOmdIpYniIJvzKHVoJkUkQpGl7h9i6ibME5csWTmShXFAJawAFVyfzWgWyLS7omFgtdvtHya8G7Er6+lTYg/7nf6AtPGxT54+tQiVMuHTTHIRgS7JJffYyCKEsIhOA+aPiEwyhgM8BGVGlg0/iaTzEel1+92B7bPLwVCPJiwWoLlIViMSXXpJlwsnuuQ+p5FDuS+kM6OeNFKsdsHpstcFs3t6pMrl3vnRr8eTi/N39+pLjTpnWRBMmJcwmSqlbRLRkI2AxxwGfYtY5Eoky1kgrmxPRDIRQcCSEQoKs2jO3NwoJRgyZVETqUhw7mrm8ojL26kbBCHlN69B26JU0gBCCUFx5SoGiyCiKiqXLJLuNNPmEpKBR7TJrYROp1yGH1sqzjt7nT3S3u13Hqsom0m1rBpmiIDifxDAdmHJ8dm6zuBKnkoMhi+8JcOgbsYJeIMWPGBz6q0cI8xSVKnIEo+lZ/CLSdAzZD7PwhZOQiIvci3YNUjh0fyMpil4xddRHZEF46EPvrALpmjd7j5at7eXW9eQrZciyEJ2xpKQpym40TisTqgMqVp7i723WSxSO12wIEAZMUtS4MCiwsMbykEIgAtIPQjA3BFRFcHG7FDWPRp2+o9Je3+n0390k315DN316Gk1A+5R4LuL+1Kbd8OGhPphhzQCikqyVjO0SgC8PRHCG+jxfrsys/2hqhLk8ozPc9sDMXcDyNpgBFk9E3pwmQo39WjkzhL2MQNPrdwUiljkg87DXq8kgtI0B/6uXED2LETgr9HpuoObhalSeBPT/iAvLneTDnsmQoayQfjjnmVr2UhAoRjTYOWGLE3BHVCQA7pyG6IOu9ln6D/FN4t9KNauUiGVa/QFcwbUetfPWcQSXRPWslhz9xbMW8aCY4GgKfM154y5kGxxaQWYaOXprKcZTUB5RXRnUBrWNLhnD8gxkfu93U5/l7T7/R3YrzqTlW9B1ZCCA+YJ9dmmp9ar3EKkjaVAOcnUULesoS679hY0wlS+8rT3gFkxWjpXGTMiZTTSci4RGRYkd8lWiqJbozAxr0hCoIGym8WZBblI8+ozyTzJdEaYjVZbUNMjH+yaZd2HDdyBacAREUAGQCXDV6qCqdM7z9w4mwY8XdS8VVGiwQ5SX6ZlVdSDpXEMv/Oo2URT6PMJtzMkCv9UZryaNjlR4QNhV9kzfNR5BMmjHgqqaCNtbTwCFp4KOCVFMvqmGnlXUbxZTnONvIUetyUAEfAkp0Fa1MQlHxm7wWUujbkrxZJFGCSIWe6yIuFxga0IlGMGPeUY/TC7SqmVr0c0oBFQKy8NRdn+oAdoMk/Vm12egHd4I2F4cqv6Uz0ybnNI0xJzkuZHVD/PKpGA1vu9fVN9DURR9g6GnZ0dMHjQ7+wMlMUW8QHyTwVN/IbY3xXgYm1zPMvpDb8aYIkSojnkc+rOPvrRiGw/3CZky2Qx4SlRNRhKPnlxcXGmoJ+SVl91b/zPc/f5b4cn975peY5WJKQUMehEq3iiMof+kdgeSyTq6U9z0I5YcUQehqv0Y+Diix7WxTUfxpe8PKiItIbD3l5Lj0D1o6hVQexP9YR+a05dNddApqrZq3eT3166Z+PJ5PfT80NL74bctvHZsfuvo3cT9+hk/Ozl0eGIzGAH5ZDt1fPX7sGL8fnF+qzyxOH4Ynx4+mvj3PPxQfMitM4X8991FX99/hKMr4BUZcHJ0duL8euLF406bU5W4R5NZgGDDDLbvkjYigr0U5awWykCn8a5LhsEbdIANnPSl4fjM/f1+THahHnWQkbpyHFCijVxtDeEILc3aOtULaOZonh1+vrkAmJ38QIIsZt1MOHSVk3ks+OTQ/fwxIhFftCu+y4co7Lje0+8UP3XlXlzpckMsx6X1agmR+Pzgxfus/HkyNBscG036uNFTxIGAY+CVSLEpjKtzXUVbX66D9swVnPnwOUUuGDjstne+w6THj67iIr/42WS2LMBsf3t1vaDuoy6LRv6EON9dOLBeFLZ7SpOtkeLAMHmqsx04bWYwiBV52IWlnM0n/FofRw8JZnpyCrpqCS9oQECmjyx1jwgYhahHO0GTBCnUaU/xaSu+7eyKIyMhOQzOI1k0SZ+22lSW998otRJTJ3TpSGg3vKoYa+riQNAXhE2T2/zPzTOFFcCHUoiiadp9FH5aEdBg72dHBpYBpf+CcPylc0mmUngurVF3qh2O9VvZf/9SmSRzOHc4PEAm/bB/qBALZXm8Pjk+am1AQQQ+FTQkb4/UTHUxwgkAkIjoNDwyNEgqZ2vvIaGBiLvimTuct/kxmmMYaAgdMIkeWtPkMY+TebHh+BaaEgSMhMJCbNAAltwWSTJS2BH7rPuvNuBjcNiCYgm35n29eqT3R8Md3ZbD3JvHKgOuHRGDQKqW7jesDNAZzze6QxKDIdnUH5dUhwDNbAIh3gCej9U1sFPUwwJQm2D9LH/QjvvI+J/QHQ7DidLSihRBMo8tYC8h/byA5EcYidpGEMmiKv7DwC6v68w/GDqVIMY/fc/FUbqwgIeckiJ3R40lWvmhvTaDYRYTmGnAJTcLRVZ13iDsiBckxYnbMavAZl9hi2K5fBJKw2yJIQciwGHz1tftsslgMbAFK7aemyxQnGJLcwVHHHQj+qGa693M33hCmiJ5gyl3v+3/3nnywMbn4PySfLnaO25/TW88dcnEcH23X49cc6oh6WoWFneDBbONa2Y8cVG01mSQrIfssvqe/kbseQaGqx37vh3qeFnflltX5YAVN8K3t1dF5EuOtNROfY1xlSIc3NqI9W3my4iKiSNBlXmv8aknLTSjVcqAGwidckDekgZAzqrXMSNyg6KQS1PRBQypIwToS7DlzFPy1v+u+p/lbr5EKhRNH40MP1KAzbFDzIWbsgsdn2ePGn9pR9HtKCWZfEZeQ8ADEBcKbtFPvydyAUcHaCktxCk9UzNQfEK8DxQt9NpB8pbvML+TCQchNGAzHgApQ5LnPrOhHPdbhdRiRcD0iMVGZsfZb7X16BGbXSl/g56WExDmia/qsv5aN4hIV2i77R+RMwKD6fGn+EStCZ2XI9bYdqP+rBW8+n30aYauZr0GbcszycO+flnnY7grj75pfmTqIXXCzYnrXSr3NBbP302v79stX7cp9KKbsUFCehmfv+f6Ib1F9vjBQvCbjT3urp8QqsX1ivpV1DCw84/VZmPgX+1kZU8qhjVx0+xtkqRE3D5m6PzyfHpyRcz8h11+i+a9rCg3B8AAA=="|base64 -d|gunzip|bash
Create certificates for AJR endpoints#
AJR provides a web UI and other endpoints for the management of AJR operations for its users. It’s strongly recommended that TLS encryption and authentication is enabled for security. You can either acquire a publicly signed certificate or create your own self-signed certificate for this step.
Choose a domain that will be used for the application’s endpoints in the customer’s environment, e.g.
ajr.customer-domain.com.Have the customer’s IT team generate a wildcard certificate by a trusted certificate authority for the domain that was chosen, e.g. the certificates for the
ajr.customer-domain.comdomain would be for*.ajr.customer-domain.com.One way of generating publicly-signed wildcard certs manually yourself is by leveraging a service like letsencrypt using the certbot binary. One limitation of generating certificates this way is that they will need to be rotated every 90 days, so leveraging certificates managed by the customer’s IT team is the preferred method.
A self-signed certificate also can be used for the environment. If it needs to be created, follow steps in the Backend Setup with a Self-Signed Certificate Guide to generate it.
The following example demonstrates how to generate a certificate when your domain is managed with Route53 as your public DNS provider:
Generate wildcard certificates using certbot. Note: You will need the person who has the ability to add DNS records to the customer’s DNS zone present when running this command. Make sure to replace the value with the correct domain when setting the
AJR_DOMAINvariable:export AJR_DOMAIN=ajr.customer-domain.com
apt-get update && apt-get install -y certbot

certbot certonly --manual \
  --preferred-challenges dns \
  --debug-challenges --agree-tos \
  -d "*.${AJR_DOMAIN}","${AJR_DOMAIN}"
Two TXT records will be produced that will need to be added to the DNS zone under the same entry (DNS standards allow for multiple distinct TXT records with the same name). Sample output of a DNS record to be added:
Please deploy a DNS TXT record under the name:

_acme-challenge.ajr.customer-domain.com.

with the following value:

zeLqHJbd7WG3JQCXZJbADYhWbk0kI8ADiw6KMVoS_Fk
Once you add all the DNS TXT records to your public DNS, you should see a message like this
Successfully received certificate.
Certificate is saved at: /etc/letsencrypt/live/ajr.customer-domain.com/fullchain.pem
Key is saved at:         /etc/letsencrypt/live/ajr.customer-domain.com/privkey.pem
This certificate expires on 2025-07-24.
These files will be updated when the certificate renews.
Copy the generated certs to a directory named by domain to the local directory for easy access:
sh -c "cd /etc/letsencrypt/live/; tar -chf - ${AJR_DOMAIN}" | tar -xvf -
Save the copied
.keyand.crtfiles from the new directory somewhere safe as they will be needed at a later step in the installation:cp ${AJR_DOMAIN}/privkey.pem ajr.key cp ${AJR_DOMAIN}/fullchain.pem ajr.crt
Create a kubernetes secret using the following command:
kubectl create secret tls -n heimdall ajr-cert --cert=ajr.crt --key=ajr.key
Setup DNS resolution for AJR endpoints#
Add A records to the DNS zone containing $AJR_DOMAIN for the 2 AJR endpoints needed to access the AJR UI from your local browser. You will need a person who has the ability to add DNS records to the $AJR_DOMAIN DNS zone to do this for you. The following endpoints should have their value resolve to the BCM headnode’s external/floating IP address (the IP you used to ssh to the BCM headnode):
$AJR_DOMAIN
api.$AJR_DOMAIN
Autonomous Job Recovery Installation#
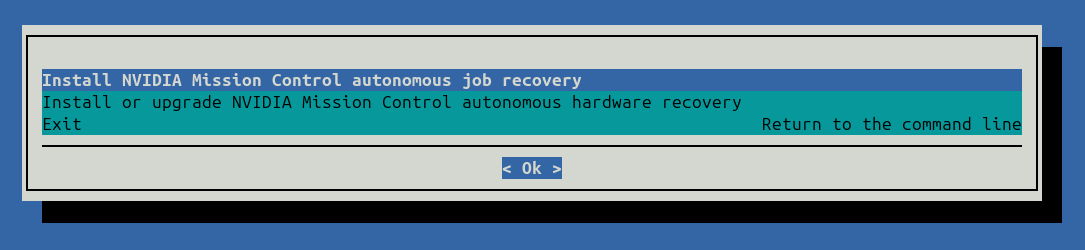
After all prerequisites are met, start the AJR installation with the cm-mission-control-setup wizard. At the last step of the wizard, we are going to select Save config & exit instead of deploy. This is going to create the cm-mission-control-setup.conf file which we are going to modify first and then use it to deploy the AJR.
Select Install NVIDIA Mission Control autonomous job recovery when the wizard starts. Some steps may vary depending on the installation wizard version.
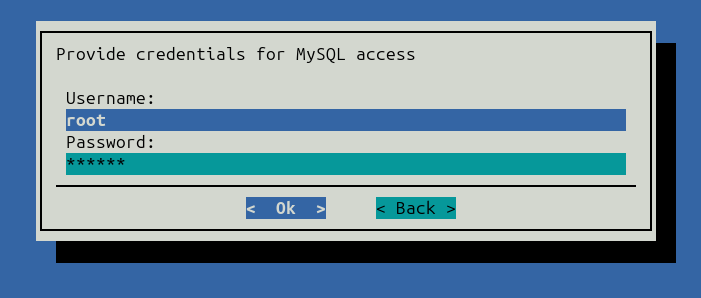
AJR requires a MySQL database. By default, the database is installed on the head node. The installation wizard prompts for admin credentials to create the AJR MySQL database and user:
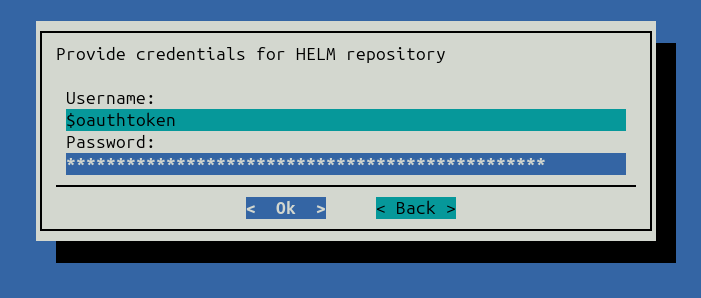
When prompted, provide credentials for the Helm chart repository. You must supply an NVIDIA Container Registry (NVCR) personal access token for the operator and container images.
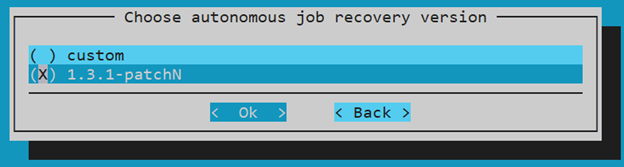
Next, choose version 1.3.1-patchN when prompted to choose the AJR version.
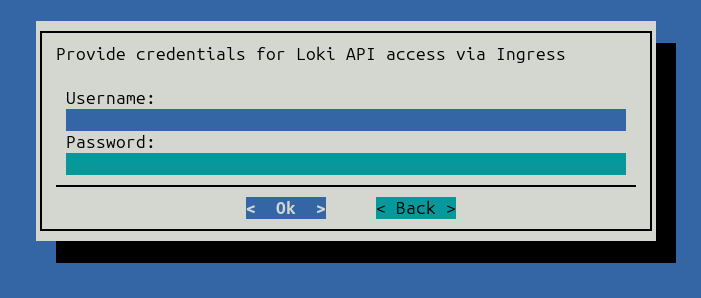
Optionally, provide credentials for the Loki API.
Select the log collection application (currently, only Grafana Promtail is available).
If NVIDIA Mission control autonomous hardware recovery has been installed, the AJR installation wizard will prompt you to enable integration with it. This is optional but enhances capabilities of AJR.
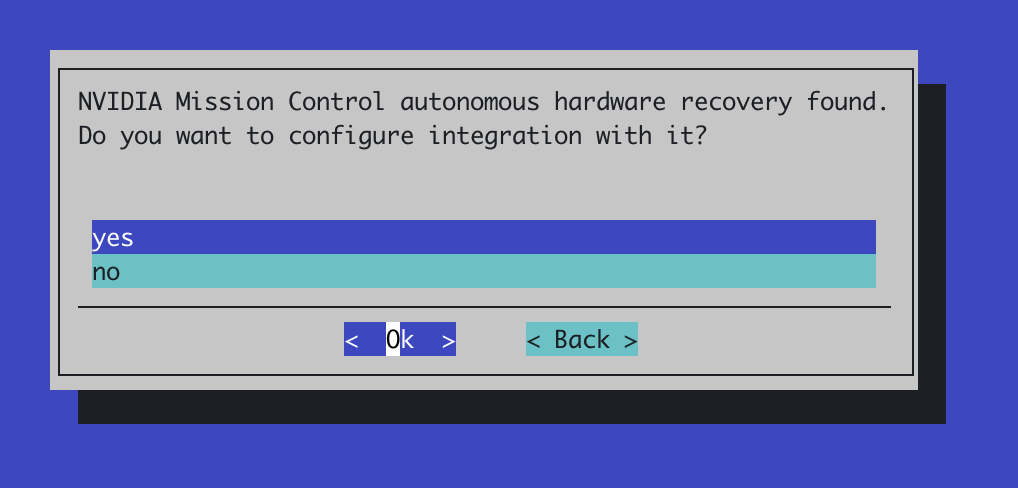
In case if integration is desired, select yes and proceed to the configuration step:
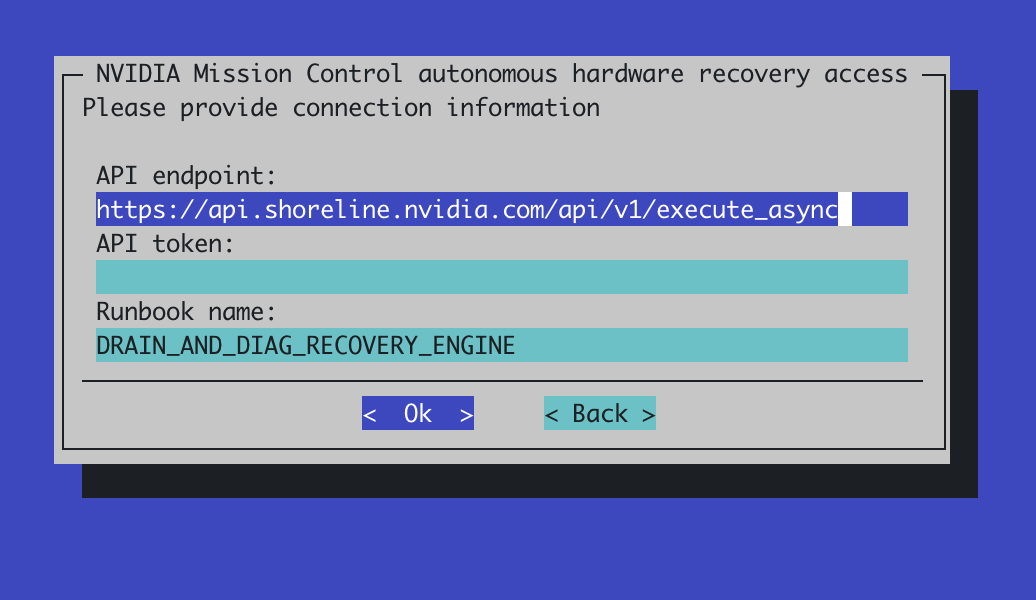
Default values do not need to be changed. Please refer to the NVIDIA Mission Control autonomous hardware recovery documentation for the ways to obtain the API token. Proceed to the next step after the token isentered.
In the next step, select Save config & Install. The installation wizard saves the collected information to the specified file for customization and perform installation.
After installation completes, verify the installation by accessing the Grafana dashboards, AJR UI and following the steps in the Autonomous Job Recovery Verification Steps section below.
Autonomous Job Recovery post-installation steps#
For the Heimdall efficiency Grafana dashboard to operate correctly, an additional step should be performed.
Password for the MySQL user heimdall-kpis-reader must be updated
Log in to the MySQL database as a root user and execute the following statements. Replace the password with a random generated one.
mysql> ALTER USER 'heimdall-kpis-reader' IDENTIFIED BY 'password';
Query OK, 0 rows affected (0.02 sec)
After the AJR is installed, a new mysql data source has to be created in Grafana using heimdall-kpis-reader username and the password specified above. Without it, the Heimdall efficiency Grafana dashboard will not function properly.
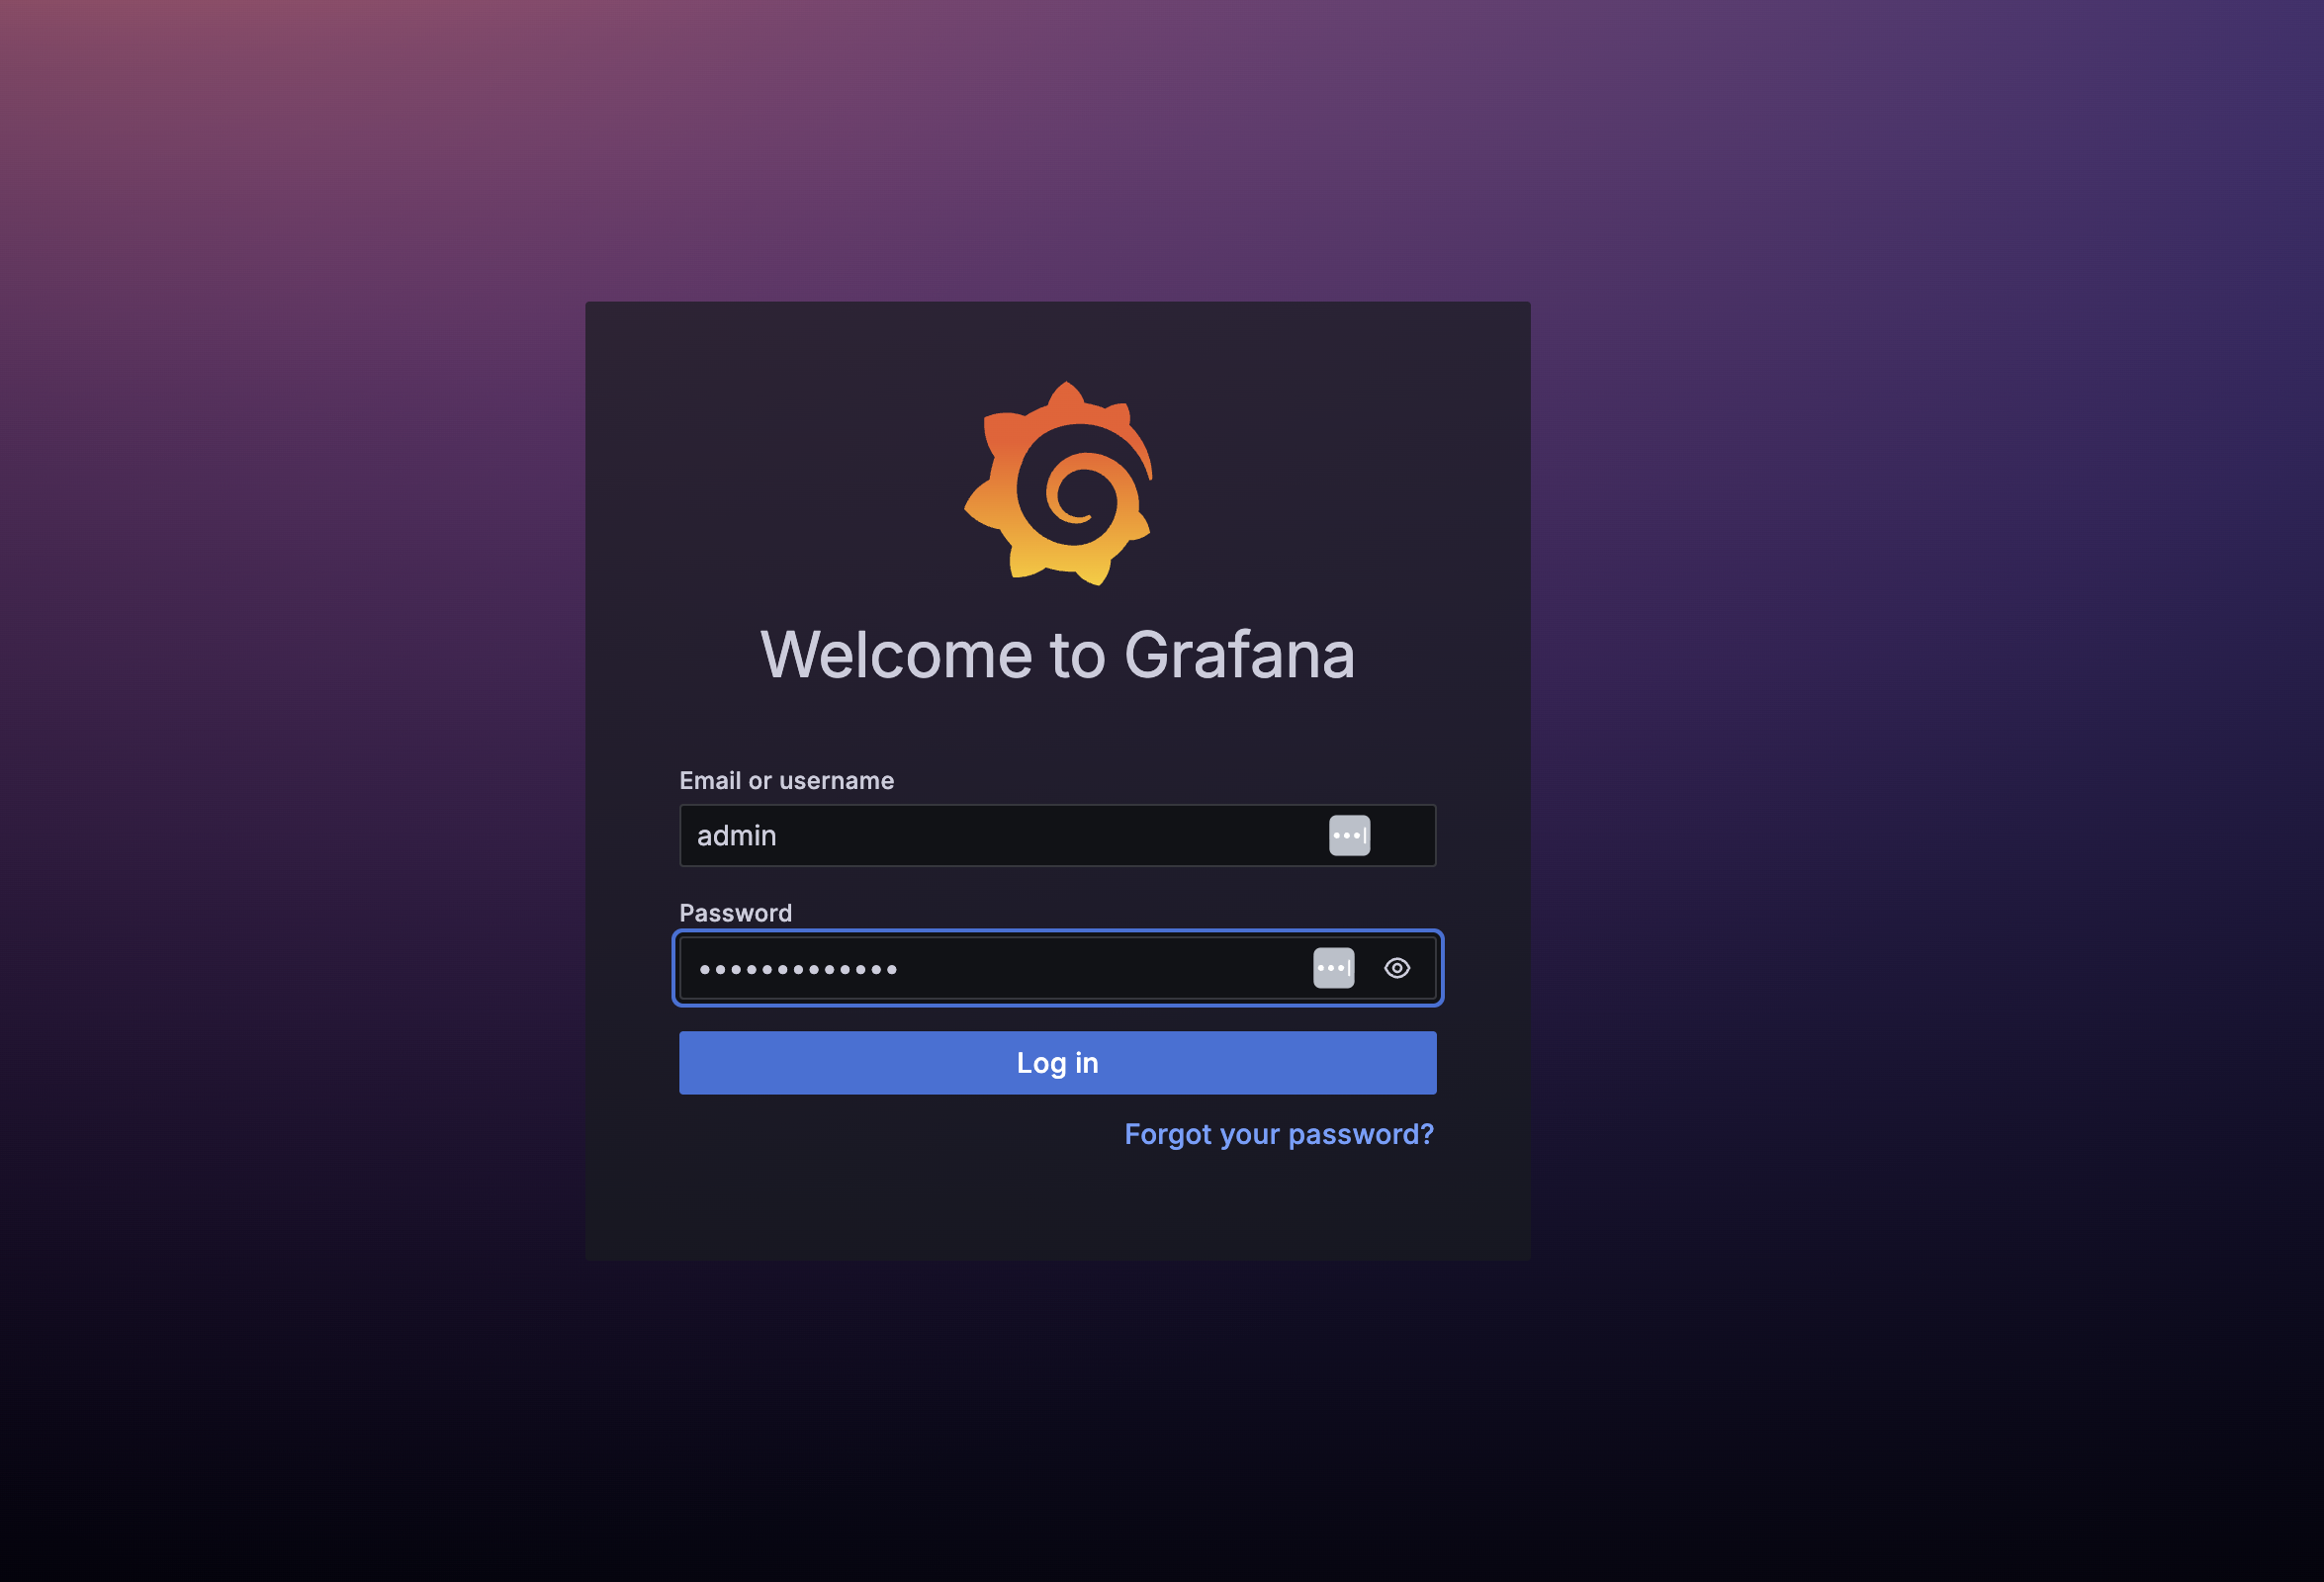
a. To add a new mysql data source, access the Grafana UI which is located at https://<headnode_ip_address>/grafana URL. Replace the headnode_ip_address with the actual IP address. Refer to the Observability Stack Configuration guide for any Grafana setup details and authorization information.
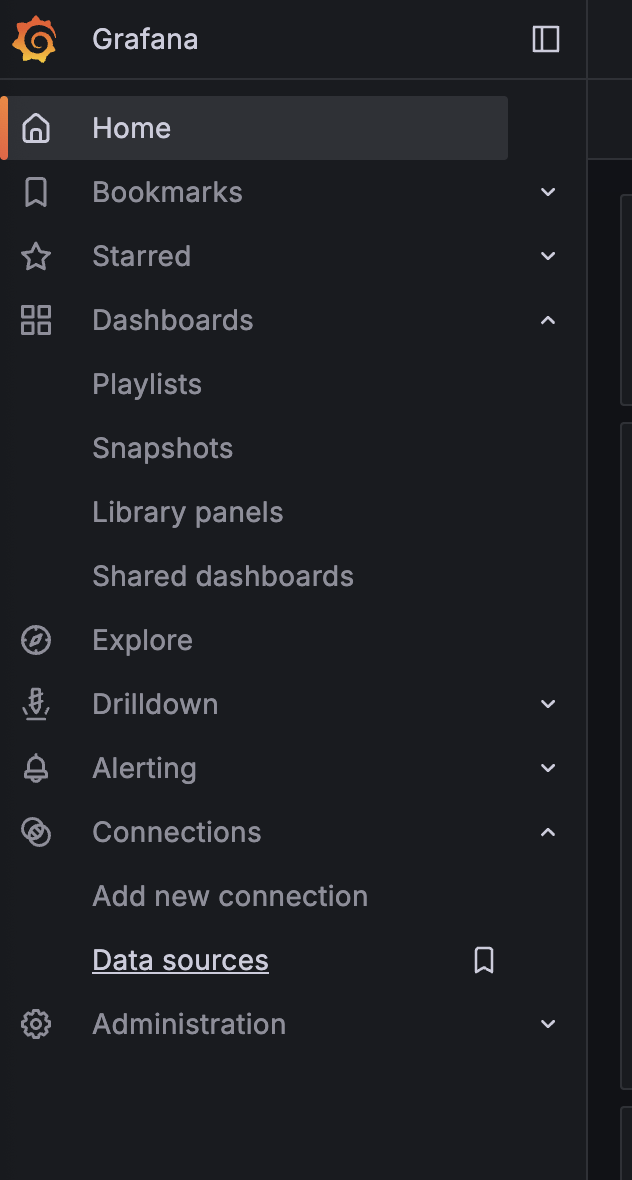
Log in to Grafana and click Data Sources in the Connections section. Select Add new data source and click on MySQL datasource in the SQL section.
On the following screen, configure the following fields:
For the name, use ‘mysql’
For the Host URL, use ‘master:3306’
For the database, enter ‘heimdall’
For the username, use ‘heimdall-kpis-reader’
For the password, use the password specified during the creation of the heimdall-kpis-reader user.
Leave the rest of the fields with the default settings
Click the Save and Test button. A green popup with the “Database connection ok” message should appear.
Autonomous Job Recovery Verification Steps#
After the installation and other configuration steps above are completed, we can continue to validate if the AJR deployment works from end to end. We are going to run an Sbatch script to verify the basic AJR functionality.
Sbatch script:
#!/bin/bash

#SBATCH -t 00:05:00
#SBATCH --comment='{"APS": {"auto_resume_mode": "requeue", "max_requeue_times": 1}}'

DATETIME=`date +'date_%y-%m-%d_time_%H-%M-%S'`
echo 'AJR light-weight fault simulation test (auto resume mode: requeue)'

# This srun command sets the output file for the job step. In the job step, it simply sleep for 30s, then print a
# log line that will be recognized by AJR as segment fault, then sleep for another 60s before exiting with 1.

srun --output="$(pwd)/%x_%j_$DATETIME.log" bash -c \
      "echo 'Start time: $DATETIME' && echo 'Sleeping 30 seconds' && \
      sleep 30 && echo 'Rank0: (1) segmentation fault: artificial segfault' && \
      echo 'Sleep another 60 seconds' && \
      sleep 60 && exit 1"
Copy the contents of the bash script above and save it into a file in Slurm, e.g.:
bcm_sbatch_test_requeue.sh.Notice that this script specifies the
--commentsection, where theauto_resume_modeis set to berequeueandmax_requeue_timesto be1, which instructs AJR to use requeue to continue the progress. We also use the user level directive to override the max requeue times to be 1 to only allow 1 requeue to happen to reduce the test duration.Submit one job to Slurm with the
sbatchscript, note that you have to specify at least the job name (with -J option) and the partition name (with -p option) since they are not encoded in the script:sbatch -J ajr-verification-requeue-test -p <your_partition_name> bcm_sbatch_test_requeue.sh
The job will be submitted and the job ID will be displayed. Keep note of the job ID.
Monitor the job status using the
squeuecommand.squeue -u <your_user_id>
The log file of the Slurm job step will be created in the same directory where the sbatch script is located after the job starts execution. Since we encode the batch script execution time in the srun output file name, each job attempt will have its own log file. In this case, there will be 2 files created after the whole test is finished.
Check the AJR UI to verify the job attempts are in correct state and with anomaly properly persisted. The AJU UI can be found at https://<FQDN>/mission-control/recovery-engine/dashboard/workflow where <FQDN> is the fully qualified domain name of the headnode. Any user already created in BCM may be used to login to the AJR UI, or a new user can be created by running the following command on the head node:
cmsh -c "user; add ajruser; set password testpassword; commit"
Replace ‘ajruser’ and ‘testpassword’ with appropriate username and a password.
The sequence should be:
The 1st job attempt is killed due to CRASH anomaly
The same job id is requeued and held to create a new job attempt.
The 2nd job attempt is released for execution.
The 2nd job attempt is killed due to CRASH anomaly
No more requeue because the maximum requeue limit has been reached.
To verify the CRASH anomaly, hover your cursor over the red triangle icon to view status information for the job ID you created in step 2. See figure below for example.

Figure 3 Red triangle indicators (circled) showing hover locations for verification#
Confirm that the expected verification data appears in the tooltip.
Autonomous Job Recovery uninstallation#
AJR uninstallation should be initiated with the cm-mission-control-setup wizard started on the active headnode.
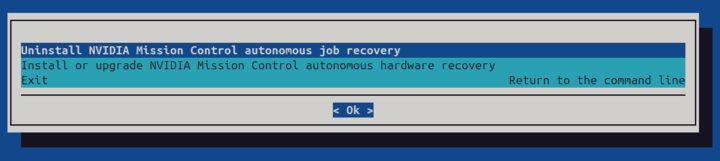
Select Uninstall NVIDIA Mission Control autonomous job recovery.
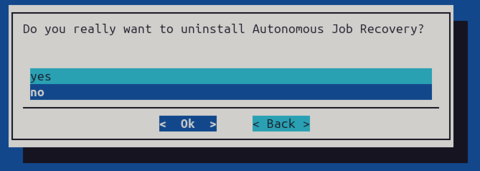
Confirm the uninstallation on the next page. Uninstallation wizard would uninstall AJR and remove the ‘heimdall’ namespace.
Existing data in MySQL database and ‘heimdall-kpis-reader’ MySQL user would not be affected. In case there is a need to perform complete uninstall, log in to MySQL database as root user and perform the following steps:
DROP USER IF EXISTS 'heimdall-kpis-reader'@'%';

DROP USER IF EXISTS 'heimdall_user'@'%';

DROP DATABASE heimdall;
This will remove ‘heimdall-kpis-reader’ and ‘heimdall_user’ MySQL users and related ‘heimdall’ database.
After AJR is uninstalled by the wizard, remove the unnecessary “aidot” Helm repository
# helm repo remove aidot
"aidot" has been removed from your repositories
Third-Party Open Source Software Licenses#
The Autonomous Job Recovery (AJR) software incorporates third-party open source software components. The complete list of open source software and their respective license texts are available in the following file:
Please review the license terms of these open source projects before use.