ConnectX-6 Socket Direct (2x PCIe x16) Installation Instructions
Applies to MCX614106A-CCAT, MCX614105A-VCAT and MCX614106A-VCAT.
The hardware installation section uses the terminology of white and black harnesses to differentiate between the two supplied cables. Due to supply chain variations, some cards may be supplied with two black harnesses instead. To clarify the difference between these two harnesses, one black harness was marked with a “WHITE” label and the other with a “BLACK” label.
The Cabline harness marked with "WHITE" label should be connected to the connector on the ConnectX-6 and PCIe card engraved with “White Cable” while the one marked with "BLACK" label should be connected to the connector on the ConnectX-6 and PCIe card engraved with “Black Cable”.
The harnesses' minimal bending radius is 10[mm].
Applies to MCX654105A-HCAT, MCX654106A-HCAT and MCX654106A-ECAT.
The installation instructions include steps that involve a retention clip to be used while connecting the Cabline harnesses to the cards. Please note that this is an optional accessory.
Please make sure to install the ConnectX-6 cards in a PCIe slot that is capable of supplying the required power and airflow as stated in Specifications.
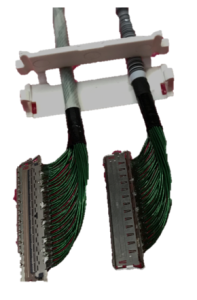
Step 1: Slide the black and white Cabline CA-II Plus harnesses through the retention clip while making sure the clip opening is facing the plugs.
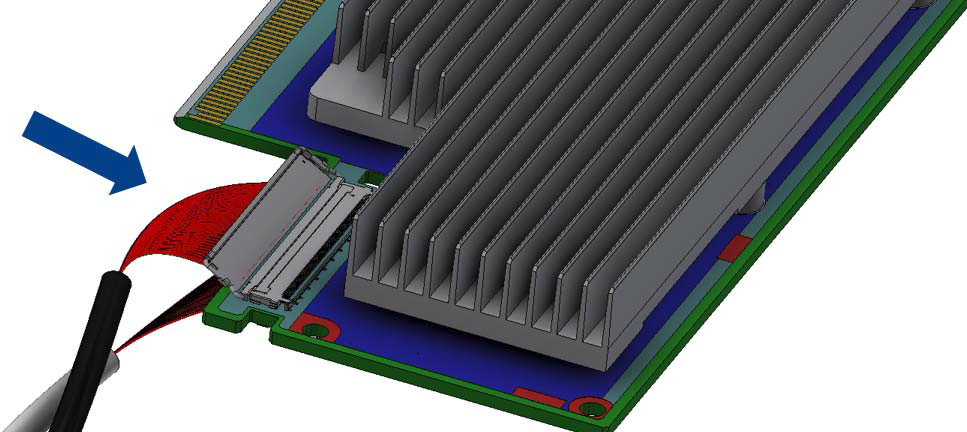
Step 2: Plug the Cabline CA-II Plus harnesses on the ConnectX-6 adapter card while paying attention to the color-coding. As indicated on both sides of the card; plug the black harness to the component side and the white harness to the print side.
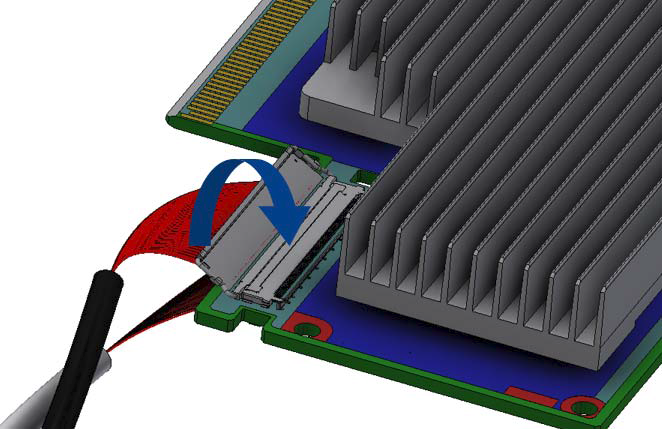
Step 2: Verify the plugs are locked.
Step 3: Slide the retention clip latches through the cutouts on the PCB. The latches should face the annotation on the PCB.
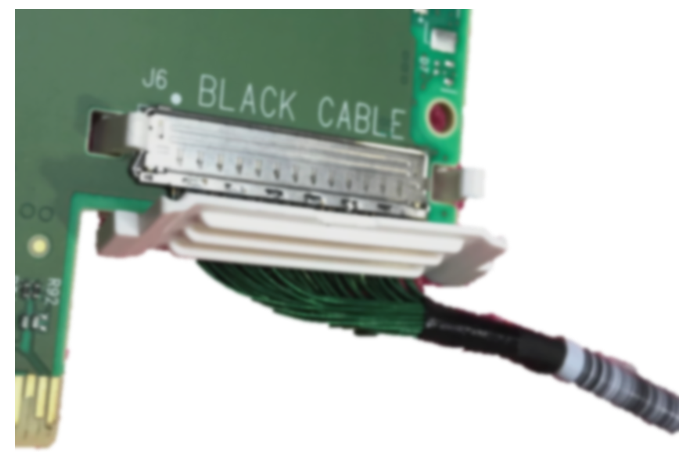
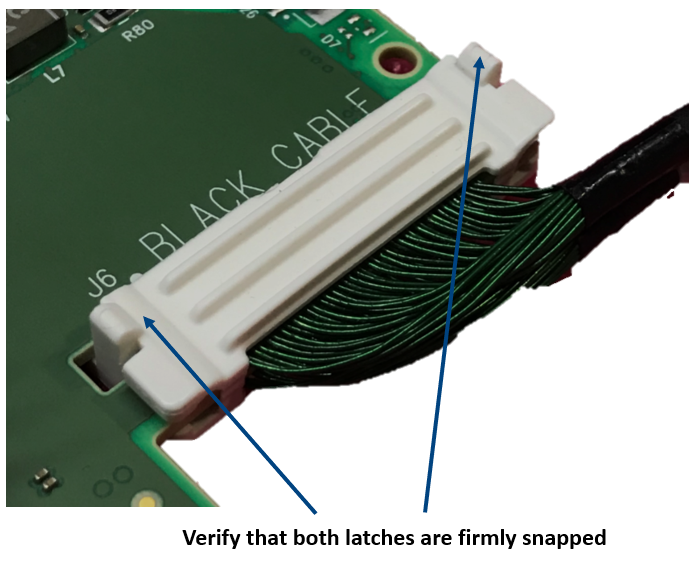
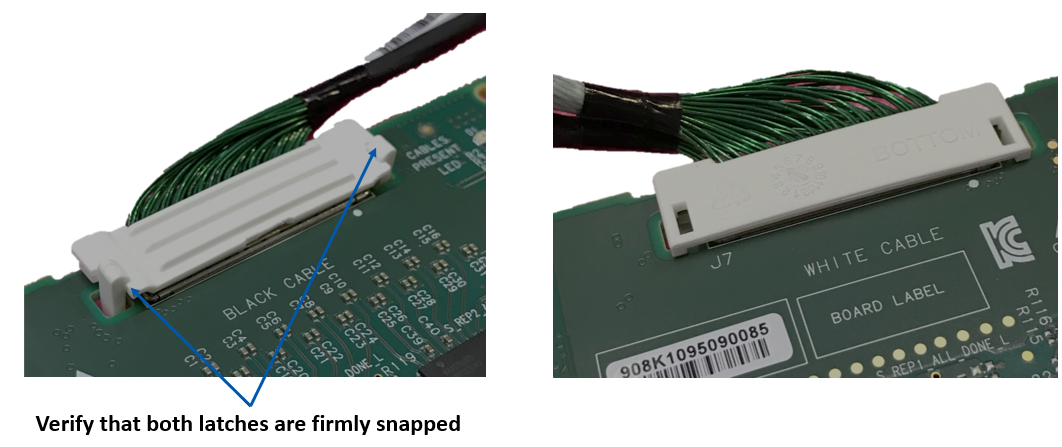
Step 4: Clamp the retention clip. Verify both latches are firmly locked.
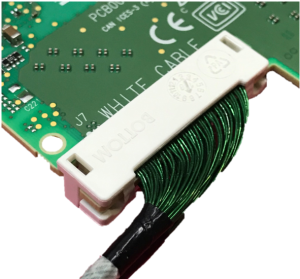
Step 5: Slide the Cabline CA-II Plus harnesses through the retention clip. Make sure that the clip opening is facing the plugs.
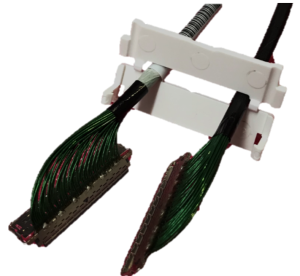
Step 6: Plug the Cabline CA-II Plus harnesses on the PCIe Auxiliary Card. As indicated on both sides of the Auxiliary connection card; plug the black harness to the component side and the white harness to the print side.
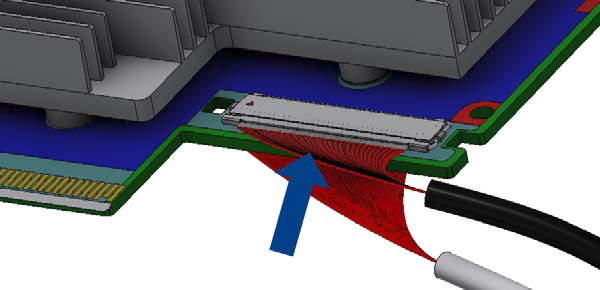
Step 7: Verify the plugs are locked.

Step 8: Slide the retention clip through the cutouts on the PCB. Make sure latches are facing "Black Cable" annotation as seen in the below picture.
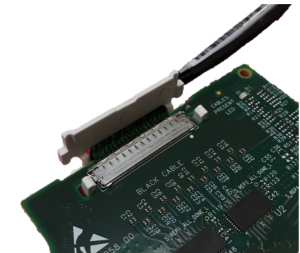
Step 9: Clamp the retention clip. Verify both latches are firmly locked.
Step 1: Locate two available PCI Express x16 slots.
Step 2: Hold the card by its edges and bracket, avoiding contact with the component or print side. Apply even pressure to both edges and carefully insert the adapter into the PCI Express slot until firmly seated.
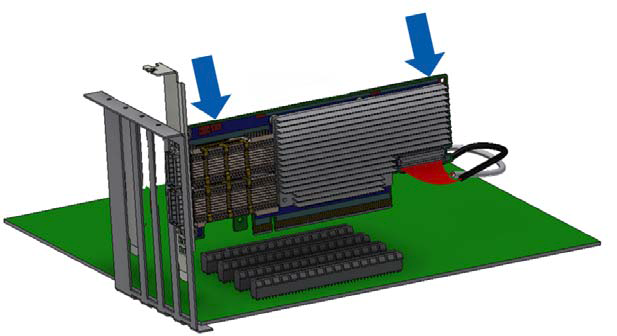
Avoid touching the components on the adapter card.
Avoid applying excessive force when seating the card, as this could damage the system or the adapter card components.
Step 3: Applying even pressure at both corners of the cards, insert the Auxiliary Connection card in the PCI Express slots until firmly seated.
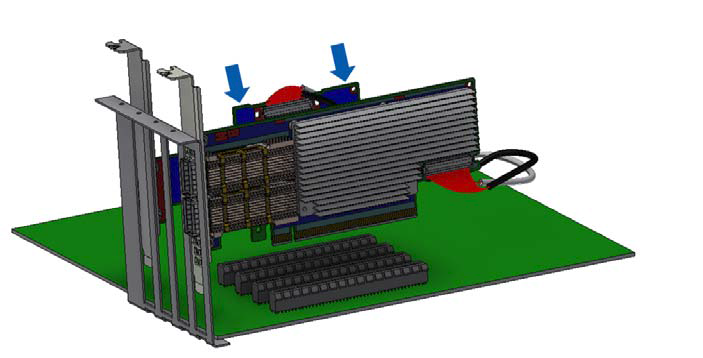
.
Step 1: Secure the brackets to the chassis with the bracket screw.
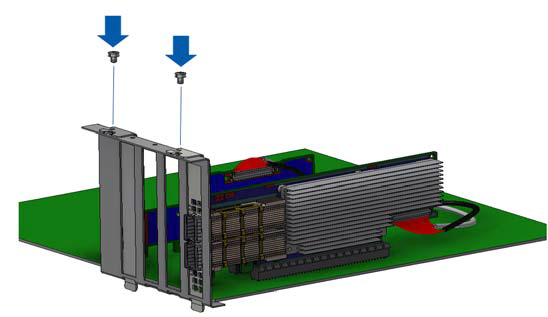
Safety Precautions
The adapter is installed in a system that operates with voltages that can be lethal. Before uninstalling the adapter card, please observe the following precautions to avoid injury and prevent damage to system components.
Remove any metallic objects from your hands and wrists.
It is strongly recommended to use an ESD strap or other antistatic devices.
Turn off the system and disconnect the power cord from the server.
Card Removal
Please note that the following images are for illustration purposes only.
Verify that the system is powered off and unplugged.
Wait 30 seconds.
To remove the card, disengage the retention mechanisms on the bracket (clips or screws).
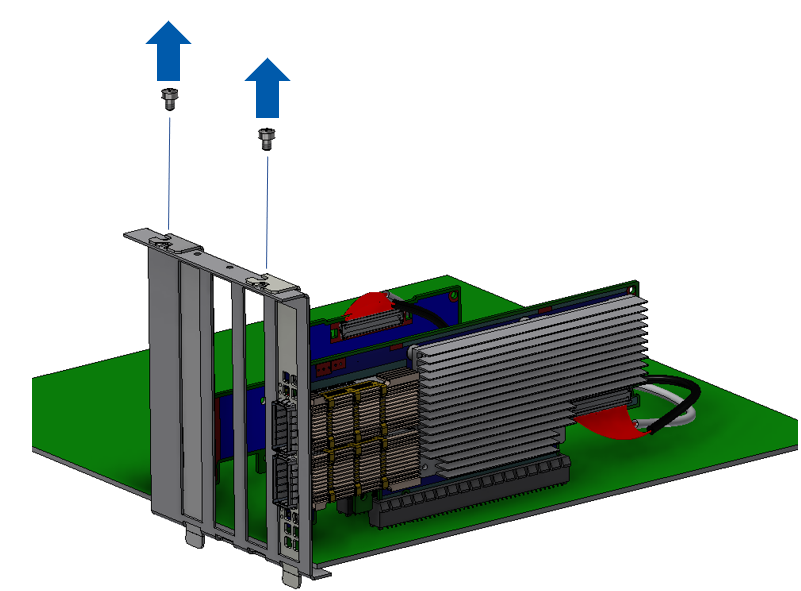
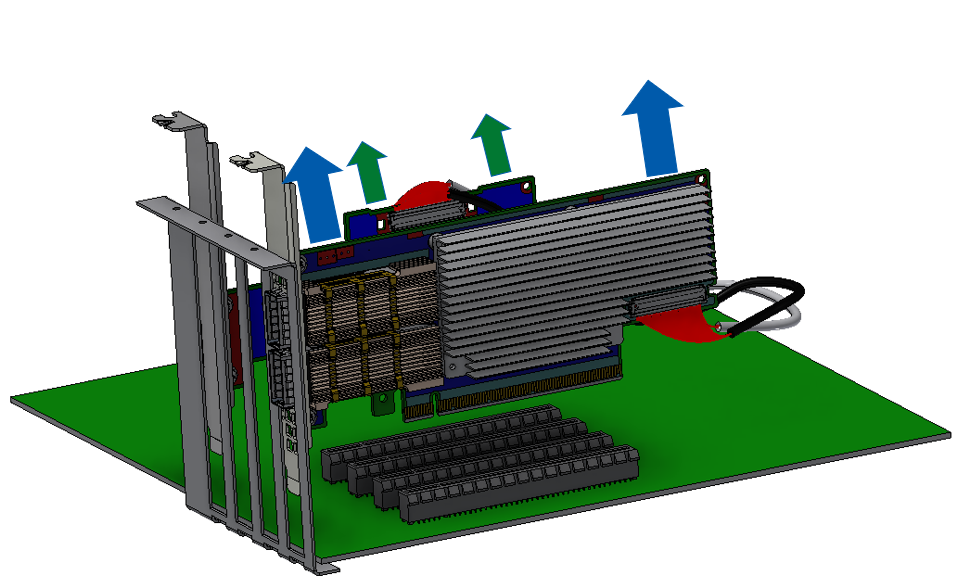
4. Holding the adapter card from its center, gently pull the ConnectX-6 and Auxiliary Connections cards out of the PCI Express slot.
