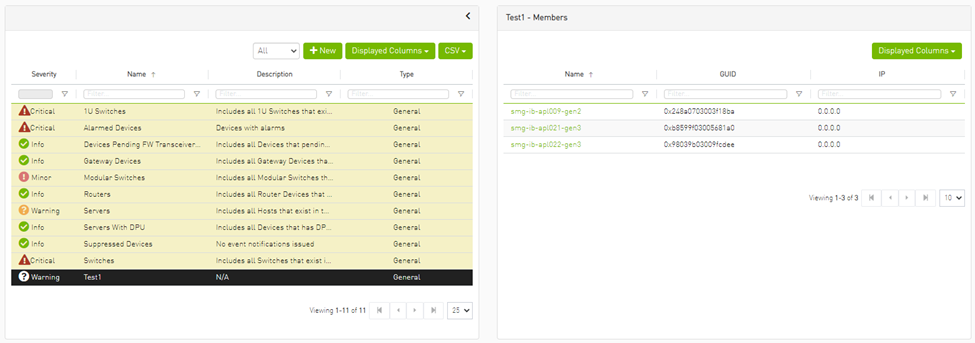
Groups Window
The Groups window allows users to create new groups of devices and provides information about existing groups.
All predefined groups have Read permissions only, except Suppressed_Devices to/from which the user is also able to add/remove members or devices.
The following predefined groups auto-populate upon UFM startup: Switches, 1U_Switches, Modular_Switches, Gateway_Devices, and Hosts.
To create a group of devices, do the following:

Click “New” under “Groups.”

In the New Group wizard, fill in the required information under the General tab: Name (must be between 4-20 characters), Type (General/Rack/Port), and Description (optional), and click Next.
Under Members tab, move the members of the new group from the Available list to the Selected list.
Click “Finish” and the new group will appear under the Groups window.
Group members details – port’s hostname, port’s GUID, and device’s IP address – can be viewed when selecting the group from the list of all groups available.

Group Actions
Right-clicking a group enables performing the following actions:
Edit – groups can be modified either by editing the group description under General tab, or substituting group members under Members tab
Delete – existing groups can be deleted from the list
Remove All Members – all members of an existing group can be removed at once
Collect System Dump – sysdump may be generated for all members of an existing group
The user can filter group by type (General, Rack, Super Switch and Port)


