CloudXR Tools for Testing
The NVIDIA CloudXR SDK includes several tools that can aid in developing client applications and debugging CloudXR network configurations.
Basic Streaming Test Server
Executable:
CloudXRServerTest.exeLocated in / start from:
{unzipped CloudXR-SDK}\TestTools\StreamTestServerSteamVR: No.
Accepts standard Command-Line Options: Yes.
Options file location:
%LocalAppData%\NVIDIA\CloudXR\CloudXRServerOptions.txtLog files directory:
%LocalAppData%\NVIDIA\CloudXR\logs
This simple server application is NOT an interactive VR scene. It shows a single static image in each eye, independently scrolling sideways. It is useful for testing streaming without needing to get in a headset and move around.
Warning
Do not try to wear the headset while using this test server.
SteamVR AR Test Application
Executable:
ar_test.exe.exeLocated in / start from:
{unzipped CloudXR-SDK}\TestTools\ArCubeServerSteamVR: Yes.
Accepts standard Command-Line Options: No.
Server options go to SteamVR as described in the Command-Line Options documentation.
This application requires SteamVR. It will stream an AR scene containing a cube to a tablet device. It is useful for testing Tablet AR streaming. See SteamVR Server Requirements, Running the ARKit Client and Running the ARCore Client for information on how CloudXR 4.0 streams tablet AR.
VR Test Scene Server
Executable:
CloudXRServerSample.exeLocated in / start from:
{unzipped CloudXR-SDK}\TestTools\VrTestSceneServerSteamVR: No.
Accepts standard Command-Line Options: Yes.
Options file location:
%LocalAppData%\NVIDIA\CloudXR\SampleServer\CloudXRServerOptions.txtLog files directory:
%LocalAppData%\NVIDIA\CloudXR\SampleServer\logs
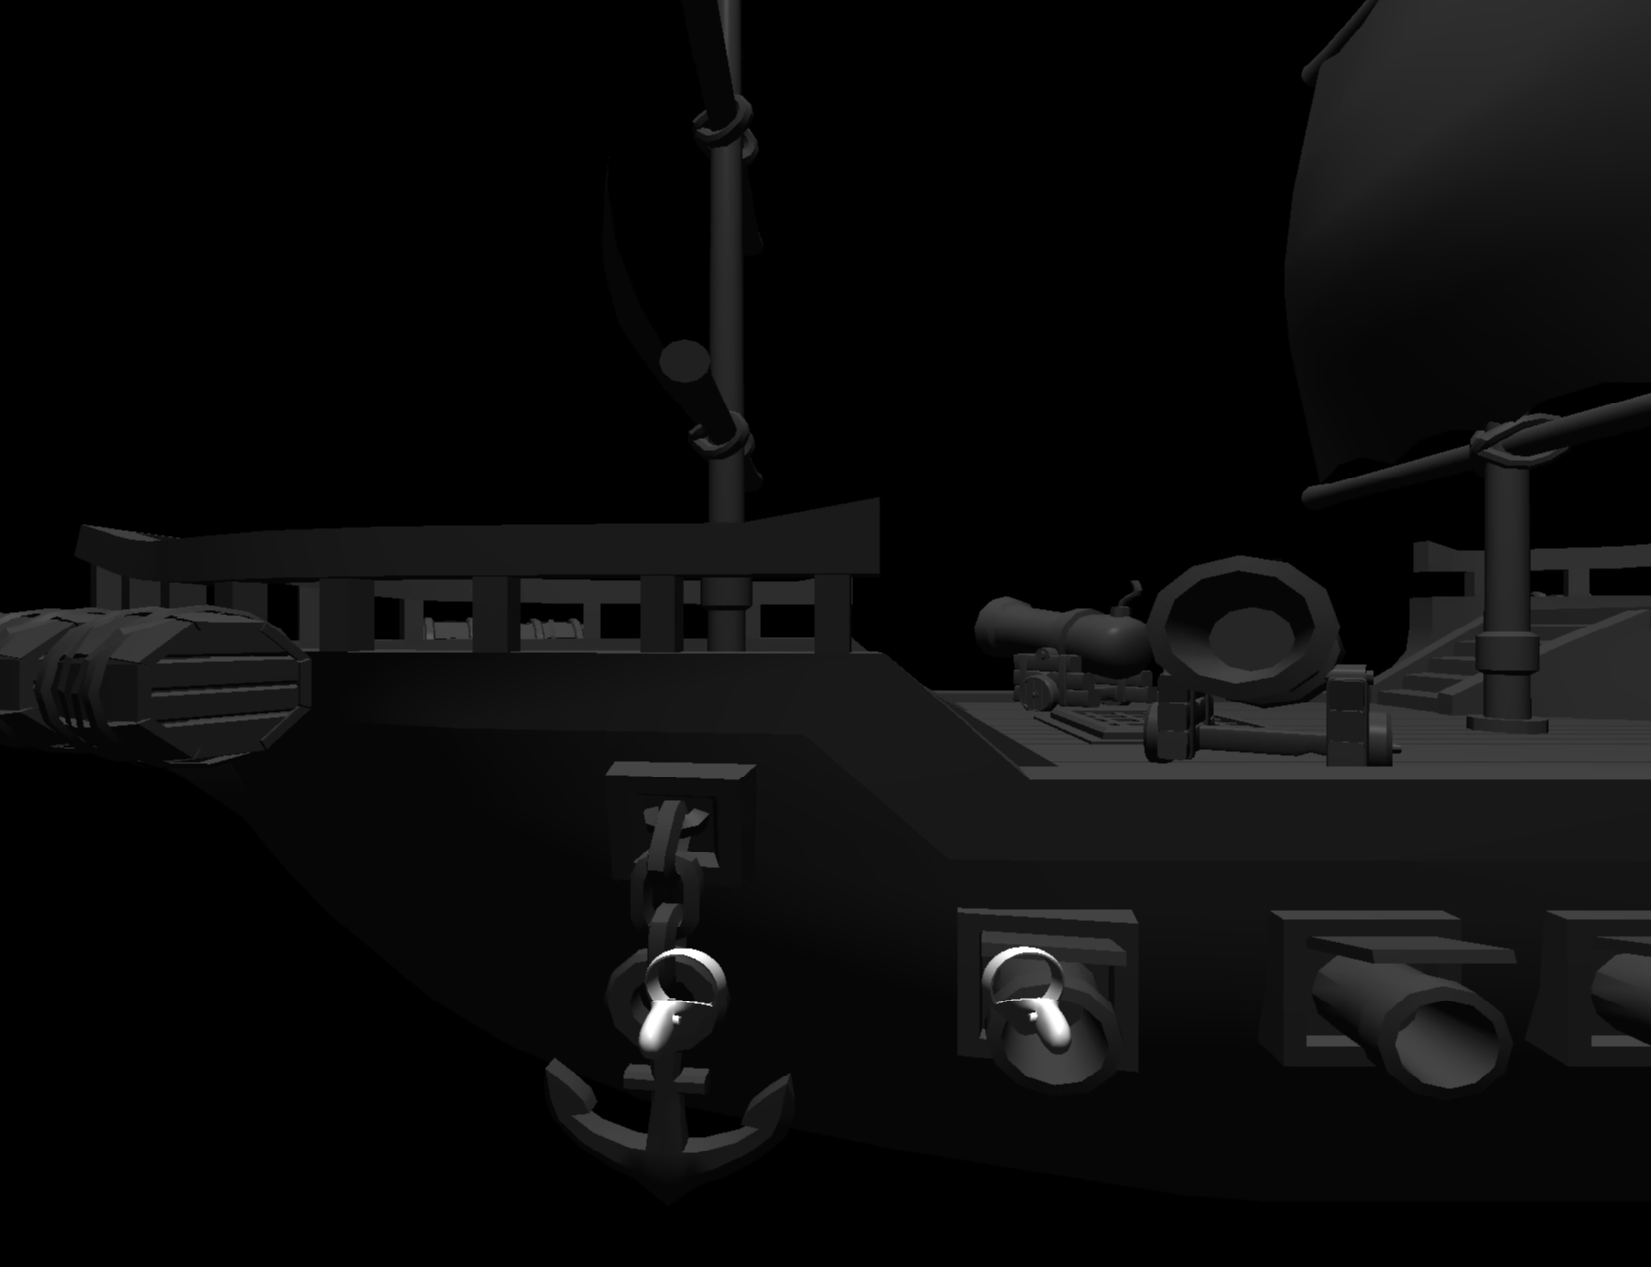
This simple server application runs without SteamVR. It displays a 3D ship model, follows HMD poses, and allows for some basic manipulations to help exercise client controller input. The ability to exercise a client application to a high degree without needing SteamVR is extremely helpful for initial client development as well as general ongoing testing.
If you use a launch options file, it can and will be used when launching from terminal equally to double-clicking the app. In that case, the options file is loaded first, and then any raw command-line is processed second, allowing the command-line to override things in the options file.
Using the VR Test Scene Server
The CloudXR 4.0 sample clients should all be able to connect to the Server Sample, and the server should support most of the client launch options that apply to server rendering and functionality. It understands VR vs AR clients and will serve the proper streams, rendering a ship model.
At the core, you just point the client to the server IP address, the same as you would for SteamVR. For some clients there is UI to input the IP address, for others it needs to be provided on command-line or in a launch options file. Again, see Command-Line Options for more details on all the methods to provide options, and tables of options currently available.
The internal action list supported includes:
{
"/model/color/red",
"/model/color/green",
"/model/color/blue",
"/model/color/white",
"/model/color/alpha",
"/model/scale",
"/model/rotate",
"/model/move/x",
"/model/move/z",
"/model/move/y",
"/test/LDAT"
};
This server loads a hardcoded profile, that maps left and right hand client controller inputs to one of the above actions. In an effort to support any of the many controllers in the market, it maps multiple inputs to the same action, such as trackpad vs joystick. The following is the latest set of bindings as of this documentation update:
std::map<std::string, std::string> genericProfile[2] =
{
   { // ##### LEFT HAND
      {"/input/application_menu/click", "/test/LDAT"},
      {"/input/trigger/click", "/model/color/alpha"},
      {"/input/trigger/value", "/model/color/alpha"},
      {"/input/grip/click", "/model/color/red"},
      {"/input/grip/value", "/model/color/red"},

      {"/input/trackpad/x", "/model/rotate"},
      {"/input/thumbstick/x", "/model/rotate"},
      {"/input/joystick/x", "/model/rotate"},

      {"/input/a/click", "/model/color/red"},
      {"/input/b/click", "/model/color/blue"},
      {"/input/x/click", "/model/color/red"},
      {"/input/y/click", "/model/color/blue"},
   },
   { // ##### RIGHT HAND
      {"/input/trigger/click", "/model/scale"},
      {"/input/trigger/value", "/model/scale"},
      {"/input/grip/click", "/model/color/green"},
      {"/input/grip/value", "/model/color/green"},

      {"/input/trackpad/x", "/model/move/x"},
      {"/input/trackpad/y", "/model/move/z"},
      {"/input/thumbstick/x", "/model/move/x"},
      {"/input/thumbstick/y", "/model/move/z"},
      {"/input/joystick/x", "/model/move/x"},
      {"/input/joystick/y", "/model/move/z"},

      {"/input/a/click", "/model/color/green"},
      {"/input/b/click", "/model/color/white"},
      {"/input/x/click", "/model/color/green"},
      {"/input/y/click", "/model/color/white"},
   }
};
Note
The AR clients do not apply an initial scale to the scene. So the model is huge, and you may need to take a step back to see it. The iOS sample has a scale slider, and in testing around 0.2 scale works to fit the screen. The ARKit client has scale and rotation mapped via sliders, but the ARCore client has no interface at the moment and thus cannot manipulate the scene aside from moving around it.
Windows Client - Windowed Mode
The pre-built Windows client can be installed with the CloudXR Installer, but it is also available here:
{CloudXR-SDK unzipped}\TestTools\WindowsClient
This Windows client can be used without SteamVR or any XR runtime as a testing tool, using the -windowed (-w) flag. When connected, this opens a Windows desktop window showing the streamed content, and has some basic manipulations using the mouse and keyboard to emulate VR controllers. Please consult the Windows client source code in the SDK package for details.
