ARKit Client (iOS)
The NVIDIA CloudXR SDK includes a sample ARKit client for AR streaming, which is designed to work with iPad and iPhone devices that support the ARKit SDK. The client decodes the video and alpha content that is streamed from the CloudXR server and blends the video with the iOS device’s camera view. The client collects motion data from the iOS device and sends it to the CloudXR server.
Note
The iOS ARKit client is supplied as source code only.
The client uses a default ARKit configuration to track the position and orientation of the iOS device.
With ARKit, on LiDAR-capable devices, the tracking quality and initial lock speed will be significantly improved.
In development mode, the self-built application will run on the device for seven days from the install date.
For the final release, the application needs to be submitted to Apple for approval to allow for persistent installs on non-development iOS devices.
Building the ARKit Client
The source files are in the {sdk-root}/Sample/iOS* folder. If you are using the application with a supported device, you can build, set up, and use the application as supplied.
Make sure you have everything needed from the iOS / iPadOS Sample Client system requirements.
Navigate to the
Sample/iOS/CloudXRClientdirectory and open the CloudXRClient.xcodeproj file.In the Xcode navigation pane, click the CloudXRClient node for the project.
In the main pane, under Targets, select CloudXRClient.
On the Signing and Capabilities tab, update the Team field with your iOS development team and the Bundle Identifier field with your application identifier.
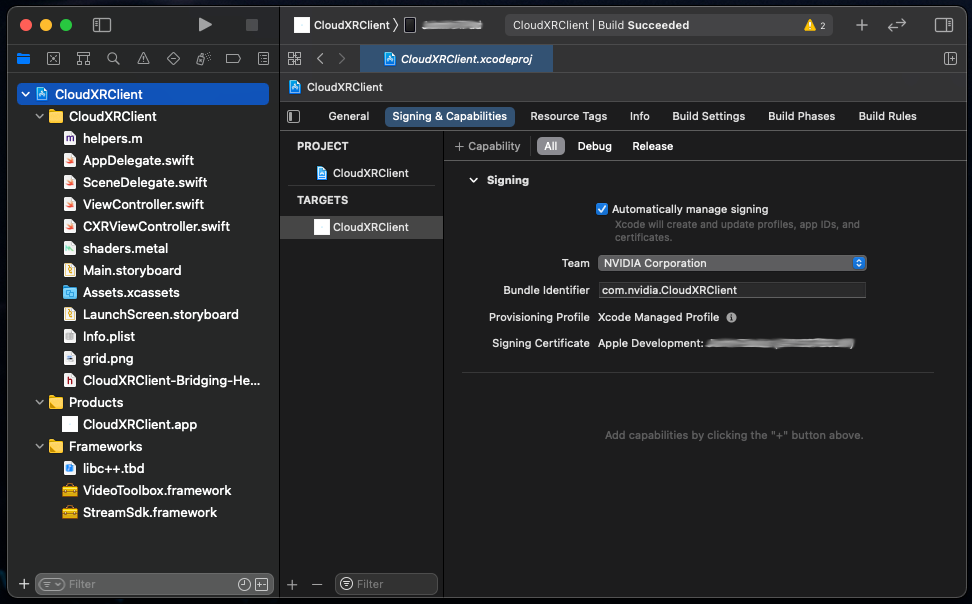
Updating the Team and Bundle Identifier Fields
- In the title bar, set the target as Any iOS Device (arm64) or a specific iOS device that you use for development.
Note
The CloudXR SDK does not support running in the simulator on Apple Macs.
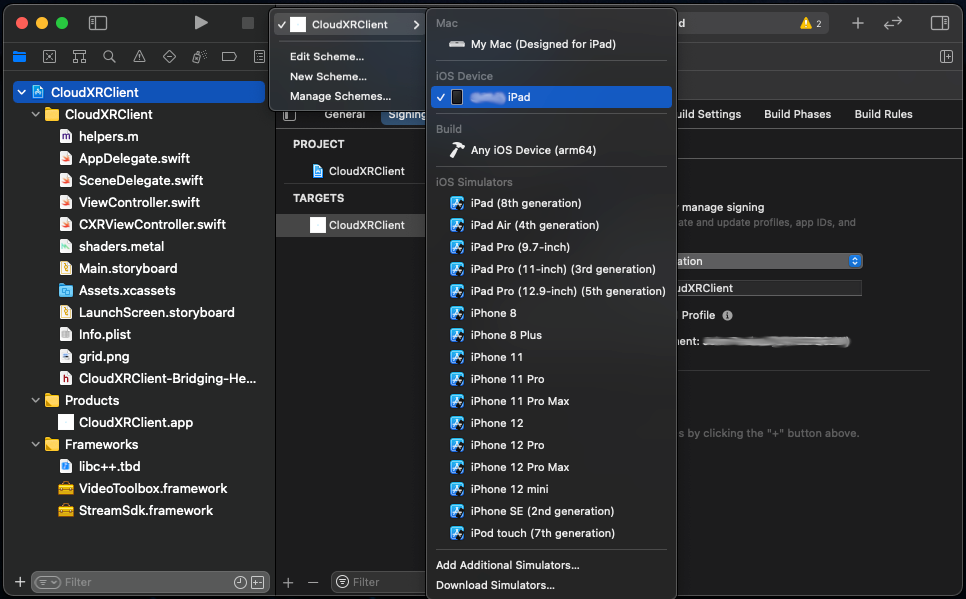
Setting the Target
Click Run.
Running the ARKit Client
Start SteamVR on the server system.
Start the CloudXR AR iOS Client app.
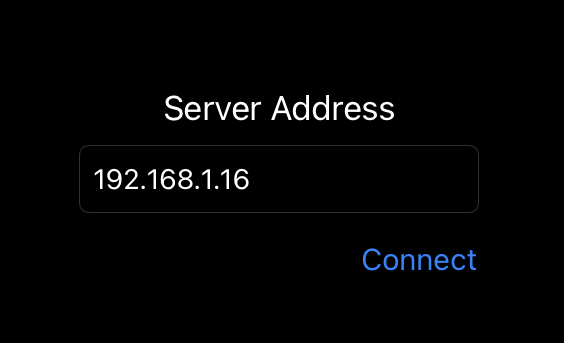
CloudXR ARKit Connection Screen
Enter the IP address of the CloudXR server or accept a previously entered value.
Click Connect.
The application will attempt to connect to the specified server.
After the connection succeeds, the camera view will appear.
You can pan around until ARKit detects a ground plane, which is displayed on the screen as a white grid.
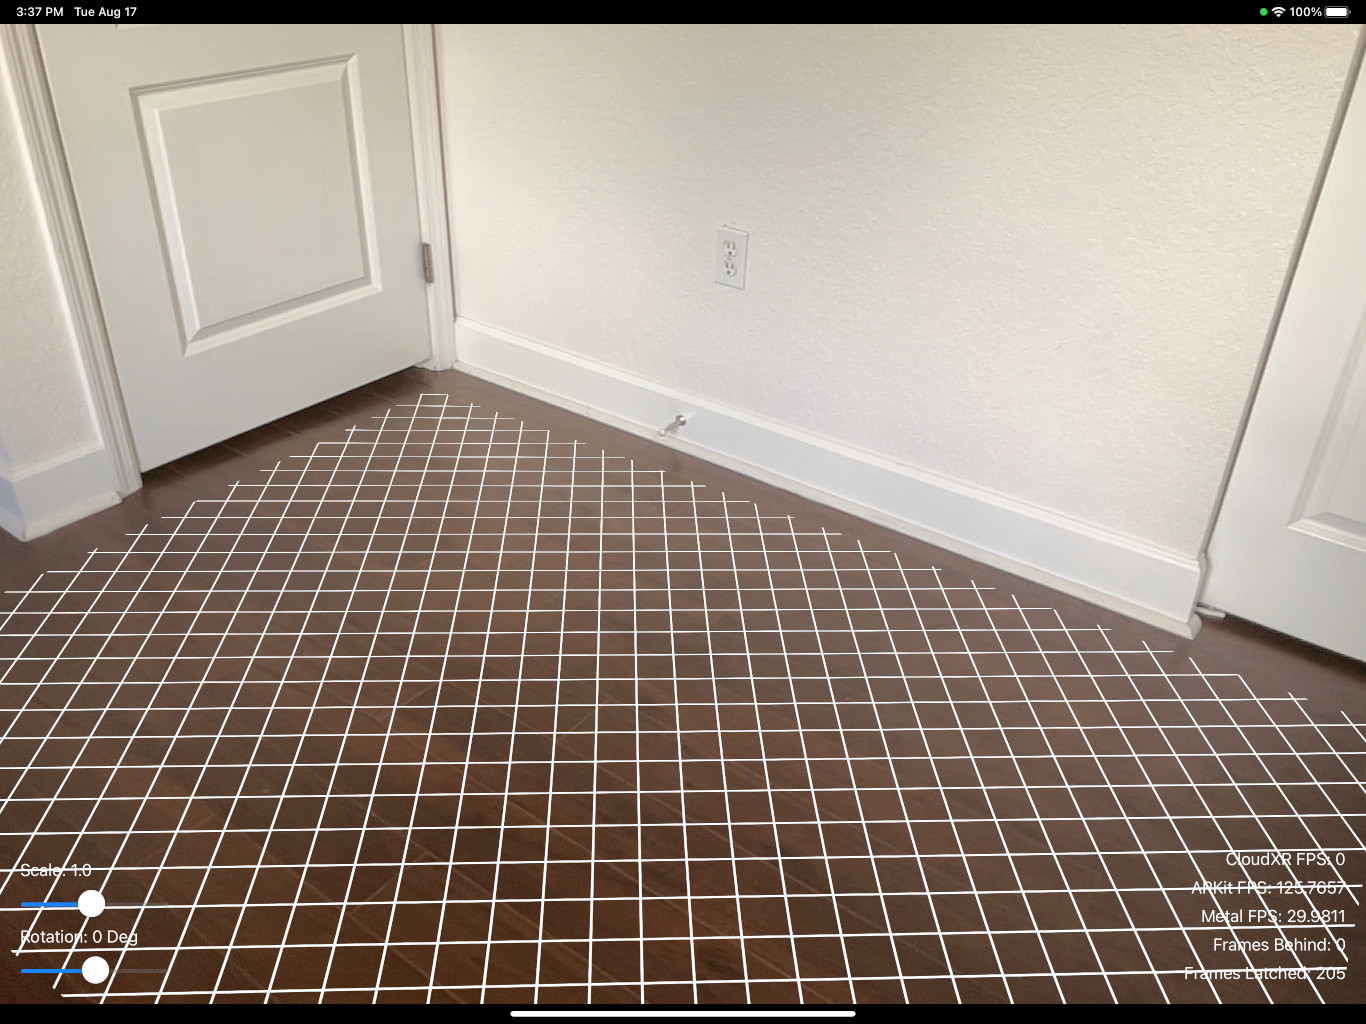
ARKit Surface Detection
Touch the grid to select an anchor point for the AR world.
The app should display the video streaming from the default SteamVR view or from the application that was already running on the server.
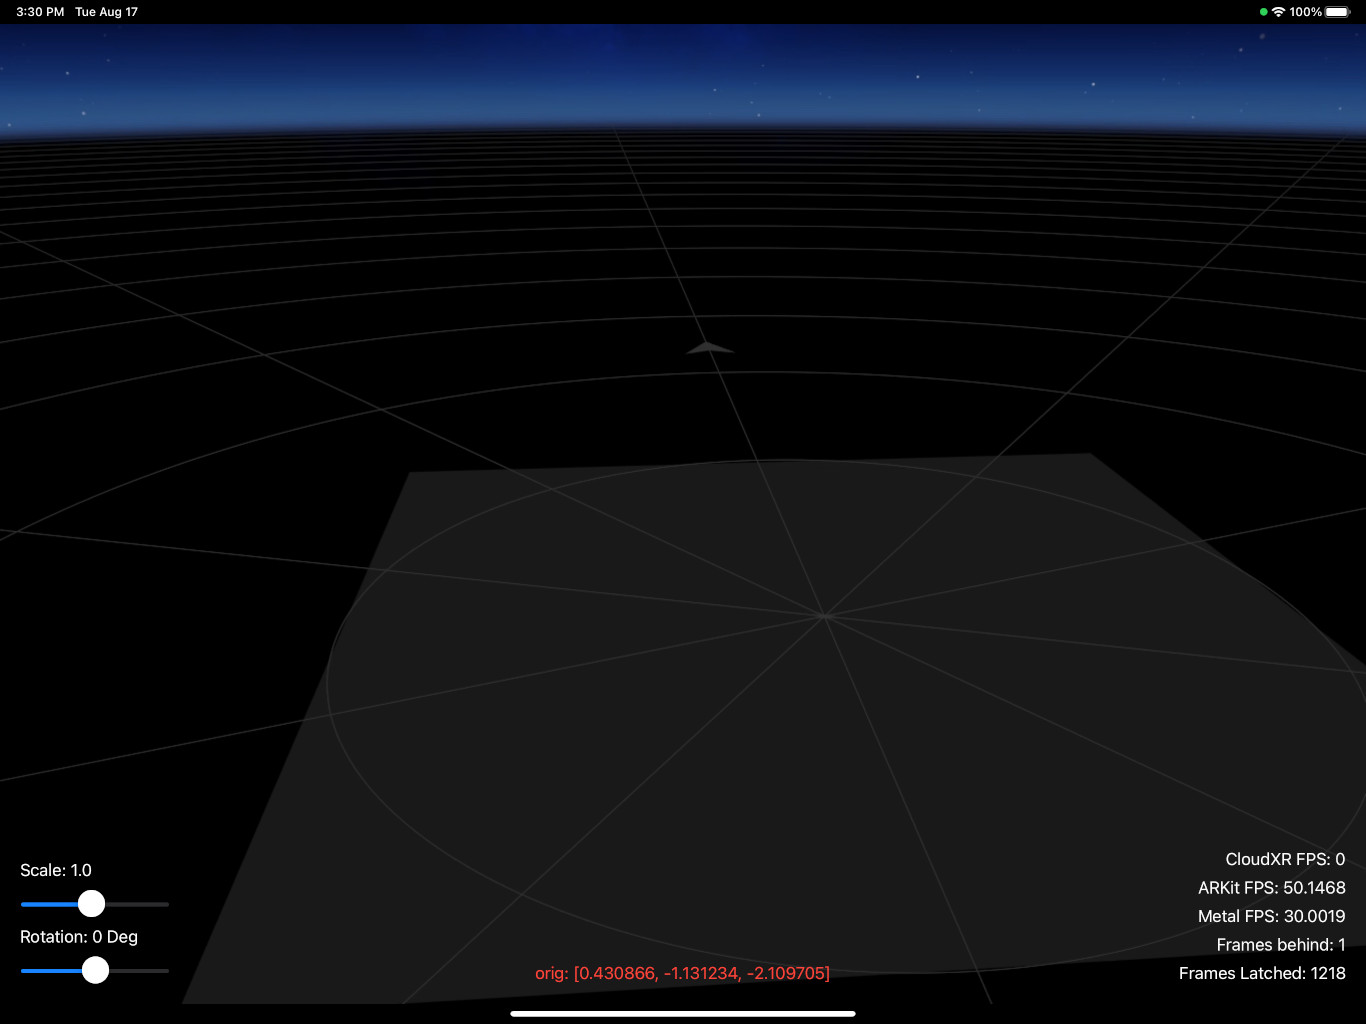
Default SteamVR View
Note
To stream CloudXR with AR content, the server application, which is an OpenVR app, provides the main scene in the left eye containing RGBA data. The alpha channel in the data indicates the regions that should be blended with live camera content. The right eye data is ignored, but because OpenVR requires the submission of both eyes, for best performance we recommend that the application also submit the left eye texture as the right eye texture, by using the same texture handle, or optionally submit a small dummy texture for the right eye.
In the
{sdk-root-folder}\TestToolsfolder, a basic server applicationar_test.exeis provided to help illustrate and validate AR streaming.Start
ar_test.exeon the server after connection to see an array of textured cubes blended into the current camera view.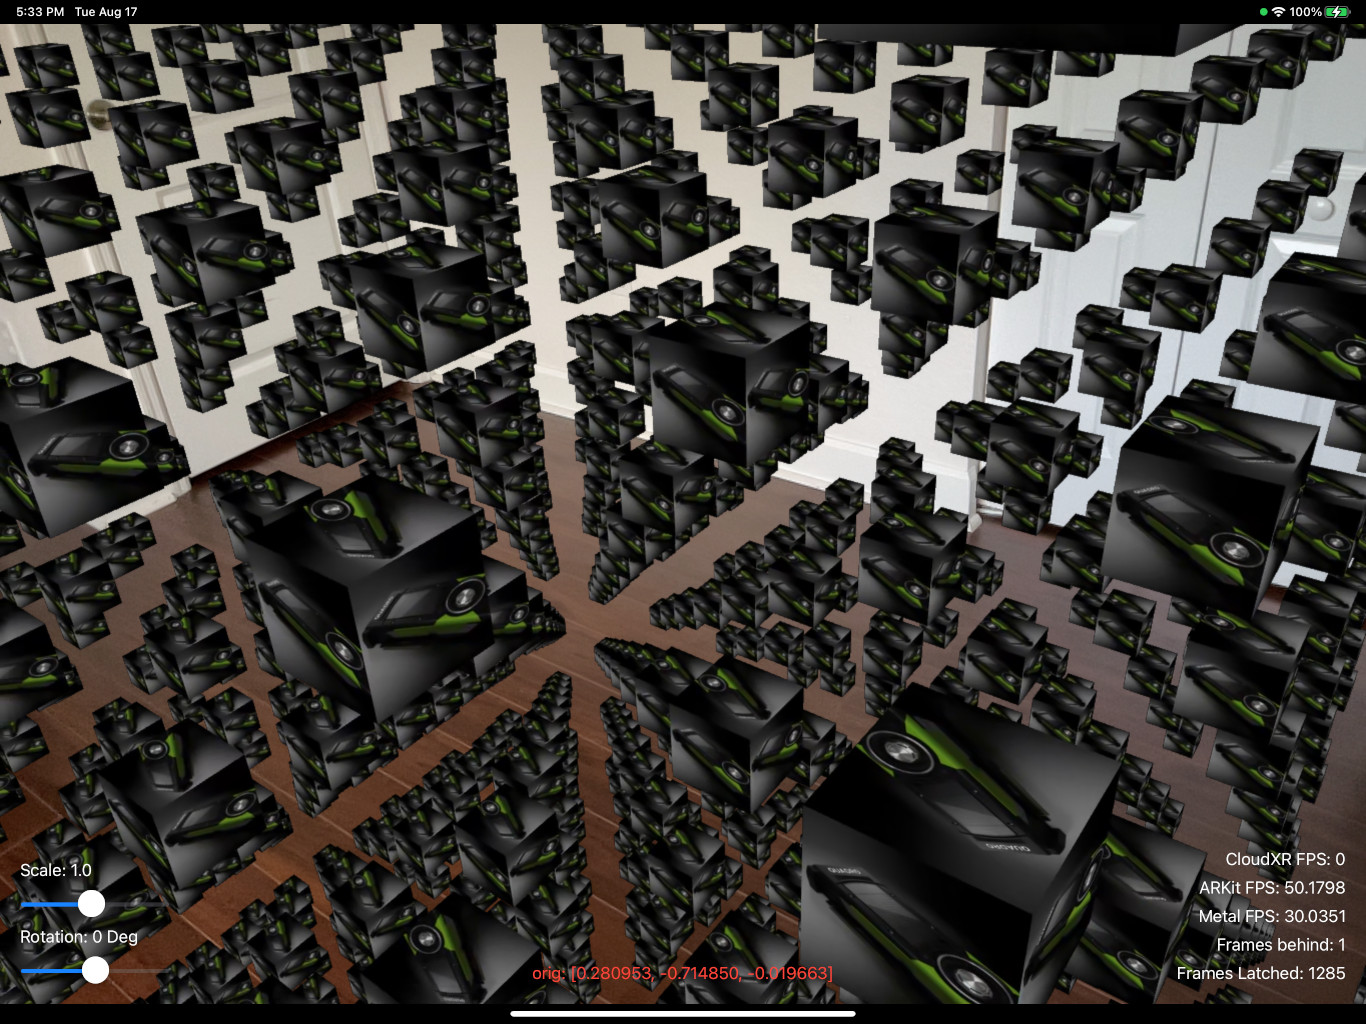
artest Test Tool
To reset the anchored point in the camera view, press and hold your finger on the screen for a few seconds.
The app will return to plane detection mode, allowing you to select a new anchor point.
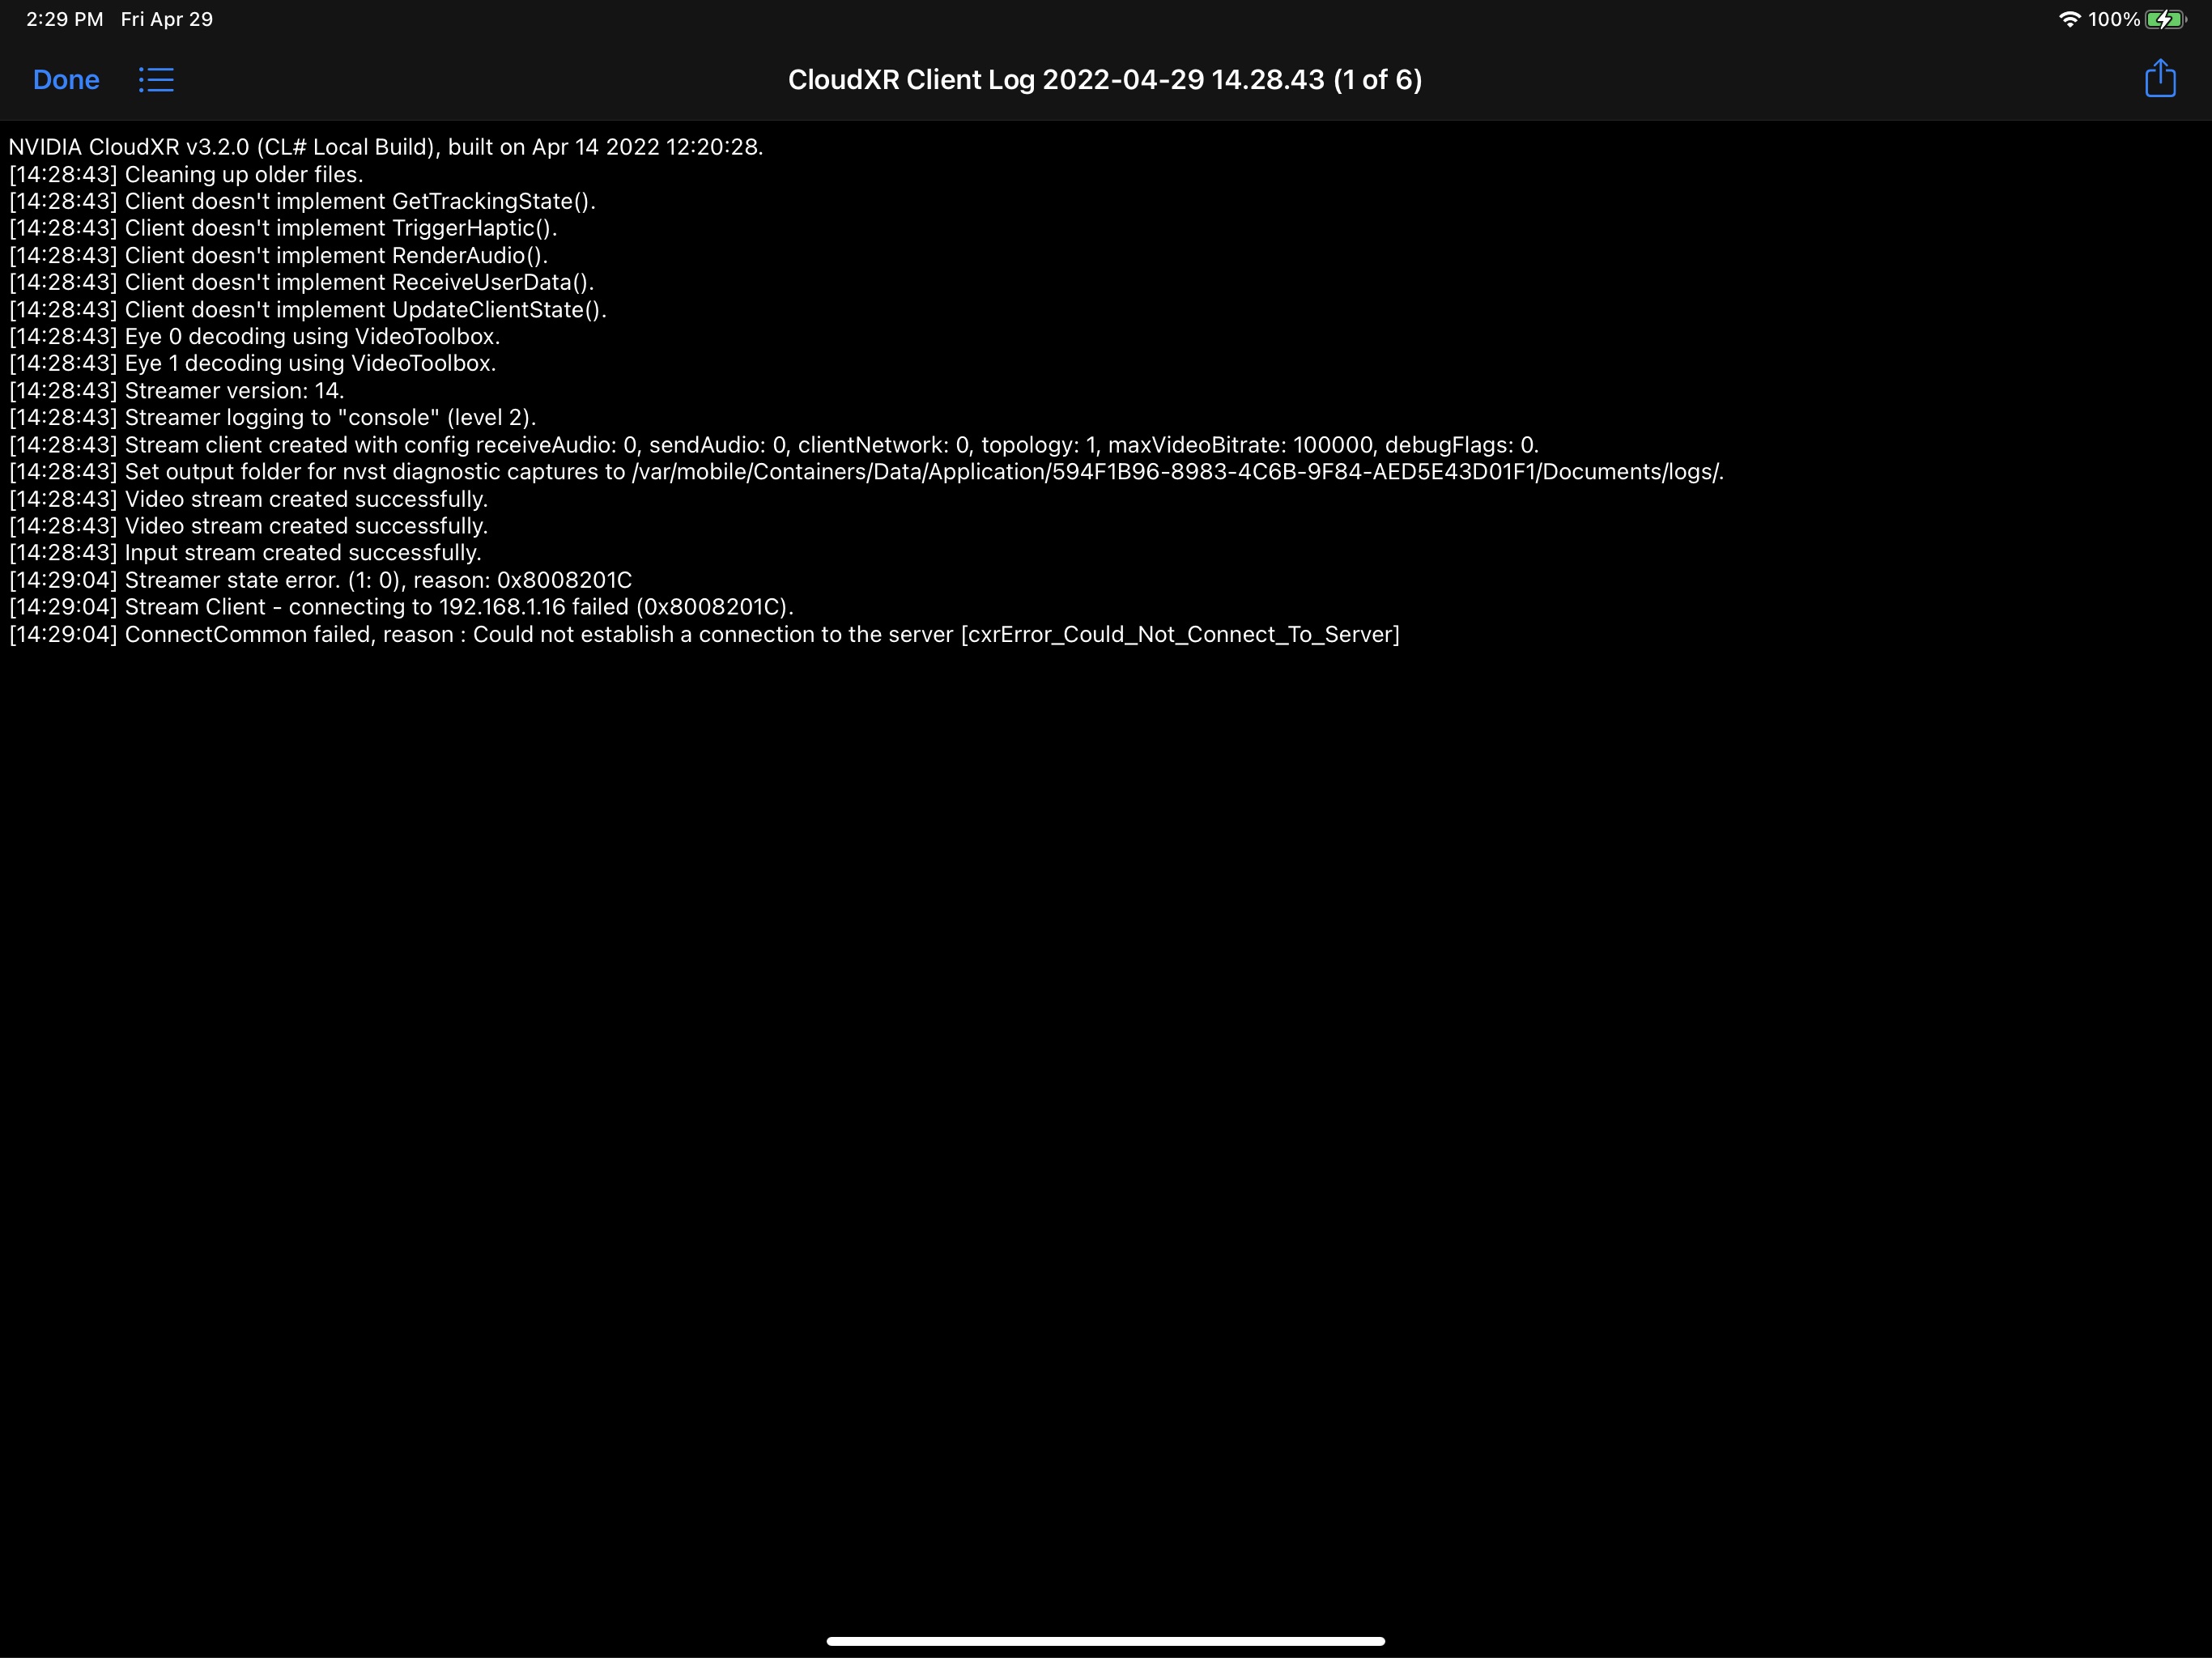
Accessing the CloudXR Logs on iOS
The CloudXR iOS sample application publishes its log files to a shared location on the iOS device. This allows the ‘Files’ application of iOS to view and share the log files.
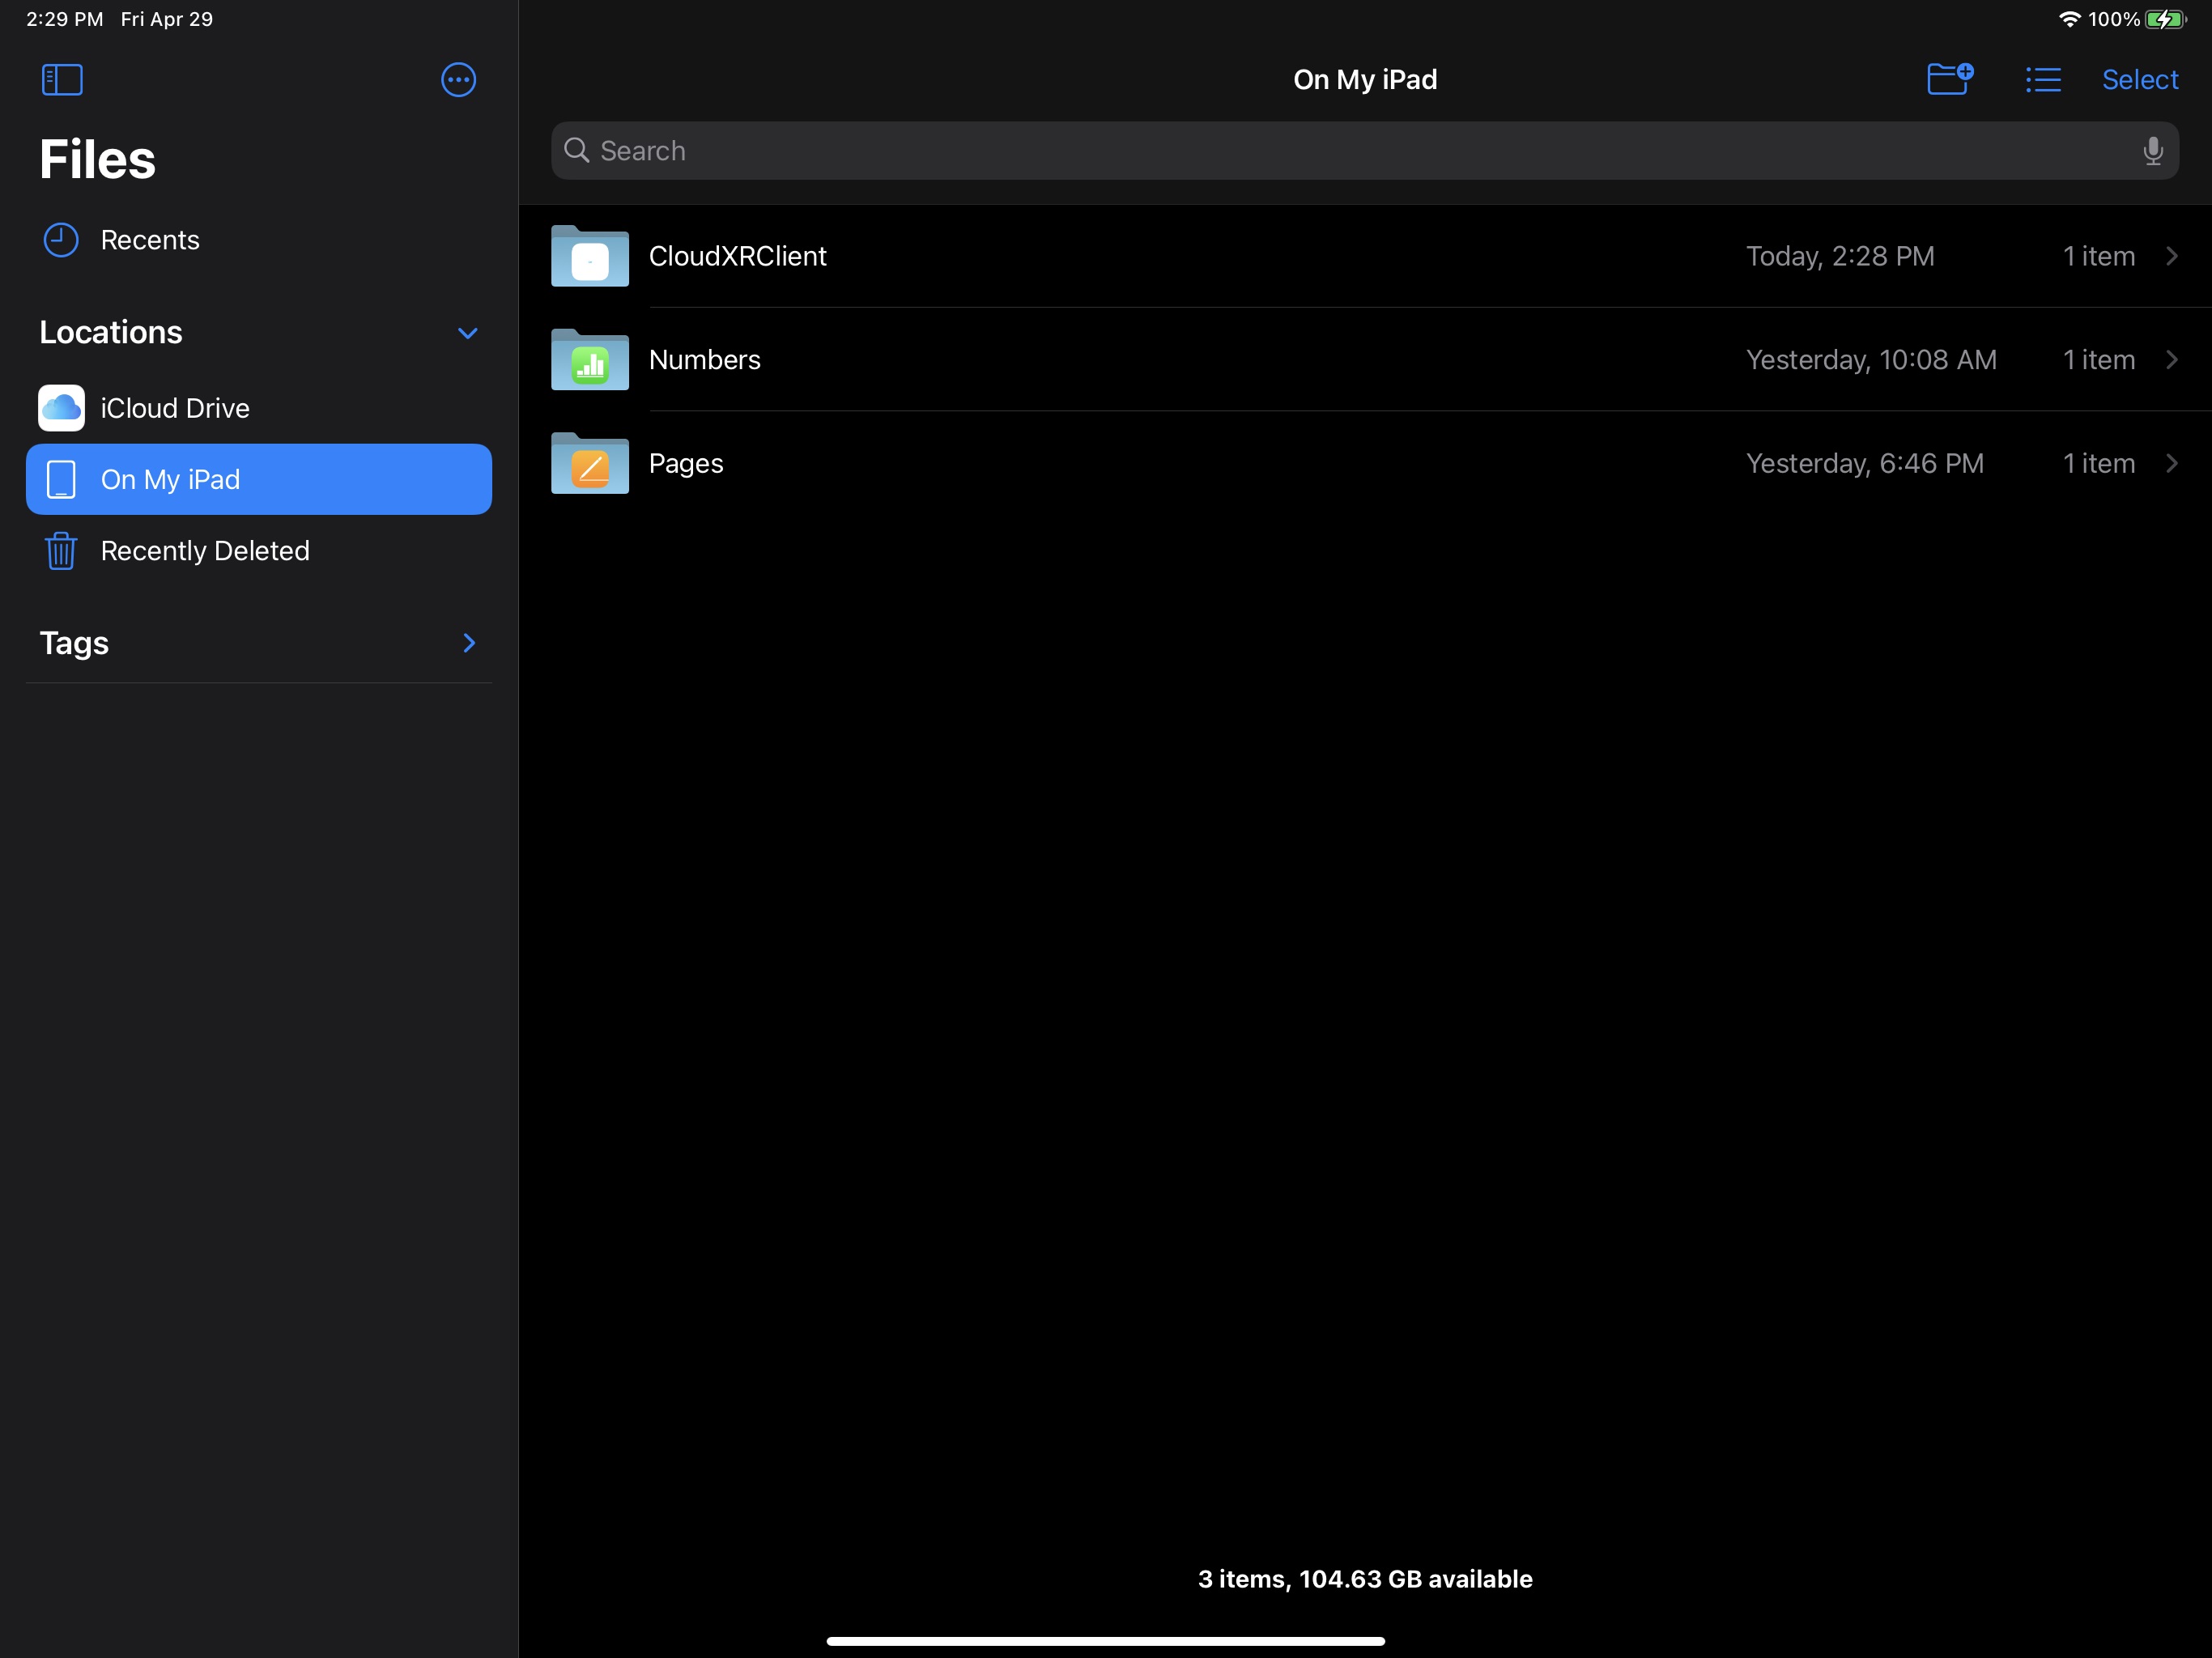
Access the iOS ‘Files’ app by tapping the icon indicated below:
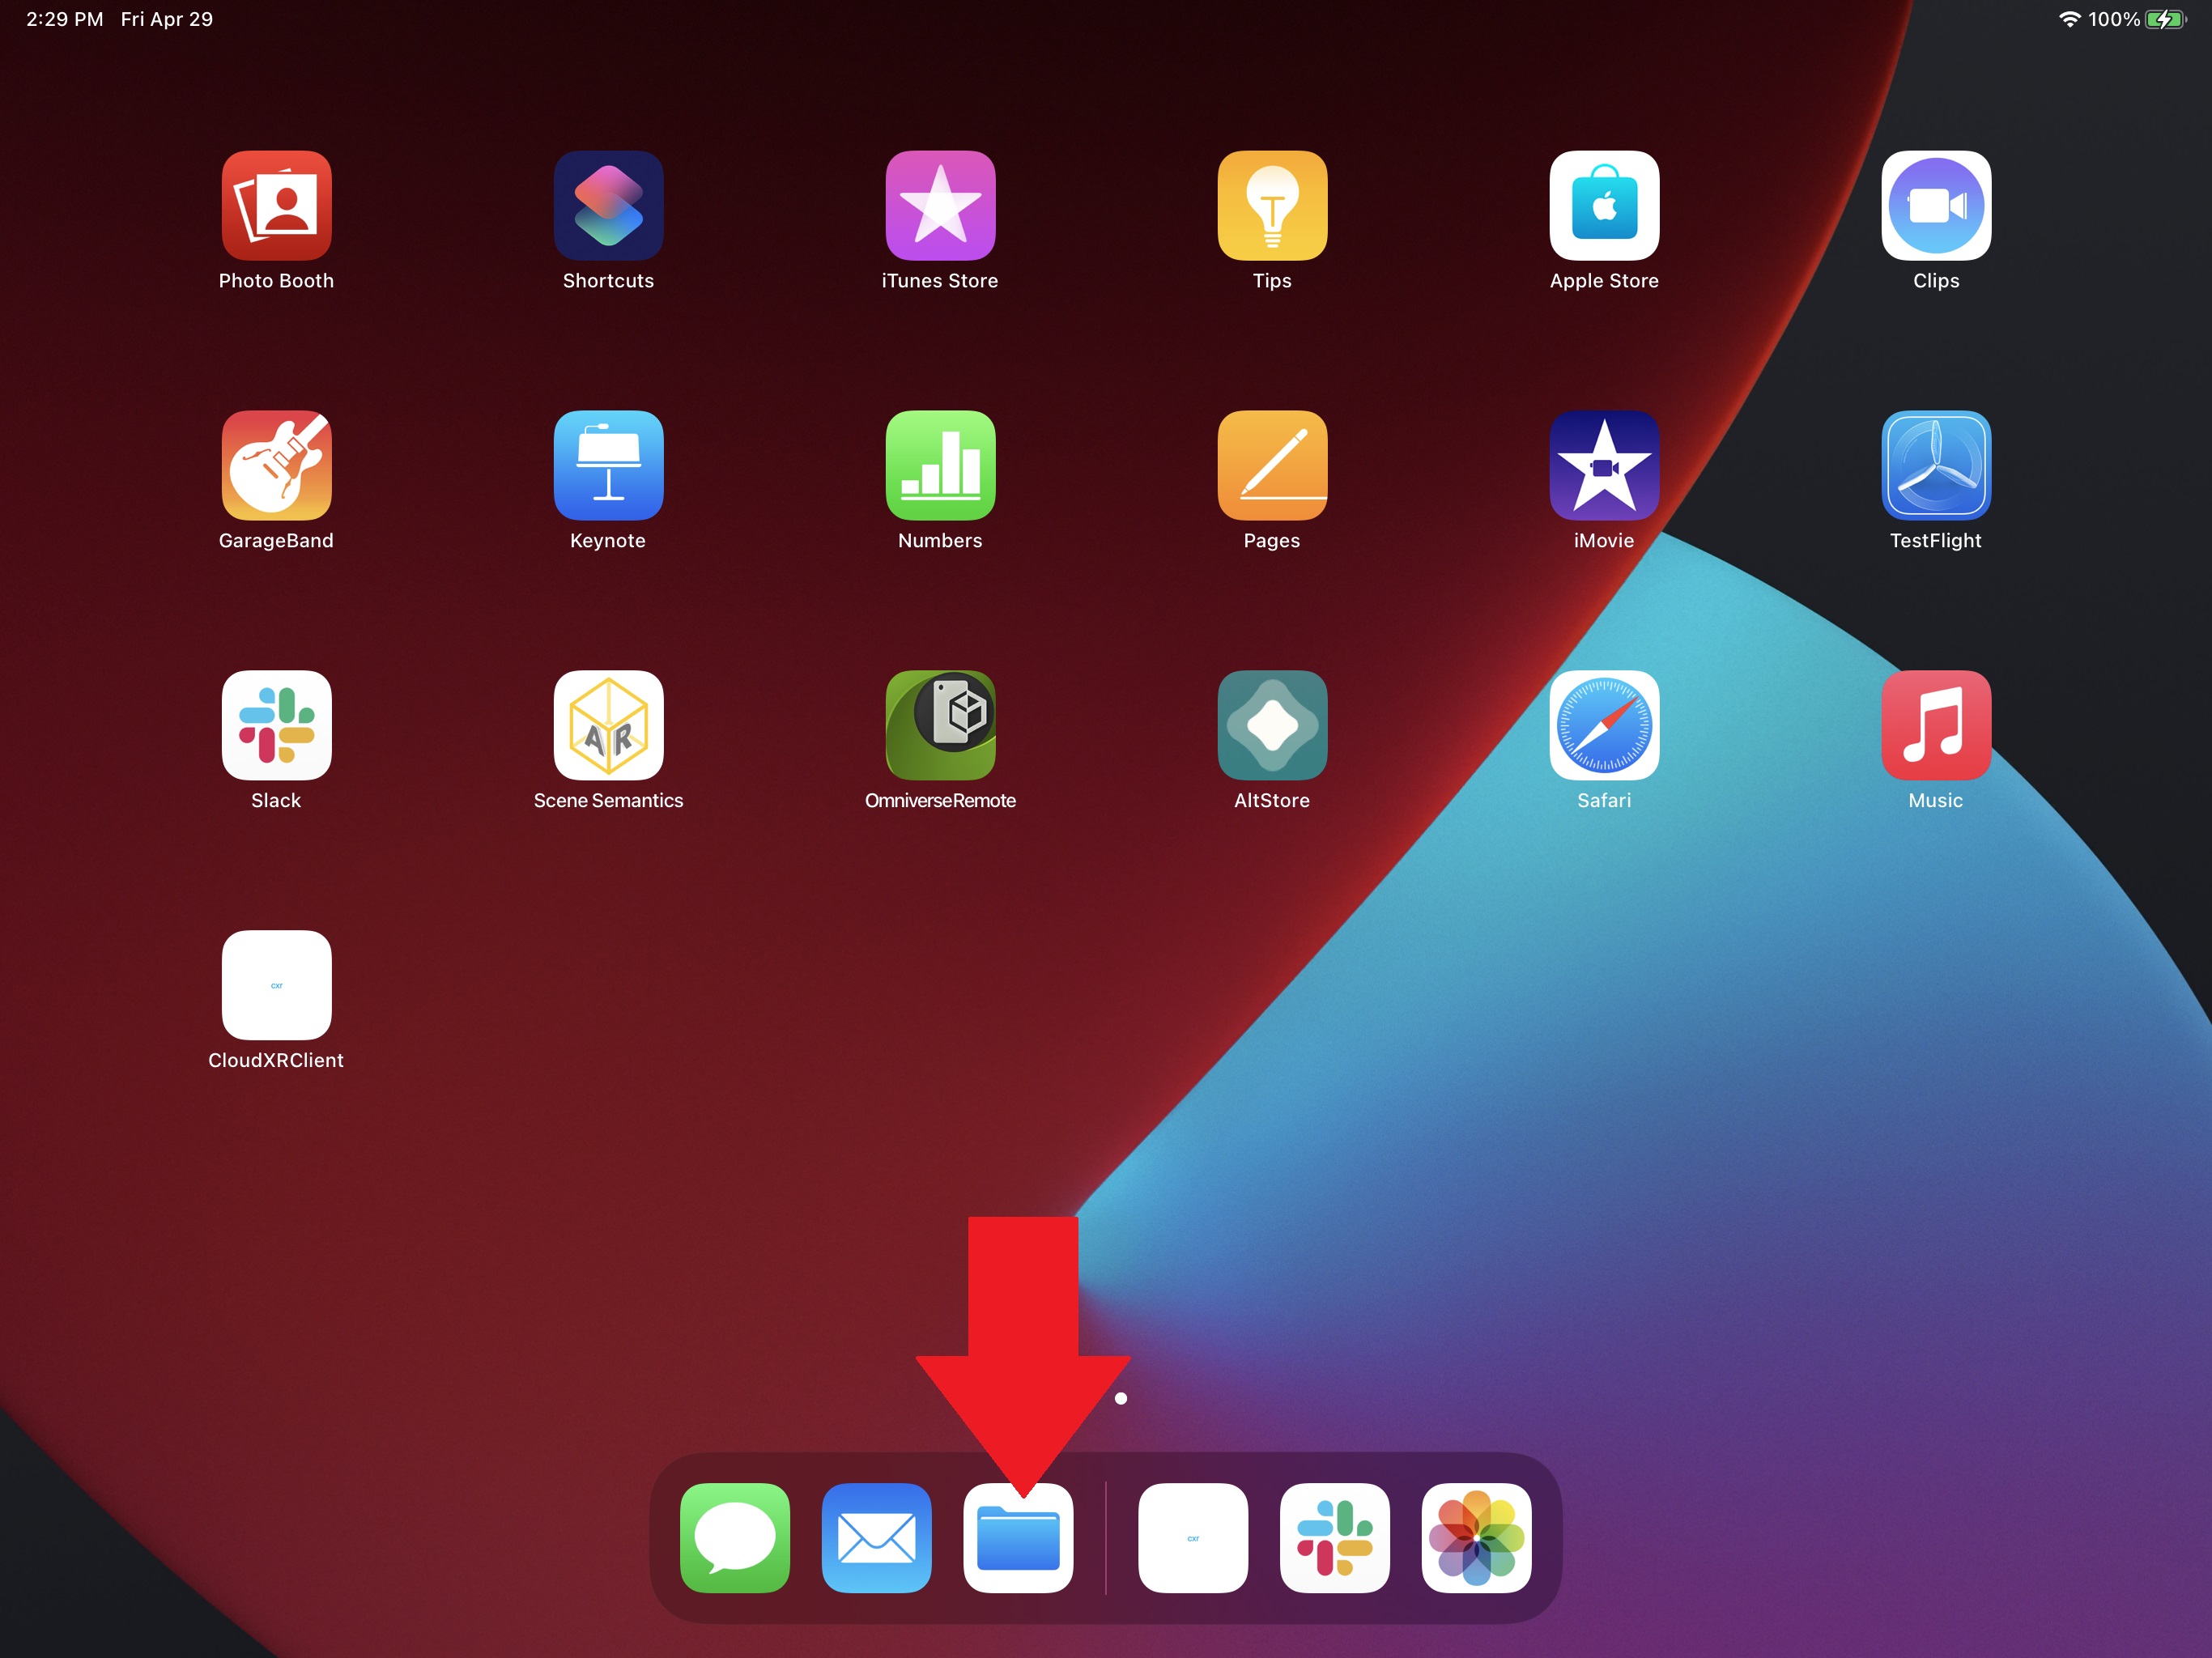
Next choose ‘On My iPad/iPhone’ on the left hand side of the app, and then tap on the CloudXRClient folder on the right hand side:
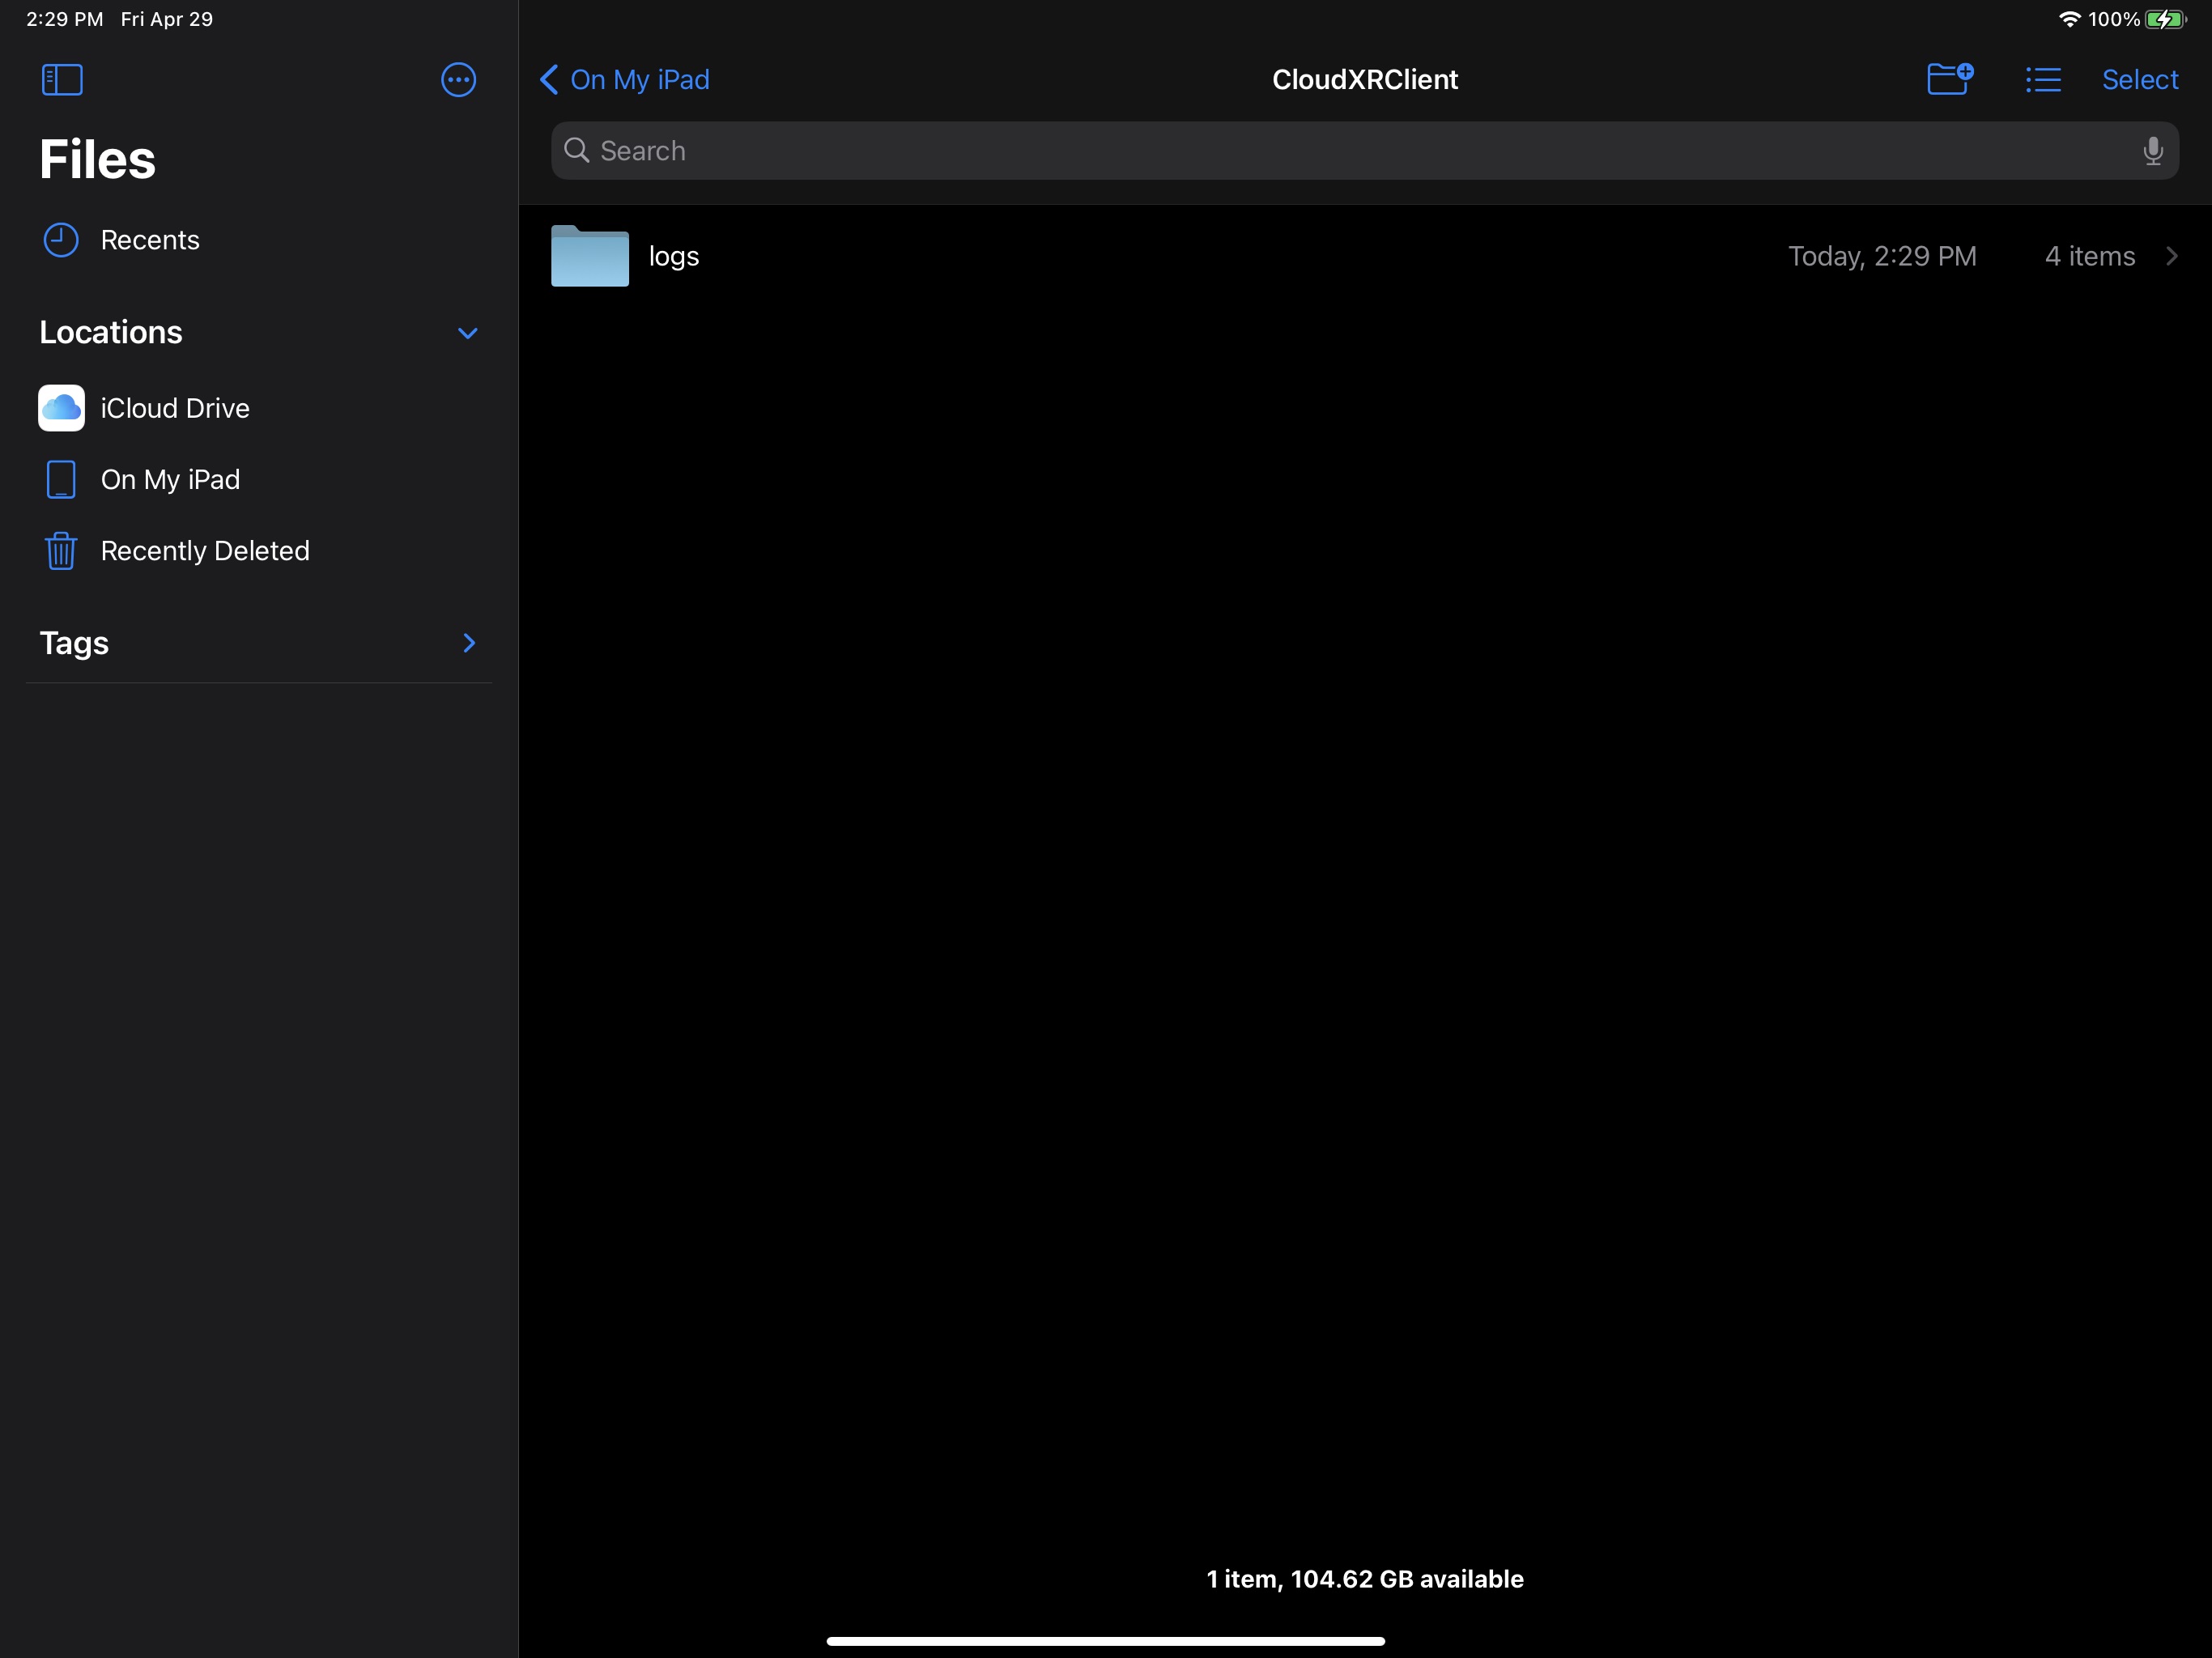
Then tap on the logs folder on the right hand side:
Once inside the logs folder, the logs are available to view and/or share:
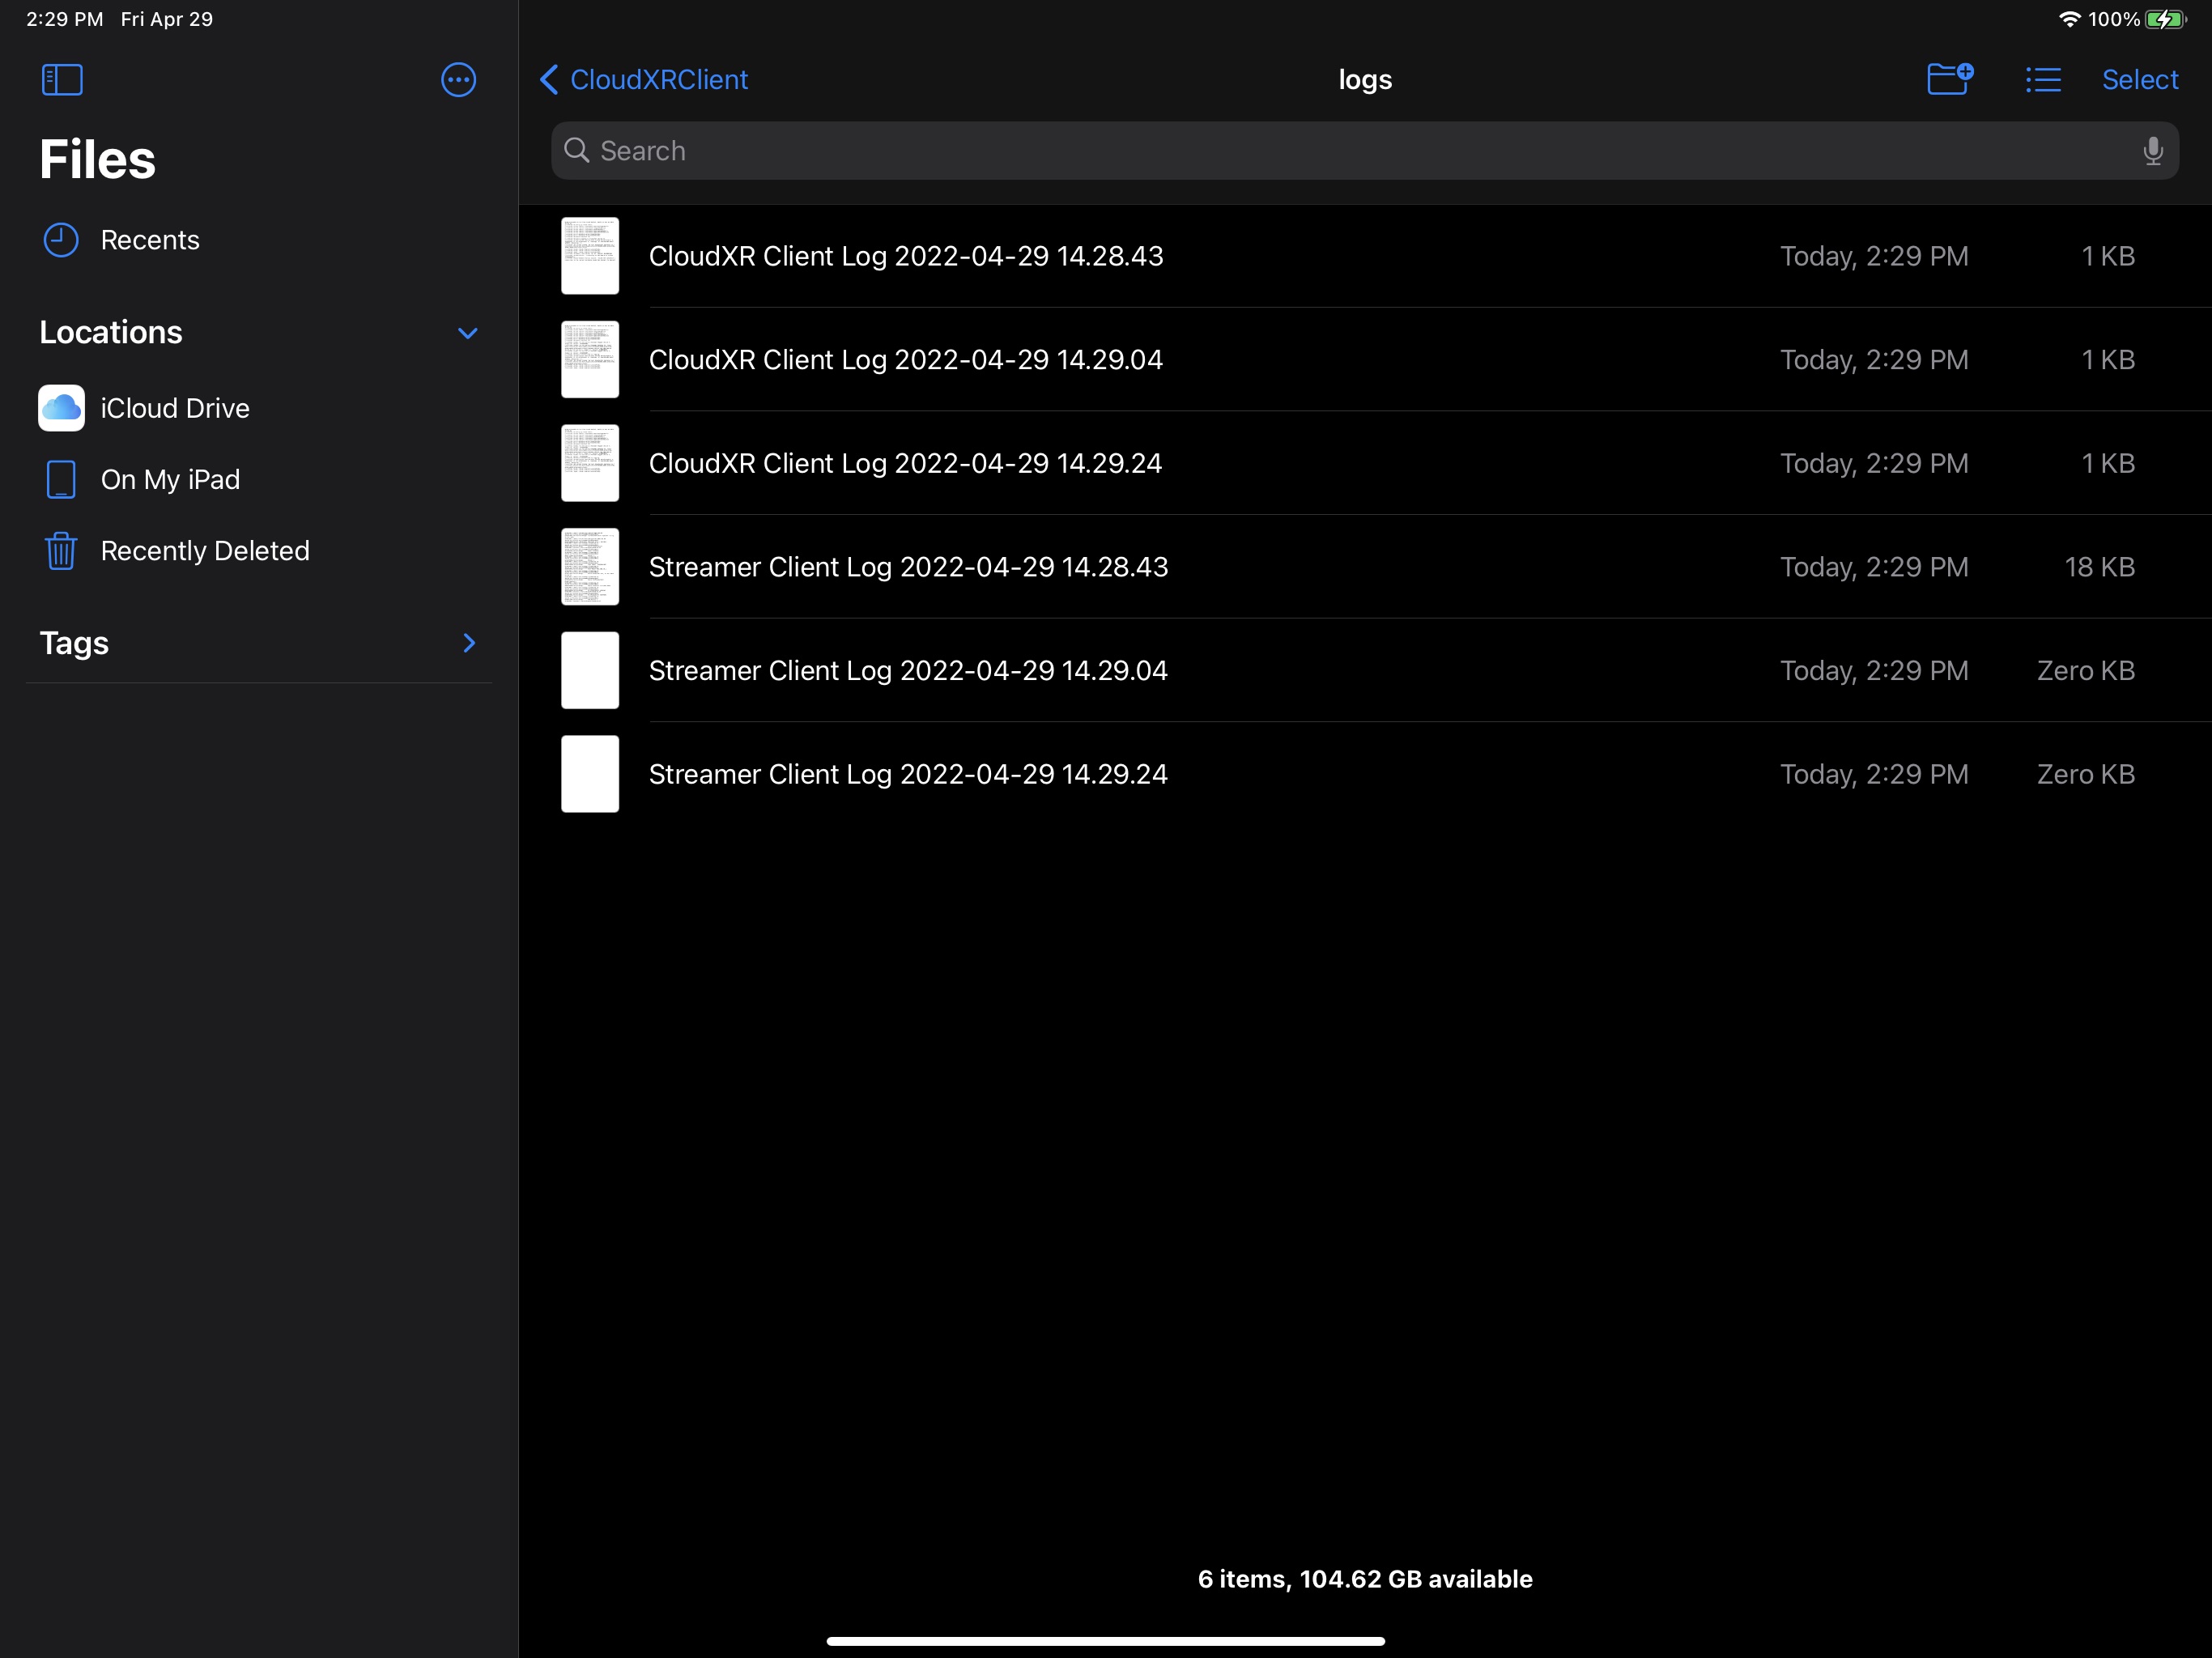
Tapping on a log file allows it to be quickly viewed. The log file can also be shared by tapping the ‘Share Sheet’ icon in the upper right corner: