nvImageCodec with cuPy#
[1]:
import os
import cv2
import cupy as cp
from matplotlib import pyplot as plt
Setting resource folder
[2]:
resources_dir = os.getenv("PYNVIMGCODEC_EXAMPLES_RESOURCES_DIR", "../assets/images/")
Import nvImageCodec module and create both Decoder and Encoder
[3]:
from nvidia import nvimgcodec
decoder = nvimgcodec.Decoder()
encoder = nvimgcodec.Encoder()
Load jpeg2000 image with nvImageCodec
[4]:
nv_img = decoder.read(resources_dir + "cat-1046544_640.jp2")
print(nv_img.__cuda_array_interface__)
{'shape': (475, 640, 3), 'strides': None, 'typestr': '|u1', 'data': (13421772800, False), 'version': 3, 'stream': 1}
Pass nvImageCodec Image to cupy asarray as it accepts __cuda_array_interface__
[5]:
%%time
cp_img = cp.asarray(nv_img)
print(cp_img.__cuda_array_interface__)
{'shape': (475, 640, 3), 'typestr': '|u1', 'descr': [('', '|u1')], 'stream': 1, 'version': 3, 'strides': None, 'data': (13421772800, False)}
CPU times: user 1.22 ms, sys: 0 ns, total: 1.22 ms
Wall time: 1.19 ms
Convert to numpy and show
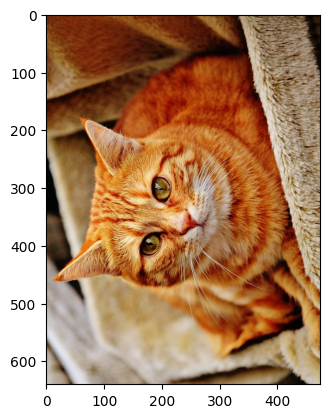
[6]:
np_img4k = cp.asnumpy(cp_img)
plt.imshow(np_img4k)
[6]:
<matplotlib.image.AxesImage at 0x7fee037dd750>

Lets do some opration on image in GPU using cupyx.scipy
[7]:
import cupyx.scipy.ndimage
[8]:
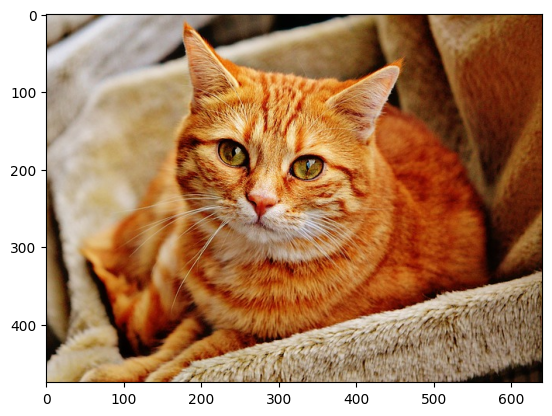
cp_img_rotated = cupyx.scipy.ndimage.rotate(cp_img, 90)
cp_img_gaussian = cupyx.scipy.ndimage.gaussian_filter(cp_img, sigma = 5)

print(cp_img_rotated.__cuda_array_interface__)
{'shape': (640, 475, 3), 'typestr': '|u1', 'descr': [('', '|u1')], 'stream': 1, 'version': 3, 'strides': None, 'data': (140658659126272, False)}
[9]:
np_img = cp.asnumpy(cp_img_rotated)
plt.imshow(np_img)
[9]:
<matplotlib.image.AxesImage at 0x7fee02717640>
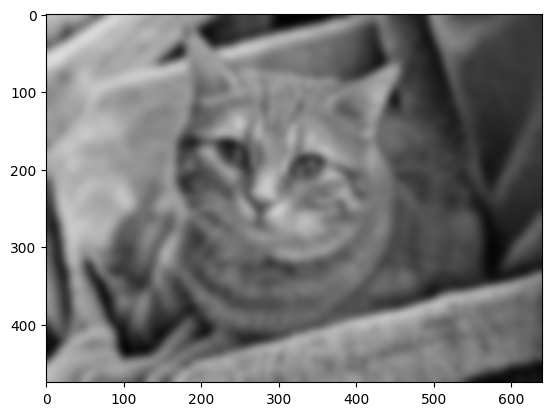
[10]:
np_img = cp.asnumpy(cp_img_gaussian)
plt.imshow(np_img)
[10]:
<matplotlib.image.AxesImage at 0x7fee027bef20>
Convert cupy Image to nvImageCodec Image using __cuda_array_interface__
[11]:
%%time
nv_rotated_img = nvimgcodec.as_image(cp_img_rotated)
CPU times: user 62 µs, sys: 25 µs, total: 87 µs
Wall time: 86.3 µs
Check content
[12]:
plt.imshow(nv_rotated_img.cpu())
[12]:
<matplotlib.image.AxesImage at 0x7fee0233ac20>

Save as Jpeg2000
[13]:
encoder.write("rotated.j2k", nv_rotated_img)
[13]:
'rotated.j2k'
Load with OpenCv to verify
[14]:
image = cv2.imread("rotated.j2k")
image = cv2.cvtColor(image, cv2.COLOR_BGR2RGB)
plt.imshow(image)
[14]:
<matplotlib.image.AxesImage at 0x7fee023b6410>
Save cupy image to jpg with nvImageCodec
[15]:
nv_img_gaussian = nvimgcodec.as_image(cp_img_gaussian)
encoder.write("gaussian.jpg", nv_img_gaussian)
[15]:
'gaussian.jpg'
Read back with OpenCV to verify
[16]:
image = cv2.imread("gaussian.jpg")
image = cv2.cvtColor(image, cv2.COLOR_BGR2RGB)
plt.imshow(image)
[16]:
<matplotlib.image.AxesImage at 0x7fee01f2a470>

DLPack#
Passing cuPy ndarray to nvImageCodec using DLPack. cuPy ndarray has both cuda_array_interface and dlpack interface. By default, cuda_array_interface is preferred and will be used when we pass cuPy ndarray to nvImageCodec using as_image function. If we would like to use DLPack, firstly PyCapsule need to be taken from cuPy ndarray and then it needs to be passed to nvImageCodec.
[17]:
dlpack_img = cp_img_gaussian.toDlpack()
nv_img_gaussian = nvimgcodec.as_image(dlpack_img)
encoder.write("gaussian_dlpack.jpg", nv_img_gaussian)
[17]:
'gaussian_dlpack.jpg'
[18]:
image = cv2.imread("gaussian_dlpack.jpg")
image = cv2.cvtColor(image, cv2.COLOR_BGR2RGB)
plt.imshow(image)
[18]:
<matplotlib.image.AxesImage at 0x7fee01fa1c00>

Passing nvImageCodec Image to cuPy using DLPack
[19]:
nv_img = decoder.read(resources_dir + "cat-1046544_640.jp2")
cp_img = cp.from_dlpack(nv_img)
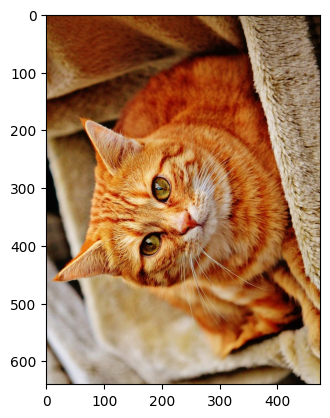
[20]:
np_img = cp.asnumpy(cp_img)
plt.imshow(np_img)
[20]:
<matplotlib.image.AxesImage at 0x7fee01b253c0>
Alternatively, there is possibility to firstly take PyCapsule and then pass it to cuPy
[21]:
nv_img = decoder.read(resources_dir + "cat-1046544_640.jp2")
py_cap = nv_img.__dlpack__()
cp_img = cp.from_dlpack(py_cap)
[22]:
np_img = cp.asnumpy(cp_img)
plt.imshow(np_img4k)
[22]:
<matplotlib.image.AxesImage at 0x7fee01b77430>

Specifying sample_format and color_spec#
The as_image and as_images functions now support optional keyword-only parameters sample_format and color_spec to override the automatic format inference.
Default format inference#
By default, the format is inferred based on the number of channels:
[23]:
# Create test images with different channel counts
img_1ch = cp.random.randint(0, 255, (100, 100, 1), dtype=cp.uint8)
img_3ch = cp.random.randint(0, 255, (100, 100, 3), dtype=cp.uint8)
img_4ch = cp.random.randint(0, 255, (100, 100, 4), dtype=cp.uint8)

# Convert to nvImageCodec images - formats are inferred automatically
nv_img_1ch = nvimgcodec.as_image(img_1ch)
nv_img_3ch = nvimgcodec.as_image(img_3ch)
nv_img_4ch = nvimgcodec.as_image(img_4ch)

print(f"1 channel: {nv_img_1ch.sample_format} - {nv_img_1ch.color_spec}")
print(f"3 channels: {nv_img_3ch.sample_format} - {nv_img_3ch.color_spec}")
print(f"4 channels: {nv_img_4ch.sample_format} - {nv_img_4ch.color_spec}")
1 channel: SampleFormat.I_Y - ColorSpec.GRAY
3 channels: SampleFormat.I_RGB - ColorSpec.SRGB
4 channels: SampleFormat.I_RGBA - ColorSpec.SRGB
Overriding format inference#
You can explicitly specify the sample_format and color_spec (they must be keyword arguments):
[24]:
# Override to BGR format for a 3-channel image
nv_img_bgr = nvimgcodec.as_image(img_3ch, sample_format=nvimgcodec.SampleFormat.I_BGR)
print(f"3-channel with BGR override: {nv_img_bgr.sample_format}")

# Override color_spec to SYCC
nv_img_sycc = nvimgcodec.as_image(img_3ch, color_spec=nvimgcodec.ColorSpec.SYCC)
print(f"3-channel with SYCC color spec: {nv_img_sycc.color_spec}")

# Override both
nv_img_custom = nvimgcodec.as_image(img_3ch,
                                    sample_format=nvimgcodec.SampleFormat.I_YUV,
                                    color_spec=nvimgcodec.ColorSpec.SYCC)
print(f"Custom format: {nv_img_custom.sample_format} - {nv_img_custom.color_spec}")
3-channel with BGR override: SampleFormat.I_BGR
3-channel with SYCC color spec: ColorSpec.SYCC
Custom format: SampleFormat.I_YUV - ColorSpec.SYCC
Format validation#
The library validates that the specified sample_format is compatible with the number of channels. For example, RGBA format requires at least 4 channels:
[25]:
# This will raise an error: trying to use RGBA format with only 3 channels
try:
    nv_img_invalid = nvimgcodec.as_image(img_3ch, sample_format=nvimgcodec.SampleFormat.I_RGBA)
except Exception as e:
    print(f"Error (as expected): {e}")

# However, having MORE channels than required is allowed
# (only the first 3 channels will be used for RGB)
nv_img_rgb_from_4ch = nvimgcodec.as_image(img_4ch, sample_format=nvimgcodec.SampleFormat.I_RGB)
print(f"4-channel image with RGB format: {nv_img_rgb_from_4ch.sample_format}")
Error (as expected): Invalid sample_format for the number of channels. Sample format requires at least 4 channel(s), but image has only 3 channel(s).
4-channel image with RGB format: SampleFormat.I_RGB
Using with as_images#
The same parameters work with as_images for batch processing:
[26]:
# Convert multiple images at once with custom format
images = nvimgcodec.as_images([img_1ch, img_3ch, img_4ch],
                              sample_format=nvimgcodec.SampleFormat.I_Y,
                              color_spec=nvimgcodec.ColorSpec.GRAY)

for i, img in enumerate(images):
    print(f"Image {i}: shape={img.shape}, sample_format={img.sample_format}, color_spec={img.color_spec}")
Image 0: shape=(100, 100, 1), sample_format=SampleFormat.I_Y, color_spec=ColorSpec.GRAY
Image 1: shape=(100, 100, 3), sample_format=SampleFormat.I_Y, color_spec=ColorSpec.GRAY
Image 2: shape=(100, 100, 4), sample_format=SampleFormat.I_Y, color_spec=ColorSpec.GRAY