System Recovery#
This section provides information about system recovery procedures for your DGX Spark.
Note
Founders Edition Only: This recovery information applies only to the DGX Spark Founders Edition. The Founders Edition OS is not distributed as an ISO; recovery media is provided as a tar.gz archive. OEM variant images are only available from the respective OEMs. Devices from other manufacturers might have different recovery procedures and recovery media.
System Recovery Overview#
The system recovery process for the DGX Spark allows you to restore the operating system and firmware to their original factory state. This process is useful when dealing with system corruption, fatal configuration errors, or other issues that prevent normal system operation.
Recovery Requirements#
Before beginning the recovery process, ensure you have the following:
A USB flash drive with 16GB or larger capacity
A keyboard and display connected to your DGX Spark
Access to download the recovery media from developer.nvidia.com
Recovery Process Steps#
The recovery process involves downloading recovery media, creating a bootable USB drive, and following a series of UEFI configuration steps. Follow these steps carefully to ensure successful system recovery.
Download Recovery Media:
Download the recovery media archive file (tar.gz format) from DGX Spark System Recovery Image
Save the file to your local system
Create Recovery USB Drive:
Download and unzip the recovery media archive file
Insert the USB drive into your system
Within the extracted files, use one of the following commands to create the recovery drive:
Note
Creating the recovery drive requires administrator privileges. On Windows systems, this is typically done by running the command as an administrator (i.e. from an elevated PowerShell or Command Prompt). If supported by the host system, you will be prompted by the system to run the command with elevated privileges.
Windows:
CreateUSBKey.cmdLinux:
CreateUSBKey.shMacOS:
CreateUSBKeyMacOS.shWarning
This process will erase all data on your USB drive. Ensure you have backed up any important data before proceeding.
Boot from Recovery USB Drive:
Disconnect any external storage devices from the DGX Spark
Connect the USB drive to one of the USB ports on your DGX Spark
If your DGX Spark is powered off, boot the device into UEFI settings by holding down the Esc or Del key immediately after powering on the device
Important
Make sure to use a keyboard plugged directly into a USB port on the DGX Spark device. Some Bluetooth keyboards, even those with USB connections, may not work during this process. If your keyboard isn’t recognized, use a standard USB keyboard.
Restore UEFI Defaults:
Tap the Right Arrow key to select the “Save & Exit” page within the UEFI settings
Tap Down Arrow to select “Restore Defaults” and select “Yes” in response to “Load Optimized Defaults”
Select “Save Changes and Reset” - the device will reboot
While the device is rebooting, hold down the Esc or Del key to re-enter UEFI settings a second time
Enable Secure Boot:
Use the Right Arrow key to select “Security”
Confirm that “Secure Boot” is set to “Enabled”
Select “Restore Factory Keys”
Use the arrow keys to select the “Save and Exit” BIOS screen, and select “Save Changes and Reset”
Boot from Recovery Media:
While the device is rebooting, hold down the Esc or Del key to re-enter UEFI settings a third time
Tap the Right Arrow key to select the “Save & Exit” page in UEFI settings
Tap Down Arrow to move to the “Boot Override” section
Select the USB drive and tap Enter
The device will reboot using the USB drive - follow the on-screen steps to update your firmware and re-install the OS on the device’s SSD
Restore System from Recovery Environment
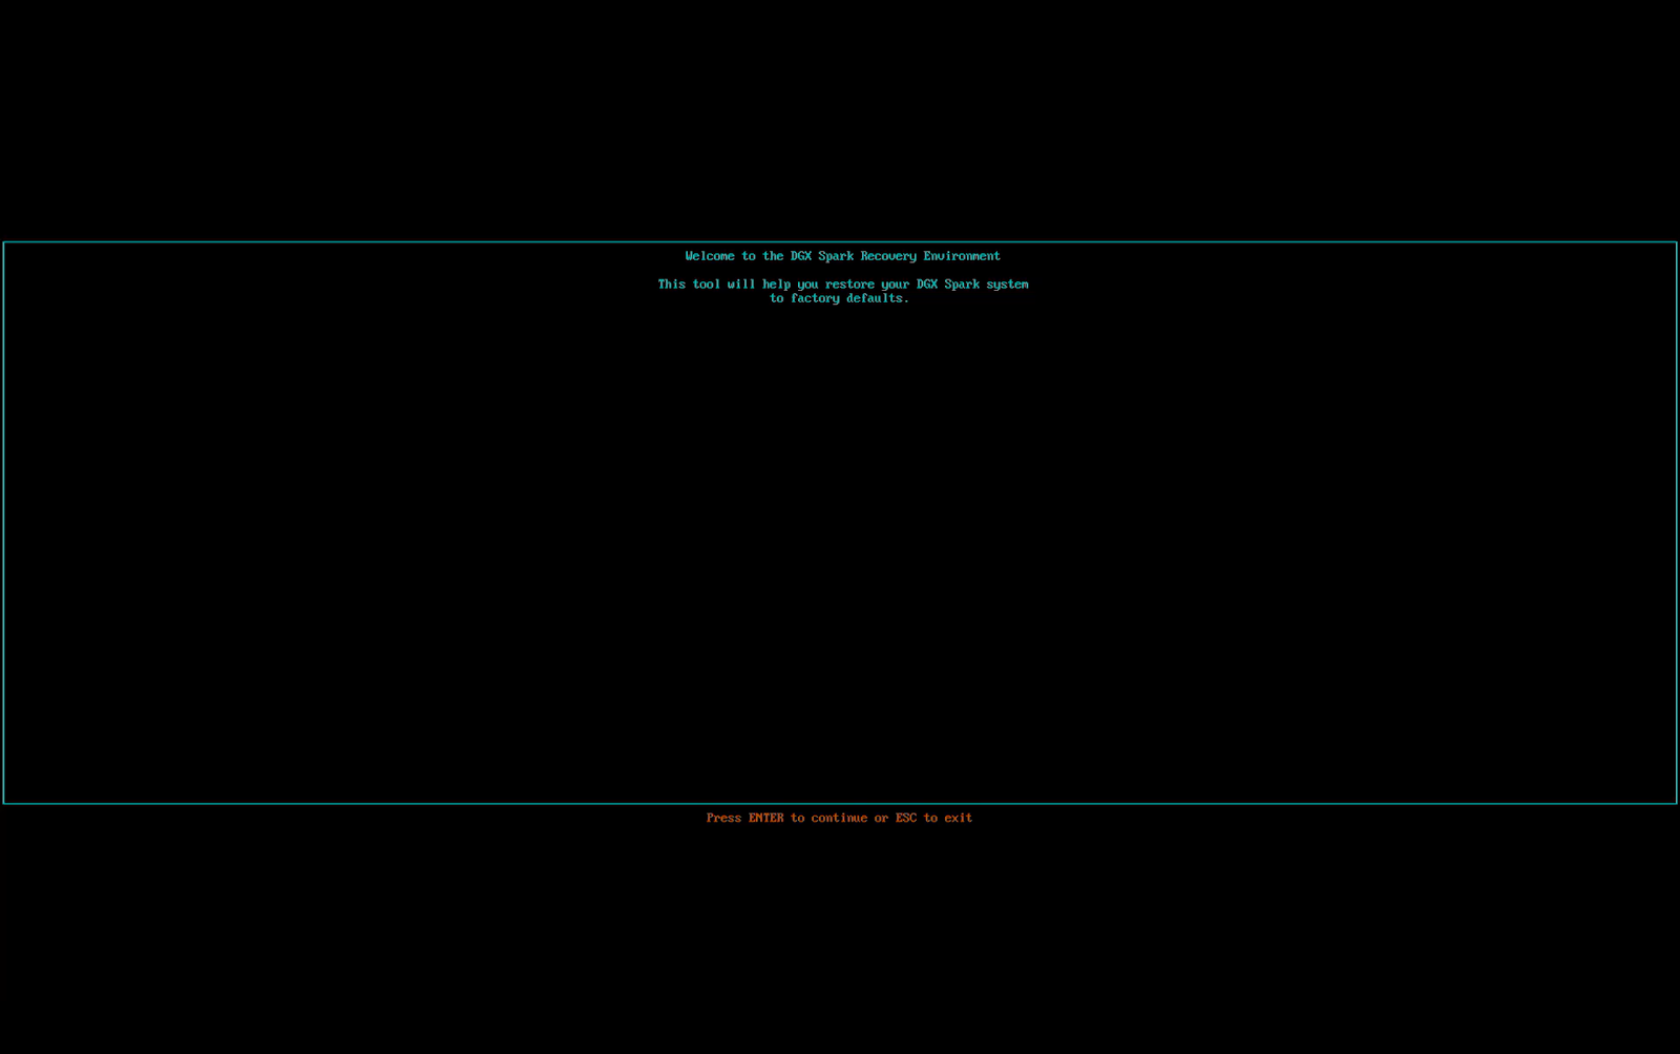
On the welcome screen, press Enter to continue. To cancel the process, press Esc.
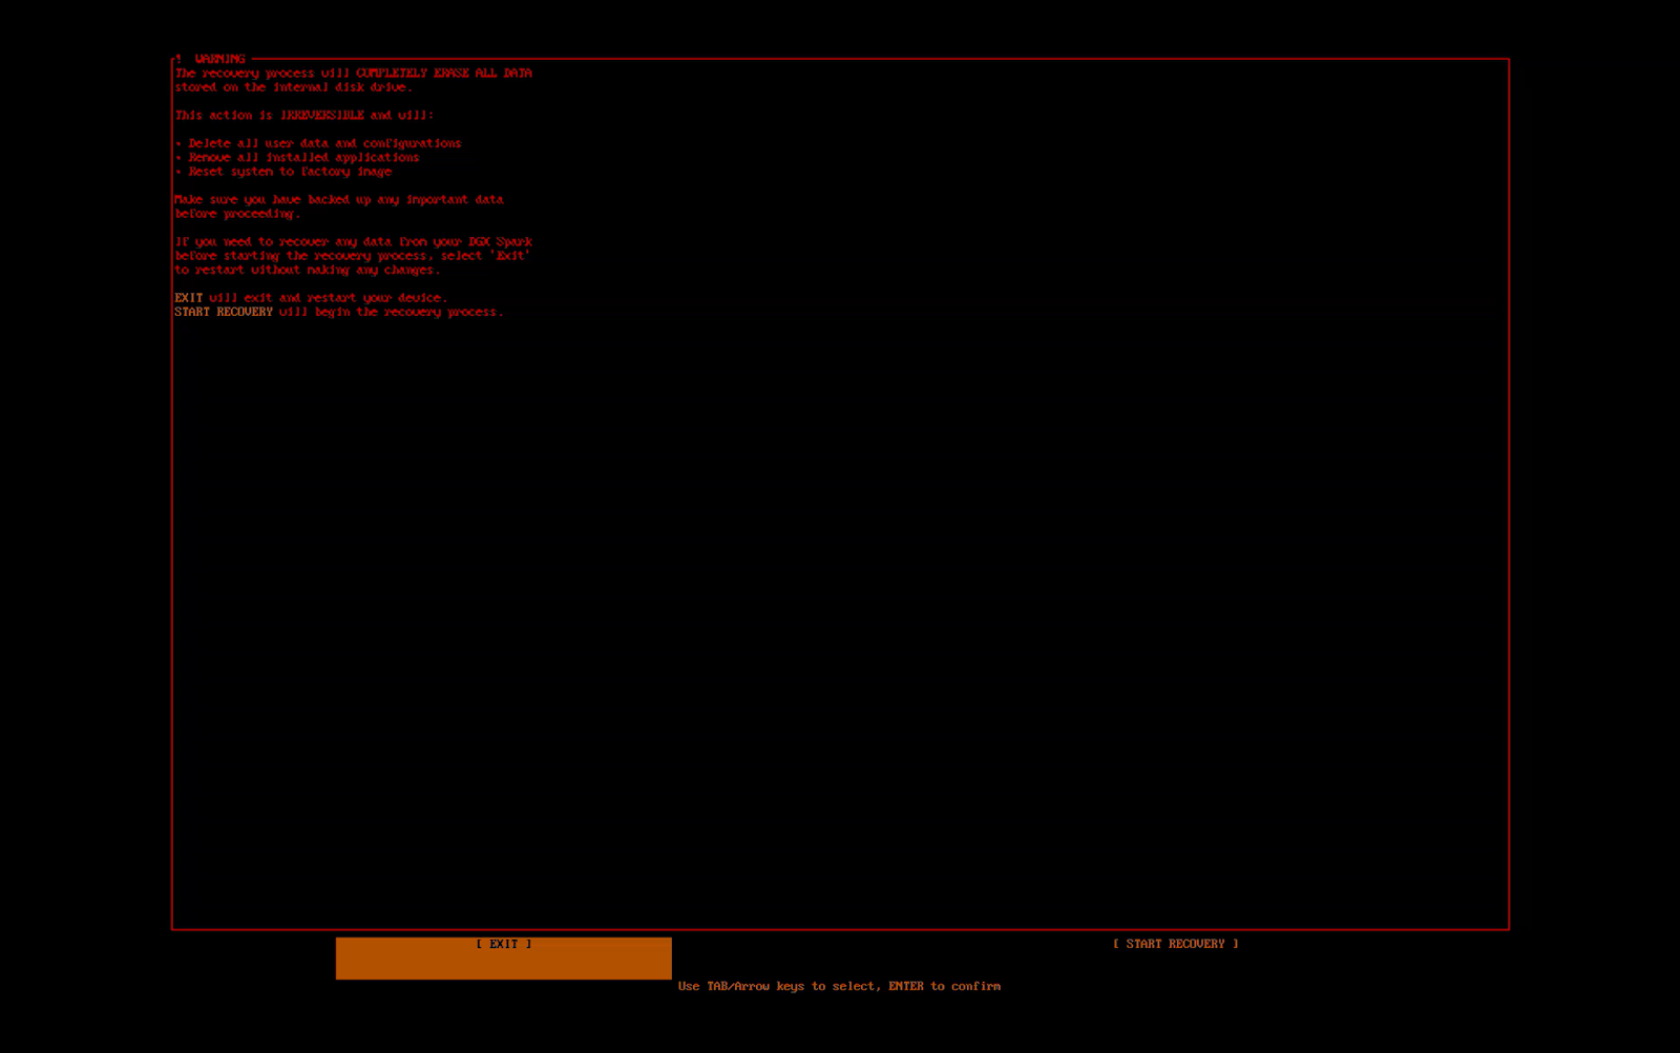
On the warning screen, select [EXIT] to restart without proceeding, or select [START RECOVERY] to begin reflashing the SSD. Be aware that this will completely erase the internal SSD on the DGX Spark.
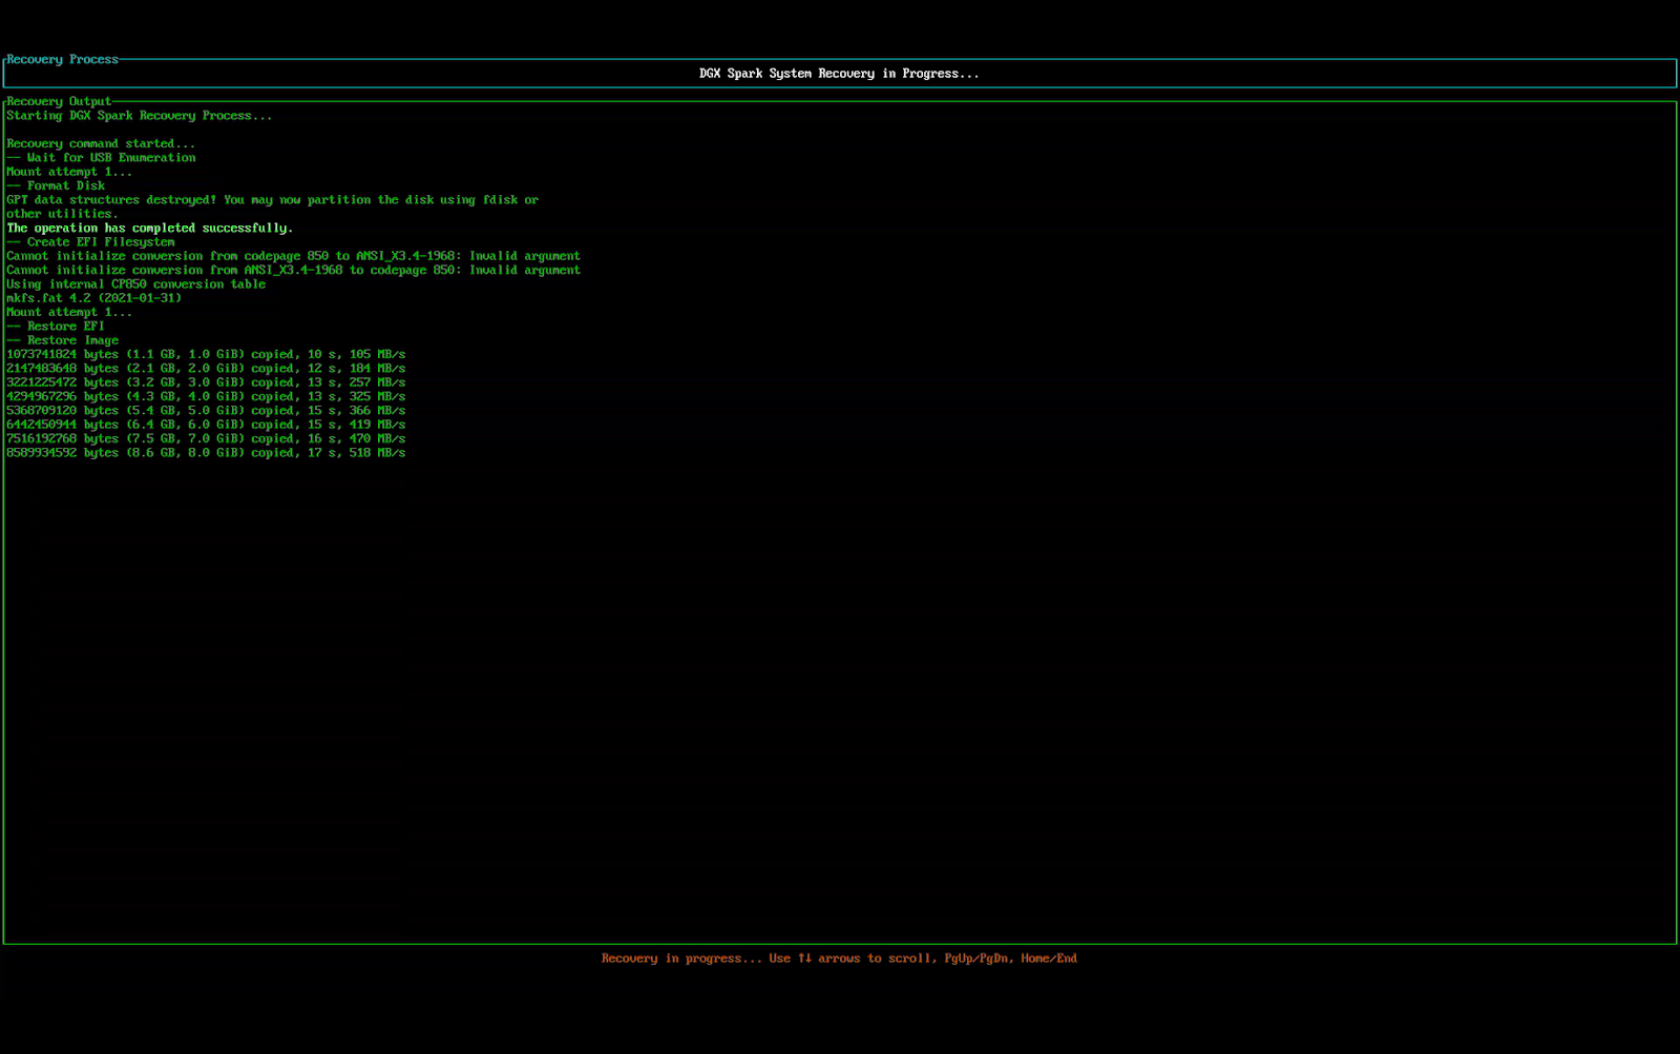
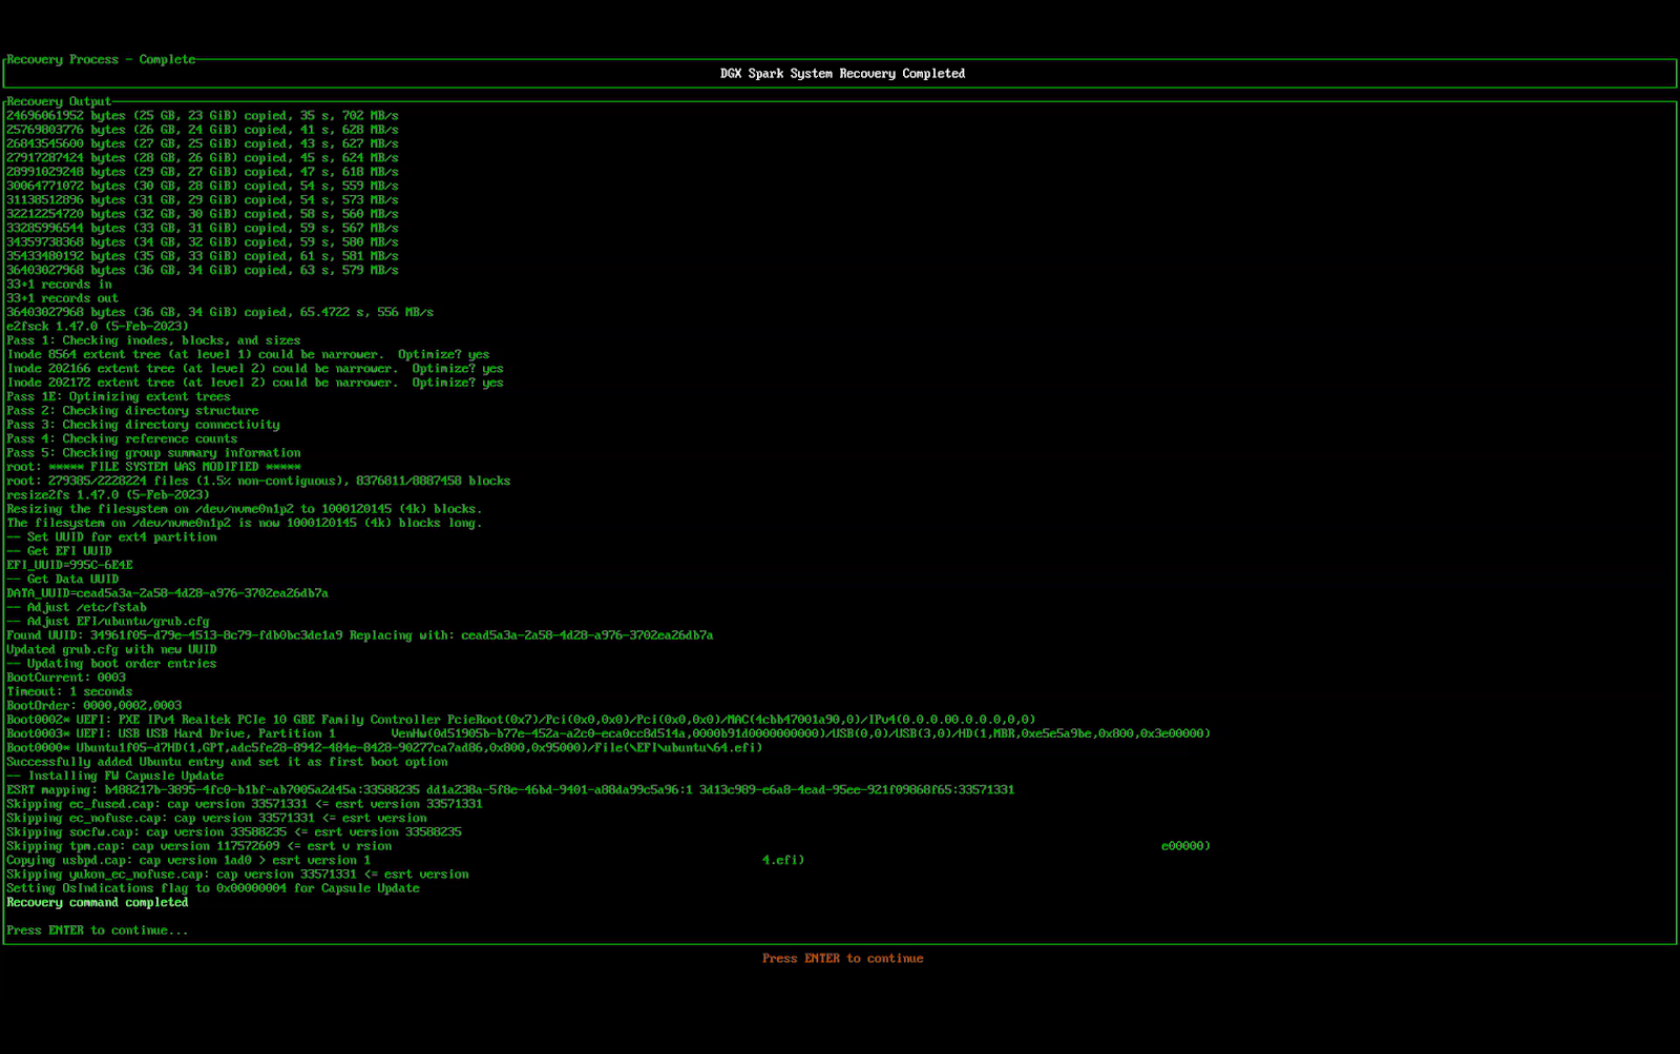
Monitor the Recovery Progress screen for detailed output from the recovery process and the progress of the SSD reflash.
When the process is complete, review the progress screen and follow the prompt to continue. Scroll or page through the recovery output if needed, for example during customer support.
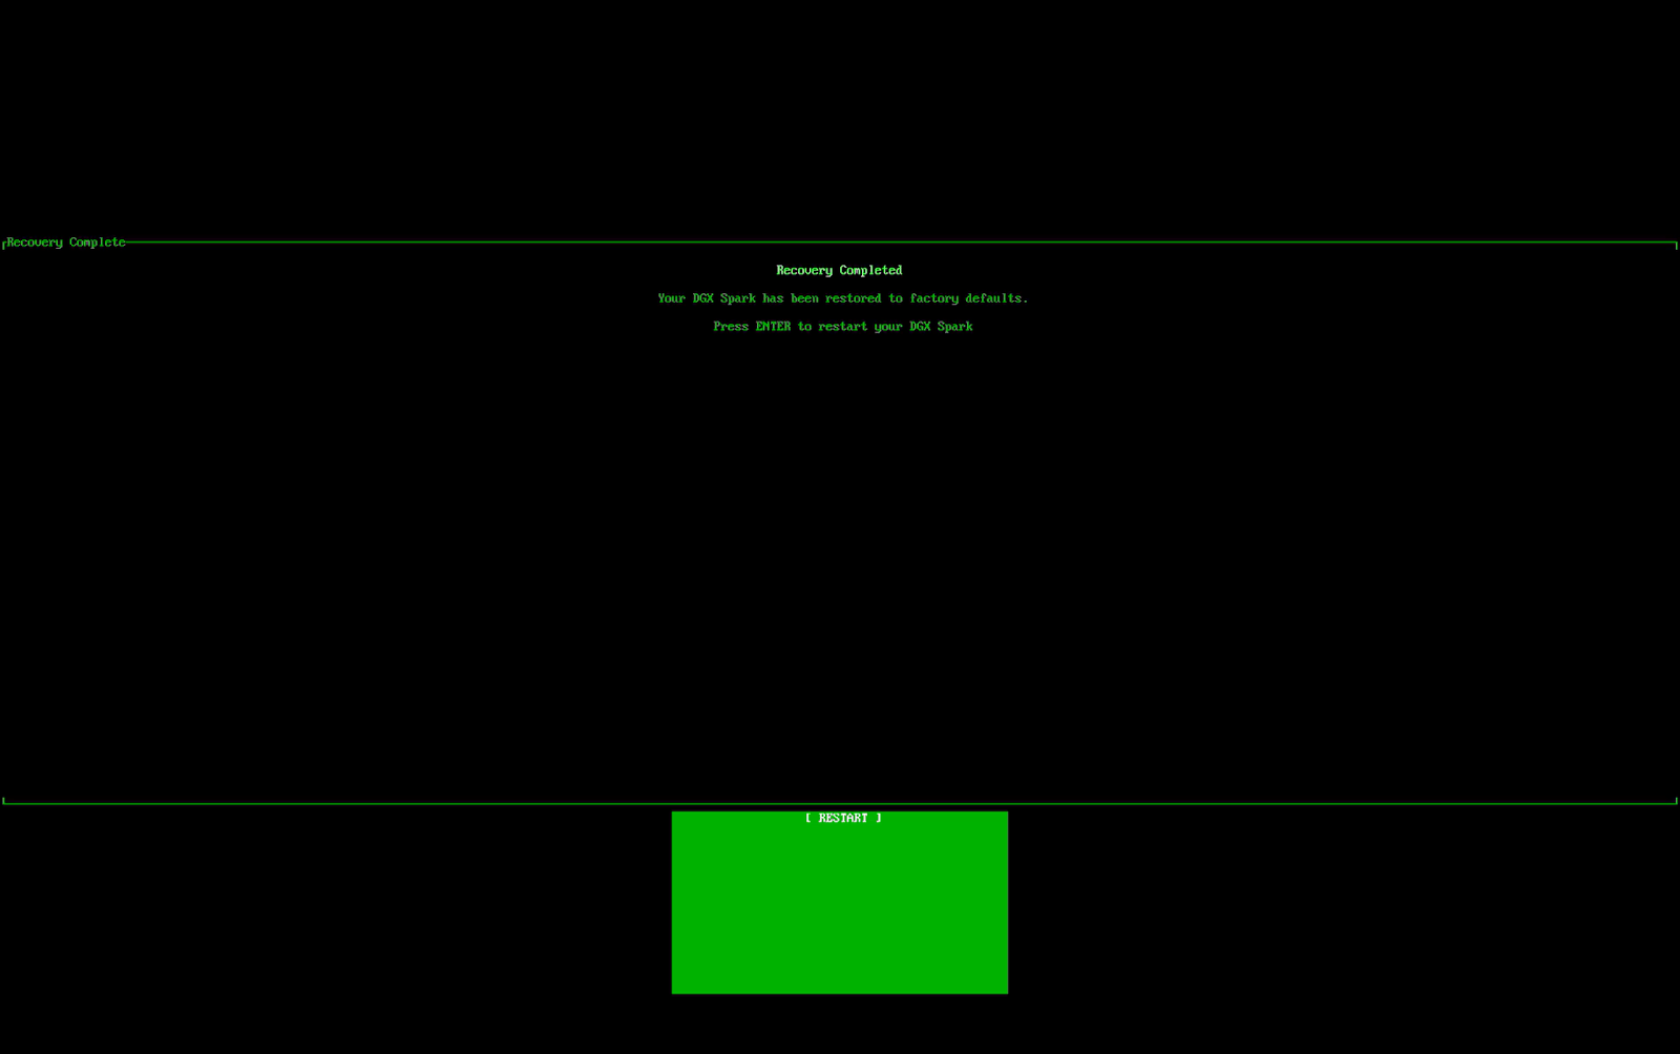
On the final screen, confirm that the DGX Spark has been reset to factory state and press Enter to restart the device.