Install Operating System on Bare Metal Nodes#
Note
This is an example workflow with specific servers NVIDIA had in its test bed. Consult the BMC manual of your server for detailed instructions.
All physical nodes (RTX PRO Servers and an HGX B200) are provisioned with Ubuntu 24.04 LTS Server.
Accessing BMC Interface — Example of an RTX PRO Server#
Open a web browser and navigate to the BMC IP address of your server.
Login with BMC credentials.
After login, you will see the BMC interface.
Navigate to the Remote Console section.
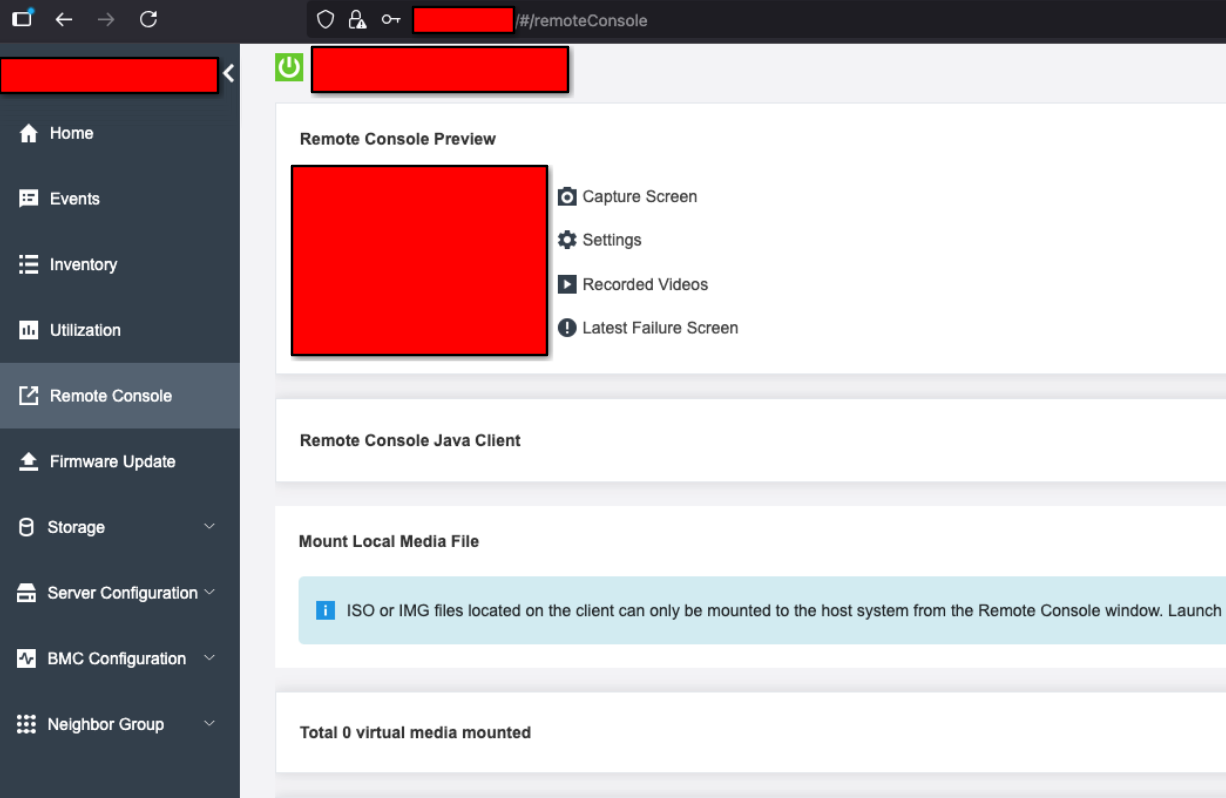
Figure 3 BMC interface for the RTX PRO Server showing the Remote Console section#
Accessing BMC Interface — HGX B200#
Open a web browser and navigate to the BMC IP address of your HGX B200 Server.
Login with BMC credentials.
After login, you will see the Baseboard Management Controller interface.
Provisioning Ubuntu 24.04 via BMC#
In the BMC interface, go to Remote Console.
Launch the remote console (Java-based or HTML5 console).
At the top of the remote console window, click “Media”.

Figure 4 Remote console window with the Media menu and Mount Virtual Media dialog#
Browse and select the Ubuntu 24.04 Server ISO file from your local disk.
Click “Mount” or “Mount all media”.
Wait patiently (approximately 10 minutes) for the server to boot from the ISO.
The Ubuntu installation screen will eventually appear.
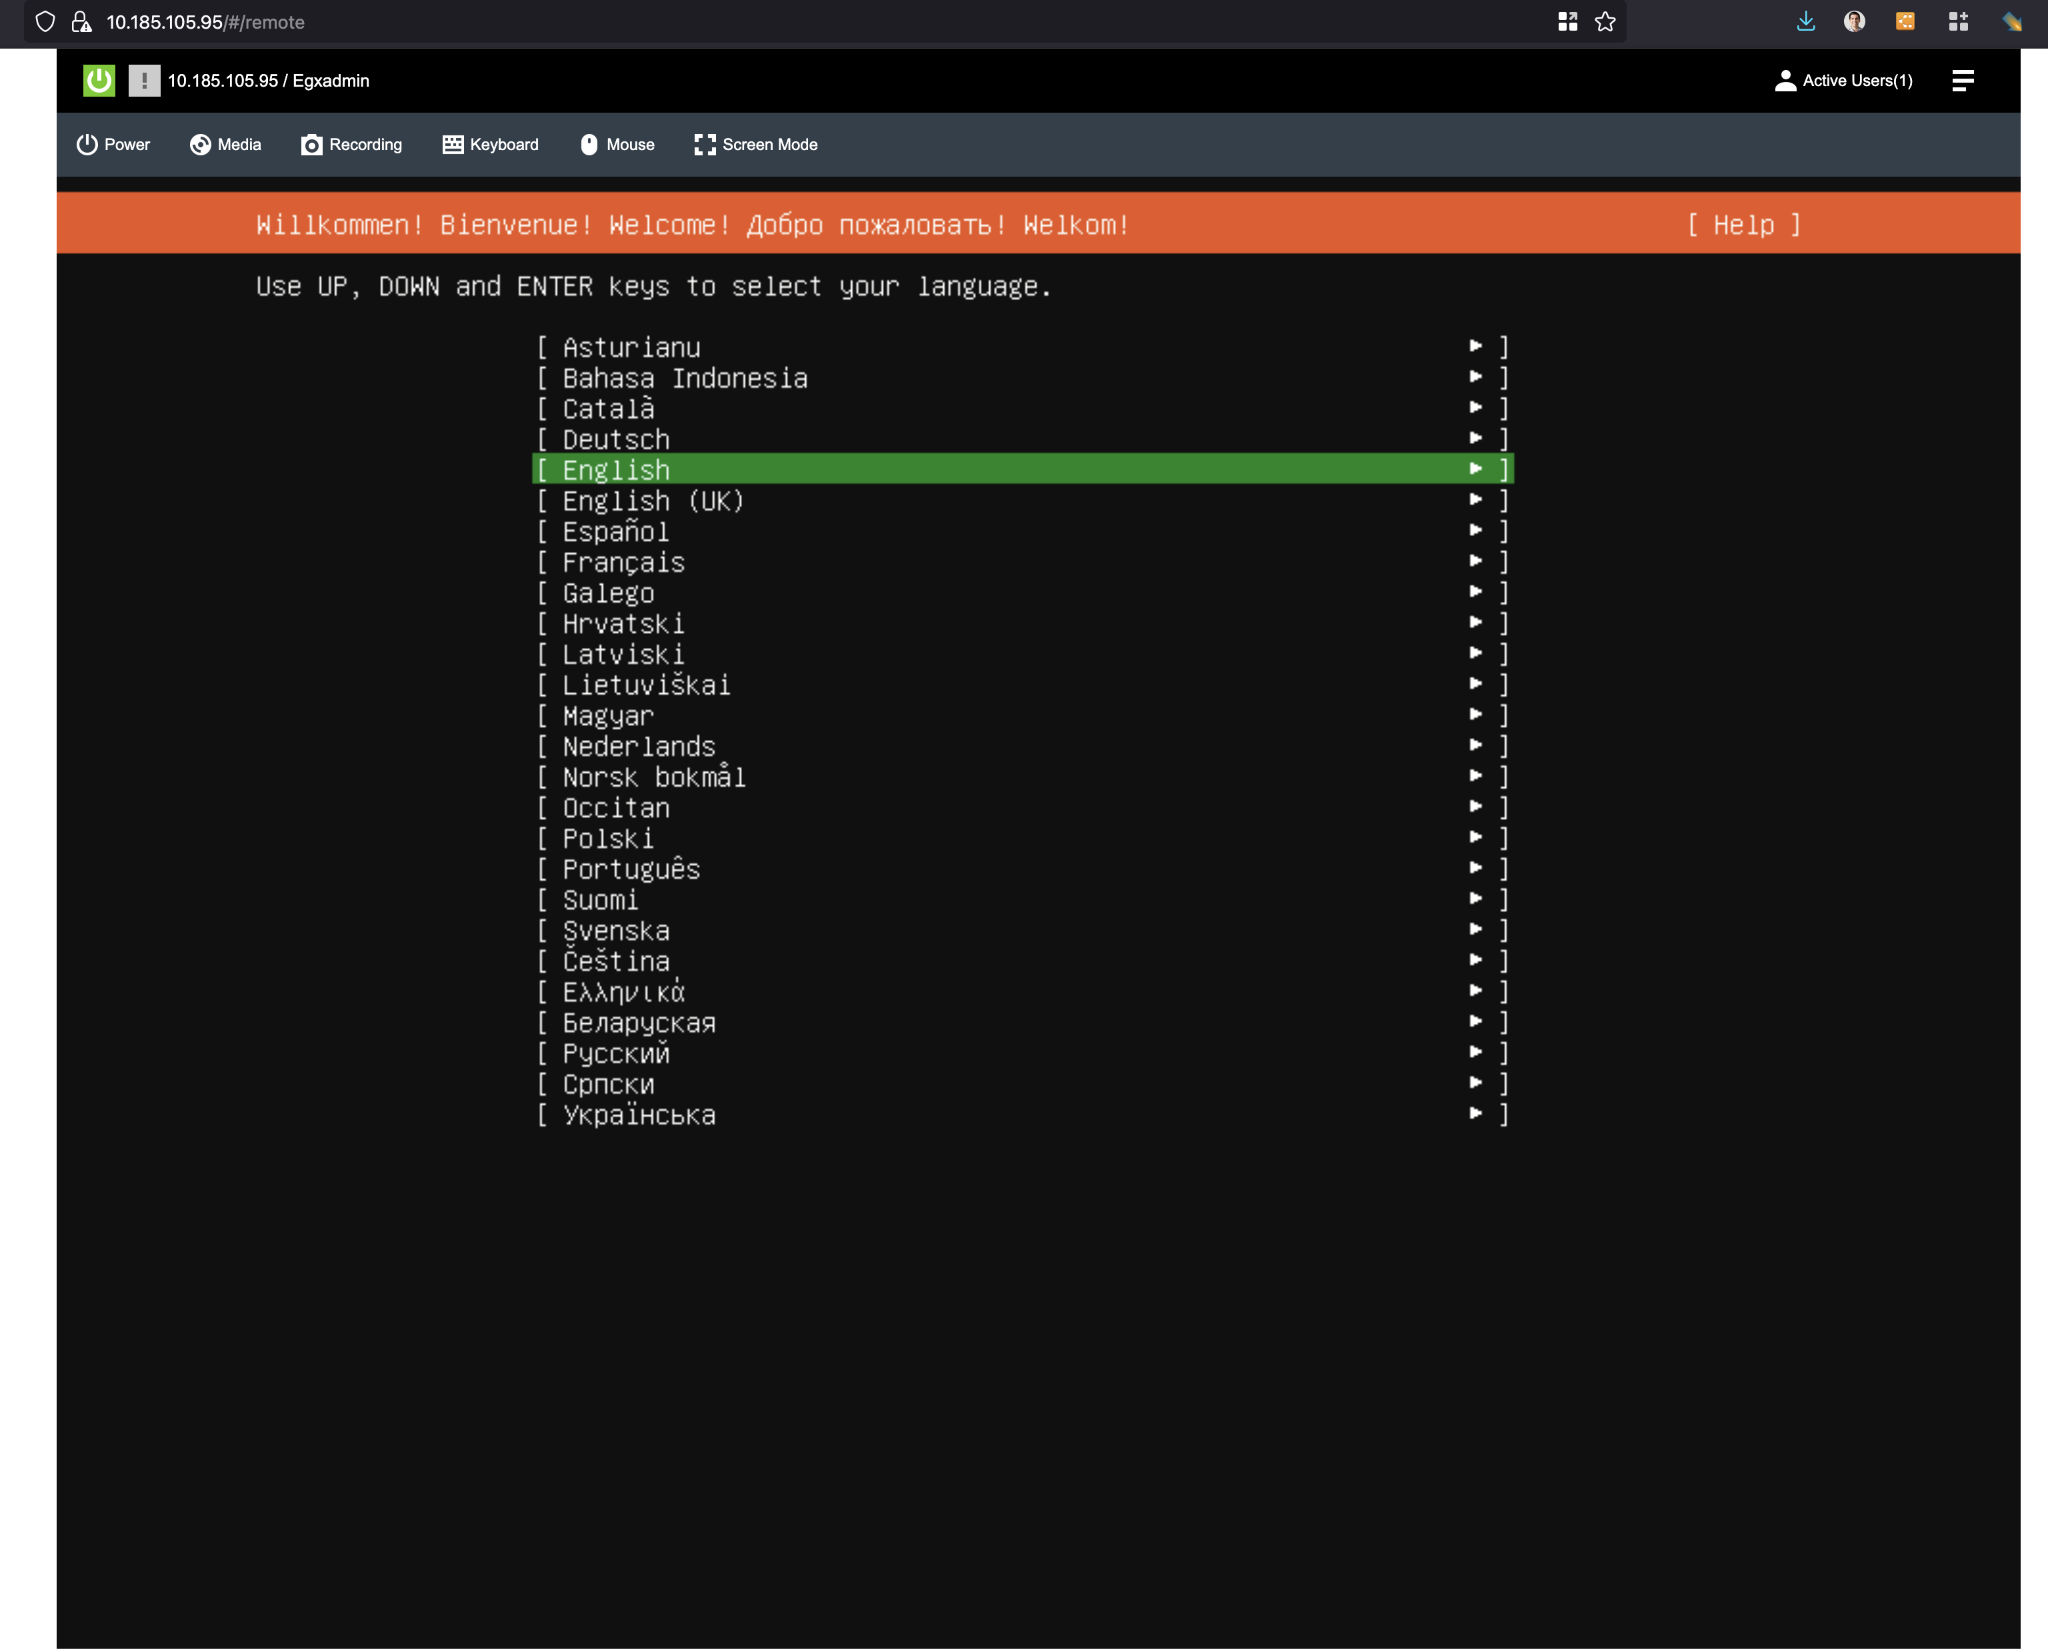
Figure 5 Ubuntu 24.04 Server installer — language selection screen#
Proceed with Ubuntu installation:
Select language and keyboard layout.
Choose network configuration (configure static IP or DHCP as needed).
Configure storage (use entire disk for simple setup).
Create user account (recommend: username “nvidia”).
Enable OpenSSH server (IMPORTANT — check this option).
Do NOT select any additional snaps/packages (minimal installation).
Complete installation and reboot.
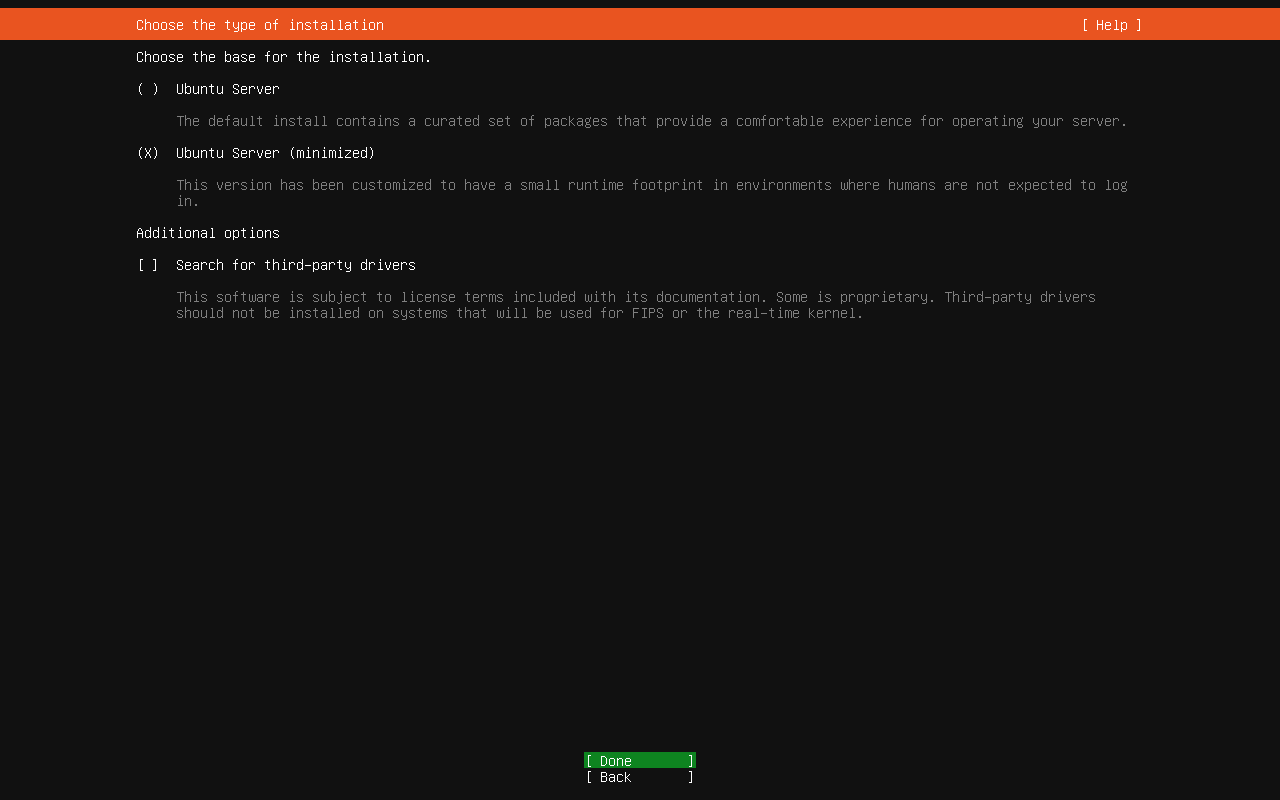
Figure 6 Ubuntu 24.04 Server installer — OS type selection (Ubuntu Server Minimized recommended)#
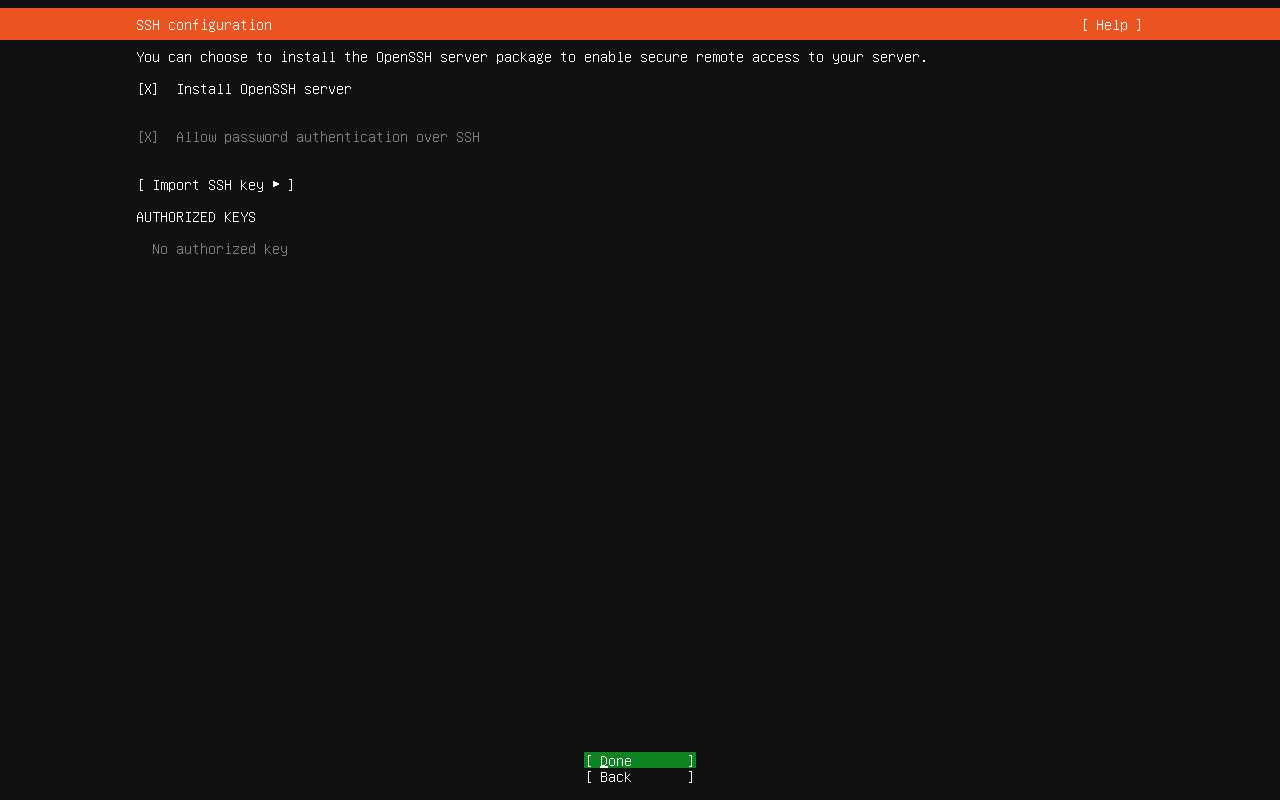
Figure 7 Ubuntu 24.04 Server installer — SSH configuration (Install OpenSSH server must be checked)#
Server should now boot into Ubuntu 24.04.
After installation reboot the server:
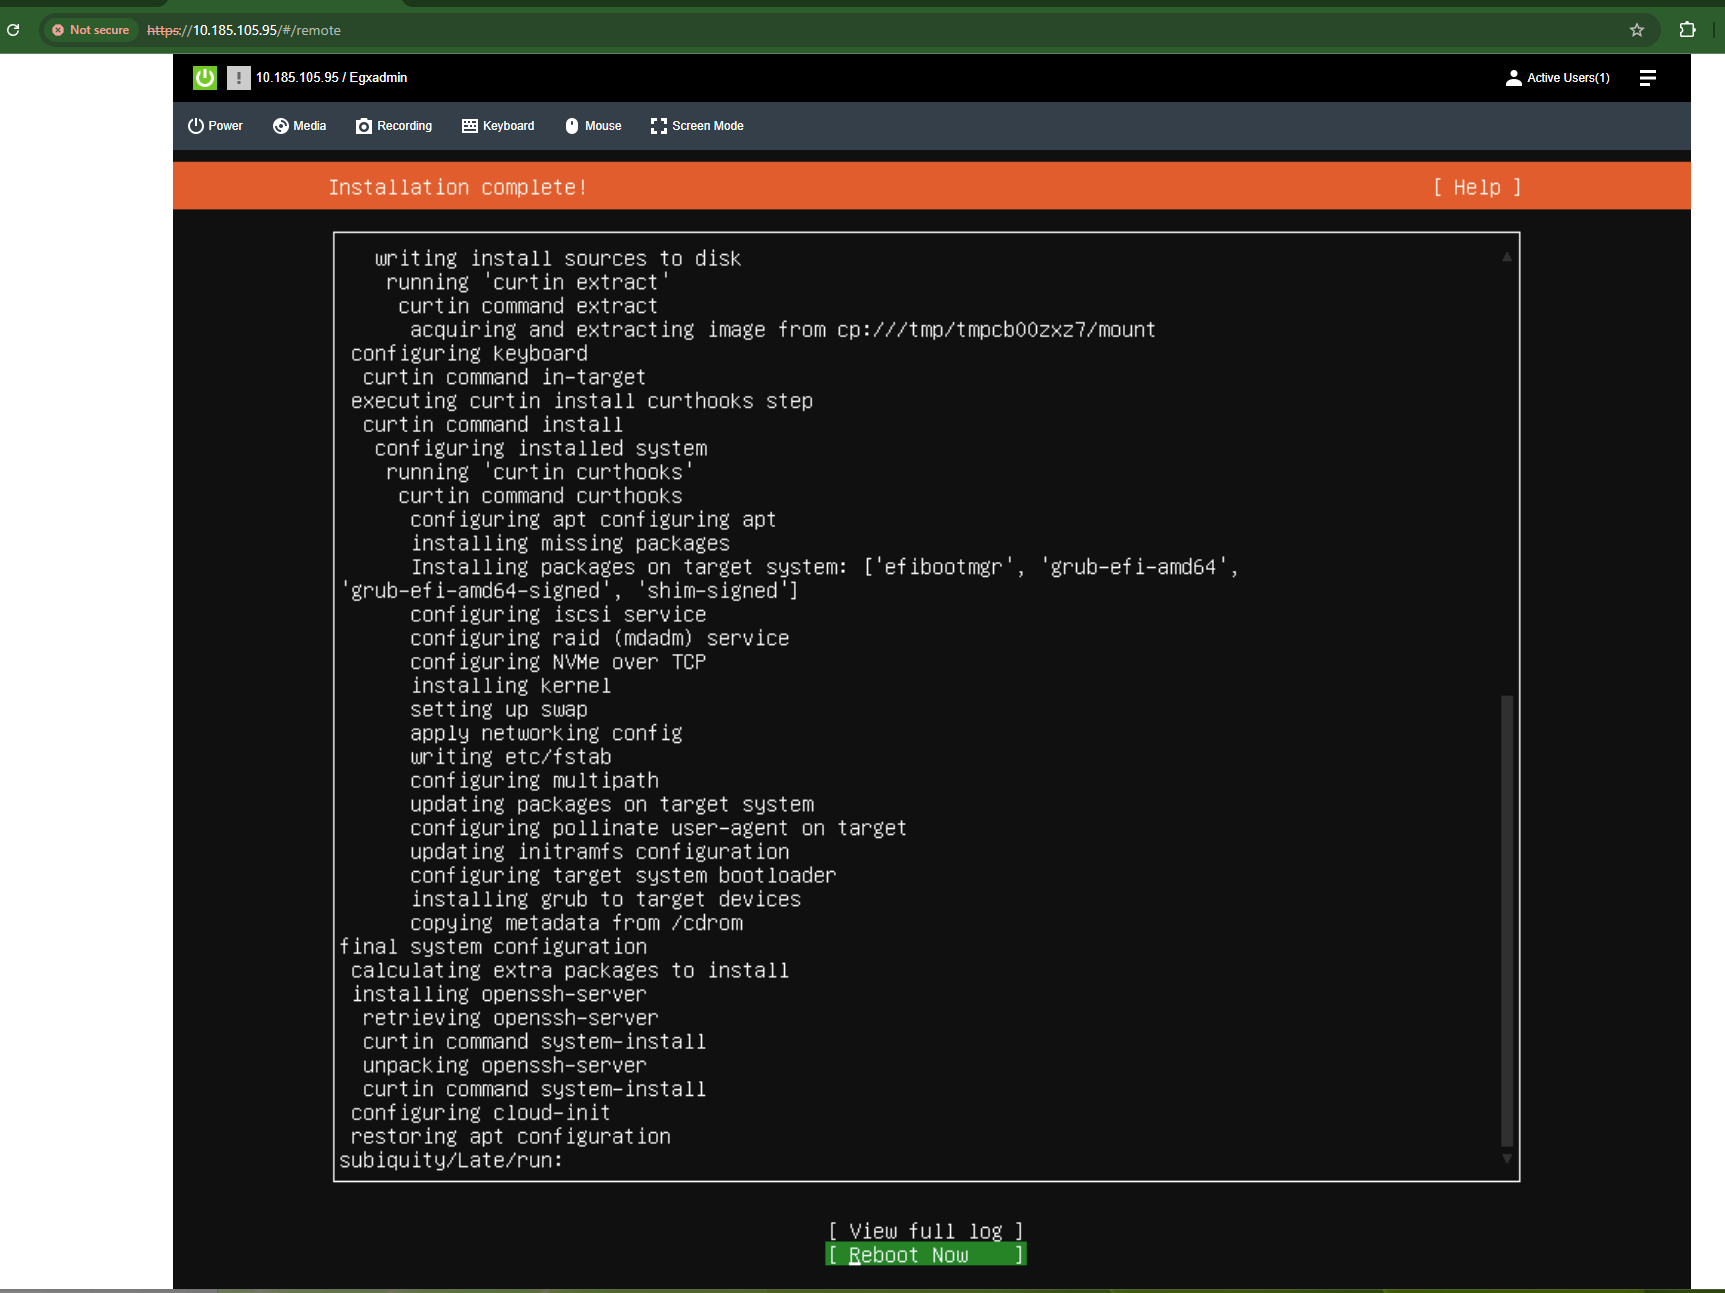
Figure 8 Ubuntu 24.04 Server installation complete screen#
Expanding Root Filesystem (Recommended for GPU Nodes)#
The default Ubuntu installation typically creates a small root filesystem. Expand the root filesystem BEFORE deploying Kubernetes and GPU workloads to avoid disk space issues later.
Check Current Disk Space:
df -h /
lsblk
Typical default installation on these servers: ~100 GB root filesystem
Recommended for GPU nodes: 1 TB root filesystem
Expand LVM Root Filesystem (Ubuntu with LVM)#
Extend the Logical Volume:
Note
Please refer to your hardware specifications and local storage best practices to assign volumes and sizes accordingly. Here below we show the most basic, but sufficient configuration.
For GPU workers (expand to 1 TB total):
sudo lvextend -L 1000G /dev/ubuntu-vg/ubuntu-lv
Resize the filesystem:
sudo resize2fs /dev/ubuntu-vg/ubuntu-lv
Prepare the Future Kubernetes Nodes#
The control plane and worker (GPU) nodes can have minimal OS packages installed. Moving on we only need the ssh server installed, which is done right during the installation.
Update the OS Packages and Disable Sudo Prompt#
On the GPU workers and control plane nodes do the update and upgrade of the OS software packages:
sudo apt -y update && sudo apt -y upgrade
Add some visual editor, which you’re going to install later on with. Here we go with vim, chose your own editor instead, if you don’t like vim:
sudo apt -y install vim
The nodes need NOPASSWD sudo mode. On all nodes execute:
sudo visudo
Navigate and change these lines of configuration to match the following:
# Allow members of group sudo to execute any command
%sudo   ALL=(ALL:ALL) NOPASSWD: ALL
Save the file and exit the editor.
Prepare the Installation Node#
Can be any Linux OS supporting docker / podman or any similar container runtime. The node should have IPv4 connectivity to the future kubernetes nodes.
Generate a private-public RSA SSH keypair:
ssh-keygen -t rsa
Then copy the public key to all future kubernetes nodes. Example of the command for one node:
ssh-copy-id -i ~/.ssh/id_rsa.pub <your login>@<a node IP>
Now test you can SSH to all the future kubernetes nodes. Example of the command for one node:
ssh <your login>@<a node IP>
It’s expected you are not asked for the password any longer.
Next follow the official Docker installation guide if Docker is your preference and it’s not yet installed. Install any other container runtime of your choice alternatively.
We will also need git (and the node will need connectivity to github):
sudo apt -y update && sudo apt -y install git